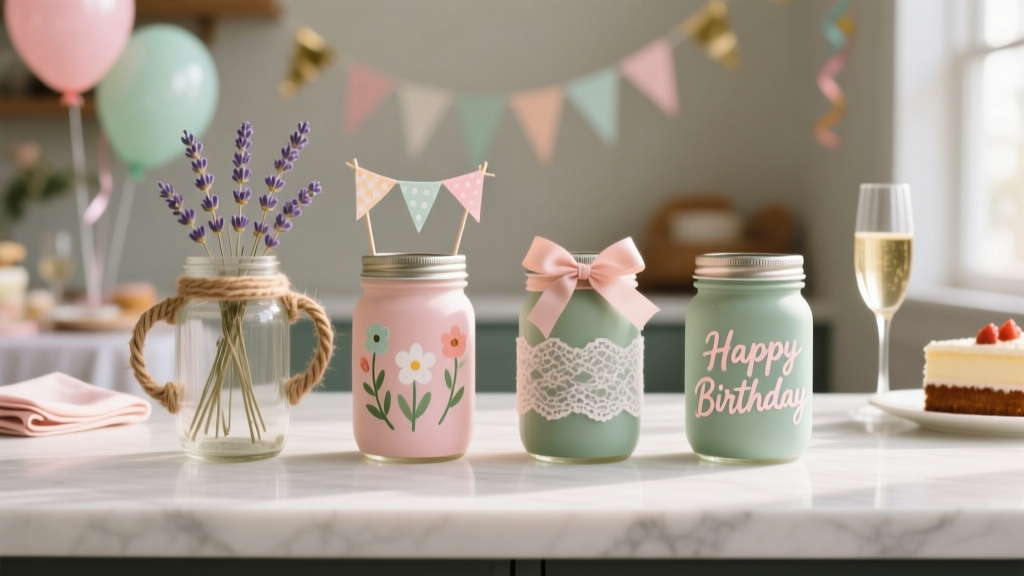
Step-by-Step Mason Jar Crafts Tutorial
Mason jar crafts are the kind of DIY project that feels instantly rewarding: you start with an everyday jar and end with a handmade party decoration you’ll actually use. They’re budget-friendly, endlessly customizable, and perfect for everything from birthday parties and baby showers to backyard weddings and holiday tablescapes.
Even better, mason jars are forgiving. If you’re new to DIY crafts, you can keep it simple with paint and ribbon. If you love advanced handmade projects, you can layer lighting, texture, and personalized labels for a professional look. This tutorial walks you through three party-ready mason jar decorations using the same core supplies, so you can mix-and-match a whole coordinated set.
Pick one project or do all three for a matching party décor bundle: a centerpiece vase, a glowing lantern, and a treat/favor jar. You’ll finish with decorations that are sturdy, portable, and cute enough to reuse again and again.
Projects You’ll Make (Choose One or Create a Set)
- Project A: Painted Party Vase Jar (great for flowers, utensil holders, or buffet décor)
- Project B: Twine & Lace Mason Jar Lantern (best for evening parties and cozy ambience)
- Project C: Treat/Favor Mason Jar with Custom Tag (perfect for party favors and candy bars)
Skill Level, Time & Party Use
- Skill level: Beginner-friendly (with optional advanced upgrades)
- Total time: 60–120 minutes for one jar (plus drying time); 2–3 hours to make a set of 3–6 jars
- Drying/curing: Acrylic paint: 30–60 minutes touch-dry; 24 hours to fully cure
- Best for: DIY party decorations, table centerpieces, handmade party favors, candy buffets, bridal showers, birthdays, baby showers
Materials List (With Estimated Costs)
Costs vary by brand and region, but these estimates help you plan a realistic DIY budget. Most supplies are reusable across many handmade projects.
Core Supplies (for all projects)
- Mason jars: 16 oz (pint) wide-mouth or regular-mouth, 3–6 jars ($1–$3 each; multipacks often cheaper)
- Acrylic craft paint: matte or satin finish, 2 oz bottles ($1–$3 each). Suggested colors: white, black, metallic gold/silver, or party theme colors.
- Foam brush set: 1" and 2" foam brushes ($3–$6)
- Painter’s tape: 0.94" (standard) or 0.5" (thin stripes) ($4–$8)
- Rubbing alcohol (70%+): for cleaning the glass ($2–$4)
- Lint-free cloth/paper towels: ($1–$3)
- Hot glue gun + glue sticks: mini or full-size ($8–$20; glue sticks $3–$6)
- Scissors: sharp craft scissors (already owned or $5–$12)
Optional Style Supplies (choose by project)
- Jute twine: 1–2 mm thickness ($3–$7)
- Lace trim: 1" to 2" wide ($4–$10 per roll)
- Ribbon: 3/8" to 1.5" wide satin, grosgrain, or chiffon ($3–$8)
- Artificial flowers or fresh stems: ($5–$20 depending on quantity)
- LED tea lights: flickering warm white ($5–$12 for a pack of 12)
- Micro LED fairy lights: battery-powered, 3.3 ft–6.6 ft ($6–$15)
- Glass etching cream: for advanced personalization ($10–$20)
- Clear acrylic sealer spray: matte or gloss ($6–$12)
- Kraft tags + twine: 2" x 3.5" tags ($4–$8 for a pack)
- Vinyl stickers or letter stencils: ($5–$15)
Tool Recommendations (Worth Having)
- Self-healing cutting mat + craft knife: great for trimming tape or vinyl cleanly
- Small ruler or seam gauge: helps measure stripe spacing precisely
- Silicone finger protectors: helpful if you’re new to hot glue
Before You Start: Prep Your Jars for a Smooth Finish
- Remove labels: Soak jars in warm water with a drop of dish soap for 10 minutes. Peel labels.
- Remove sticky residue: Rub with a little oil or adhesive remover, then wash with soap and water.
- Degrease the glass: Wipe the outside with rubbing alcohol and let air-dry for 2 minutes. This helps paint and glue stick better.
- Protect your workspace: Use parchment paper, cardboard, or a silicone mat under your jar.
Project A: Painted Party Vase Jar (Crisp Stripes or Color Block)
Time estimate: 30–45 minutes + drying time
Skill level: Beginner
Best use: Table centerpieces, buffet line décor, utensil holder at a party bar
Measurements & Design Options
- Classic stripe: 1" stripes with 1/2" gaps
- Modern color block: bottom half painted (about 3.5" tall on a 16 oz jar)
- Thin pinstripes: 1/4" tape spacing for a clean, modern look
Step-by-Step Instructions
- Plan your pattern: Decide where the paint will go. For stripes, measure from the bottom and mark lightly with a washable marker if needed.
- Apply painter’s tape: Wrap tape around the jar where you want crisp lines. Press the tape edges down firmly with your fingernail to prevent paint bleed.
- Paint your jar: Use a foam brush and apply thin coats. Two thin coats look smoother than one thick coat.
- Dry between coats: 10–15 minutes
- Coats: 2–3 depending on color
- Remove tape at the right time: Peel tape off slowly when the paint is slightly tacky (usually 10–20 minutes after your last coat). This helps prevent chipping.
- Let it cure: Leave the jar untouched for at least 1 hour before handling, and 24 hours before heavy use.
- Optional seal: If you expect lots of handling (party guests), spray a clear acrylic sealer in light coats (2 coats, 10 minutes apart).
Easy Party Styling Ideas
- Fill with baby’s breath or eucalyptus for a simple DIY centerpiece.
- Use as a straw/utensil holder for a drink station.
- Add a ribbon bow matching your party theme color palette.
Project B: Twine & Lace Mason Jar Lantern (Cozy Party Glow)
Time estimate: 35–60 minutes
Skill level: Beginner to Intermediate
Best use: Evening parties, patio décor, wedding aisle markers, dessert table glow
Step-by-Step Instructions
- Choose your lighting:
- Best for beginners: LED tea light
- Best for a “wow” effect: Micro LED fairy lights (3.3–6.6 ft)
- Wrap twine base: Starting near the bottom of the jar, add a small dot of hot glue (about the size of a pea). Press twine into glue for 5–8 seconds, then wrap around.
- Coverage suggestion: Wrap 1.5"–2.5" tall around the bottom for a grounded look.
- Add lace band: Measure lace around the jar and cut with a 1/2" overlap. Glue lace over the twine or around the middle of the jar.
- Placement tip: Center lace about 2.5"–3" from the bottom on a pint jar.
- Finish with a ribbon or tag: Tie 3/8"–1" ribbon around the neck of the jar. Add a kraft tag with the party date or a guest’s name.
- Insert lights: Place LED tea light inside or coil fairy lights into the jar.
- Battery pack tip: If the fairy lights have a battery pack, tuck it behind the jar on the table or secure it under the jar with removable mounting putty.
Safety Note (Party-Friendly Lighting)
- Use LED lights only for indoor parties or where kids are present.
- If you choose real candles for an outdoor adult event, keep the flame below the jar rim and never leave unattended.
Project C: Treat/Favor Mason Jar with Custom Tag (Perfect for Party Favors)
Time estimate: 20–40 minutes per jar
Skill level: Beginner
Best use: Handmade party favors, candy buffet takeaways, hostess gifts
Step-by-Step Instructions
- Decide your fill: Choose a treat that matches your party theme and won’t melt easily:
- Chocolate kisses (cool indoor parties)
- Gummies, mints, wrapped candies
- Popcorn mix (seal tight)
- DIY cookie mix ingredients layered in the jar
- Line the lid (optional but polished): Trace the lid insert on scrapbook paper, cut a circle, and place it under the ring.
- Add a label: Use vinyl letters, a stencil, or a simple kraft tag. Easy wording:
- “Thanks for coming!”
- “Sweet Treats”
- “Baby Shower Favors”
- Guest name + date
- Tie a bow: Wrap ribbon around the jar neck and knot or bow at the front. Trim ends at a 45° angle for a clean finish.
- Seal for freshness: Close the lid firmly. For cookie mix gifts, add a second layer of plastic wrap under the lid insert.
Pro Tips for Cleaner Results (Make Your Jars Look Store-Bought)
- Thin coats win: Thick paint coats drip and show brush marks. Use 2–3 thin coats instead.
- Prevent paint bleed under tape: After placing tape, paint a very thin layer of the base color (or clear sealer) along the tape edge first. Let dry 5 minutes, then paint your main color.
- Hot glue control: Use a low-temp glue gun for ribbon and lace to avoid seeping through delicate fabric.
- Keep tags consistent: Cut tags to the same size (2" x 3.5" works well) and use the same twine length (about 10" per jar) for a cohesive party décor look.
- Fast-dry station: Place jars upside down on a cup to avoid sticking to your work surface while drying.
Variations (Beginner-Friendly to Advanced)
Beginner-Friendly Adaptations
- No-paint version: Skip paint and focus on ribbon + tag + LED light for a quick party decoration.
- Single accent stripe: One metallic stripe (about 1" tall) near the top looks clean and modern.
- Pre-made stickers: Use themed party decals (stars, hearts, balloons) instead of stencils.
Advanced Upgrades
- Etched personalization: Use vinyl letters as a stencil and glass etching cream for names or dates (great for weddings). Follow the cream’s instructions carefully and wear gloves.
- Frosted lantern effect: Apply a frosted glass spray to the outside of the jar, then add fairy lights for a soft glow.
- Raised texture: Create subtle texture with a stencil and modeling paste, then paint over it once dry.
- Ombré paint: Blend two shades with a damp sponge for a gradient look that’s stunning for bridal showers and birthdays.
Troubleshooting (Quick Fixes That Save the Project)
- Paint looks streaky: Let it dry fully, then add another thin coat. Foam brushes reduce streaks compared to bristle brushes.
- Tape pulled up paint: The paint wasn’t cured enough or the tape was too sticky. Touch up with a small detail brush, or lightly sand the edge with fine-grit sandpaper (320–400) and repaint.
- Lace won’t lay flat: Use tiny glue dots every 1–1.5 inches instead of one continuous glue line. This prevents bumps and seep-through.
- Twine keeps sliding: Start with a stronger anchor: a 1/2" line of glue at the starting point, hold for 10 seconds, then wrap.
- Foggy sealer finish: Humidity can cloud clear spray sealers. Apply in a dry area, and spray light coats from 10–12 inches away.
Common Crafting Mistakes to Avoid
- Skipping the alcohol wipe: Oils from hands can cause paint to peel or look patchy.
- Using thick paint layers: Thick paint takes longer to dry and is more likely to chip during party setup.
- Rushing tape removal: Pulling tape too late can tear paint; pulling too early can smear. Aim for “slightly tacky.”
- Over-gluing ribbon and lace: Too much glue seeps through fabric and looks messy. Small dots go a long way.
- Using real flames near décor: For party decorations, LED lights are safer and still give a beautiful glow.
- Not planning quantities: For centerpieces, a good rule is 1 jar per small table or 3 jars grouped for a long banquet table section.
FAQ: Mason Jar Crafts for Parties
1) What size mason jar is best for DIY party decorations?
A 16 oz (pint) jar is the easiest all-purpose size for centerpieces and lanterns. For taller arrangements, use a 24 oz or quart jar. For favors, 4 oz or 8 oz jars are adorable and budget-friendly.
2) Can I paint mason jars and still wash them?
Yes, but hand-wash gently and avoid soaking painted areas. For party décor that gets reused often, add a clear acrylic sealer and let it cure 24 hours before handling.
3) How do I keep paint from peeling off glass?
Clean with rubbing alcohol first, apply thin coats, and allow full curing time (about 24 hours). Sealing helps, especially for jars that guests will pick up during the event.
4) Are these projects kid-friendly?
They can be! For kids, skip hot glue and use strong double-sided tape for ribbon and stickers for decorating. Keep LED lights only (no candles) and have an adult handle any cutting.
5) What’s the best lighting option for mason jar lanterns?
For the easiest setup, use LED tea lights. For a brighter, more magical look at parties, use battery-powered micro LED fairy lights (warm white looks best for photos).
6) How far in advance can I make these handmade party decorations?
You can make them 1–2 weeks ahead. Store jars in a box with tissue paper between them, and wait to add fresh flowers or edible favors until 24–48 hours before the party.
Wrap-Up: Your Party-Ready Mason Jar Set
With a few jars, simple supplies, and a little creativity, you can create DIY party decorations that look coordinated and intentional—without spending a fortune. Start with one jar to test your colors, then batch-make a full set for centerpieces, lanterns, and handmade party favors that match your theme perfectly.
Want more easy DIY crafts, party decoration ideas, and handmade projects you can prep ahead? Explore more tutorials and inspiration on smartpartyprep.com.
More Articles
 DIY Gift Boxes Party Favors
 DIY Scrapbook Pages Party Favors
 DIY Custom Stickers Party Favors
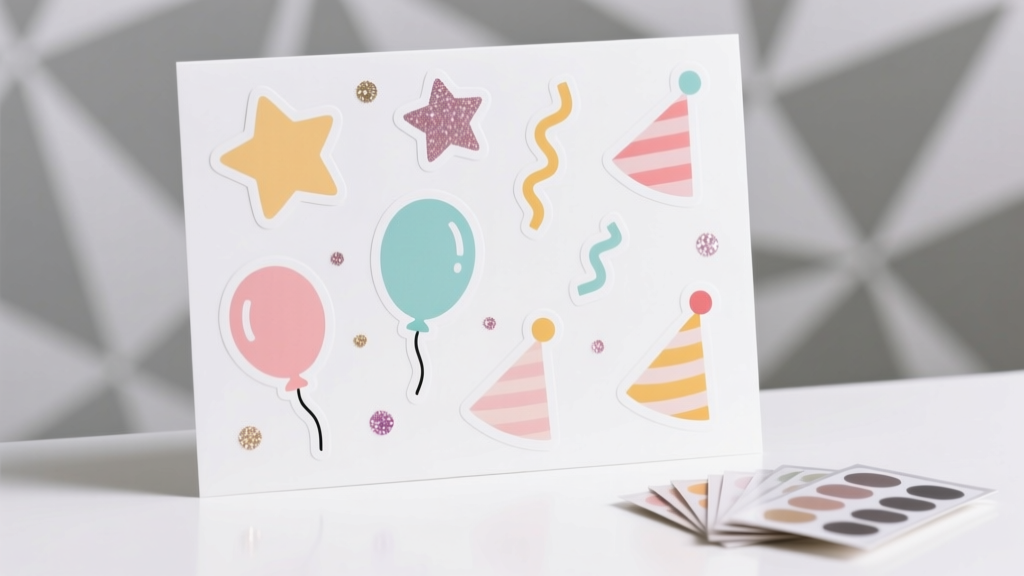 Easy Custom Stickers for Beginners
 Seasonal Photo Frames Ideas
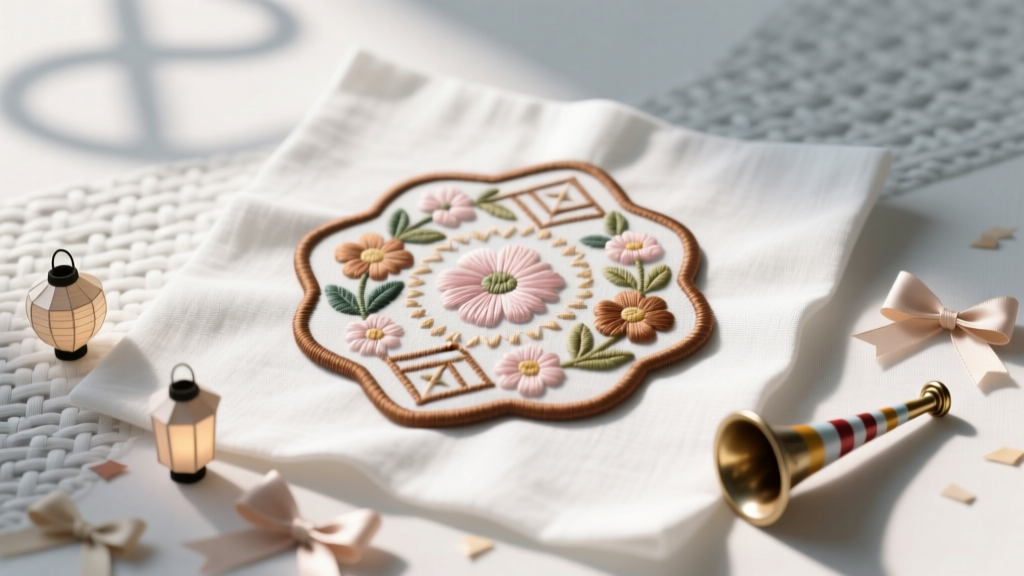 No-Sew Embroidered Patches Tutorial
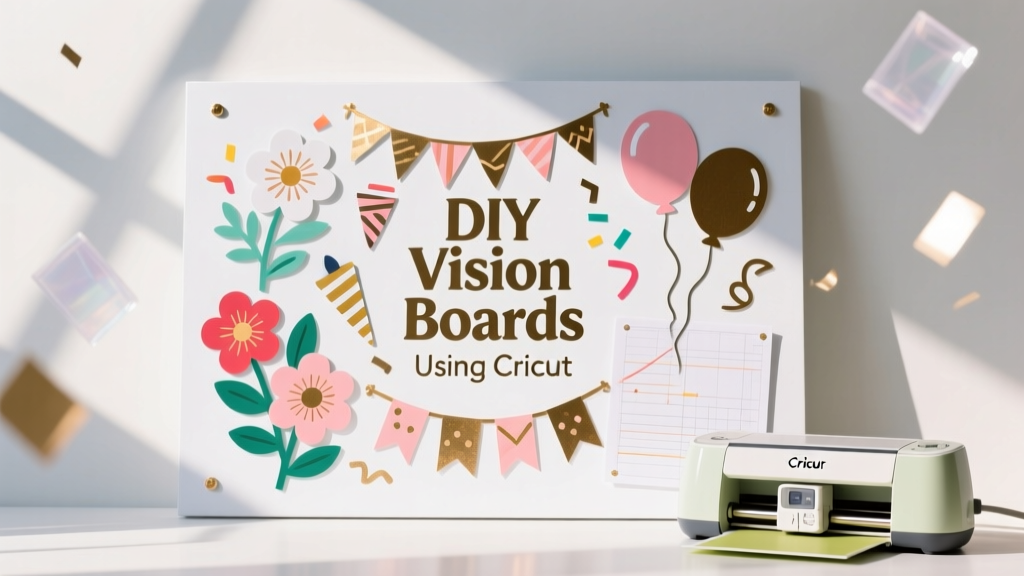 DIY Vision Boards Using Cricut
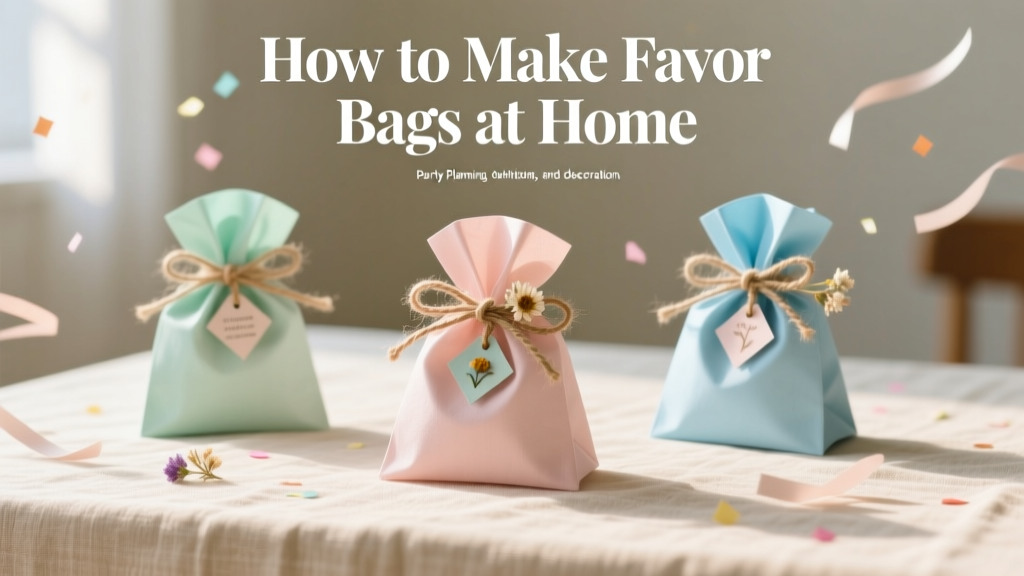 How to Make Favor Bags at Home
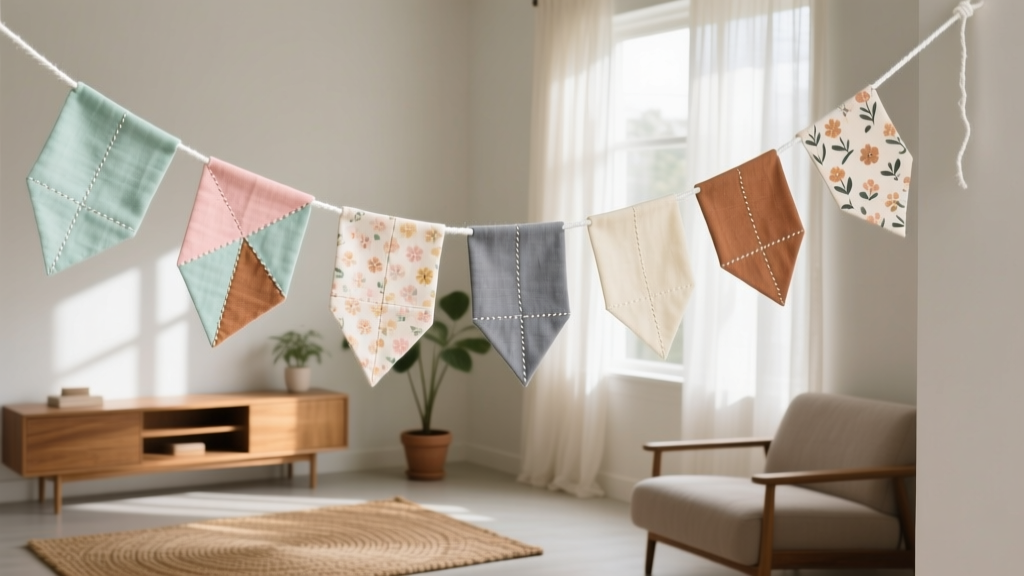 DIY Fabric Bunting for Home Decor
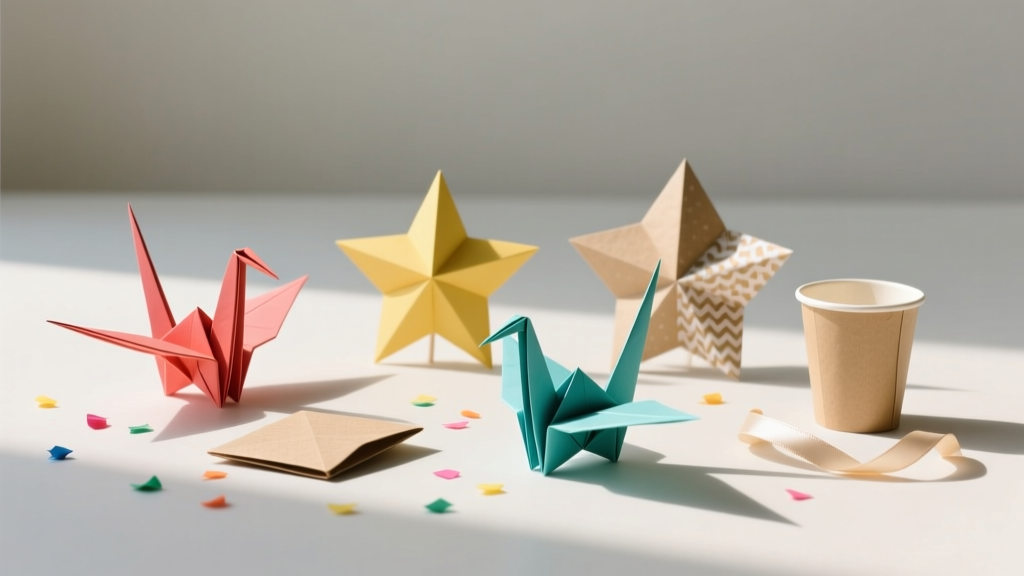 Budget DIY Origami Decorations Under $15