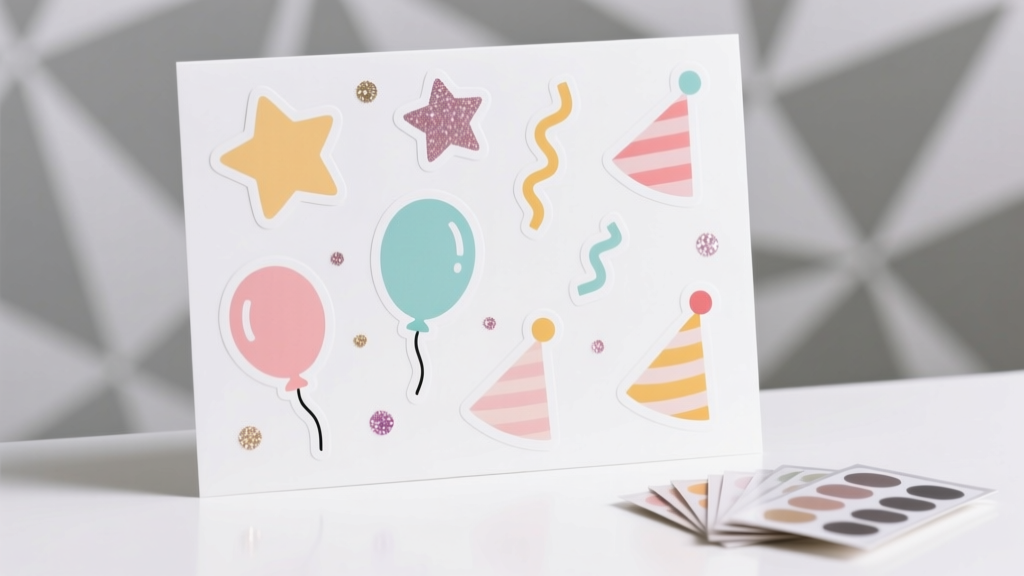
Easy Custom Stickers for Beginners
Custom stickers are one of those magical DIY crafts that feel instantly satisfying: you design something small, print it, peel it, and suddenly everything looks more polished and party-ready. They’re perfect for birthdays, baby showers, graduation parties, holiday gatherings, and even casual game nights—because a cute sticker can turn a plain cup, favor bag, or thank-you note into a coordinated handmade decoration.
Even better? Making your own stickers is beginner-friendly and budget-flexible. You can start with simple shapes and text, use free design tools, and print at home with supplies from any craft store (or online). Once you get the basics down, you’ll have a go-to skill for DIY party decorations—labels for treats, envelope seals, party favors, cupcake toppers, custom water bottle labels, and themed sticker sheets for kids.
This step-by-step guide walks you through easy custom stickers for beginners, with clear materials, measurements, time estimates, pro tips, and trouble-shooting—so your first sticker project feels smooth and fun.
Project Overview: Skill Level, Time, and Best Uses
- Skill level: Beginner (with optional advanced upgrades)
- Time estimate:
- Design: 20–45 minutes (first time)
- Print + cut: 15–30 minutes
- Total: about 45–75 minutes
- Best for party crafts: favor bag seals, thank-you envelopes, treat labels, drink labels, gift tags, kid activity stickers, party game prizes
- Sticker types you’ll make: kiss-cut (easy), die-cut (optional), clear or white stickers, matte or glossy finish
Materials & Tools (With Estimated Costs)
Pick the option that matches your setup. You can make great handmade stickers with just a printer, sticker paper, and scissors.
Core Supplies (Beginner Setup)
- Printable sticker paper (8.5 x 11 in) – choose one:
- Matte white sticker paper (good for writing on): $8–$15 for 20 sheets
- Glossy white sticker paper (more vibrant): $10–$18 for 20 sheets
- Clear sticker paper (best on light surfaces): $10–$20 for 10–20 sheets
- Home printer:
- Inkjet (most common, great color): existing
- Laser (crisp text, but sticker paper must be laser-compatible): existing
- Scissors (sharp craft scissors recommended): $5–$15
- Ruler (12 in): $2–$6
- Pencil or light pen for marking cut lines: $1–$5
Recommended Upgrades (Worth It If You’ll Make Stickers Often)
- Paper trimmer (12 in guillotine or sliding): $15–$35
- Circle punch:
- 1.5 in (great for favor seals): $8–$18
- 2 in (great for treat bags & jars): $10–$20
- Cutting mat + craft knife (for clean edges on die-cuts): $12–$25
- Clear self-adhesive laminate sheets (8.5 x 11 in) (adds water resistance): $8–$15 for 10–20 sheets
- Corner rounder punch (great for rectangle labels): $6–$15
Optional “Pro Finish” Tools
- Cutting machine (Cricut/Silhouette) for precise kiss-cuts and die-cuts: varies (if you already own one, use it!)
- Printable vinyl sticker paper (more durable than basic sticker paper): $12–$25 for 10–20 sheets
Choose Your Sticker Style (Party-Focused Ideas)
Before you design, decide how you’ll use the stickers. Matching the sticker type to the party job makes everything easier.
Most Popular Beginner Sticker Shapes
- 1.5 in circles: perfect for envelope seals, party favor bag seals, thank-you notes
- 2 in circles: great for treat bags, jars, cupcake boxes, party game prizes
- 2 x 3 in rectangles: ideal for labels on containers, water bottles, favor boxes
- 3 in circles: cute as mini “stick-on signs” for cups, plates, or gift bags
Simple Design Recipes (Fast + Looks Professional)
- Name + icon: “Mia’s Birthday” + a small star/balloon
- Thank-you seal: “Thanks!” in a bold font + confetti dots
- Favor label: “Take a Treat” + the party date
- Theme badge: “Team Bride,” “Birthday Crew,” “Game Night Champ”
Step-by-Step: Make Easy Custom Stickers at Home
Step 1: Pick a Size and Set Up Your File
For beginners, start with a standard printer sheet size: 8.5 x 11 inches.
- Sticker size starting points:
- Favor seals: 1.5 in circles
- Treat labels: 2 in circles
- Rectangular labels: 2 x 3 in
- Design tool suggestions: Canva, Google Slides, Adobe Express, or any app that lets you set sizes
Spacing tip: Leave at least 0.25 in space between stickers so cutting is easier and edges stay clean.
Step 2: Design Your Stickers (Beginner-Friendly Layout)
- Choose a simple color palette (2–4 colors). For party decorations, match your tableware or balloon colors.
- Pick 1–2 fonts max:
- One bold font for the main word (like “THANKS”)
- One simple font for names or dates
- Use high-contrast text (dark text on light background is easiest to read).
- Add a small icon (star, heart, balloon, sprinkle dots) to make it feel “party.”
- Duplicate the design to fill the page.
Measurement guide: For a 2 inch circle sticker, keep your text within a safe zone of about 1.6 inches wide to avoid trimming letters when cutting.
Step 3: Print a Test Page First (Saves Supplies)
- Print your sheet on plain printer paper first.
- Check:
- Are the colors what you want?
- Is the text readable from arm’s length?
- Are the sizes correct (measure one sticker with a ruler)?
- Adjust your design if needed, then print on sticker paper.
Printer settings: Use “Best” or “High Quality” if available. Select the correct paper type (often “Photo Paper” for glossy sticker sheets or “Matte Presentation Paper” for matte).
Step 4: Let Ink Dry Completely
This tiny pause prevents smudges and fingerprints.
- Dry time: 5–15 minutes (glossy often needs longer)
- Keep the sheet flat on a clean surface.
Step 5: Optional Lamination Layer (For Extra Durability)
If your stickers might get handled a lot (kids’ parties) or placed on drink containers, add a clear laminate sheet.
- Cut the laminate sheet slightly larger than your printed sticker area (about 0.25 in extra on each side).
- Peel back a small section of the laminate backing.
- Start at one edge and slowly smooth it down with a ruler or old gift card, pushing out air bubbles as you go.
Note: Lamination helps with light splashes and scuffs, but most home-printed stickers are not truly dishwasher-proof.
Step 6: Cut Your Stickers (Three Easy Methods)
Method A: Scissors (Most Beginner-Friendly)
- Cut the sheet into smaller strips first.
- Cut around each sticker shape, staying consistent with your border width (aim for 1/16–1/8 in border).
Method B: Paper Trimmer (Fast for Rectangles)
- Trim the outer margins off the sheet.
- Cut vertical columns first, then cut across into rows.
- Use a corner rounder for a “store-bought label” look.
Method C: Circle Punch (Best for 1.5–2 in Round Seals)
- Print circles sized exactly to your punch (example: print 2.0 in circles for a 2 in punch).
- Slide the sheet into the punch and align the circle visually.
- Punch slowly and firmly for a clean edge.
Step 7: Peel and Stick for a Smooth Finish
- Wipe dusty surfaces first (especially plastic cups or favor boxes).
- Place the sticker lightly, then press from the center outward.
- For labels on curved items (like small jars), choose smaller stickers (1.5–2 in) to reduce wrinkling.
Pro Tips for Better-Looking DIY Stickers
- Add a thin border: A 1–2 pt border hides tiny cutting imperfections and makes designs pop.
- Use “bleed” when possible: If your design tool allows it, extend background colors slightly beyond the cut line so you don’t get white slivers.
- Keep text big: For party labels, use at least 12–16 pt for small stickers, and larger for names.
- Batch print for parties: Print one themed sheet for:
- Favor seals
- Thank-you envelope stickers
- Food label stickers (like “Popcorn Bar”)
- Match your party decor: Pull colors from your invitations, balloon arch, or tablecloth for cohesive DIY party decorations.
Fun Variations (Beginner and Advanced)
Beginner Variations
- Monogram sticker seals: One big initial + small dots
- Rainbow name labels: Each guest gets a different color
- Kid-friendly reward stickers: Stars, smiley faces, “Prize Winner!”
Advanced Variations (When You’re Ready)
- Die-cut character stickers: Cut around the full shape (best with a cutting machine)
- Layered sticker sheets: Create a themed set (icons + phrases) for party activity stations
- Water-resistant upgrades: Printable vinyl + laminate for better durability on drink bottles
- Foil accents: Add small foil details with foil transfer sheets (requires extra tools and practice)
Troubleshooting: Fix Common Sticker Problems
My ink smears or smudges
- Let the sheet dry longer (glossy paper may need 15–30 minutes).
- Switch printer quality to “High” and choose the correct paper type.
- Consider matte sticker paper if smudging keeps happening.
Colors look dull or different than my screen
- Try glossy sticker paper for brighter colors.
- Increase saturation slightly in your design tool (small changes help).
- Use a test print on plain paper to tweak before printing on sticker sheets.
Stickers peel up or don’t stick well
- Clean the surface with a dry cloth (or a tiny bit of rubbing alcohol, then let dry).
- Use sticker paper labeled “permanent” for favor boxes and plastic packaging.
- Avoid textured surfaces (kraft paper can be tricky with some sticker papers).
I get bubbles under the sticker
- Press from the center outward using a ruler edge or a card.
- For large labels, apply slowly and smooth as you go.
- If a bubble remains, prick it with a pin and press flat.
Common Crafting Mistakes to Avoid
- Skipping the test print: One plain-paper test saves sticker sheets, ink, and frustration.
- Making stickers too big for curved items: A 3 in sticker may wrinkle on small jars—use 1.5–2 in instead.
- Using tiny fonts: If guests have to squint, it won’t read as polished party decor.
- Cutting without a border: Full-bleed designs are harder to cut perfectly by hand. Add a slim border for a cleaner look.
- Touching the print too soon: Especially on glossy paper—give it time.
- Not checking paper compatibility: Laser printers need laser-safe sticker paper; inkjet paper in a laser printer can cause jams or melting.
FAQ: Easy Custom Stickers for Beginners
What’s the easiest sticker paper for beginners?
Matte white printable sticker paper is the easiest: it dries faster, smudges less, and is simple to cut. It’s also great for party labels you might want to write on.
Can I make DIY stickers without a cutting machine?
Yes. Scissors, a paper trimmer, or a circle punch are more than enough for beginner custom stickers—especially for party favor seals and rectangular labels.
How many 2-inch circle stickers fit on one 8.5 x 11 sheet?
It depends on spacing, but a common layout fits about 12–20 stickers per sheet. If you leave 0.25 in between circles, you’ll usually land in the middle of that range.
Are homemade stickers waterproof?
Most printable sticker paper is not fully waterproof. For better water resistance, use printable vinyl and add a clear laminate layer. They’ll handle light splashes better, but they still may not survive dishwashing.
What stickers work best for party favor bags?
1.5-inch or 2-inch circle stickers are ideal for sealing treat bags and favor bags. Matte or glossy both work—choose matte if you want a softer look and glossy if you want bright, photo-like color.
How do I keep stickers from looking “homemade” in a bad way?
Use a limited color palette, keep fonts simple, add a thin border, and cut consistently. Those small choices make DIY party decorations look clean and professional.
Wrap-Up: Your Party Table Just Leveled Up
Once you make your first sheet of custom stickers, you’ll start seeing places to use them everywhere—favor bags, cupcake boxes, water bottles, party games, gift bags, and thank-you notes. It’s one of the quickest handmade projects that instantly makes your DIY party decorations feel coordinated and personal.
Print a simple set today (a name + icon is perfect), then try a new variation next time—glossy finishes, clear stickers, or a laminated sheet for extra durability. Your sticker stash will become your secret weapon for last-minute party prep.
Happy crafting! Explore more DIY crafts, handmade party decorations, and creative celebration ideas at smartpartyprep.com.
More Articles
 Easy Fabric Bunting for Beginners
 Paper Craft Place Cards Ideas
 How to Make a Party Hat Out of Construction Paper in Under 8 Minutes (No Glue Gun, No Scissors Required — Just 3 Supplies You Already Own)
 Seasonal Slime Ideas
 DIY Cupcake Wrappers Using Cricut
 Easy Tote Bags for Beginners
 Personalized Tie-Dye Shirts Gifts
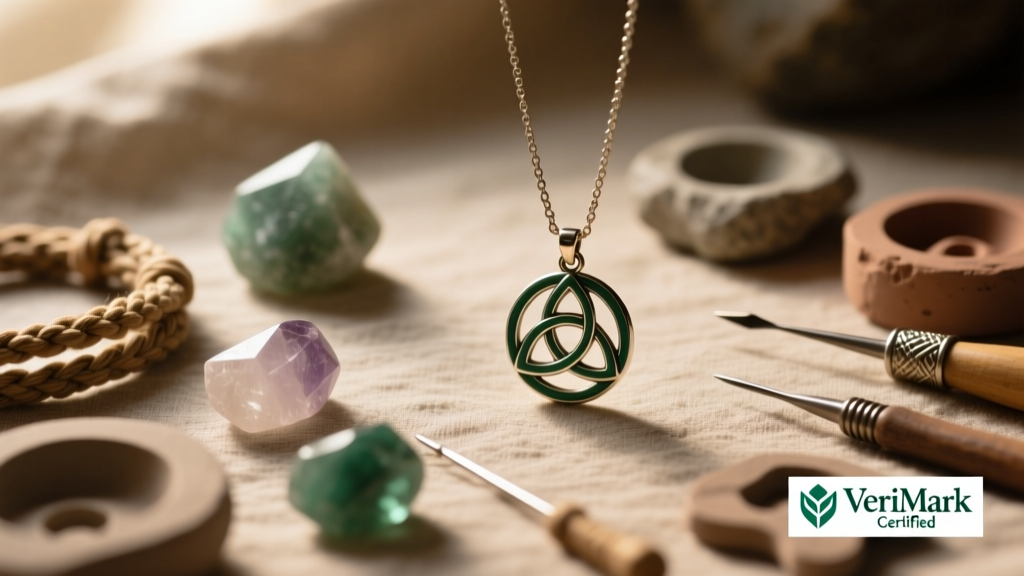 Is Triquetra Third Party Tested? What You *Really* Need to Know Before Buying Spiritual Jewelry or Craft Supplies — 5 Red Flags & 3 Verified Brands That Actually Do It
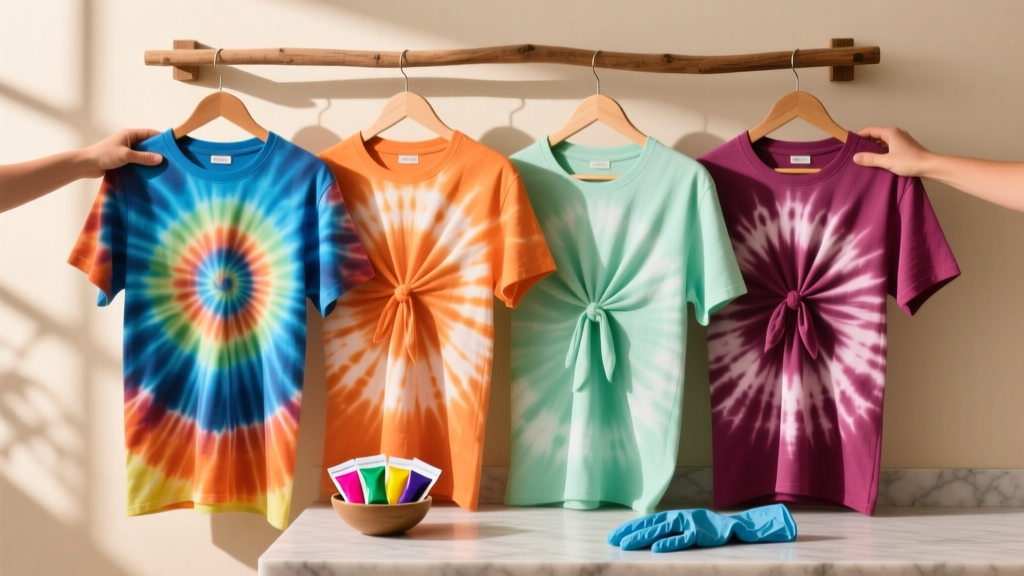 DIY Tie-Dye Shirts for Holidays
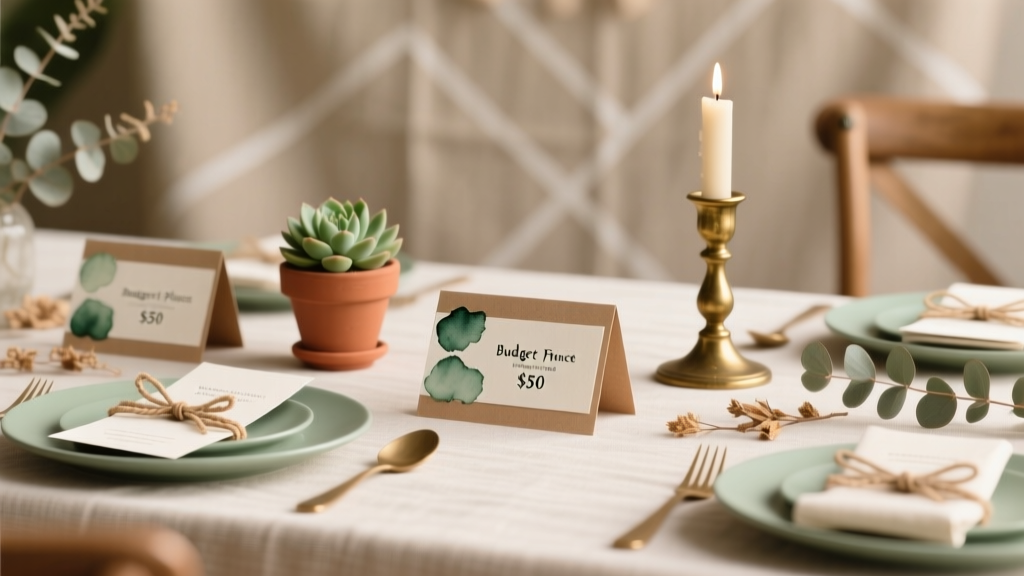 Budget DIY Place Cards Under $50