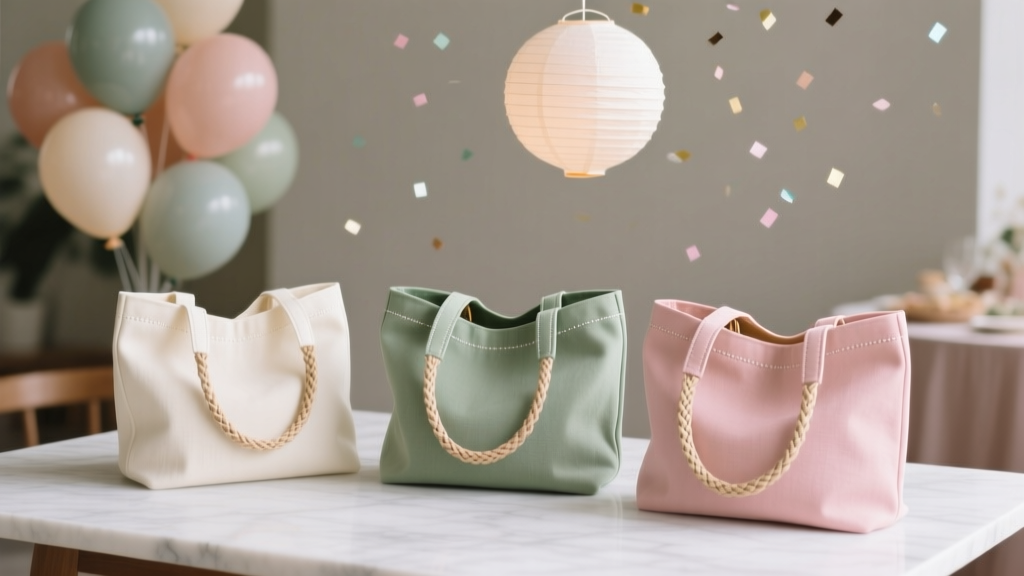
Easy Tote Bags for Beginners
There’s something instantly satisfying about making a tote bag: it’s practical, it’s cute, and you can finish one in an afternoon—even if you’ve never sewn a straight line before. Better yet, tote bags fit perfectly into party planning. Use them as favor bags, welcome bags, bridesmaid or birthday “thank you” gifts, or even as a stylish way to carry decorations, snacks, and craft supplies to your event.
This beginner-friendly project is all about simple shapes, forgiving seams, and creative possibilities. You can keep it classic with sturdy canvas, make a no-sew version for a quick kids’ craft station, or add fun party-worthy details like iron-on vinyl names, fabric paint, pom-pom trim, or ribbons that match your theme.
Grab your supplies, pick a fabric you love, and let’s make an easy tote you’ll actually use—whether you’re prepping for a party, organizing party decor, or gifting handmade projects to guests.
Project Overview: Skill Level, Time, and What You’ll Make
Skill Level
- No-sew tote: Beginner (no sewing experience needed)
- Sewn tote (recommended): Confident beginner (straight stitching only)
- Lined tote with pockets (variation): Intermediate
Time Estimate
- No-sew tote: 20–40 minutes
- Simple sewn tote: 60–90 minutes
- Decorating (optional): 15–45 minutes
Finished Size (Standard Party Tote)
- Approx. finished bag: 14" wide x 15" tall x 3" deep (with boxed corners)
- Handle drop: 10" (comfortable shoulder carry)
Materials & Tools (With Estimated Costs)
Fabric Options (Choose One)
- Cotton canvas (recommended for beginners): 1 yard of 44" wide canvas (8–12 oz) ($8–$18)
- Quilting cotton: 1.25 yards (needs interfacing to feel sturdy) ($7–$15)
- Pre-made blank canvas tote (for decorating-only projects): 1 tote ($3–$8 each in multipacks)
Notions & Supplies
- Thread: All-purpose polyester thread ($3–$6)
- Interfacing (optional but helpful for light fabric): Fusible medium-weight, 1 yard ($4–$10)
- Fabric glue (for no-sew option): Permanent fabric adhesive ($5–$10)
- Iron-on vinyl (HTV) or iron-on patches (optional): ($3–$12)
- Fabric paint or markers (optional): ($5–$15)
- Trim (optional): Pom-pom trim, ric-rac, ribbon, lace ($3–$10)
Tools (Beginner-Friendly Recommendations)
- Sewing machine (helpful; not required for no-sew)
- Universal needle size 90/14 for canvas or 80/12 for lighter cotton ($2–$5)
- Fabric scissors or rotary cutter + mat ($10–$40)
- Measuring tape or quilting ruler ($5–$15)
- Fabric chalk or washable marker ($3–$8)
- Iron and ironing board (for crisp seams and HTV)
- Clips or pins (clips are great for thick fabric) ($4–$12)
- Seam ripper (trust us—every crafter needs one) ($2–$6)
Choose Your Tote Style
Option A: Simple Sewn Tote (Best All-Around Beginner Project)
This is the classic tote bag: sturdy, washable, and easy to personalize for party decorations and handmade gifts.
Option B: No-Sew Fabric-Glue Tote (Fast Party Craft)
Perfect for a craft party station, scout groups, or when you want a quick batch of favor bags—no machine required.
Cutting Measurements (Standard Tote)
For a Sewn Tote
- Bag body: Cut 2 rectangles, each 16" wide x 17" tall
- Handles: Cut 2 strips, each 4" wide x 24" long
Optional Add-Ons
- Boxed corners: Uses the same body pieces; no extra cutting
- Inside pocket: Cut 1 rectangle 8" wide x 10" tall
- Interfacing for quilting cotton: Cut to match your bag body pieces (2 pieces 16" x 17") and handles (2 pieces 4" x 24")
Step-by-Step: Easy Sewn Tote Bag for Beginners
Step 1: Prep Your Fabric (10 minutes)
- Prewash and dry your fabric if it’s cotton (prevents shrinkage later).
- Press with an iron so your measurements stay accurate.
- If using fusible interfacing, fuse it to the wrong side of your bag pieces and handle strips following package directions.
Step 2: Make the Handles (15–20 minutes)
- Lay one handle strip wrong-side up. Fold it in half lengthwise and press a center crease.
- Open it back up. Fold each long edge toward the center crease and press.
- Fold in half again along the original crease, enclosing raw edges. Clip/pin.
- Stitch close to the long open edge (about 1/8" from the edge). For extra strength, stitch down the other long edge too.
- Repeat for the second handle.
Step 3: Attach Handles to the Bag Front/Back (10 minutes)
- Place one bag body rectangle right-side up.
- Measure 3.5" in from each side along the top edge and mark.
- Place handle ends at the marks, with the handle loop pointing down toward the bag bottom. Keep ends 1/2" below the top raw edge.
- Clip/pin and stitch each handle end in place with a short basting stitch (about 3/8" seam allowance) to hold.
- Repeat with the second bag body rectangle.
Step 4: Sew the Bag Sides and Bottom (15 minutes)
- Place the two bag body pieces right sides together, handles tucked inside.
- Clip/pin around the sides and bottom.
- Sew the two sides and bottom using a 1/2" seam allowance. Leave the top open.
- Backstitch at the beginning and end for durability.
Step 5: Box the Corners (Optional, 10 minutes)
Boxed corners give your tote a flat bottom—great for party favors, water bottles, and craft supplies.
- Keeping the bag inside out, pinch one bottom corner so the side seam and bottom seam line up.
- Measure 3" from the tip of the corner and draw a line across (perpendicular to the seam). This creates about a 3" depth.
- Sew directly on the line, backstitching at both ends.
- Trim the corner to about 1/4" past the seam.
- Repeat for the other corner.
Step 6: Finish the Top Edge (10–15 minutes)
- With the bag still inside out, fold the top edge down 1/2" and press.
- Fold down another 1" and press again to create a clean hem.
- Clip/pin around the top, making sure handles are standing straight up (not twisted).
- Topstitch around the top hem about 1/8"–1/4" from the folded edge.
- For extra strength, sew a second line of stitching about 1/4" below the first.
Step 7: Turn, Press, and Admire (5 minutes)
- Turn your tote right-side out.
- Push corners out gently (use a blunt tool like a chopstick—no sharp scissors).
- Press the tote for a crisp, professional finish.
No-Sew Tote Bag (Fast Alternative)
If sewing isn’t your thing (or you’re hosting a DIY party craft table), try this no-sew version using fabric glue. For best results, use canvas or heavy cotton.
Materials
- 1 yard canvas or two 18" x 18" fabric squares
- Permanent fabric glue
- Iron (optional for crisp folds)
- Clips (to hold glued seams while drying)
Quick Steps (Allow Dry Time)
- Cut two pieces 16" x 17" for the body and two 4" x 24" handle strips.
- Make handles by folding as described above and gluing along the long edge; clip until dry.
- Glue handles to the top of each body piece (same placement: 3.5" from sides).
- Glue sides and bottom with a 1/2" seam allowance; clip and let dry fully.
- Fold and glue the top hem (1/2" then 1"), clip, and dry.
Dry time: Follow your glue directions—many need 4–24 hours to fully cure before heavy use.
Party-Perfect Decorating Ideas (Beginner to Advanced)
Beginner-Friendly Personalization
- Iron-on vinyl names: Great for bridal party totes, birthday guest favors, or “Team Bride” themes.
- Fabric paint stencils: Add stars, confetti dots, or a simple “Thank You!” message.
- Ribbon handle wrap: Tie ribbons in your party colors around each handle for quick flair.
Advanced Variations
- Lining: Add a lining in a contrasting print for a boutique look.
- Inner pockets: Perfect for holding gift cards, party schedules, or small favors.
- Zipper or magnetic snap: Useful for welcome bags or totes used during travel events.
- Trim and texture: Sew pom-pom trim or ric-rac along the top hem or side seams.
Pro Tips for Clean Results
- Pressing is half the project: Iron each fold before you stitch. Your tote will instantly look more “store-bought.”
- Use a longer stitch length for canvas: Try 3.0–3.5mm for smoother stitching.
- Reinforce handles: Stitch a small box with an “X” inside at each handle end for extra strength.
- Batch cut for parties: If you’re making multiple favor totes, cut all fabric first, then sew all handles, then assemble all bags.
- Add a label: A small ribbon tag or handwritten fabric label makes it feel like a true handmade gift.
Troubleshooting: Quick Fixes for Common Issues
- My tote top edge is wavy: You may have stretched the fabric while sewing. Press the hem well, use clips, and sew slowly without pulling.
- My corners look bulky: Trim seam allowances at corners and consider grading (trim one layer slightly shorter than the other).
- Handles twist after sewing: Before stitching the top hem, double-check that each handle loop stands straight and both ends face the same direction.
- Skipped stitches on thick canvas: Switch to a 90/14 needle, rethread the machine, and use a slightly longer stitch length.
- Glue seams won’t hold (no-sew): Ensure you’re using permanent fabric glue, apply an even layer, and allow full cure time before turning right-side out.
Common Crafting Mistakes to Avoid
- Skipping prewashing: Cotton can shrink after the first wash, warping your beautiful tote.
- Using flimsy fabric without support: Quilting cotton needs interfacing if you want a sturdy party tote bag that holds shape.
- Not backstitching at stress points: Handles and boxed corners take the most strain—secure them.
- Cutting without measuring twice: Slightly uneven rectangles can lead to a lopsided tote.
- Overloading too soon: Especially with no-sew versions—give glue time to cure and test with light items first.
FAQ: Easy Tote Bags for Beginners
What’s the easiest fabric for a first tote bag?
Cotton canvas is beginner-friendly because it’s stable, doesn’t slip much, and holds its shape—perfect for party favor bags and DIY crafts that need structure.
Do I need interfacing?
If you use canvas, you can usually skip it. If you use quilting cotton or a lighter fabric, interfacing makes your tote feel sturdier and helps it stand up to party use.
How much fabric do I need for one tote bag?
For the standard size in this tutorial, 1 yard of 44" wide canvas is typically enough for the bag body and handles, with a little extra for pockets or small mistakes.
Can I make these as party favor bags for a group?
Yes! Tote bags are ideal handmade party decorations and favors. For speed, consider cutting everything assembly-line style and using simple decorations like iron-on vinyl, fabric paint, or pre-made patches.
How do I wash a handmade tote?
Most canvas and cotton totes can be washed on cold and air-dried. If you used iron-on vinyl or fabric paint, turn the bag inside out and avoid high heat in the dryer to protect your design.
What if I don’t have a sewing machine?
Try the no-sew fabric-glue tote above, or decorate pre-made blank totes as a fun DIY party project. You’ll still get that handmade look with less prep.
Make It Yours (and Make a Few More!)
Your first tote bag is a confidence booster: once you’ve made one, you’ll start imagining a whole collection—one for party setup, one for crafts, one for gifting, and a few as custom party favor bags that match your theme. Keep it simple for your first attempt, then add pockets, linings, and fun embellishments as your skills grow.
Ready for your next creative project? Explore more DIY crafts, party decorations, and handmade project ideas on smartpartyprep.com—and turn every celebration into something extra personal.
More Articles
 What Is the Cocktail Party Effect Psychology? The Surprising Truth About How Your Brain Filters Noise — And Why You Miss Critical Signals (Even When You're 'Listening')
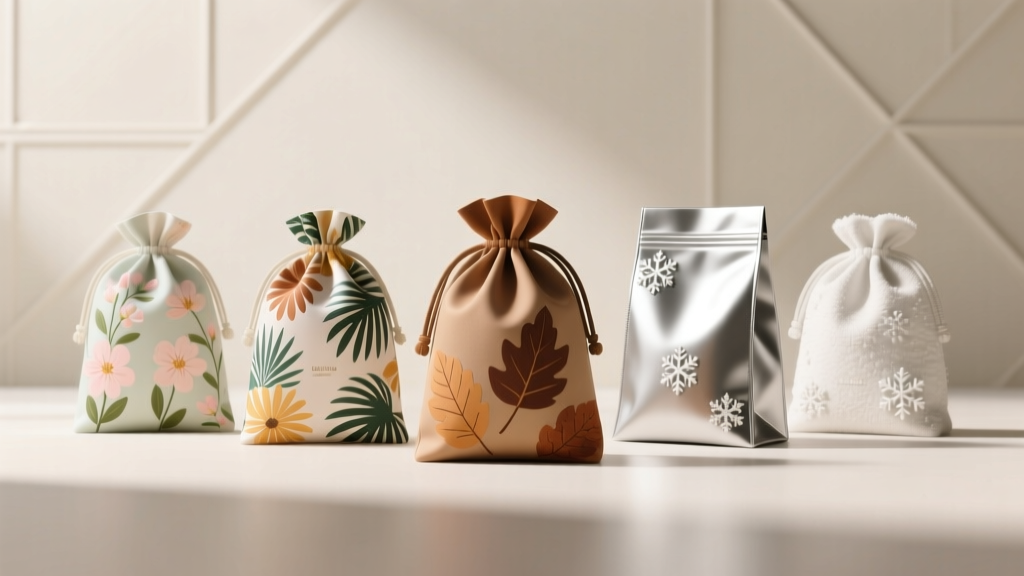 Seasonal Favor Bags Ideas
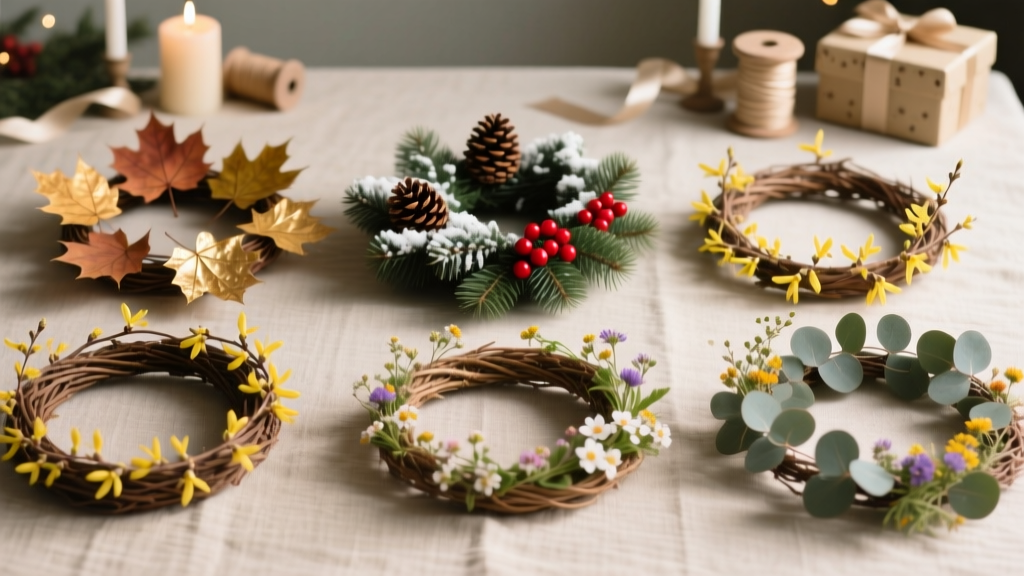 Seasonal Wreaths Ideas
 How to Make Crowns at Home
 DIY Custom Stickers Party Favors
 Advanced Custom Stickers for Crafters
 Seasonal Wooden Signs Ideas
 Advanced Origami Decorations for Crafters
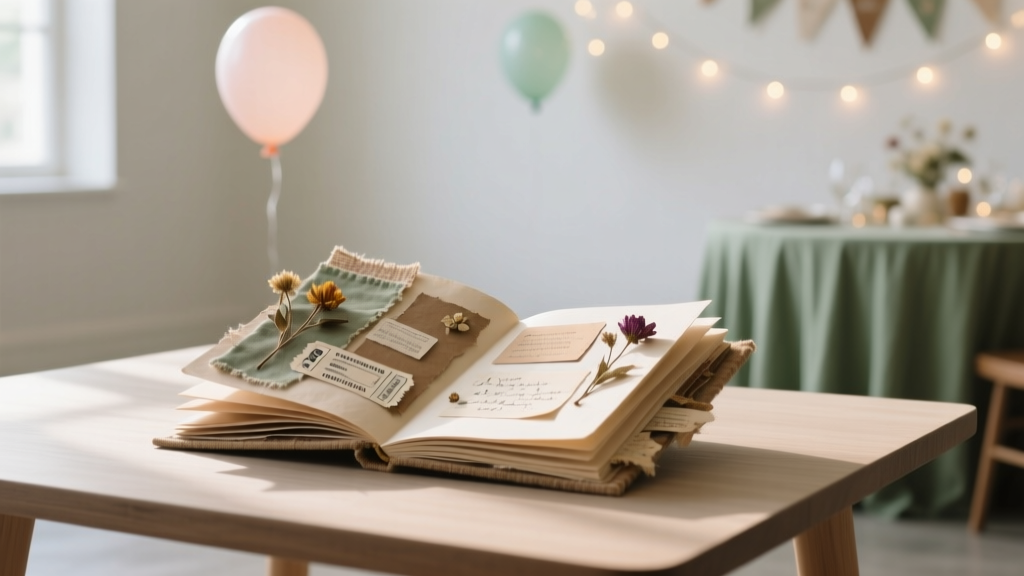 Upcycled Memory Books from Recycled Materials
 How to Make a Balloon Arch for a Birthday Party: 7 Foolproof Steps (No Glue Gun, No Experience, No Stress — Just Gorgeous Results in Under 90 Minutes)