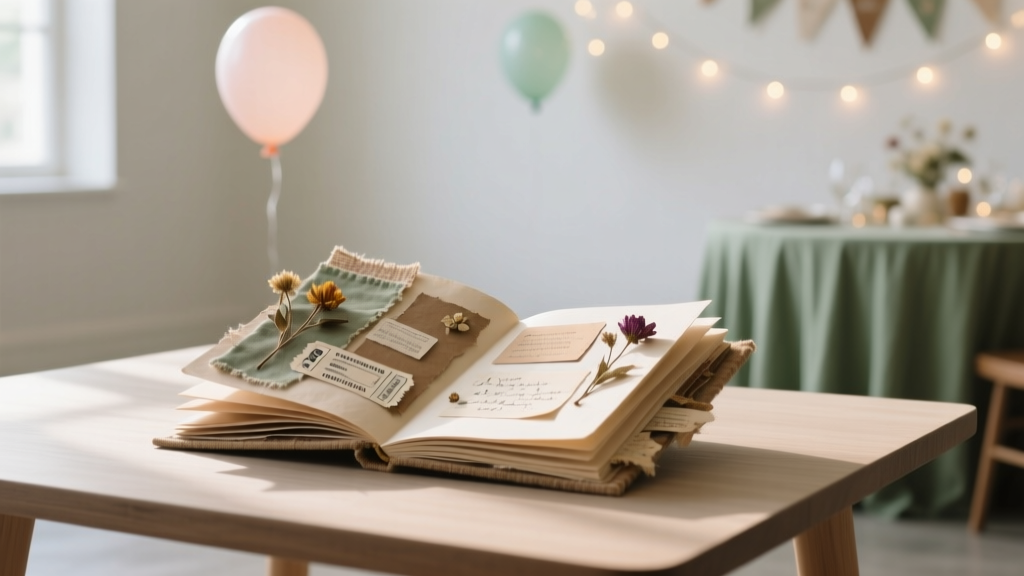
Upcycled Memory Books from Recycled Materials
Some of the best party keepsakes don’t come from a store—they come from the scraps you already have at home. An upcycled memory book is part scrapbook, part guest book, and part celebration time capsule. It turns everyday recyclables (cereal boxes, paper bags, old greeting cards, leftover wrapping paper) into a beautiful handmade project you’ll actually want to flip through after the party ends.
This project is especially fun because it works for nearly any event: birthdays, baby showers, graduation parties, bridal showers, retirement parties, even family reunions. Set it out as an interactive party decoration—guests can write notes, tape in photo booth strips, add doodles, or tuck in small mementos. Later, you’ll have a personalized memory book that feels warm, creative, and uniquely yours.
Best of all, you can make one with beginner-friendly steps in an afternoon, or level it up with advanced binding and embellishments if you love paper crafts. Either way, you’ll end up with a sturdy, one-of-a-kind piece of DIY party decor that doubles as a keepsake.
Project Overview (Skill Level, Time, Size Options)
Skill Level
- Beginner: Simple hole-punch + ring binding, basic cover, minimal tools
- Intermediate: Ribbon binding, reinforced spine, layered cover details
- Advanced: Handmade signatures, stitched binding, mixed-media cover techniques
Estimated Time
- Quick version (ring-bound): 60–90 minutes
- Reinforced + decorated: 2–3 hours
- Stitched binding + custom pages: 4–6 hours
Suggested Finished Sizes
- Mini: 5 x 7 in (great for gift tables)
- Classic: 8.5 x 6 in (half-letter; easy to cut from common paper)
- Statement book: 8.5 x 11 in (big guest messages and photo space)
Materials List (Recycled Finds + Helpful Supplies)
Costs vary based on what you already have. Below are common product types with typical budget estimates.
Recycled Materials (Low/No Cost)
- Cardboard for covers: cereal box, shoe box, shipping box (free)
- Page paper: brown paper bags, old notebook paper, misprinted office paper, junk mail (free)
- Decor paper: wrapping paper, gift bags, tissue paper, magazine pages, old maps (free)
- Ephemera: greeting cards, party invitations, ribbons, tags, fabric scraps (free)
Basic Supplies (Estimated Cost)
- Glue stick (acid-free preferred): $2–$5
- PVA craft glue or tacky glue: $3–$7
- Double-sided tape or tape runner (optional but neat): $4–$10
- Binder rings (1–2 inch): $4–$8 for a pack
- Hole punch: $6–$15 (single-hole or 3-hole works)
- Scissors: $5–$15
- Ruler (12 in) + pencil: $2–$8
- Black fine-tip marker (journaling): $2–$5
Tool Recommendations (Worth Having)
- Craft knife + self-healing cutting mat: cleaner edges for covers ($12–$30)
- Bone folder or old gift card: crisp folds (free–$8)
- Corner rounder punch: durable, polished corners ($6–$15)
Optional Party-Friendly Add-Ons
- Washi tape: $3–$10
- Stickers/letter stickers for titles: $3–$12
- Clear packing tape (as a laminate): $3–$6
- Mini envelopes (or DIY from scrap paper): $3–$6
Plan Your Memory Book (Before You Cut Anything)
Choose a Party Purpose
- Guest book style: guests write notes and advice
- Photo + message book: leave space for printed photos later
- Milestone timeline: “Then & Now” pages for birthdays or anniversaries
- Party activity book: prompts, doodle pages, trivia, “favorites” lists
Decide Page Count (Practical Numbers)
- Small party (8–15 guests): 20–30 pages
- Medium party (16–30 guests): 30–45 pages
- Large party (30+ guests): 45–60 pages (consider thicker rings)
Paper Weight Tips
- Brown bag paper is sturdy and takes marker well.
- Printer paper is easy to decorate but can wrinkle with wet glue—use a glue stick or tape runner.
- Mix textures for a “handmade” look: kraft, white, patterned, and a few specialty pages.
Step-by-Step: Make a Ring-Bound Upcycled Memory Book
This is the most beginner-friendly method and perfect for DIY party decorations because it opens flat and can expand easily.
Step 1: Cut and Reinforce Your Covers
- Pick your cover size: 8.5 x 6 in is a great standard.
- Cut two cover pieces from cereal box cardboard or thin shipping box cardboard:
- Front cover: 8.5 x 6 in
- Back cover: 8.5 x 6 in
- Optional reinforcement: If your cardboard is flimsy, glue a second layer behind each cover (same size). Press under heavy books for 10 minutes.
- Round corners with scissors or a corner punch to prevent bending.
Step 2: Create the Pages
- Cut 25–40 pages to 8.25 x 5.75 in (slightly smaller than the covers so edges don’t get crushed).
- Mix page types for a party-ready DIY craft look:
- 10–15 kraft/brown bag pages for writing
- 10–15 white pages for photos and drawings
- 5–10 patterned or “feature” pages (wrapping paper mounted on a backing sheet)
- Press and flatten any wrinkly pages under books for a few minutes.
Step 3: Cover the Covers (Best Method for a Clean Finish)
- Cut decorative paper (gift wrap, paper bag, or an old map) to 10.5 x 8 in for each cover. This gives you a 1-inch wrap margin on all sides.
- Glue the cover centered onto the back of your decorative paper using a glue stick (less warping than wet glue).
- Trim the corners of the decorative paper at a diagonal:
- Leave about 1/8 in of paper beyond the cardboard corner so it wraps neatly.
- Fold and glue edges over the cardboard. Use a bone folder or gift card to smooth.
- Inside lining: Cut two sheets of plain paper to 8.25 x 5.75 in and glue inside each cover to hide the folded edges.
Step 4: Mark and Punch Holes
- Choose hole placement: two holes along the left edge keeps it stable.
- Mark hole positions on one page:
- Top hole center: 1.25 in down from the top edge
- Bottom hole center: 1.25 in up from the bottom edge
- Hole distance from left edge: 1/2 in
- Clip pages in a stack (10–12 at a time) and punch using your template page to keep alignment consistent.
- Punch the covers last, using a punched page to line them up.
Step 5: Bind It Together
- Add pages between covers in your preferred order.
- Thread binder rings through both holes and snap closed.
- Test flip-through: If pages snag, widen the holes slightly or add a third ring in the middle.
Step 6: Add Party Prompts and Interactive Elements
Turn your memory book into a guest activity and a party decoration centerpiece.
- Prompt page ideas:
- “Write your favorite memory with the guest of honor.”
- “Advice for the next year.”
- “Predictions for the future.”
- “Draw a quick doodle that reminds you of today.”
- “Song that matches this party vibe.”
- Attach pockets (from envelopes or folded paper) sized 3 x 4 in for photo booth strips, confetti tags, or notes.
- Include a pen loop by taping or gluing a ribbon loop on the inside back cover.
Pro Tips for Sturdy, Party-Ready Results
- Prevent warped pages: Use glue sticks or double-sided tape for thin paper. If you use liquid glue, spread a thin layer and press under books for 10–15 minutes.
- Reinforce high-touch areas: Add a strip of washi tape or packing tape along the cover spine edge (the hole-punch side) to prevent tearing.
- Make it writable: If you used glossy magazine paper, add a matte label area or kraft rectangle for guests to write on.
- Pre-party prep: Place the book on a small table with:
- 2–3 pens (fine-tip black + metallic for fun)
- Glue dots or tape runner
- A small tray of ephemera (tiny scraps, stickers, photo corners)
- Quick personalization: Title the cover with letter stickers or a hand-lettered tag: “Ava’s 10th Birthday,” “Baby Shower Wishes,” or “Class of 2026.”
Fun Variations (Beginner to Advanced)
Beginner-Friendly Variations
- No-cut option: Use pre-cut 5 x 7 index cards as pages; punch and bind.
- Paper bag album: Fold lunch bags in half (bottom flap creates built-in pockets). Bind with rings.
- One-color theme: Use only kraft + white + one accent color from leftover party decorations for a cohesive look.
Intermediate Variations
- Ribbon binding: Punch 3 holes and tie with ribbon scraps for a soft, gift-like feel.
- Shaker cover window: Cut a 3 x 4 in window in the cover, back it with clear plastic packaging, and add a few pieces of confetti (seal edges well).
- Tabbed sections: Add tabs for “Photos,” “Messages,” “Games,” and “Moments.”
Advanced Variations
- Stitched pamphlet binding: Create 3–5 page “signatures” and stitch the spine with waxed thread.
- Fabric-wrapped cover: Wrap cardboard with scrap fabric, then add a label plate made from an old greeting card.
- Mixed-media cover: Layer tissue paper + glue (decoupage style), then seal with a thin coat of matte Mod Podge for durability.
Troubleshooting (Fix Common Problems Fast)
- Pages tear at the holes:
- Reinforce holes with washi tape or hole reinforcements.
- Switch to larger binder rings (less stress while flipping).
- Use thicker paper for high-use pages.
- Covers look bumpy:
- Use a glue stick and smooth from center outward.
- Avoid thick glue blobs near edges.
- Press under heavy books after wrapping.
- Ink smears:
- Choose permanent fine-tip markers for glossy areas.
- Add “write-here” matte labels or kraft rectangles.
- Book won’t lay flat:
- Move holes slightly farther from the edge (try 3/4 in).
- Add a third ring in the center for stability.
Common Crafting Mistakes to Avoid
- Making pages the same size as the covers: Pages should be about 1/4 in smaller in both dimensions to protect edges.
- Using only liquid glue on thin paper: This often causes rippling. Use a glue stick or tape runner for lightweight sheets.
- Punching too many pages at once: It leads to misaligned holes. Punch in smaller stacks (10–12 sheets).
- Skipping reinforcement on the punch side: A simple strip of tape along the hole edge can add weeks (or years) of durability.
- Overloading bulky items: Thick mementos can make the book hard to close. Add pockets for bulky items or create a separate “keepsake envelope” at the back.
FAQ: Upcycled Memory Books for Parties
1) What’s the best recycled cardboard for a sturdy cover?
Shoe boxes and shipping boxes are the sturdiest. Cereal boxes work well too—just glue two layers together for a thicker, more durable cover.
2) How do I keep recycled paper from looking messy?
Pick a simple color palette (kraft + white + one accent color), trim edges neatly, and repeat a few elements like the same washi tape or the same corner shape throughout.
3) Can this work as a wedding or shower guest book?
Yes. Use cleaner pages (white or kraft), add elegant prompts, and keep embellishments flatter. A fabric-wrapped cover or a map-paper cover looks especially polished for showers and weddings.
4) What pens should I set out at the party?
Fine-tip black markers are the most reliable across paper types. Add one metallic marker for fun. Avoid gel pens on glossy paper unless you’ve tested drying time.
5) How can I include photos if I won’t print them until after the party?
Leave blank photo spaces labeled “Add photo here” sized 4 x 6 in or 2 x 3 in, or add paper corners/photo sleeves later. You can also include pockets for prints.
6) How do I store the memory book after the party?
Keep it flat on a shelf or in a keepsake box. If it’s ring-bound, remove bulky items and store them in a labeled envelope to prevent the rings from bending pages.
Wrap-Up: A Keepsake That Doubles as DIY Party Decor
An upcycled memory book is the kind of DIY craft that makes parties feel more personal—guests get to participate, your decor becomes interactive, and you end up with a handmade project that captures the day better than any single photo. Start simple with recycled materials you already have, then add your own style through colors, prompts, and little pockets of fun.
When you make yours, set it out like a mini “memory station” and watch it fill up with notes, laughter, and meaningful details you’ll be glad you saved. For more party-ready handmade projects, decorations, and creative DIY crafts, explore more ideas on smartpartyprep.com.
More Articles
 DIY Confetti in 30 Minutes
 How to Accept 3rd Party Cookies on Mac in 2024: A Step-by-Step Safari & Chrome Guide (No Tech Degree Required)
 Budget DIY Resin Jewelry Under $15
 How to Unblock Third Party Cookies on MacBook: A Step-by-Step Guide That Actually Works in 2024 (No Tech Degree Required)
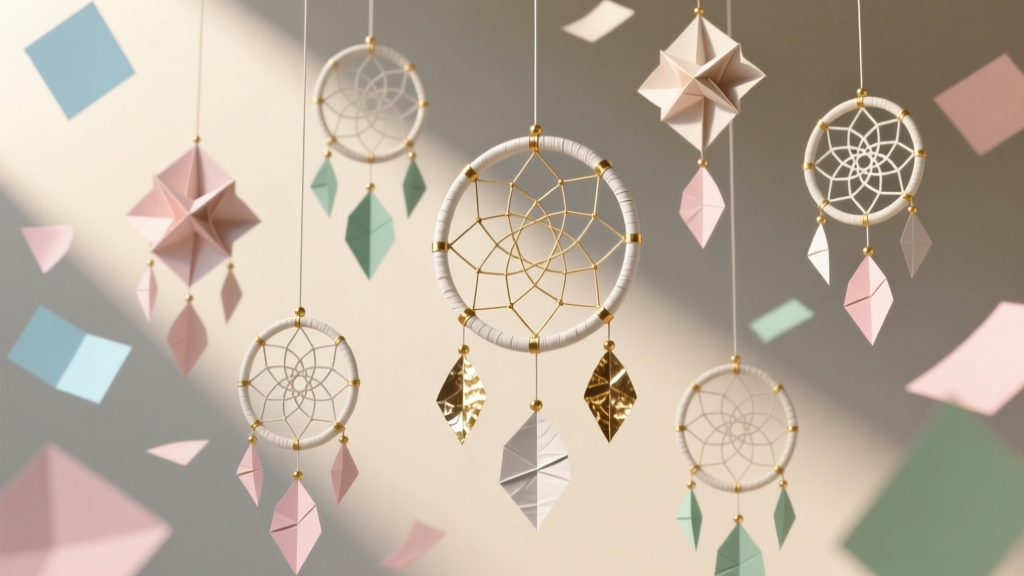 Paper Craft Dream Catchers Ideas
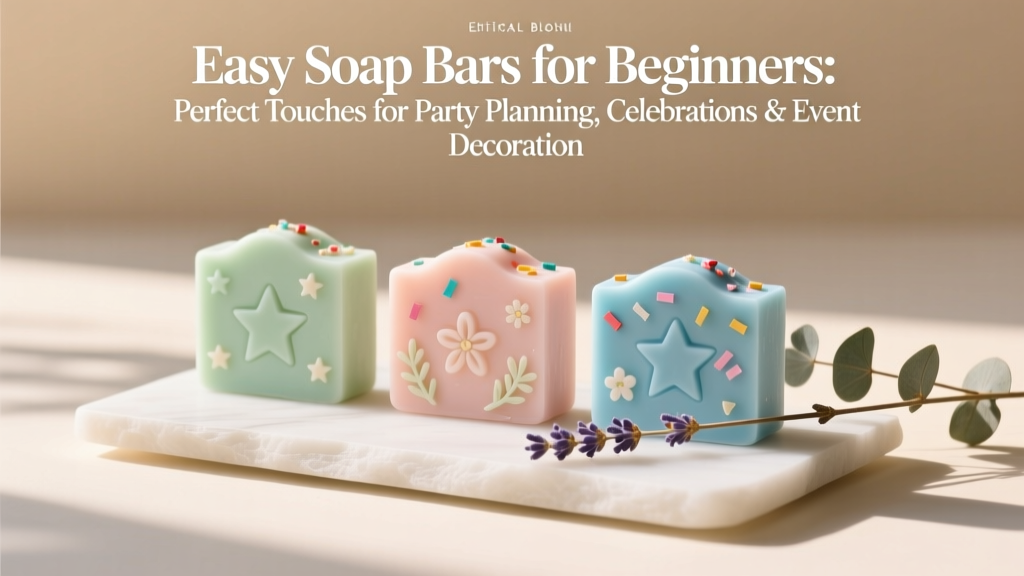 Easy Soap Bars for Beginners
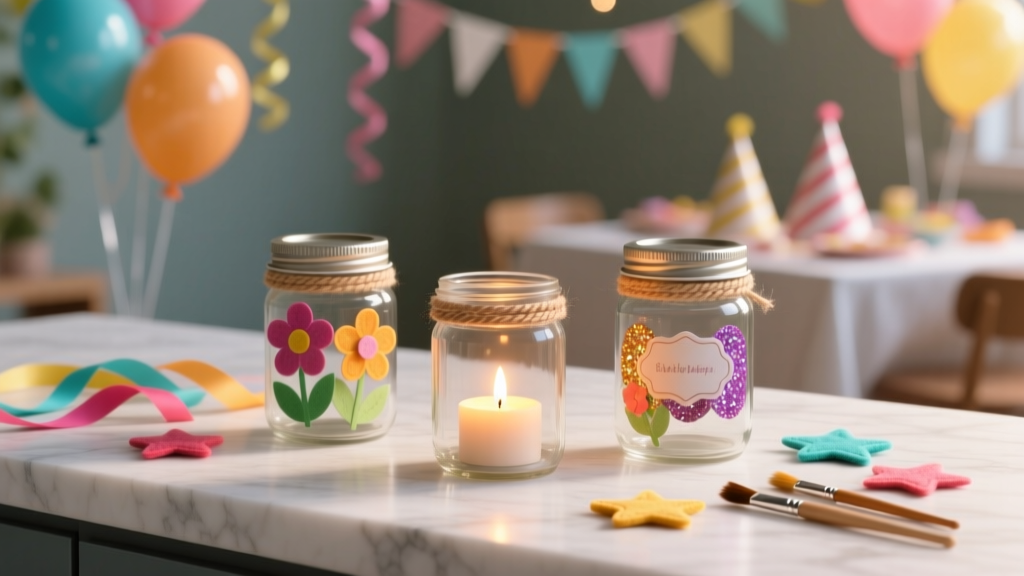 Kids' Craft: Mason Jar Crafts
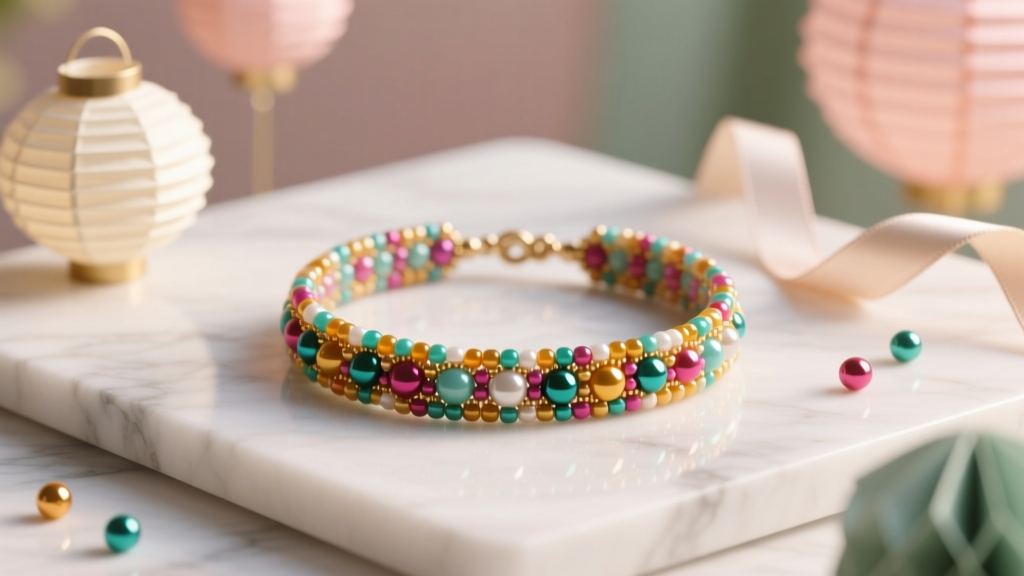 No-Sew Beaded Bracelets Tutorial
 How to Unblock Third Party Cookies on MacBook Air (2020–2024): A Step-by-Step Safari & Chrome Fix That Actually Works in 2024 — No Tech Degree Required
 Easy Tie-Dye Shirts for Beginners