
DIY Confetti in 30 Minutes
Confetti has a magical way of turning an ordinary moment into a celebration—whether it’s sprinkled across a party table, tucked into invitations, or popped from a confetti balloon. The best part? You can make your own DIY confetti in about 30 minutes, customizing colors, shapes, and textures to match any theme (baby shower, birthday, graduation, bridal shower, New Year’s, or just-because).
This is one of those beginner-friendly DIY crafts that feels instantly rewarding. You don’t need fancy equipment, and you can make a surprising amount from materials you likely already have. Plus, handmade confetti is a smart way to use up scraps—wrapping paper leftovers, cardstock offcuts, even old magazines—turning clutter into handmade party decorations.
Below you’ll find a practical, step-by-step guide with quick options for beginners and a few advanced upgrades for serious crafters. Let’s make a party-ready confetti mix you’ll be excited to show off.
Project Snapshot: Skill Level, Time & Yield
- Skill level: Beginner (with optional advanced variations)
- Total time: ~30 minutes
- Prep: 5 minutes
- Punching/cutting: 20 minutes
- Mixing + storage: 5 minutes
- Yield estimate: 2–4 cups of confetti (varies by paper thickness and punch size)
- Best uses: Party table scatter, invitation inserts, favor bags, gift wrap topper, confetti balloons (paper only), photo styling
Materials & Tools (with Estimated Costs)
Paper Options (Choose 1–3 Types for a Great Mix)
- Cardstock (8.5" x 11") in theme colors (great for crisp circles)
- Recommended weight: 65–110 lb
- Estimated cost: $5–$10 for a multi-pack
- Tissue paper (light, fluffy confetti; best for large volume)
- Sheets: 20" x 26" typical
- Estimated cost: $2–$6 per pack
- Metallic or foil cardstock (adds sparkle; use sparingly)
- Estimated cost: $6–$12 per pack
- Scrapbook paper (patterns like stars, polka dots, florals)
- Typically 12" x 12"
- Estimated cost: $0.50–$1.50 per sheet or $10–$20 per pad
- Eco option: Upcycled magazines, old party invitations, paper bags
- Estimated cost: $0
Tools (Pick the Method That Fits Your Setup)
- Craft hole punch (fastest and most uniform)
- Recommended sizes: 1/4" (6 mm), 3/8" (10 mm), 1/2" (13 mm)
- Estimated cost: $6–$20 each
- Scissors (best for fringe-style confetti and budget setups)
- Estimated cost: $5–$15
- Rotary cutter + self-healing mat (ideal for squares/strips)
- Recommended: 45 mm rotary cutter + 12" x 18" mat
- Estimated cost: $20–$45 set
- Optional advanced tools:
- Paper trimmer (quick straight cuts): $15–$35
- Die-cut machine + small dies (stars/hearts): varies
Helpful Extras
- Small bowls or trays for sorting colors (free–$5)
- Measuring spoons or small scoop (for consistent mixing)
- Zip-top bags or airtight jars for storage ($2–$8)
- Soft paintbrush (to sweep confetti into a pile)
Step-by-Step: Make DIY Confetti in 30 Minutes
Step 1: Choose a Color Palette (3 Minutes)
A quick palette plan makes your party decorations look intentional instead of random. Try one of these easy formulas:
- Classic trio: 2 main colors + 1 accent metallic (example: blush + white + gold)
- Monochrome: 3 shades of one color (example: light blue + medium blue + navy)
- Seasonal: orange + black + white (Halloween), red + green + gold (holiday), pastels (spring)
How much paper do you need? For about 2 cups of confetti, plan on:
- 8–12 sheets of cardstock (8.5" x 11") or
- 4–6 sheets of scrapbook paper (12" x 12") or
- 6–10 sheets of tissue paper (20" x 26")
Step 2: Prep Your Paper for Faster Punching (5 Minutes)
- Cardstock/scrapbook paper: Cut into strips about 1.5"–2" wide so they fit easily into your hole punch.
- Tissue paper: Stack 4–8 sheets (depending on thickness) and fold into a rectangle about 4" x 6" for easier cutting.
- Foil paper: Keep it single-layer to avoid jamming tools.
Tool recommendation: If you’re using a hole punch, strips are your best friend. You’ll spend less time wrestling full sheets and more time making confetti.
Step 3: Choose Your Confetti Shape Method (20 Minutes)
Method A: Classic Circle Confetti (Fastest)
- Insert a paper strip into your 1/4"–1/2" hole punch.
- Punch steadily, moving along the strip. Aim for a comfortable rhythm to avoid hand fatigue.
- Empty the punch’s confetti chamber every few minutes (or place a tray underneath if your punch drops pieces).
Best for: Table scatter, confetti poppers (paper only), invitations, shaker cards.
Method B: Square Confetti (Clean + Modern)
- Stack 2–4 sheets of paper (cardstock: 2 sheets; thinner paper: up to 4).
- Use a rotary cutter + ruler to cut 1/4" (6 mm) strips.
- Rotate and cut strips into small squares: 1/4" x 1/4" or 3/8" x 3/8".
Best for: Minimalist themes, modern weddings, graduation party decor.
Method C: Tissue Fringe Confetti (Fluffy + High Volume)
- Fold stacked tissue into a rectangle about 4" x 6".
- Cut thin strips about 1/8"–1/4" wide.
- Rotate the stack and cut again to create short pieces.
- Gently separate pieces with your fingers for a light, airy look.
Best for: Big batches on a budget, party tables, photo backdrops (scatter lightly).
Step 4: Mix Like a Pro (2 Minutes)
Instead of dumping everything into one bowl, build your mix intentionally. A reliable ratio:
- 60% main color (example: white)
- 30% secondary color (example: pink)
- 10% accent (example: gold foil or glitter cardstock)
Use a measuring scoop (even a tablespoon) to keep the mix consistent across multiple batches.
Step 5: Store and Label (Up to 5 Minutes)
- Store in airtight jars or zip-top bags.
- Label the bag with the palette name and date (example: “Blush/White/Gold – June”).
- Keep confetti flat and dry; tissue confetti especially hates humidity.
Pro Tips for Better DIY Confetti
- Mix sizes for a designer look: Combine 1/4" circles with a sprinkle of 1/2" circles for depth.
- Work over a tray or shallow box: It keeps tiny pieces from migrating across your workspace.
- Sharpen your punch naturally: Punch through aluminum foil 6–10 times, then punch through wax paper 4–6 times to lubricate.
- Use metallics strategically: A little foil goes a long way—too much can overpower photos.
- Prevent static cling: Lightly wipe your bowl with a dryer sheet before mixing (especially helpful with tissue).
Fun Variations (Beginner-Friendly to Advanced)
Beginner Variations
- Theme shapes with a craft punch: hearts (Valentine’s), stars (birthday), snowflakes (winter) using sturdy paper.
- Two-tone confetti: Stick to two colors for a clean, modern party aesthetic.
- Patterned paper pop: Add 10–20% patterned scrapbook paper into solid colors.
Advanced Variations
- Ombre confetti mix: Create three piles (light/medium/dark), then combine in layers for an ombre jar effect.
- Custom photo confetti: Print tiny icons or initials on cardstock, then punch. (Use a printer-friendly cardstock, ~65 lb.)
- Confetti “blend” for balloon stuffing: Use lightweight tissue confetti with a small amount of metallic—too much cardstock won’t float or move nicely.
- Eco-friendly confetti: Use recycled paper only; avoid foil and glitter cardstock if you’ll be using it outdoors.
Troubleshooting: Quick Fixes When Things Get Messy
- My hole punch is jamming.
- Use fewer layers (especially with foil).
- Empty the confetti chamber.
- Punch aluminum foil, then wax paper to clean and lubricate.
- Edges look torn instead of crisp.
- Switch to smoother paper (cardstock punches cleaner than fibrous paper).
- Slow down and apply firm, even pressure.
- Confetti is sticking together.
- Reduce humidity (store in a dry container).
- Use a dryer sheet wipe on the mixing bowl to cut static.
- My tissue confetti is too “stringy.”
- Make your second cut across the strips shorter—aim for 1/4"–3/8" pieces.
- Fluff the pieces by gently pulling the stack apart before mixing.
Common Crafting Mistakes to Avoid
- Using too many materials at once: Limit yourself to 2–3 paper types so the confetti mix looks cohesive.
- Going too heavy on glitter/foil: A 10% accent is usually plenty for sparkle without overwhelming the design.
- Cutting without a plan: Decide your shape and size first (1/4" circles? 3/8" squares?) so you don’t end up with a messy blend.
- Overstacking paper in the punch: This is the fastest way to jam tools and fatigue your hands.
- Skipping storage: Leaving confetti loose on a desk invites static cling, spills, and color mixing you didn’t intend.
- Using non-biodegradable confetti outdoors: For outdoor celebrations, choose paper-only and skip foil/glitter cardstock.
FAQ: DIY Confetti
How much confetti do I need for a party table?
For table scatter, plan about 1/4 cup per 2–3 feet of table length. For a standard 6-foot table, 1/2 to 3/4 cup looks festive without becoming cleanup overload.
Can I use a regular office hole punch?
Yes—an office hole punch works for simple circle confetti, especially with standard paper. It may struggle with thick cardstock or metallic paper, so start with lighter paper and test a small strip first.
What’s the best paper for crisp, professional-looking confetti?
Cardstock (65–110 lb) punches the cleanest circles and holds its shape. Add a small amount of metallic cardstock for sparkle, and a bit of patterned scrapbook paper for personality.
Will homemade confetti work inside balloons?
Paper confetti works well, especially tissue confetti. Heavier cardstock pieces can cling to balloon sides and may not swirl as easily. For the best look, use mostly tissue with just a sprinkle of metallic accents.
How do I keep confetti from making a huge mess during crafting?
Work inside a shallow box lid or tray, and keep a small bowl nearby for finished confetti. A soft paintbrush makes it easy to sweep pieces into a neat pile before transferring to storage.
How long does DIY confetti last in storage?
If kept dry in an airtight container, cardstock and scrapbook paper confetti can last for years. Tissue confetti is more sensitive to humidity; store it sealed and flat for the best results.
Make a Batch Today (and Customize It for Your Next Celebration)
DIY confetti is one of the quickest ways to add personality to handmade party decorations. With a few sheets of paper and the right punch or cutting method, you’ll have a custom confetti mix that matches your theme perfectly—plus extra to stash for last-minute celebrations.
When you try your first batch, keep it simple: one shape, two colors, and one accent. Then, once you see how easy it is, level up with ombre blends, themed shapes, or a mixed-size confetti medley.
Happy crafting—explore more party-ready DIY crafts and creative celebration ideas on smartpartyprep.com!
More Articles
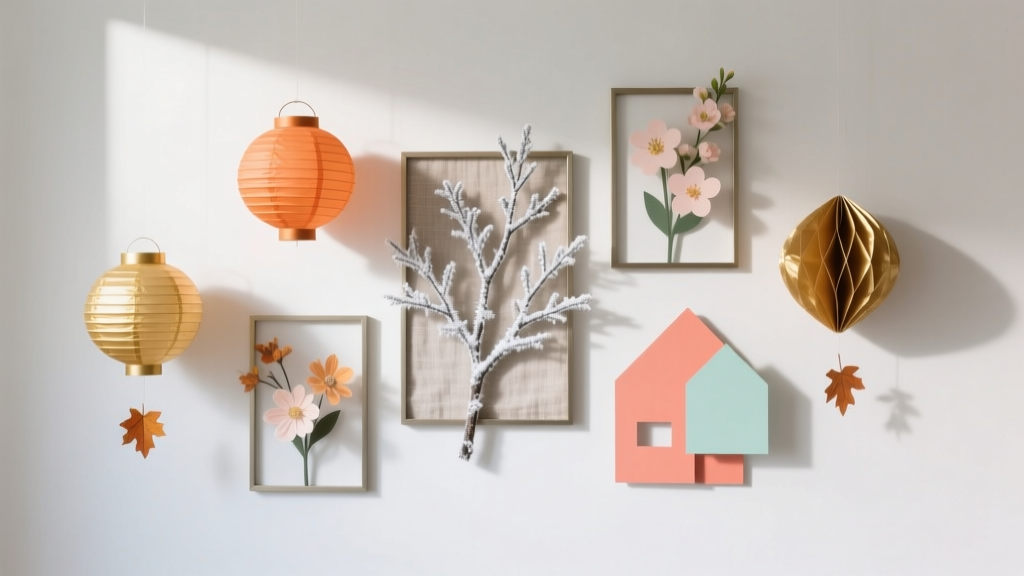 Seasonal Wall Art Ideas
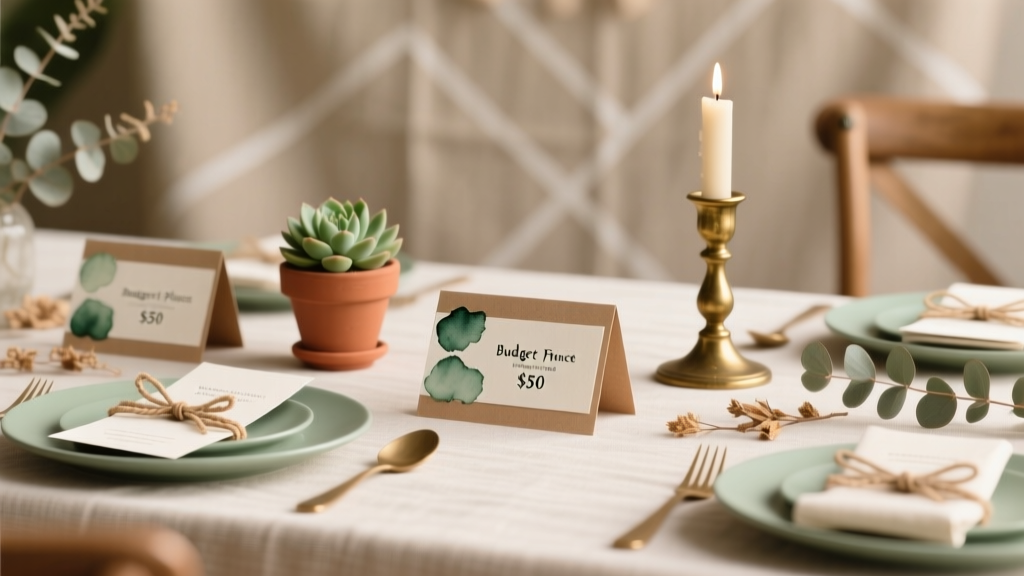 Budget DIY Place Cards Under $50
 Advanced Slime for Crafters
 Is Thorne 3rd party tested? The truth about their lab verification — what independent testing reports *actually* show (and why most supplement brands won’t publish theirs)
 How to Turn Off 3rd Party Cookies in 2024: A Step-by-Step Guide That Actually Works (No Tech Jargon, Just Real Browser Instructions)
 How to Enable 3rd Party Cookies on Safari in 2024: The Real Truth (Spoiler: You Can’t — But Here’s What Actually Works Instead)
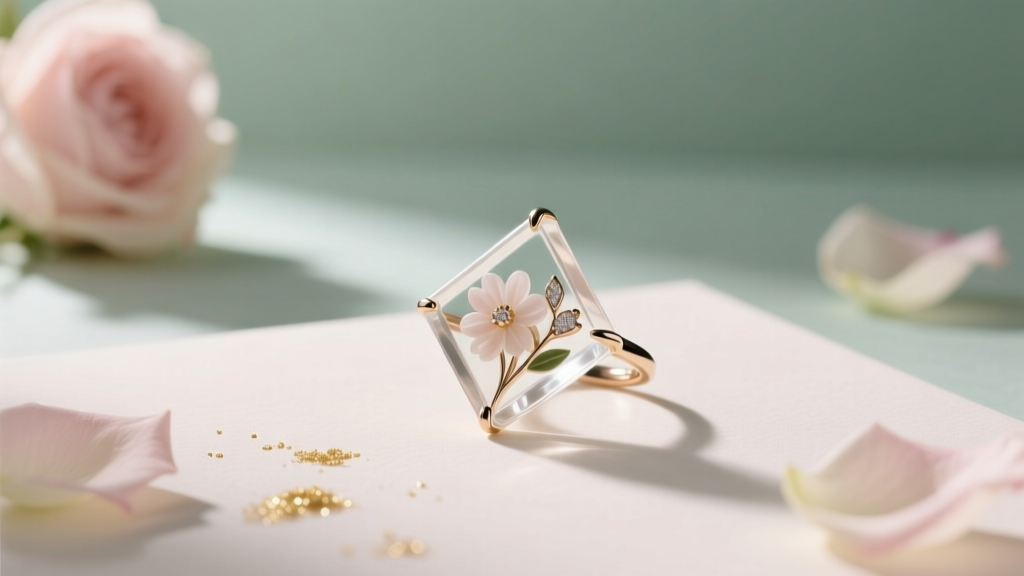 DIY Resin Jewelry for Weddings
 Modern Mugs Designs
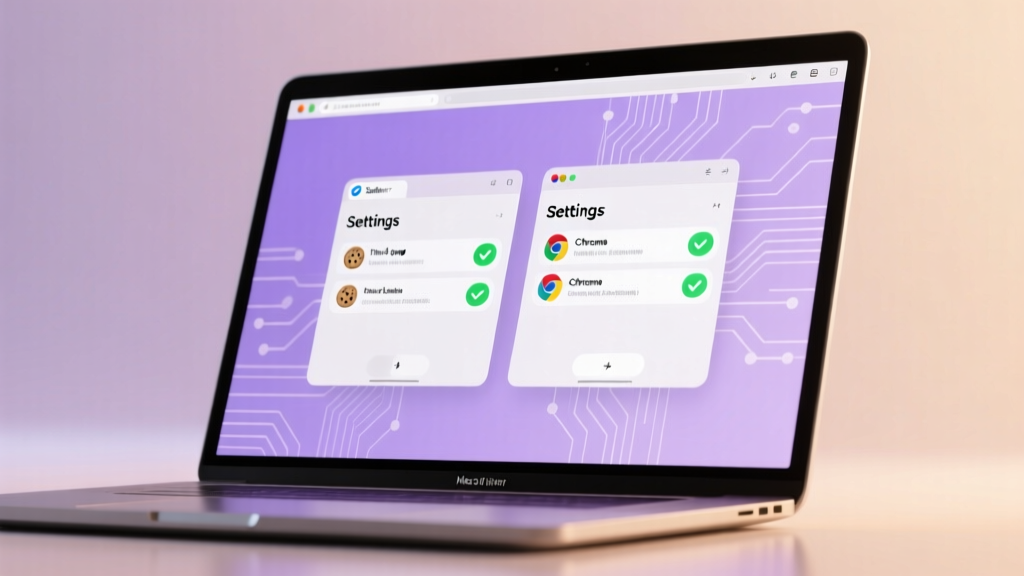 How to Allow Third Party Cookies on a Mac in 2024: A Step-by-Step Safari & Chrome Guide (No Tech Degree Required)
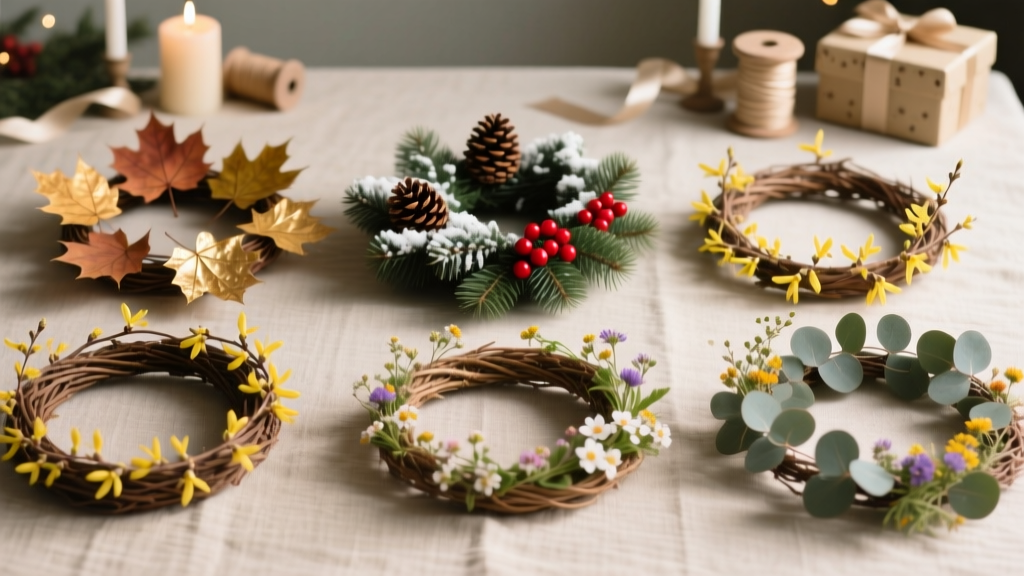 Seasonal Wreaths Ideas