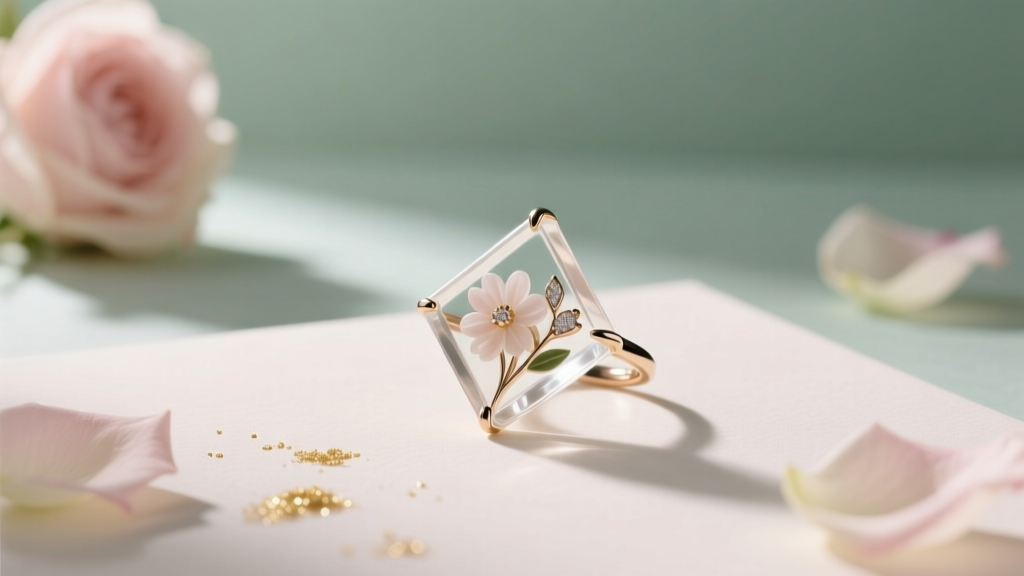
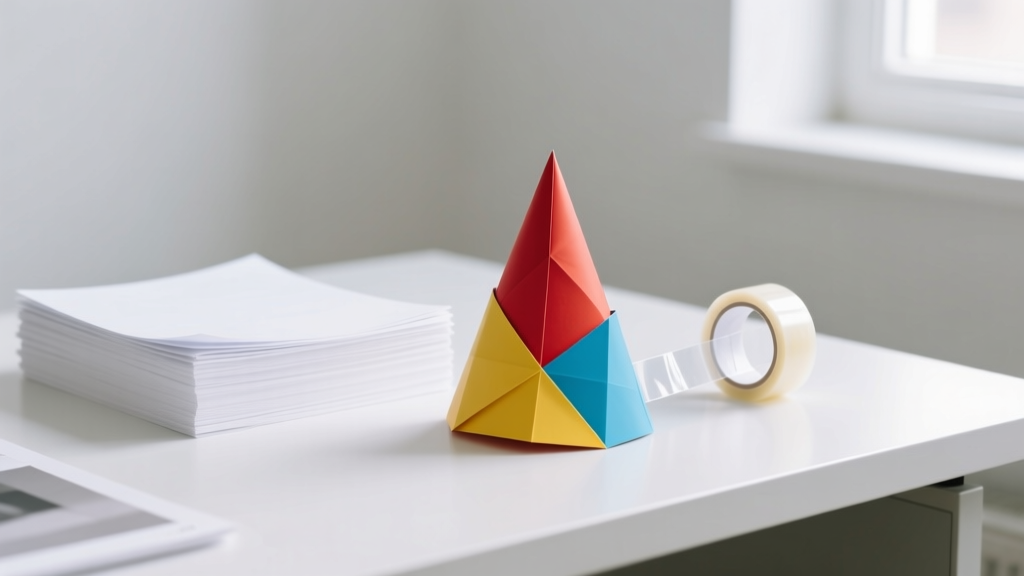
DIY Resin Jewelry for Weddings
Weddings are full of small details that make the day feel personal—sparkly touches, meaningful keepsakes, and accessories that look like they were made just for the couple. DIY resin jewelry checks every box: it’s customizable, surprisingly beginner-friendly, and it can double as both wearable accessories and party-ready décor.
Whether you’re making bridal party earrings in matching colors, a pressed-flower pendant for the bride, or resin charms that tie into your wedding theme, resin lets you create polished pieces that look boutique-level without boutique prices. Plus, it’s a fantastic “craft night” project for a bridal shower, bachelorette weekend, or calm pre-wedding evening.
This guide walks you through materials, costs, and step-by-step instructions for making wedding-ready resin jewelry—along with pro tips, variations, troubleshooting, and common mistakes to avoid so your finished pieces come out clear, strong, and beautiful.
Project Overview: Skill Level, Time, and Best Uses
- Skill level: Beginner to Intermediate (advanced options included)
- Active crafting time: 60–120 minutes (plus curing time)
- Cure time: 12–24 hours (varies by resin type and temperature)
- Best for wedding DIY:
- Bridesmaid earrings (matching palette)
- Mother-of-the-bride pendant (pressed flowers from bouquet)
- Resin hairpin charms
- Guest favors: tiny initial keychains or charm bracelets
- Place-card charm keepsakes (names/initials embedded)
Materials & Tools (with Estimated Costs)
Resin Options (Choose One)
- 2-part epoxy resin (jewelry-grade, low odor): Best for beginners; self-leveling and glossy. Estimated cost: $20–$40 for 16–32 oz (enough for many pieces).
- UV resin: Great for quick projects and thin pours; cures under a UV lamp. Estimated cost: $12–$25 for 200–500g + $15–$30 for UV lamp.
Molds & Findings
- Silicone jewelry molds: Earring drops, circles, ovals, teardrops. $8–$18
- Metal bezels (optional alternative to molds): For pendants and open-back frames. $8–$15
- Jewelry findings kit: Jump rings (4–8 mm), earring hooks or posts, lobster clasps, chain, headpins. $10–$20
- Mini hand drill (pin vise) + micro drill bits: 1.0–1.5 mm for holes. $8–$15
Mixing & Safety
- Nitrile gloves: Resin-safe. $5–$10
- Respirator mask with organic vapor cartridges (recommended): Especially for frequent crafting. $25–$45
- Silicone mixing cups: Reusable and easy to clean. $8–$15
- Wooden stir sticks: Craft sticks or silicone stirrers. $3–$8
- Disposable droppers/pipettes: Helpful for small molds. $5–$10
- Isopropyl alcohol (91%+): For popping surface bubbles (fine mist). $3–$6
Add-Ins for Wedding Themes
- Pressed flowers: Baby’s breath, daisies, petals from bouquet. $5–$15
- Mica powder pigments: Champagne, blush, pearl white, gold. $8–$15
- Fine glitter (cosmetic-grade): For subtle sparkle. $5–$12
- Gold leaf flakes: Elegant and forgiving. $5–$10
- Vinyl initials or printed paper inserts: Names, dates, monograms. $3–$10
Helpful Extras
- Heat tool: Small craft heat gun or mini torch (used carefully). $15–$25
- Level surface + silicone mat: Keeps pours even and protects your table. $8–$15
- Fine-grit sandpaper set: 400/800/1200/2000 grit. $6–$12
- Polishing compound or plastic polish: For crystal-clear shine. $6–$12
Design Planning: Match Your Wedding Palette
Resin jewelry looks most “wedding-ready” when you choose a cohesive look. Before mixing anything, decide on a style direction:
- Classic & elegant: Clear resin + tiny gold flakes + pearl white accents
- Romantic floral: Pressed petals + blush tint + a touch of shimmer
- Modern minimal: Solid white, translucent nude, or smoke gray geometric shapes
- Something blue: Tiny blue dried flowers or a pale blue tint for bridal pieces
Quick measurement guide for color: For a small 10 ml resin batch, start with one toothpick-dip of mica powder (or 1/64 tsp) and mix. Add more gradually—too much pigment can affect curing.
Step-by-Step: DIY Resin Wedding Earrings (Beginner-Friendly)
Step 1: Prep Your Workspace (10 minutes)
- Cover your surface with a silicone mat or wax paper.
- Work in a well-ventilated area.
- Put on nitrile gloves (and respirator if you have one).
- Set your molds on a level surface—resin will self-level and tilt if your table is uneven.
Step 2: Prepare Your Inclusions (10–20 minutes)
- Pressed flowers must be fully dry to avoid browning or bubbles. If they feel flexible or cool to the touch, keep drying.
- Trim flowers to fit your mold using small scissors or tweezers.
- If using paper initials, seal them with clear-drying glue or spray sealer and let dry (prevents ink bleed).
Step 3: Measure and Mix Resin (5–8 minutes)
Follow your resin brand’s ratio exactly (commonly 1:1 by volume or 2:1 by volume).
- Pour 10 ml Part A into a silicone cup.
- Add 10 ml Part B (or match your brand’s ratio precisely).
- Stir slowly for 3 minutes, scraping sides and bottom.
- Let the cup sit for 2 minutes to allow bubbles to rise.
Batch sizing tip: For one pair of small earrings, 10–15 ml total mixed resin is usually enough, depending on mold depth.
Step 4: Pour in Layers for Clean Results (15–30 minutes)
- Base layer: Fill mold about 1/3 full. Use a toothpick to nudge resin into corners.
- Pop bubbles: Mist lightly with 91%+ isopropyl alcohol or pass a heat tool quickly 6–8 inches away.
- Add inclusions: Place flowers or gold leaf with tweezers. Press gently so they sit where you want.
- Top layer: Fill to the top, slightly domed if your mold allows (a subtle dome looks luxe).
- Final bubble check: Pop visible surface bubbles again.
Step 5: Cover and Cure (12–24 hours)
- Cover molds with a clean box or container to protect from dust.
- Let cure undisturbed. Typical epoxy cure time is 12–24 hours (longer in cooler rooms).
- Ideal room temperature for many resins: 70–75°F (21–24°C).
Step 6: Demold and Finish (20–45 minutes)
- Gently remove resin pieces from the silicone mold.
- If edges are sharp or uneven, wet-sand lightly using 800 grit, then 1200, then 2000.
- Optional: Apply a thin “top coat” of resin for extra shine (or use plastic polish).
Step 7: Add Hardware (10–20 minutes)
- If your mold has no hole, drill one using a 1.0–1.5 mm bit, about 2–3 mm from the top edge.
- Attach a 4–6 mm jump ring using two pliers (twist open sideways, never pull apart).
- Add earring hooks or posts. For posts, use a strong jewelry glue and let fully cure.
Pro Tips for Crystal-Clear, Wedding-Ready Resin
- Warm your resin bottles in a bowl of warm (not hot) water for 5–10 minutes before mixing—fewer bubbles.
- Stir slowly to avoid whipping air into the resin.
- Use a two-layer pour for flowers and paper pieces. Layering prevents floating and keeps designs centered.
- Less pigment = more elegant. Wedding jewelry looks best with translucent tints and subtle shimmer.
- Test your theme colors in a tiny mold first (especially champagne and blush tones, which can shift).
Creative Variations (Beginner to Advanced)
Beginner-Friendly Variations
- Gold leaf confetti studs: Clear resin + a pinch of gold leaf = instant glam.
- Glitter ombré: Add fine glitter to only the bottom third of the mold.
- Monogram charms: Embed a small initial sticker or sealed paper monogram.
Advanced Variations
- Floating bouquet petals: Do a three-layer pour to “suspend” petals at different depths.
- Marble swirl: Mix two tints (e.g., pearl + blush) and swirl lightly with a toothpick.
- Resin bezel pendants: Use open-back bezels with clear tape backing, pour thin layers, then peel tape.
- Embedded photo date charm: Print a tiny date or photo on glossy paper, seal thoroughly, embed in resin.
Troubleshooting: Fixes for Common Resin Issues
Tacky or Soft Resin After Curing
- Cause: Incorrect ratio or under-mixing.
- Fix: If only the surface is tacky, wipe with isopropyl alcohol and apply a properly mixed thin top coat. If the whole piece is soft, it’s usually best to remake.
Bubbles That Won’t Go Away
- Cause: Cold resin, fast stirring, or porous inclusions.
- Fix: Warm resin bottles, pour in thin layers, and seal porous items (paper/wood) first. Use a quick pass of heat or alcohol mist for surface bubbles.
Cloudy Resin
- Cause: Moisture, over-pigmenting, or using wet flowers.
- Fix: Ensure inclusions are fully dry, reduce pigment, and cure in a warm, dry space.
Flowers Turning Brown or Translucent
- Cause: Not fully dried, or resin saturation altering color.
- Fix: Press and dry longer; consider sealing flowers lightly with spray sealer before embedding.
Common Crafting Mistakes to Avoid
- Guessing the resin ratio: Measure carefully using marked cups or a digital scale if your resin allows weight-based mixing.
- Rushing the stir: Mix for the full recommended time, scraping sides and bottom.
- Pouring too deep at once: Thick pours can overheat or trap bubbles. Layering gives cleaner, more professional results.
- Skipping dust protection: A single floating hair can ruin a glossy finish—cover your pieces while curing.
- Using wet or unsealed paper: Ink bleed and bubbles are common if paper isn’t sealed and fully dry.
- Overheating with a torch: Too much heat can warp molds, scorch resin, or create ripples. Quick passes only.
FAQ: DIY Resin Jewelry for Weddings
1) Is resin jewelry safe to wear all day at a wedding?
Yes—once fully cured, epoxy resin becomes a hard plastic. For sensitive ears, choose hypoallergenic findings like stainless steel, titanium, or gold-filled hooks/posts. Always let resin cure the full time recommended by your brand.
2) How far in advance should I make resin bridesmaid jewelry?
Aim for 2–3 weeks before the wedding. That gives you buffer time for curing, top coating, remakes, and packaging (gift boxes, organza bags, or place-setting cards).
3) What’s the easiest resin project for wedding favors?
Small resin initial charms or tiny heart pendants are quick and cost-effective. Use a simple clear base with gold leaf and a single initial to match your wedding décor and party theme.
4) Can I use real flowers from the bridal bouquet?
Yes—press and dry them completely first. Plan ahead: pressing usually takes 1–2 weeks. Use petals that lay flat and retain color well (baby’s breath, small daisies, greenery).
5) Epoxy resin vs. UV resin—what should I pick for wedding jewelry?
Epoxy resin is ideal for beginners and larger batches (multiple bridesmaid pieces at once). UV resin is great for fast curing and small/thin items, but it can be trickier for thick molds and may require multiple cures.
6) How do I package resin jewelry so it feels wedding-worthy?
Try kraft jewelry boxes with tissue paper, velvet pouches, or custom cards that match your wedding stationery. Add a short note like “Made with love for our wedding day” for an extra-personal touch.
Make It Yours: A Handmade Detail Guests Will Remember
DIY resin jewelry adds that “this was made just for us” feeling that makes weddings so special. Start with a simple pair of earrings or a single pendant, get comfortable with layering and bubbles, and then scale up into bridal party sets, favors, or coordinating accessories that match your party decorations and reception theme.
If you try this project, keep your first batch small, take notes on what you loved, and don’t be afraid to experiment with pressed flowers, subtle shimmer, and elegant wedding color palettes. Your finished pieces will look beautiful in photos—and even better as keepsakes after the last dance.
Looking for more party-ready handmade projects? Explore more DIY crafts, wedding decorations, and creative celebration ideas on smartpartyprep.com.
More Articles
 DIY Cake Toppers in An Afternoon
 Paper Craft Cake Toppers Ideas
 Budget DIY Masks Under $5
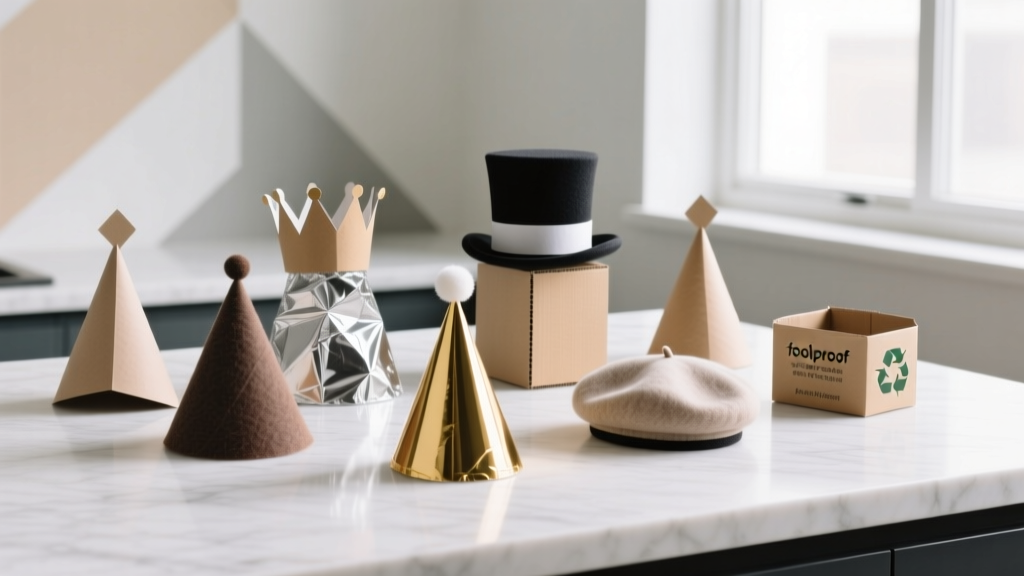 How to Make Mini Party Hats in Under 12 Minutes (No Glue Gun, No Scissors Required) — 7 Foolproof Methods That Actually Hold Their Shape
 DIY Dream Catchers for Home Decor
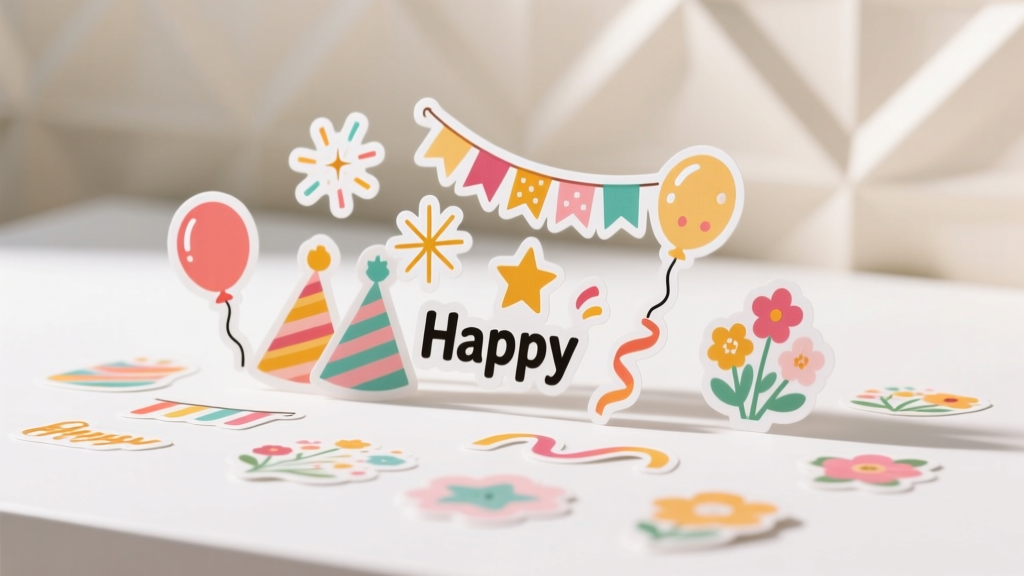 Advanced Custom Stickers for Crafters
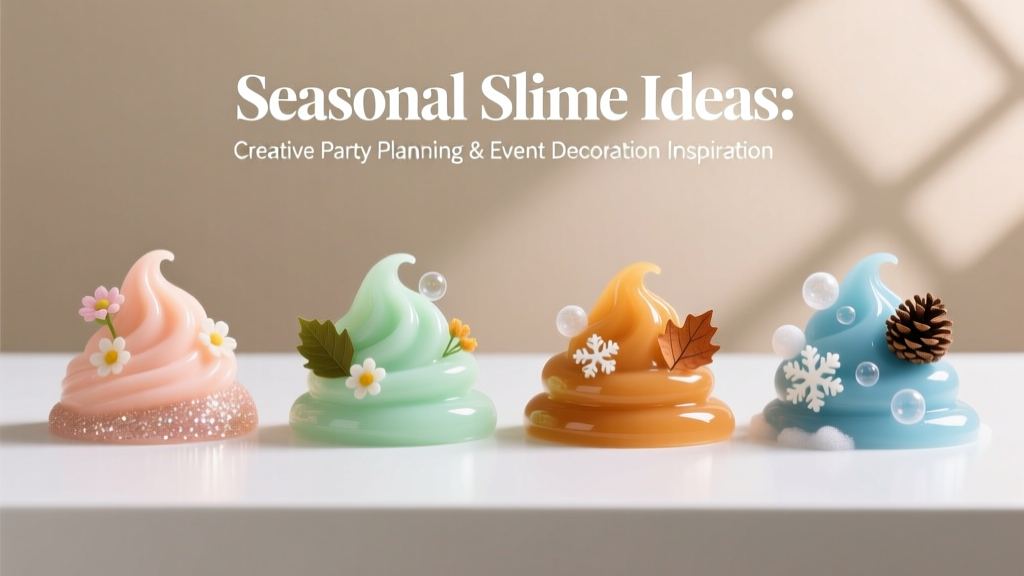 Seasonal Slime Ideas
 17 Do It Yourself Party Favors That Actually Impress Guests (No Craft Store Run Needed — Just $5, 20 Minutes & What’s Already in Your Drawer)
 How to Make Party Hats Out of Paper in Under 10 Minutes (No Glue Gun, No Scissors Required — Just Printer Paper & Tape)
 How to Enable Third Party Cookies on iPad in 2024: A Step-by-Step Guide That Actually Works (No More 'Blocked' Errors or Broken Logins)