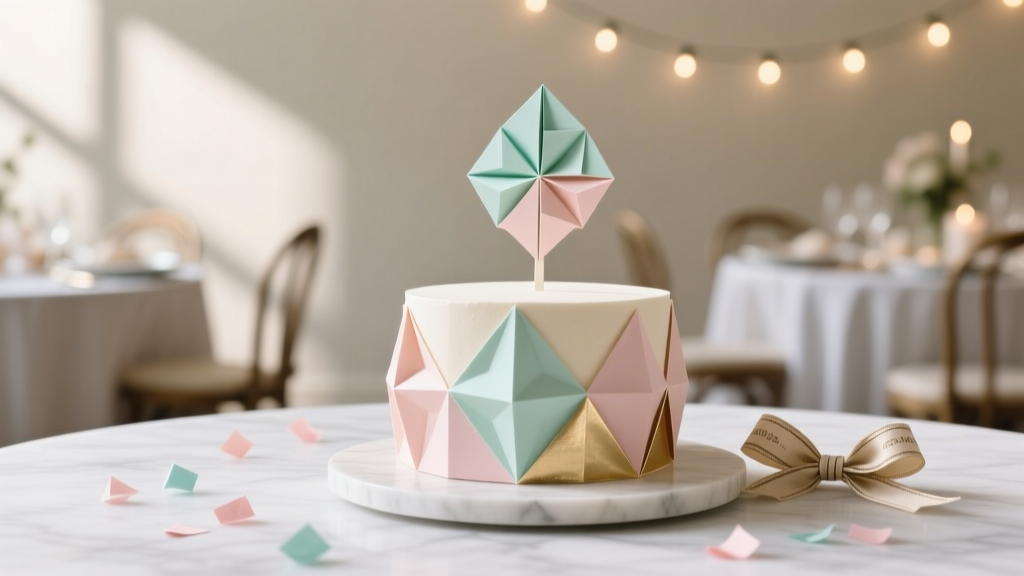
Paper Craft Cake Toppers Ideas
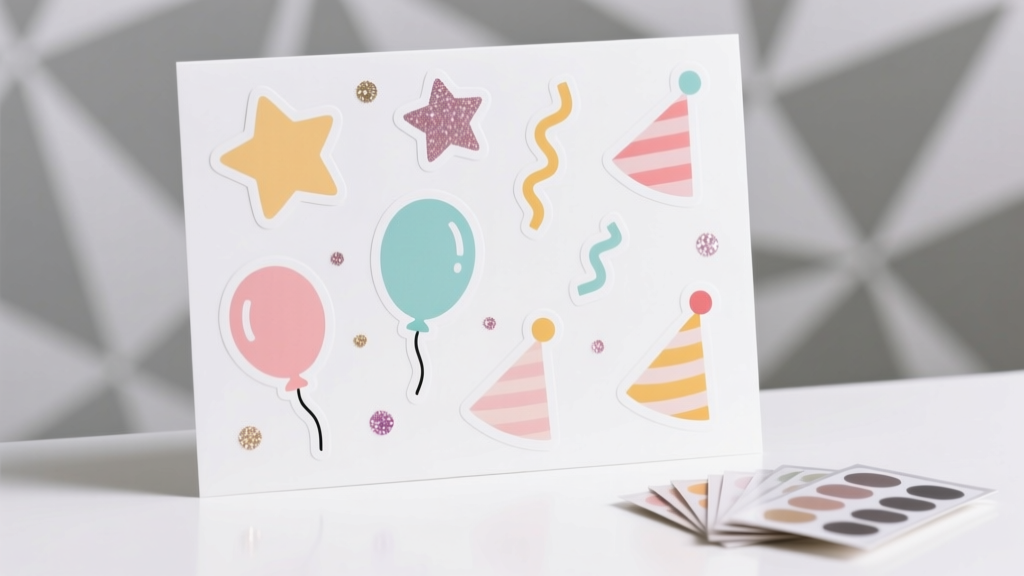
Few party decorations feel as instantly rewarding as a handmade cake topper. You get big “wow” impact from a small project, and you can tailor it to any theme—birthdays, weddings, baby showers, graduations, or even a cozy holiday gathering. Paper craft cake toppers are especially satisfying because they’re budget-friendly, lightweight, and easy to customize with colors, glitter, or a personal message.
If you love DIY crafts and party prep, paper toppers are the perfect mix of creative play and practical decorating. You can make a simple “Happy Birthday” banner topper in under 20 minutes, or spend a little more time layering cardstock florals and 3D rosettes for a boutique look. The best part: most designs use basic tools you may already have.
Below you’ll find step-by-step instructions, measurements, troubleshooting tips, and plenty of variations—from beginner-friendly print-and-cut options to advanced layered designs. Pick one idea or mix them together for a truly custom handmade cake decoration.
Skill Level, Time Estimates, and Planning
- Beginner: 15–30 minutes (simple flag/banner, single silhouette, printable topper)
- Intermediate: 30–60 minutes (layered cardstock, shaker topper, multiple pieces)
- Advanced: 60–120 minutes (3D flowers, multi-layer scenes, intricate cut files)
Planning tip: Make paper cake toppers at least 1 day ahead so glue can fully cure and cardstock can flatten under a book if it curls.
Materials List (With Product Types + Estimated Costs)
These are common supplies for DIY party decorations and paper crafts. Costs vary by brand and store, but the ranges below help you budget.
Paper & Decorative Materials
- Cardstock (65–110 lb / 176–300 gsm) for structure (8.5" x 11" sheets): $5–$12 per pack
- Patterned scrapbook paper (optional) for accents: $5–$15 per pad
- Glitter cardstock (optional) for shine without loose glitter: $6–$15 per pack
- Acetate sheets (for shaker windows): $5–$10
- Foam adhesive squares (dimension/layering): $3–$7
Adhesives
- Glue stick (quick, low-warp): $1–$4
- Liquid craft glue (strong hold; use sparingly): $3–$8
- Double-sided tape (clean edges, great for banners): $3–$8
Sticks & Food-Safe Barriers
- Wooden skewers (10"–12") or lollipop sticks (6"): $2–$6
- Paper straws (cute and sturdy): $3–$8
- Food-safe barrier (choose one):
- Clear drinking straws to sheath skewers: $2–$5
- Floral picks (food-safe style) for inserting toppers: $3–$8
Tools (Recommended)
- Scissors (sharp craft scissors): $5–$15
- Craft knife + cutting mat (for crisp corners): $10–$25
- Ruler (12" metal preferred): $3–$10
- Pencil + eraser: $1–$3
- Hole punch (1/8" or 1/4") for banner holes: $6–$15
- Scoring tool/bone folder (optional for clean folds): $5–$12
- Cutting machine (optional—Cricut/Silhouette) for intricate toppers: varies
Topper Sizing Guide (So It Fits the Cake)
Before you cut anything, choose a topper size that matches your cake. Use these measurements as a reliable starting point:
- 6" round cake: topper width 4"–5"
- 8" round cake: topper width 5"–6.5"
- 9"–10" round cake: topper width 6"–7.5"
- Cupcakes: topper width 2"–2.5", stick length 4"–6"
Height tip: Aim for a total topper height (design + stick portion above cake) of 7"–10" for layer cakes so it shows up in photos.
Paper Craft Cake Topper Ideas (With Step-by-Step Instructions)
1) Classic Name or Age Topper (Silhouette Style)
Skill level: Beginner to Intermediate
Time: 20–45 minutes
Best for: Birthdays, milestone parties, photo-friendly cakes
Measurements:
- Letters height: 1.5"–2.25" for an 8" cake
- Backing shadow layer: 1/8" offset around letters
- Stick placement: 2 sticks, spaced 2"–3" apart
- Choose your text. Examples: “EVA,” “ONE,” “30,” or “Happy Birthday.”
- Create or trace the letters. Print a template or sketch block letters on cardstock. If using a cutting machine, set cardstock to 80–100 lb for stability.
- Cut the main layer from a bold color cardstock.
- Cut a shadow/backing layer in a contrasting color (or glitter cardstock). Make it slightly larger by tracing around the first cut and adding a slim border.
- Glue layers together. Use a glue stick for full coverage and minimal warping. Press under a heavy book for 5 minutes.
- Attach sticks. Tape or glue two skewers/lollipop sticks to the back. Add a small cardstock “bridge strip” (about 1" x 3") across both sticks for extra support.
- Optional finish: Outline with a metallic marker or add tiny paper stars/confetti.
2) Mini Pennant Banner Topper (Cute + Quick)
Skill level: Beginner
Time: 15–25 minutes
Best for: Casual parties, kids’ birthdays, last-minute DIY
Measurements:
- Each pennant: 1.25" wide x 1.75" tall
- Banner span: 5"–6" wide for an 8" cake
- Sticks: 2 (6"–10")
- Cut 7–9 pennants from cardstock. A simple shape is a rectangle with a small V-notch cut at the bottom.
- Punch holes near the top corners of each pennant (about 1/8" from the edge).
- String the banner on baker’s twine or thin ribbon. Leave 2"–3" of extra string on each side.
- Write letters (e.g., “HBD,” “ONE,” “YAY”) using a marker or vinyl stickers.
- Secure to sticks. Tie the ends of the string around two skewers and tape the knots on the back so they don’t slide.
- Shape the curve. Gently arc the banner before placing it on the cake.
3) Layered Floral Topper (Statement Look)
Skill level: Intermediate to Advanced
Time: 45–90 minutes
Best for: Bridal showers, weddings, Mother’s Day, elegant themes
Measurements:
- Flower diameters: 1.5", 2.25", 3" (mix sizes)
- Leaf size: 1.5"–2.5"
- Cut flower layers. Make 3–4 petals layers per flower (simple 5-petal shapes work well).
- Shape petals. Use a pencil to curl petals upward by gently rolling the edge.
- Stack and glue. Offset each layer slightly for dimension. Use a small dot of liquid glue in the center.
- Add a center. Try a small paper circle, a rolled paper coil, or a gem sticker (avoid anything that could fall into frosting—press firmly).
- Build a floral cluster. Arrange flowers and leaves into a half-moon shape on a backing piece (about 5" wide for an 8" cake).
- Attach sticks. Use two sticks and reinforce with tape plus a cardstock strip across the back.
4) Shaker Cake Topper (Confetti Window)
Skill level: Intermediate
Time: 45–75 minutes
Best for: Modern parties, sparkly themes, “extra” photo moments
Measurements:
- Topper frame: 5.5" wide x 3.5" tall (for 8" cake)
- Foam tape border: 1/8"–1/4" thickness
- Cut a frame from cardstock (like a picture frame) and a matching back piece.
- Cut acetate slightly larger than the window opening (add 1/4" overlap on each side).
- Glue acetate behind the frame and let it set for 5–10 minutes.
- Add foam tape around the back edges of the frame to create the shaker “walls.” Keep corners tight so sequins can’t escape.
- Add filler. Use paper confetti, tiny die-cuts, or chunky glitter (a small pinch goes a long way).
- Seal with the back piece. Press firmly all around the foam tape.
- Attach sticks to the back, then add a second cardstock layer to cover stick ends for a clean finish.
5) Theme Silhouettes (Stars, Dinosaurs, Hearts, Grad Caps)
Skill level: Beginner
Time: 15–35 minutes
Best for: Any themed party decorations, quick matching décor
- Pick 2–3 silhouette shapes that match your theme (e.g., stars + moons for a “twinkle” party, dinos for a kids’ party, hearts for Valentine’s).
- Cut duplicates of each shape (front and back) from cardstock.
- Sandwich the stick. Glue one shape to the front, place the stick in the center, then glue the matching shape on the back.
- Finish edges. If edges don’t perfectly align, trim carefully with scissors.
Pro Tips for Clean, Sturdy, Photo-Ready Toppers
- Use heavier cardstock for structure. For large toppers, aim for 100–110 lb cardstock or double-layer two sheets.
- Prevent warping: Use a glue stick for big surfaces; use liquid glue only in small dots.
- Reinforce the back: Add a “spine strip” of cardstock across both sticks (about 1" x 3"–4").
- Make it food-aware: Keep paper from touching frosting by inserting sticks into straw sleeves or floral picks.
- Cut cleaner corners: Use a craft knife + metal ruler for frames and geometric shapes.
- Photo tip: Add a shadow layer or outline so the topper stands out against busy backgrounds.
Beginner-Friendly Adaptations
- Printable toppers: Print designs on cardstock, cut with scissors, and glue to sticks.
- Use chunky shapes: Hearts, stars, circles, and bold numbers cut easier than delicate scripts.
- Skip tiny details: Avoid very thin letter strokes; choose thicker fonts or block letters.
- Use double-sided tape instead of liquid glue for less mess and faster results.
Advanced Variations (If You Love Details)
- 3D paper flowers: Add rolled roses, layered daisies, or crepe-paper fringe blooms.
- Multi-layer scenes: Stack 3–5 layers with foam squares to create depth (clouds, mountains, castles).
- Gold/foil accents: Use foil transfer sheets or metallic vinyl on cardstock lettering.
- Hand-lettered calligraphy: Write names with a brush pen, scan/print, then mount on a shadow layer.
Troubleshooting: Fix Common Issues Fast
- Topper won’t stand straight: Use two sticks instead of one; push them deeper and evenly into the cake.
- Cardstock is curling: Too much liquid glue. Switch to a glue stick, or press the topper under a book for 20 minutes.
- Letters tearing while cutting: Use sharper blades/scissors; simplify the font; cut slower on tight curves.
- Shaker is leaking confetti: Press foam tape seams firmly; add a second border of tape; avoid bulky filler near edges.
- Sticks show through the front: Add an extra backing layer or use darker cardstock for opacity.
Common Crafting Mistakes to Avoid
- Using thin printer paper for large toppers (it bends and droops). Choose cardstock or double-layer.
- Making the topper too wide for the cake (it looks awkward and can topple). Use the sizing guide above.
- Relying on one stick for wide designs. Two sticks give better balance and control.
- Over-gluing (warping, sticky seepage). Apply adhesive sparingly and press flat as it dries.
- Letting paper touch frosting (grease stains and soggy edges). Use straw sleeves or food-safe picks.
- Skipping a test fit: Hold the topper over the cake before final assembly to confirm scale.
FAQ: Paper Craft Cake Toppers
Are paper cake toppers food-safe?
Paper shouldn’t directly touch food. Keep it food-aware by inserting the stick into a straw sleeve or a food-safe floral pick before placing it in the cake.
What’s the best cardstock weight for sturdy toppers?
For most toppers, 80–100 lb (216–270 gsm) works well. For large or intricate toppers, use 100–110 lb (270–300 gsm) or glue two layers together.
How far in advance can I make handmade cake toppers?
You can make them 3–7 days ahead. Store them flat in a clean, dry box away from humidity and sunlight to prevent curling or fading.
How do I keep a topper from falling over in soft frosting?
Use two sticks, insert them evenly, and consider placing the sticks into straws first for extra stability. Wider stick spacing also improves balance.
Can I make these without a cutting machine?
Yes. Choose bold shapes, print a template, and cut with sharp scissors or a craft knife. Banner toppers and silhouette shapes are especially easy without a machine.
How do I match my topper to other DIY party decorations?
Repeat 2–3 elements across your décor—like the same cardstock colors, a matching pattern, or a consistent motif (stars, florals, bows). This makes your handmade party decorations feel coordinated without extra effort.
Wrap-Up: Make a Cake Topper That Feels Truly Yours
Paper craft cake toppers are one of those DIY projects that instantly upgrade a dessert table—without requiring expensive tools or advanced skills. Start simple with a mini banner or silhouette, then level up with layered flowers or a confetti shaker once you’re feeling confident. Your cake doesn’t just get decorated; it gets a personal, handmade finishing touch that guests notice right away.
When you’re ready for more creative party prep, explore more DIY crafts, handmade decorations, and celebration ideas on smartpartyprep.com.
More Articles
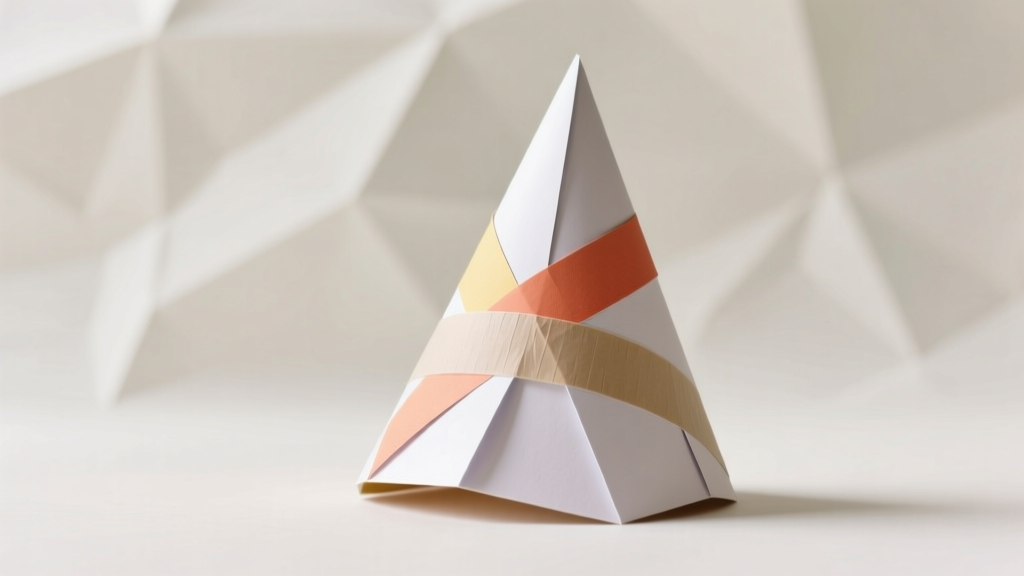 How to Make a Party Hat Out of Paper in Under 12 Minutes (No Glue Gun, No Scissors Required — Just Printer Paper & Tape)
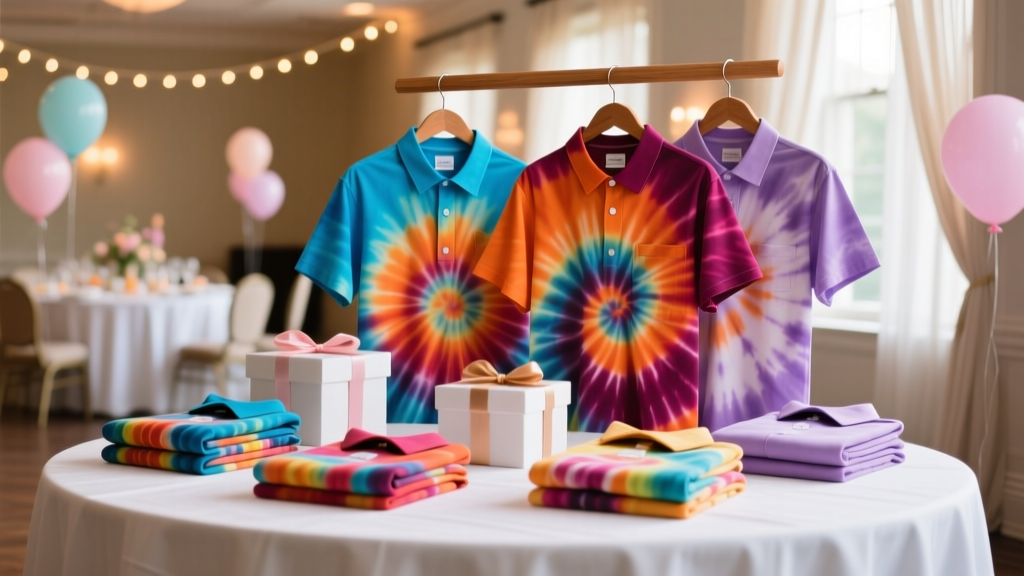 Personalized Tie-Dye Shirts Gifts
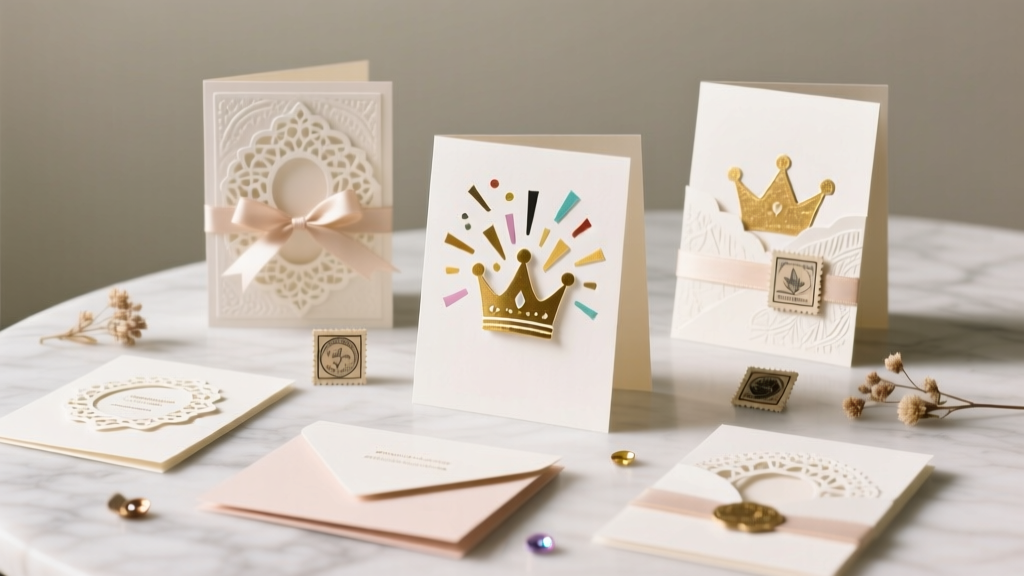 Advanced Greeting Cards for Crafters
 Paper Craft Centerpieces Ideas
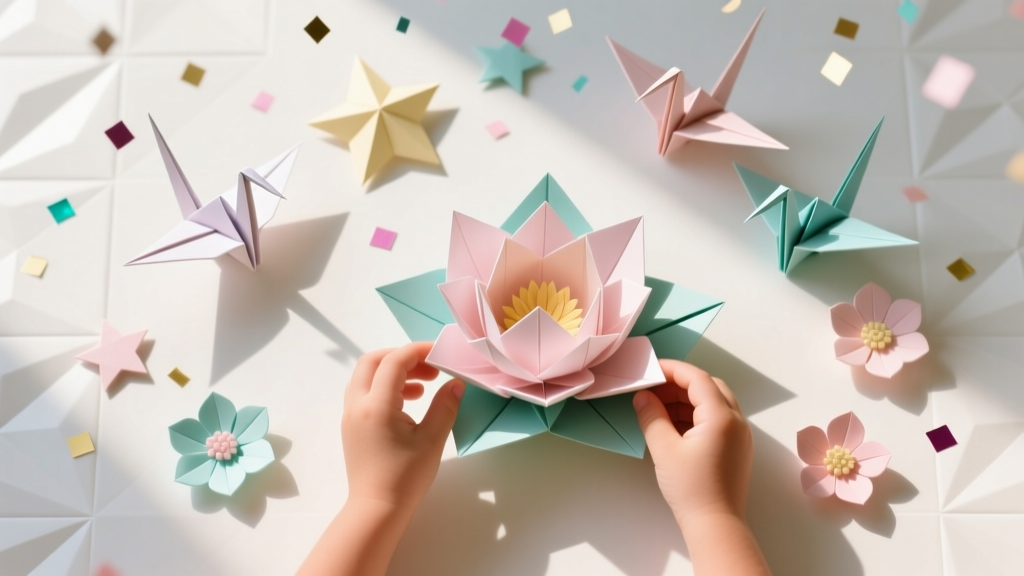 Kids' Craft: Origami Decorations
 How to Allow 3rd Party Cookies on Safari in 2024: A Step-by-Step Guide (Without Breaking Privacy or Breaking the Internet)
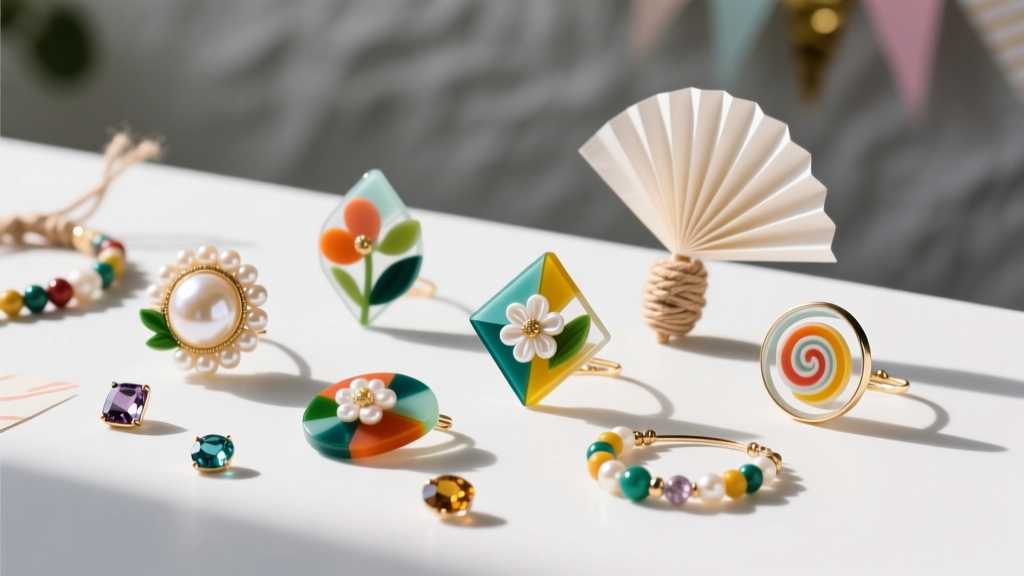 Budget DIY Resin Jewelry Under $15
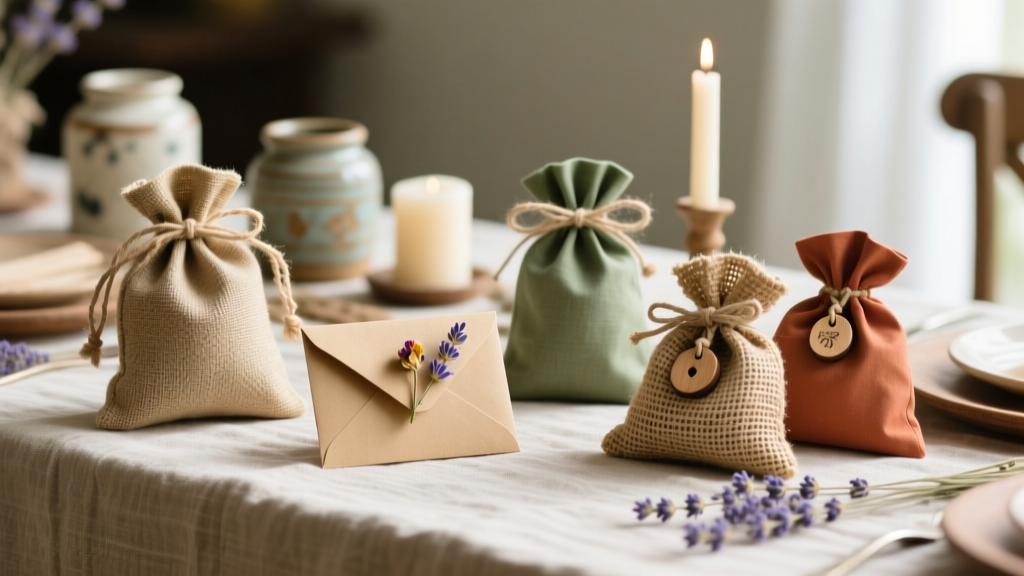 Rustic Favor Bags Ideas
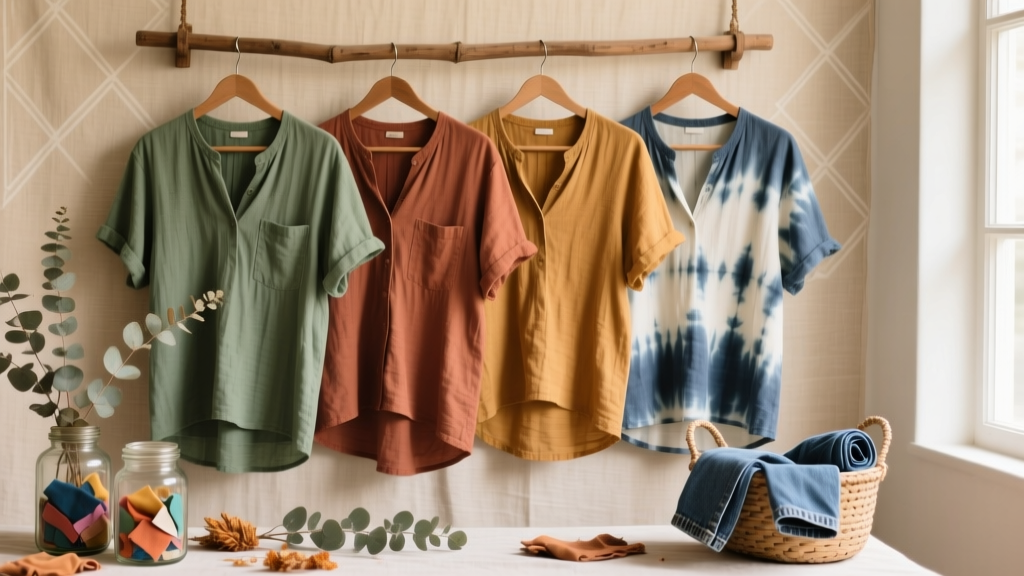 Rustic Tie-Dye Shirts Ideas
 Easy Custom Stickers for Beginners