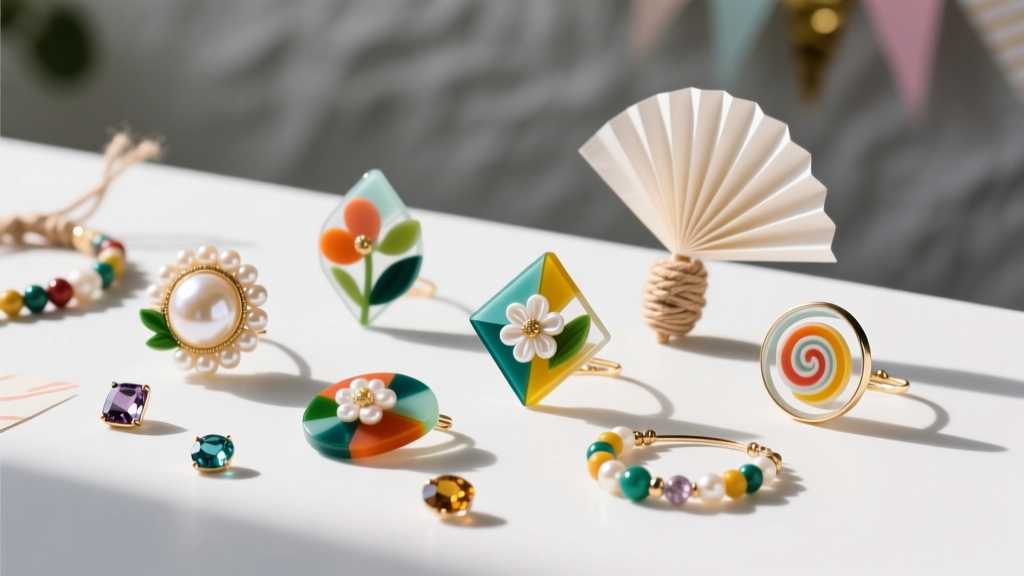
Budget DIY Resin Jewelry Under $15
Resin jewelry feels a little like party magic in your hands—tiny charms, confetti-like glitter, pressed flowers, and shiny finishes that look store-bought (but you made them). Even better: you can create a whole set of party-ready pieces for less than $15, perfect for birthdays, bridal showers, bachelorette nights, girls’ craft parties, or DIY favor-making sessions.
This project is fun because it’s fast to learn, satisfying to customize, and easy to batch-produce. Make matching earrings for a themed celebration, charm necklaces for party guests, or a “make-your-own jewelry bar” activity where everyone pours their own color and picks their own add-ins.
With a few budget-friendly supplies, a little patience while the resin cures, and a simple step-by-step routine, you’ll end up with glossy, lightweight handmade jewelry that doubles as wearable party décor.
Project Overview (Skill Level, Time, and What You’ll Make)
- Skill level: Beginner (with optional advanced upgrades)
- Active crafting time: 35–60 minutes (plus curing)
- Cure time: 2–24 hours depending on resin type (details below)
- Finished pieces: 1–3 pairs of earrings and/or 2–4 pendant charms under $15 (depending on findings you already own)
- Party-friendly use ideas: DIY party favors, matching bridal party jewelry, themed accessories for photo booths, craft-table activity
Budget Materials List (Under $15 Total)
Prices vary by store and region, but these estimates are realistic for budget craft shopping (online multipacks, dollar stores, discount retailers, or craft store coupons). Choose the options that best match what you already have at home.
Resin Options (Pick One)
- UV Resin (recommended for speed): 25–60g bottle, approx. $6–$10
- Fast cure with UV light or strong sunlight
- Great for small charms and quick party batches
- 2-Part Epoxy Resin (more economical per ounce): small kit (4–8 oz total), approx. $10–$15
- Usually cures overnight
- Good for thicker pours and larger molds
Essential Tools & Supplies
- Silicone mold (mini shapes like circles, hearts, stars): $2–$5
- Mixing cups (disposable medicine cups or small plastic cups): $1
- Stir sticks (wooden coffee stirrers/toothpicks): $1
- Nitrile gloves (a few pairs): $1–$2
- Jump rings (4–6mm size, 20–50 pack): $2–$4
- Earring hooks (fishhooks, 10–20 pack) OR necklace cord (1–2mm satin cord): $2–$4
Optional Add-Ins (Choose 1–2 for Budget)
- Fine glitter (cosmetic or craft, 0.2–1mm): $1–$3
- Mica powder (tiny set or single jar): $2–$4
- Foil flakes (gold/silver): $2–$4
- Confetti sprinkles (very small; test first for bleed): $1–$3
- Pressed flowers (small pack): $3–$6
Tool Recommendations (Worth Borrowing or Already in Your Toolbox)
- Small needle-nose pliers (for jump rings)
- Tweezers (for placing glitter/flowers precisely)
- UV flashlight or small UV lamp (if using UV resin)
- Small hand drill (pin vise) or mini rotary tool (for adding holes if your mold doesn’t include them)
Design Planning: Pick a Party Theme (So Your Set Looks Cohesive)
Before you pour, decide on a mini “collection.” A consistent color palette makes even simple shapes look polished and gift-worthy.
- Birthday sparkle: clear resin + chunky glitter + bright confetti dots
- Bridal shower: milky white + gold foil + tiny dried florals
- Bachelorette glam: black + rose gold mica + star shapes
- Garden party: clear + pressed flowers + a hint of green mica
- Holiday party: red/green swirls + micro glitter
Step-by-Step: DIY Resin Jewelry Under $15
Step 1: Prep Your Work Area (5 minutes)
- Cover the table with wax paper, a silicone mat, or a plastic placemat.
- Put on nitrile gloves.
- Set your silicone mold on a flat tray so you can move it without spills.
- Keep tweezers, toothpicks, and paper towels nearby.
Step 2: Choose Your Mold Setup (2 minutes)
For jewelry that assembles easily, look for molds with built-in holes. If yours doesn’t have holes, you can drill them after curing.
- Earrings: 20–35mm shapes are lightweight and comfortable.
- Pendants: 25–40mm shapes show off flowers and foil beautifully.
- Thickness: Aim for 2–4mm for earrings and 3–6mm for pendants.
Step 3: Mix or Prep Resin (5–15 minutes)
If Using 2-Part Epoxy Resin
- Check the label for the mixing ratio (commonly 1:1 by volume).
- Measure 10 ml Part A and 10 ml Part B into a cup (adjust based on your mold size).
- Stir slowly for 3 minutes, scraping sides and bottom.
- Let the cup sit for 2 minutes to allow bubbles to rise.
If Using UV Resin
- Skip mixing—UV resin is ready to use.
- Pour a small amount into a cup if you want to color it first.
Step 4: Color and Add Sparkle (3–8 minutes)
Less is more with pigments. Too much glitter or mica can block curing, especially with UV resin.
- Mica powder: start with 1/32 tsp per 10 ml resin.
- Fine glitter: start with 1/8 tsp per 10 ml resin.
- Foil flakes: use 3–8 tiny pieces per charm for an elegant look.
Stir gently to reduce bubbles, then pause for 30–60 seconds.
Step 5: Pour in Layers for a Clean, Professional Look (10–20 minutes)
- First layer: Fill each cavity about 1/3 full.
- Place add-ins: Use tweezers to position flowers, foil, or confetti.
- Second layer: Add resin until the mold is about 90–95% full.
- Pop bubbles: Drag a toothpick through corners and around embedments. If using epoxy, you can lightly pass warm air above the surface (not too close).
- Final top-off: Fill to the brim for a domed, glossy front.
Step 6: Cure Properly (UV: 2–10 minutes per side / Epoxy: 8–24 hours)
UV Resin Curing
- Cure under a UV lamp for 60–120 seconds, then check tackiness.
- If your pieces are thicker than 4–5mm, cure in multiple passes (top, then flip and cure the back).
- No UV lamp? Strong sunlight can work, but timing is unpredictable—plan 15–45 minutes and rotate the mold.
Epoxy Resin Curing
- Cover the mold with a box or container to protect from dust.
- Leave flat and untouched for 8–24 hours (follow your kit instructions).
- Warmer rooms cure faster; cool rooms may remain tacky longer.
Step 7: Demold and Finish Edges (5–20 minutes)
- Flex the silicone mold gently and pop out your charms.
- Trim any thin “flash” edges with small scissors or a craft knife.
- If needed, smooth edges with 400–800 grit sandpaper.
- Optional: Add a thin top coat (“doming”) of resin for extra shine.
Step 8: Assemble Jewelry Findings (10–15 minutes)
Earrings (Simple Hook Style)
- Open a 4–6mm jump ring by twisting it sideways with pliers (don’t pull apart front-to-back).
- Slide jump ring through the charm hole.
- Add an earring hook, then twist jump ring closed.
Pendant Necklace (Budget Cord)
- Attach a jump ring to the charm.
- Thread a 1–2mm satin cord through the jump ring.
- Tie a neat knot or add simple ribbon ends if you have them.
Pro Tips for Clean Results (Even on a Tight Budget)
- Work in small batches: Mix 20 ml at a time so epoxy doesn’t thicken before you pour.
- Use a toothpick for precision: Perfect for nudging foil pieces into place and releasing trapped bubbles.
- Keep embeds tiny: Large confetti or thick paper can trap air and create cloudy spots.
- Make pairs together: Pour both earring molds from the same cup so colors match.
- Party favor hack: Make a “charm bar” with 2–3 color choices and let guests pick their favorite finished pieces to take home.
Fun Variations (Beginner-Friendly to Advanced)
Beginner Variations
- Clear + glitter: The easiest “always cute” option.
- Two-tone layers: Pour a clear layer, cure, then pour a tinted layer on top.
- Sticker-style embeds: Use tiny plastic sequins or foil (less likely to bleed than paper).
Advanced Variations
- Marble swirl: Add two tinted resins to the mold and swirl lightly with a toothpick (stop early to avoid muddy colors).
- Geode look: Cluster foil flakes in the center and add a darker mica ring around the edges.
- Mini letter charms: Use alphabet molds, then paint letters with acrylic and seal with a resin top coat.
- Embedded “confetti fade”: Put more glitter at the bottom, less at the top for an ombré effect.
Troubleshooting: Quick Fixes for Common Resin Issues
- My resin is tacky after curing:
- UV resin: Cure longer and flip to cure the back. Too much pigment/glitter can prevent curing.
- Epoxy: Resin may be under-mixed or measured wrong. Leave it warm for a few more hours; if still tacky, seal with a thin properly mixed top coat.
- I have lots of bubbles:
- Stir slower, pour in a thin stream, and use a toothpick along edges.
- Warm the resin bottle in lukewarm water for 5 minutes (cap tightly closed) to reduce viscosity.
- My flowers turned brown or transparent:
- Make sure flowers are fully dried/pressed.
- Seal delicate flowers with a thin layer of resin first, cure, then embed.
- My pieces look cloudy:
- Too much stirring, moisture in embeds, or microbubbles. Try smaller mixes and drier add-ins.
- Edges are sharp or uneven:
- Trim flash, sand lightly, then apply a thin top coat for a glassy finish.
Common Crafting Mistakes to Avoid
- Skipping gloves: Resin is sticky and can irritate skin—gloves keep the process comfortable and cleanup easy.
- Eyeballing measurements for epoxy: If the resin requires 1:1, measure carefully. Even small ratio errors can cause soft, bendy charms.
- Overloading glitter/pigment: A little goes a long way. Heavy add-ins can block curing and create weak spots.
- Pouring too thick with UV resin: Thick pours can cure on top while staying soft underneath. Work in layers.
- Rushing demolding: If it’s still flexible or warm, give it more time—your edges will stay cleaner.
- Using wet or fresh flowers: Moisture can cause cloudiness and curing problems. Fully dried embeds only.
FAQ: Budget DIY Resin Jewelry
1) Can I make resin jewelry without a UV lamp?
Yes. Use a small 2-part epoxy resin kit and let it cure overnight. If you’re using UV resin, sunlight can work, but it’s slower and less consistent than a lamp.
2) What’s the cheapest way to keep this project under $15?
Choose one resin type, one simple silicone mold, and either earring hooks or necklace cord (not both). For sparkle, use fine glitter you already have or a single mini tube.
3) How do I make these party-favor ready?
Batch pour matching sets, then package each pair on a small cardstock display card. Add a theme label like “Birthday Sparkle” or “Garden Party Charms” for a polished handmade party decoration vibe.
4) What size should I make earrings so they’re lightweight?
Stick to 20–35mm shapes and 2–4mm thickness. Bigger pieces can look amazing but may feel heavy with basic hooks.
5) Why did my epoxy resin stay soft?
Usually it’s a measurement or mixing issue. Measure carefully, stir for the full recommended time (often 3 minutes), and scrape the sides/bottom of the cup. Also make sure the room isn’t too cold.
6) Are these safe for a kids’ craft party?
Resin is best handled by teens/adults with supervision, gloves, and good ventilation. For younger kids, consider a “charm decorating station” using pre-made resin charms you’ve already cured, then let them assemble necklaces with cord and beads.
Wrap-Up: Make Jewelry That Doubles as Party Decor
Budget resin jewelry is one of those DIY crafts that looks fancy, feels personal, and fits right into party prep—matching accessories for photos, handmade party favors, and a creative activity guests will actually enjoy. Start simple with clear glitter charms, then level up to layered florals and swirled color once you’re comfortable.
Try one small batch this week, keep notes on your favorite color ratios, and don’t be surprised if you end up making “just one more set” for the next celebration.
Want more party-ready handmade projects? Browse more DIY craft ideas, party decorations, and creative prep inspiration on smartpartyprep.com.
More Articles
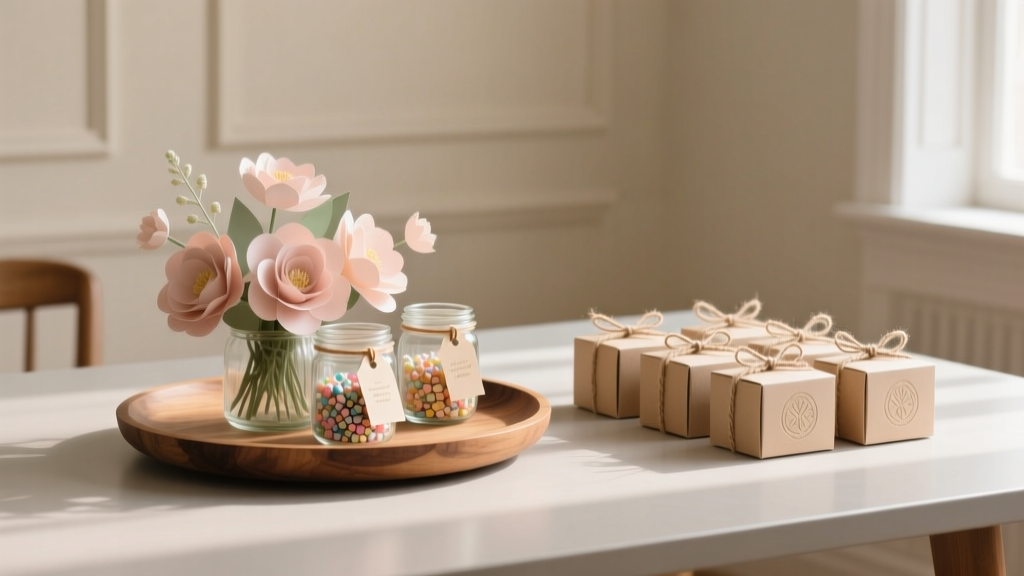 DIY Centerpieces Party Favors
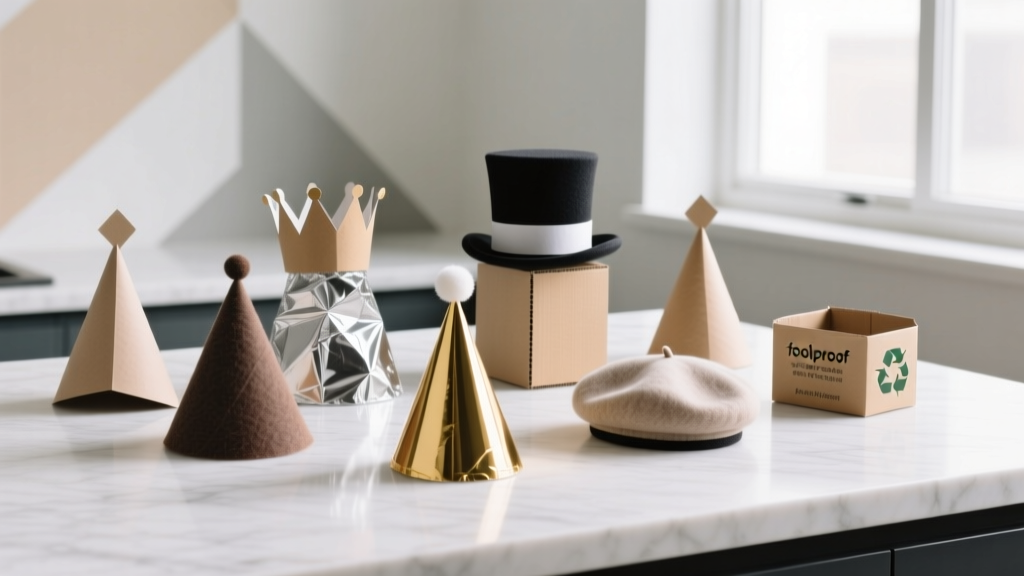 How to Make Mini Party Hats in Under 12 Minutes (No Glue Gun, No Scissors Required) — 7 Foolproof Methods That Actually Hold Their Shape
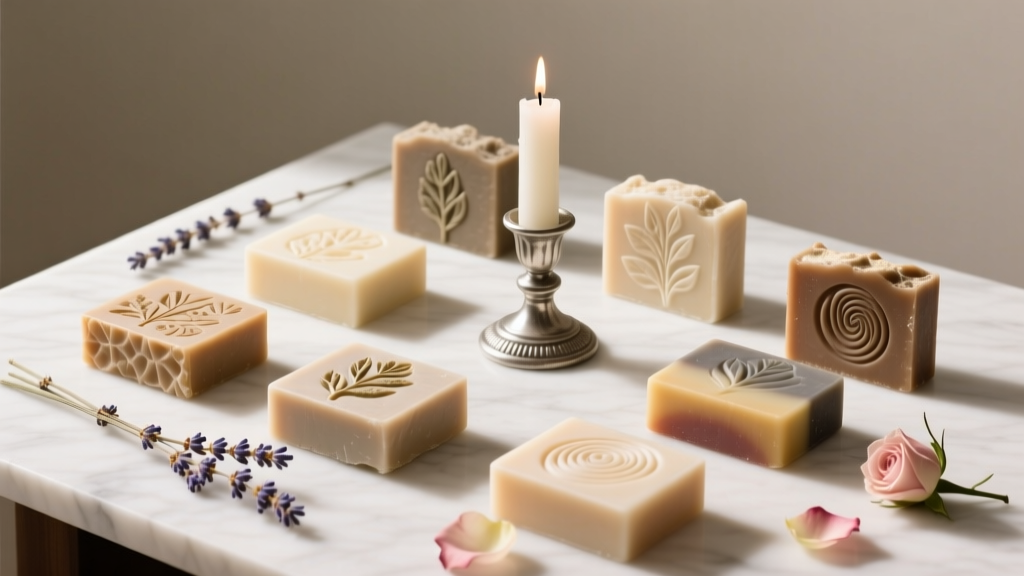 Advanced Soap Bars for Crafters
 No-Sew Friendship Bracelets Tutorial
 Is Nature's Way Third Party Tested? We Investigated Every Batch Report, Lab Certificate, and FDA Compliance Gap So You Don’t Have to Waste Time—or Risk Your Craft Projects on Unverified Supplements.
 How to Make Favor Bags at Home
 DIY Friendship Bracelets Using Cricut
 Upcycled Origami Decorations from Recycled Materials
 Advanced Paper Lanterns for Crafters
 Paper Craft Table Runners Ideas