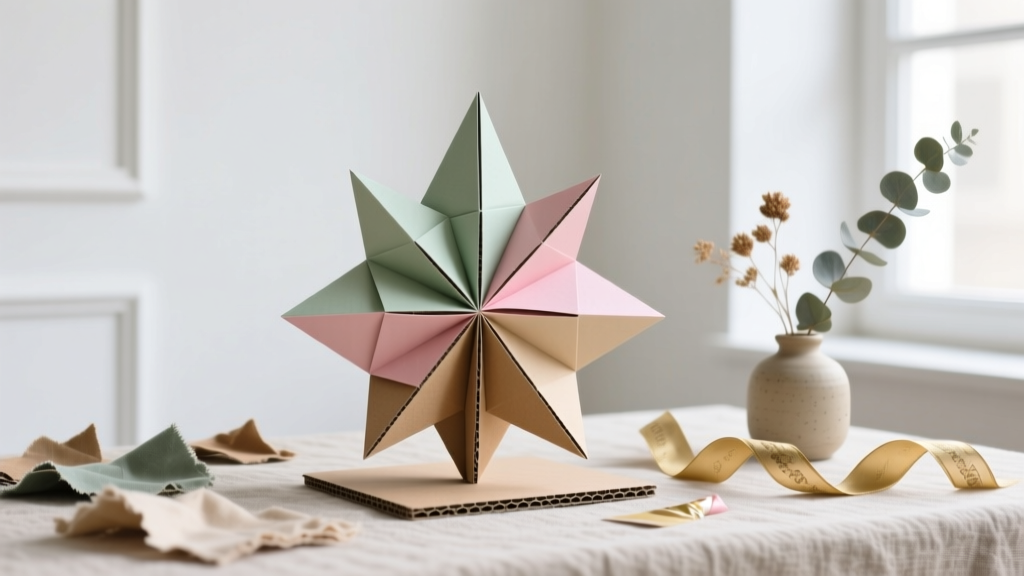
Upcycled Origami Decorations from Recycled Materials
There’s something deeply satisfying about turning “trash” into party-ready treasure—especially when the transformation happens one fold at a time. Upcycled origami decorations are the perfect blend of eco-friendly crafting, budget-friendly party prep, and that wow-factor guests notice the moment they walk in.
This project is fun because it’s flexible: you can make a handful of pieces in under an hour for a small table moment, or create a whole matching set (garlands, centerpieces, place cards, and hanging décor) for a themed celebration. Plus, recycled papers already have personality—newspapers bring graphic contrast, magazine pages add bold color, and old book pages create a soft vintage look.
If you love DIY party decorations and handmade projects, this is a craft you’ll come back to again and again. You’ll learn a few core folds and then use them to make a full “decor collection” from recycled materials.
Project Overview: Skill Level, Time & Best Party Uses
- Skill level: Beginner to Intermediate (advanced variations included)
- Total time: 45–120 minutes depending on how many pieces you make
- Great for: birthdays, baby showers, bridal showers, graduation parties, holiday gatherings, and eco-themed celebrations
- Best spaces to decorate: dessert table backdrop, gift table, centerpieces, place settings, photo wall, ceiling hangings
Recycled Materials That Fold Beautifully (And What to Avoid)
Best recycled paper options
- Magazine pages: glossy, colorful, sturdy—great for cranes, stars, and modular pieces
- Junk mail flyers: bright and plentiful; look for matte pages for cleaner folds
- Wrapping paper scraps: ideal for party themes; thinner paper folds sharply
- Old book pages: romantic/vintage look for weddings and showers
- Newspaper: perfect for large décor (flowers, fans), but can be soft—use a bone folder for crisp creases
- Paper bags (brown kraft): strong and matte; great for minimalist garlands and place cards
Papers to skip (or use carefully)
- Very thick cardstock: hard to fold precisely; better for simple fans than complex origami
- Heavily coated glossy ads: can “spring” open—use a tiny dot of glue on final steps
- Fragile aged paper: may tear on tight folds; scale up the model or use fewer folds
Materials & Tools (With Estimated Costs)
Most of this can be made from items you already have. Below are helpful product types and typical cost ranges.
Paper & recycled materials
- Recycled paper sources (magazines, flyers, book pages, wrapping scraps): $0–$5
- Optional: origami paper pack (6" x 6" or 8" x 8") for mixing with recycled patterns: $6–$12
Adhesives & hanging supplies
- Glue stick (clean, fast): $2–$5
- Craft glue / PVA (strong hold): $3–$7
- Double-sided tape (garlands, quick assembly): $3–$6
- Clear fishing line (hanging cranes/stars): $3–$8
- Baker’s twine or cotton string (rustic garlands): $3–$7
- Mini clothespins (display strands): $4–$8
- Optional: small eyelets or mini binder clips for heavier pieces: $3–$6
Tools (recommended)
- Scissors (sharp, pointed tip): $5–$15
- Paper trimmer (faster, straighter cuts): $12–$30
- Ruler (12" / 30 cm): $2–$6
- Pencil (light marks): $1–$3
- Bone folder (crisp folds; or use a spoon handle): $6–$12
- Hole punch (for garlands): $5–$12
Prep Step: Make Perfect Squares from Recycled Paper
Most origami starts with a square. Here are two easy methods.
Method A (no measuring): the triangle fold
- Start with a rectangular page (like a magazine sheet).
- Fold one corner down to the opposite edge to make a triangle.
- Trim off the extra rectangle strip.
- Unfold���you now have a square.
Method B (measured squares): recommended sizes
- 3" x 3" (7.5 cm): tiny stars for confetti bowls or place settings
- 6" x 6" (15 cm): best all-around for cranes, hearts, and flowers
- 8" x 8" (20 cm): big impact for hanging décor and backdrops
Pro tip: If you’re making a garland, cut all squares the same size first. Consistency makes the final display look polished and intentional—perfect for party decorations.
Step-by-Step Project #1: Upcycled Origami Butterfly Garland
Time: 35–60 minutes for a 6-foot (1.8 m) garland with 12–18 butterflies
Skill level: Beginner
What you’ll need
- 12–18 squares of recycled paper (6" x 6" / 15 cm recommended)
- String or fishing line (6–8 feet / 1.8–2.4 m)
- Glue stick or double-sided tape
- Optional: mini clothespins, hole punch
Butterfly folding steps (simple party-friendly style)
- Color-side down: Place your square patterned-side down (if using magazine pages, choose which side you want to show).
- Diagonal folds: Fold corner to corner into a triangle. Crease. Unfold. Repeat with the other diagonal.
- Accordion fold: Flip the paper so the side you want showing is facing down. Make 1/2" (1.2 cm) accordion folds across the square like a fan.
- Fold in half: Fold the accordion strip in half so the ends meet.
- Secure the center: Wrap a thin strip of paper, a twist tie, or a tiny dab of glue at the midpoint to hold the butterfly body.
- Shape the wings: Gently pull the top layers apart and curve the wings slightly for dimension.
Assemble the garland
- No-hole method: Dab glue on the butterfly “body” and press onto the string.
- Clip method: Use mini clothespins for a charming, adjustable layout.
- Hole-punch method: Punch a small hole at the center and thread onto string (best for kraft paper).
Party styling idea: Alternate butterflies with paper beads made from rolled magazine strips for extra color and movement.
Step-by-Step Project #2: Recycled Paper Lucky Stars (Perfect for Table Decor)
Time: 20–45 minutes for 30–60 stars
Skill level: Beginner
What you’ll need
- Paper strips: 1/2" x 10" (1.2 cm x 25 cm) or 3/8" x 9" (1 cm x 23 cm)
- Scissors or paper trimmer
- Optional: small bowl, clear ornaments, favor bags
Folding steps
- Tie a knot: Make a loose knot near one end of the strip (like tying a simple overhand knot). Pull gently until it forms a flat pentagon.
- Flatten: Press the pentagon edges firmly with a bone folder or your fingernail.
- Wrap the tail: Take the long end and wrap it around the pentagon, keeping edges aligned. Continue wrapping until you have a short tail.
- Tuck in: Tuck the tail into the nearest pocket on the pentagon to secure.
- Puff into a star: Pinch the center of each of the five sides to puff the pentagon into a star shape.
Party uses:
- Scatter on tables as reusable confetti
- Fill clear favor bags or mini jars as handmade party favors
- Fill clear ornaments for party-season décor
Step-by-Step Project #3: Upcycled Origami Lotus Flowers (Centerpiece-Ready)
Time: 30–60 minutes for 3–6 flowers
Skill level: Intermediate (beginner adaptation included)
What you’ll need
- Two squares per flower: 6" x 6" (15 cm) for a medium lotus; 8" x 8" (20 cm) for a larger centerpiece lotus
- Glue stick (optional, for durability)
- Optional: a small LED tealight or battery fairy lights
Folding steps (classic lotus approach)
- Start with a square: Place the paper color-side down.
- Corners to center: Fold all four corners to the center point, creating a smaller square. Crease firmly.
- Repeat: Fold the four corners to the center again. Crease firmly.
- One more time: Fold corners to the center a third time (this makes tighter petals). If your paper is thick, stop after the second time.
- Flip over: Carefully flip the model over.
- Corners to center (back side): Fold all four corners to the center once on the back side.
- Form petals: Hold the center down with one hand. With the other hand, reach under a corner flap and gently pull it out and upward to create a petal. Repeat for all four corners.
- Add inner petals: Pull up the next layer of flaps from underneath to create a second ring of petals.
- Shape: Curl the petals slightly outward by running them over a pencil.
Beginner-friendly adaptation
- Use 8" x 8" squares (bigger is easier to handle).
- Do only two rounds of “corners to center” instead of three if your paper resists folding.
Centerpiece idea: Arrange 3–5 lotuses on a tray with greenery (real or faux) and add warm LED lights for a glowing, handmade party centerpiece.
Pro Tips for Crisp Folds & Durable Party Decor
- Score folds for cleaner results: Run a bone folder (or the back of a spoon) along creases to sharpen them—especially on newspaper or kraft paper.
- Work on a hard surface: A table beats folding in your lap; accuracy improves instantly.
- Mix paper finishes intentionally: Combine matte kraft with glossy magazine accents for contrast that looks styled, not random.
- Use micro-dots of glue: For springy glossy paper, add a tiny dot inside the final tuck. Let it dry 2–3 minutes before hanging.
- Color control hack: If your magazine pages are too busy, use mostly solid-color sections (ads with large color blocks) for a cleaner look.
Variations: Customize for Any Party Theme
Beginner variations
- Monochrome garland: Use only black/white newspaper for a modern party backdrop.
- Oversized butterflies: Use 10" x 10" (25 cm) squares from paper bags for bold wall décor.
- Flat décor style: Skip puffing and shaping; press pieces flat for easy storage and mailing.
Advanced variations
- Modular origami stars: Make multi-piece stars for hanging décor (use strong paper like magazine pages or kraft).
- Ombre effect: Sort papers from light to dark and assemble garlands in gradient order.
- Hidden-message décor: Use book pages and circle meaningful words with a light marker before folding (sweet for bridal showers).
Troubleshooting: Fix Common Folding Problems Fast
- My folds won’t stay creased.
- Switch to slightly thinner paper (wrapping scraps work well).
- Press creases with a bone folder and hold for 2–3 seconds.
- Add a tiny glue dot on final flaps for glossy papers.
- My paper tears on tight folds.
- Use larger squares (8" / 20 cm) so folds are less cramped.
- Avoid very old, brittle pages; use magazine or kraft instead.
- Reduce complexity (two “corners to center” rounds for lotus).
- The garland droops or twists.
- Use fishing line for minimal sag and a floating effect.
- Space elements evenly: 3–5" (7.5–12 cm) apart.
- Anchor both ends with removable hooks or painter’s tape.
- My decorations look mismatched.
- Limit to 2–3 main colors plus a neutral (kraft, white, black).
- Repeat the same paper every third piece for visual rhythm.
Common Crafting Mistakes to Avoid
- Skipping the square-cut step: Slightly off-square paper leads to crooked models and frustration.
- Using dull scissors: Ragged edges make even beautiful folds look messy—sharp blades matter.
- Folding too fast: Misaligned corners compound quickly. Line up edges carefully before creasing.
- Over-gluing: Glue warps paper and leaves shiny spots. Use tiny amounts only where needed.
- Not batch-cutting first: Stop-and-cut breaks your rhythm. Cut all squares/strips up front for smoother crafting.
- Hanging before testing weight: Heavier pieces need stronger string or two anchor points.
FAQ: Upcycled Origami Party Decorations
What’s the best recycled paper for origami decorations?
Magazine pages and junk mail flyers are the easiest because they’re sturdy and crease well. For a softer, romantic look, old book pages are gorgeous (just handle gently and use larger sizes).
Do I need glue for origami?
Traditional origami doesn’t require glue, but for DIY party decorations—especially hanging pieces—small glue dots can make everything more durable. A glue stick is usually enough.
How far in advance can I make these decorations?
Most upcycled origami holds up well for 2–4 weeks if stored flat in a box. Keep them dry and out of direct sunlight to prevent curling or fading.
How do I keep garlands from damaging walls?
Use removable hooks, painter’s tape, or poster putty at the anchor points. Fishing line is lightweight and needs less support than heavier twine.
Can kids help with this craft?
Yes—lucky stars and simple accordion butterflies are great for kids (with supervision). Pre-cut squares and strips to keep it fun and frustration-free.
How many pieces do I need for a party backdrop?
For a 6-foot (1.8 m) backdrop line, plan on 12–18 butterflies or 20–30 smaller pieces (stars/hearts). For a fuller photo wall, layer 2–3 garlands at different heights.
Make It Yours: A Handmade Party Look on a Budget
Upcycled origami decorations prove that DIY crafts can be both stylish and practical—especially when you’re decorating for a party and want something unique. Start with one easy project (a butterfly garland or a bowl of lucky stars), then build a matching set as you get comfortable with the folds. The best part is how customizable it all is: your recycled papers decide the color palette, the mood, and the theme.
If you try these handmade decorations, make a few extra pieces—you’ll be amazed how often they come in handy for last-minute party styling. Keep experimenting with recycled materials, mix patterns confidently, and let your folds do the decorating.
Happy crafting! Explore more DIY party decorations, budget-friendly handmade projects, and creative celebration ideas on smartpartyprep.com.
More Articles
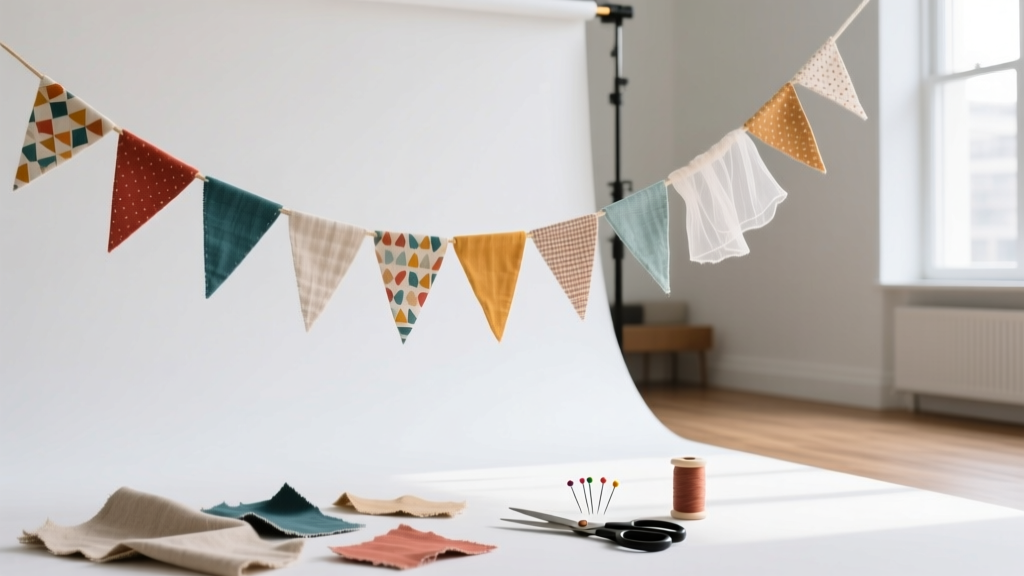 DIY Fabric Bunting for Birthdays
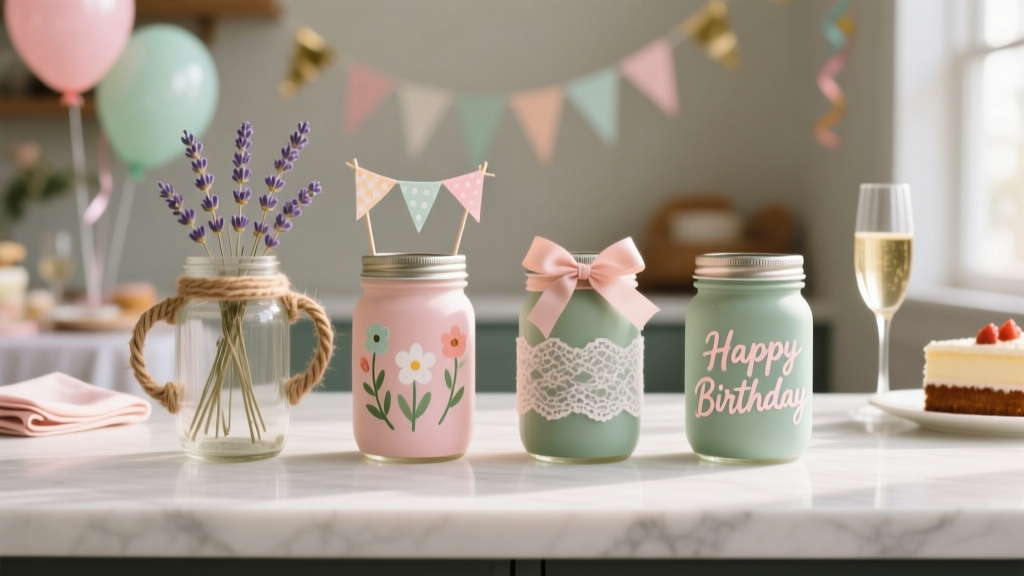 Step-by-Step Mason Jar Crafts Tutorial
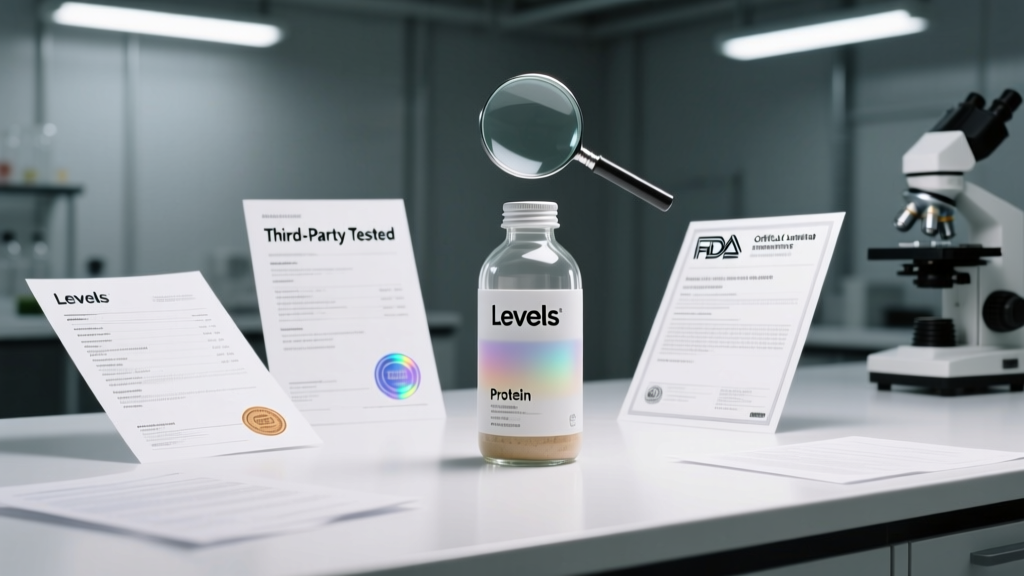 Is Levels Protein Third Party Tested? We Investigated Every Batch Report, Lab Certificate, and FDA Compliance Record So You Don’t Have to Waste Money on Unverified Supplements
 DIY Painted Rocks for Holidays
 How to Make a Party Hat in Under 12 Minutes (No Glue Gun, No Sewing, No Stress) — 7 Foolproof Methods That Actually Hold Their Shape
 How to Make Party Hats Out of Construction Paper in Under 12 Minutes (No Glue Gun, No Scissors Required for Kids!) — 7 Foolproof Designs That Actually Stay On Heads
 Paper Craft Cake Toppers Ideas
 How to Enable 3rd Party Cookies on Safari in 2024: The Real Truth (Spoiler: You Can’t — But Here’s What Actually Works Instead)
 DIY Memory Books for Home Decor
 How to Install 3rd Party Apps on Toshiba Smart TV: The Only Step-by-Step Guide That Actually Works in 2024 (No Rooting, No Jailbreak, No Guesswork)