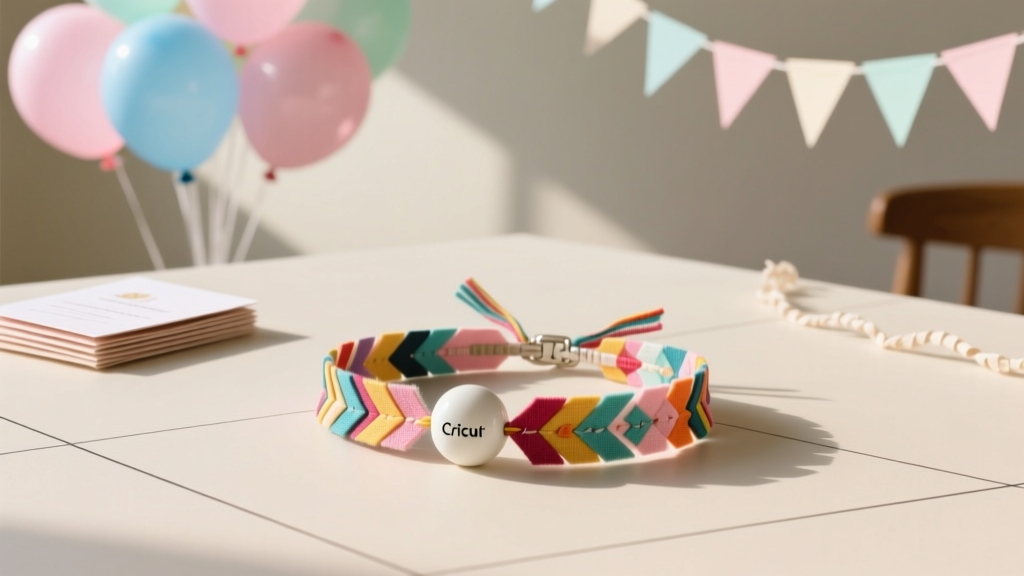
DIY Friendship Bracelets Using Cricut
Friendship bracelets have a special kind of magic: they’re nostalgic, meaningful, and instantly turn a regular get-together into something personal. When you add a Cricut into the mix, you get the best of both worlds—classic handmade charm with crisp, customized details like names, tiny icons, dates, or party themes.
This project is also a party-prep superstar. You can make matching bracelets for a birthday sleepover, a Taylor-inspired themed party, a summer camp send-off, or as cute favors for a girls’ night. Set up a “bracelet bar” and your guests can pick colors, personalize tags, and leave with a handmade keepsake.
Whether you’re a Cricut beginner or you love advanced crafting, this tutorial walks you through multiple ways to use your machine—without making things complicated. Choose the style that matches your skill level, timeline, and party vibe.
Project Overview: Skill Level, Time & What You’ll Make
- Skill level: Beginner to Intermediate (advanced variations included)
- Time estimate:
- Single bracelet: 15–25 minutes
- Set of 10 favors (assembly-line style): 1.5–2.5 hours
- What you’ll make: Friendship bracelets using cord or elastic, plus Cricut-made personalization (vinyl tags, faux leather charms, or iron-on labels)
- Great for: DIY party decorations, party favors, handmade gifts, back-to-school crafts, and craft night activities
Materials & Tools (With Estimated Costs)
Bracelet Base Supplies
- Embroidery floss (cotton) – 10–20 skeins for variety (approx. $0.60–$1.00 each; $8–$20 total)
- Choose 6-strand floss for classic knotted bracelets.
- Elastic jewelry cord (0.8–1.0 mm) – for beaded/stretch bracelets (approx. $4–$8 per roll)
- Beads (pony beads, alphabet beads, seed beads) – party packs (approx. $6–$18)
- Clasps (optional) – lobster clasps + jump rings (approx. $5–$10)
Cricut Materials (Pick One Method)
- Permanent vinyl (for tags/charms) – $8–$15 per roll/sheet
- Iron-on (HTV) (for ribbon or faux leather strap labels) – $8–$15
- Adhesive foil or metallic vinyl (for extra “party sparkle”) – $10–$18
- Faux leather sheets (Cricut-compatible) – $10–$20
- Shrink plastic sheets (printable or plain) – $8–$15
Tools & Equipment
- Cricut machine: Cricut Explore Air 2 / Explore 3 / Maker / Maker 3 (Joy also works for smaller tags)
- Cricut Design Space (free software)
- Cutting mat: StandardGrip (green) for vinyl; StrongGrip (purple) for thicker materials (approx. $10–$15)
- Weeding tool + scraper (approx. $8–$15 set)
- Fine-point blade (standard for vinyl)
- Hole punch (1/8 in / 3 mm is ideal for tags) or Cricut hole-punch setting if cutting holes (approx. $6–$12)
- Small scissors + measuring tape
- Clipboard or masking tape (to anchor threads while knotting)
- Optional: Heat press or household iron (for HTV), jewelry pliers (for clasps)
Design Ideas: What to Personalize with Cricut
Personalization is what turns these into unforgettable handmade party favors. Here are popular options that cut quickly and look polished:
- Name tags: “Mia,” “Bestie,” “Squad,” or initials (0.25–0.4 in / 6–10 mm text height works well)
- Mini icons: hearts, stars, smiley faces, lightning bolts, tiny flowers
- Party themes: “Bday Babe,” “Team Bride,” “Camp 2026,” “Glow Party”
- Milestones: graduation year, trip date, concert night
Step-by-Step: Make a Knotted Friendship Bracelet + Cricut Tag
Step 1: Measure Wrist Size & Cut Thread
- Measure the wrist of the wearer:
- Kids: 5–6 in (12.5–15 cm)
- Teens/adults: 6–7.5 in (15–19 cm)
- Cut 6 strands of embroidery floss, each 40 in (102 cm) long.
- Want a thicker bracelet? Use 8 strands.
- Making for small kids? 32–36 in (81–91 cm) can work, but longer is easier for beginners.
- Bundle strands, align ends, and tie a knot about 3 in (7.5 cm) from the top. Leave this tail for tying later.
Step 2: Anchor Your Work
- Tape the knotted top to a table, or clip it to a clipboard.
- Separate strands by color so they don’t tangle.
Step 3: Knot a Simple Candy-Stripe Pattern (Beginner-Friendly)
This pattern is quick, forgiving, and perfect for party crafting.
- Arrange floss in the order you want the stripes to appear.
- Take the leftmost strand (your “working” strand).
- Make a forward knot over the next strand:
- Form a “4” shape with the working strand
- Pull through and tighten
- Repeat a second time on the same strand (two knots = clean stripe)
- Continue knotting the working strand across all strands.
- When you reach the end, the working strand becomes the rightmost strand. Start again from the left.
- Knot until the bracelet fits around the wrist, usually 5–6 in (12.5–15 cm) of braided length (adjust based on wrist measurement and tie style).
Step 4: Finish the Ends
- Tie a tight knot at the end, leaving 3 in (7.5 cm) tails.
- Optional for a cleaner finish: divide strands into two groups and braid each tail, then knot the ends.
Step 5: Make a Cricut Vinyl Tag (Name or Icon)
This adds that “custom party favor” look without complicating the bracelet.
- In Cricut Design Space:
- Create a small rectangle or rounded tag shape: about 1.2 in x 0.4 in (3 cm x 1 cm)
- Add text: keep it bold and readable (script fonts can weed poorly at tiny sizes)
- Optional: add a small hole circle at one end: 0.12–0.15 in (3–4 mm)
- Cut the tag base:
- Material option A (easy): use faux leather or thick cardstock
- Material option B (durable): use shrink plastic for a charm-like tag
- Cut the name/icon from permanent vinyl and weed carefully.
- Apply vinyl to the tag:
- Use transfer tape for small text.
- Burnish with a scraper for strong adhesion.
- Punch a hole if you didn’t cut one.
- Attach to bracelet:
- Thread onto the bracelet tail before tying, or
- Use a small jump ring to connect the tag to the bracelet
Alternative Cricut Methods (Fast Party-Friendly Options)
Option 1: Cricut-Cut Faux Leather Wrap Bracelet (Intermediate)
- Cut size: 0.4–0.6 in wide (1–1.5 cm) and 8.5–9.5 in long (22–24 cm) for most wrists
- Add personalization: HTV on faux leather (test first), or permanent vinyl if the surface grips well
- Closure: snaps, button + loop, or small buckle findings
Option 2: Iron-On Labels on Ribbon Ties (Beginner)
- Use 3/8 in to 5/8 in (10–16 mm) satin ribbon
- Cut tiny HTV names (0.3–0.4 in / 8–10 mm tall)
- Press with a mini press or iron, then tie around wrist like a bracelet
- Perfect for birthday parties, team events, or sleepovers where you need a fast, matching look
Pro Tips for Cleaner Cuts, Faster Assembly & Better Fit
- Batch your cutting: Put 10–20 names/icons on one mat to save time.
- Use bold fonts for tiny vinyl: Choose thick sans-serif styles; keep thin lines to a minimum.
- Keep vinyl text at least 0.25 in (6 mm) tall for easy weeding.
- Prevent thread tangles: Use bobbins or wrap strands around a piece of cardboard.
- Consistent knots = consistent size: Tighten each knot with the same pressure.
- Party favor upgrade: Make a mini display card in Cricut—punch two holes, thread bracelet through, and add “Made for you!”
Fun Variations (Beginner to Advanced)
Beginner Variations
- Two-color twist: Use 2 strands of floss and twist/braid, then add a Cricut tag.
- Beaded center: Add 5–7 pony beads in the middle of a simple braid.
- Team colors: Match school/team colors for sports parties and spirit nights.
Advanced Variations
- Chevron pattern: Use 8–12 strands; mirror colors for that classic V-shape.
- Alpha patterns (lettering with knots): Create initials or words using a grid pattern (more time, huge payoff).
- Layered charm stack: Combine a shrink-plastic charm + a faux leather tag + a small bead dangle.
Troubleshooting: Fix the Most Common Problems
- My bracelet is too short.
- Add braided/twisted tails for extra length.
- Next time, start with 40–45 in (102–114 cm) strands.
- My knots look uneven.
- Make sure you’re doing two knots per strand consistently.
- Keep the bracelet anchored so tension stays even.
- Vinyl won’t stick to the tag.
- Wipe tag surface with rubbing alcohol and let dry.
- Use permanent vinyl (not removable) and burnish firmly.
- For textured faux leather, consider HTV instead.
- Small vinyl text keeps tearing while weeding.
- Increase text size slightly or switch to a thicker font.
- Use a fresh blade and select the correct material setting.
- Tag hole ripped through.
- Reinforce with a tiny metal eyelet (great for party favors that get worn a lot).
- Move the hole farther from the edge (at least 1/8 in / 3 mm).
Common Crafting Mistakes to Avoid
- Cutting thread too short: It’s the #1 reason bracelets don’t fit. When in doubt, go longer.
- Skipping test cuts for tiny vinyl: One small test saves a whole sheet of wasted material.
- Using super thin fonts: Delicate scripts look pretty on screen but weed poorly at miniature sizes.
- Not anchoring your bracelet: Slipping work creates uneven knots and twisted patterns.
- Overloading beads on elastic: Too many heavy beads can stretch out the cord faster—balance bead size with durability.
- Rushing the finish: Double-knot ends and tug gently to confirm they’re secure before trimming.
FAQ: DIY Friendship Bracelets Using Cricut
1) Do I need a Cricut to make friendship bracelets?
No—classic bracelets can be knotted or beaded without a machine. The Cricut adds personalized tags, charms, and polished party-favor details.
2) What’s the easiest Cricut add-on for beginners?
A small cardstock or faux leather tag with permanent vinyl (names or icons) is the easiest and looks super professional.
3) What size should I make bracelets for party favors?
For adjustable tie bracelets, aim for 5–6 in (12.5–15 cm) of knotted length plus 3 in (7.5 cm) ties on each side. For stretch bracelets, measure wrist size and subtract about 0.5 in (1.25 cm) so it fits snugly.
4) What vinyl works best for tiny names?
Permanent vinyl with a matte finish is often easiest to weed and read. For metallic shine (great for party decorations and favors), use metallic vinyl but keep letters a bit larger.
5) Can kids make these at a party?
Yes! For younger kids, choose a simple braid or bead-on-elastic style, and pre-cut Cricut names/tags ahead of time. Set out sorted color bundles to keep the craft table running smoothly.
6) How do I package friendship bracelets as cute party favors?
Cut favor cards with your Cricut (about 3 in x 4 in / 7.5 cm x 10 cm), add two slits or holes, and attach each bracelet. Stack them in a basket near the party exit or use them as place cards at each setting.
Wrap-Up: Your Next Favorite Party Craft
DIY friendship bracelets using Cricut are the kind of handmade project that feels both easy and special—perfect for party favors, craft nights, and meaningful gifts. Start with a simple candy-stripe bracelet, add a personalized tag, and you’ll have a keepsake everyone actually wants to wear.
Try making a small batch in your party colors, then experiment with charms, chevrons, or iron-on ribbon labels as you get more confident. When you’re ready for your next creative win, explore more DIY craft ideas and party-ready handmade projects on smartpartyprep.com.
More Articles
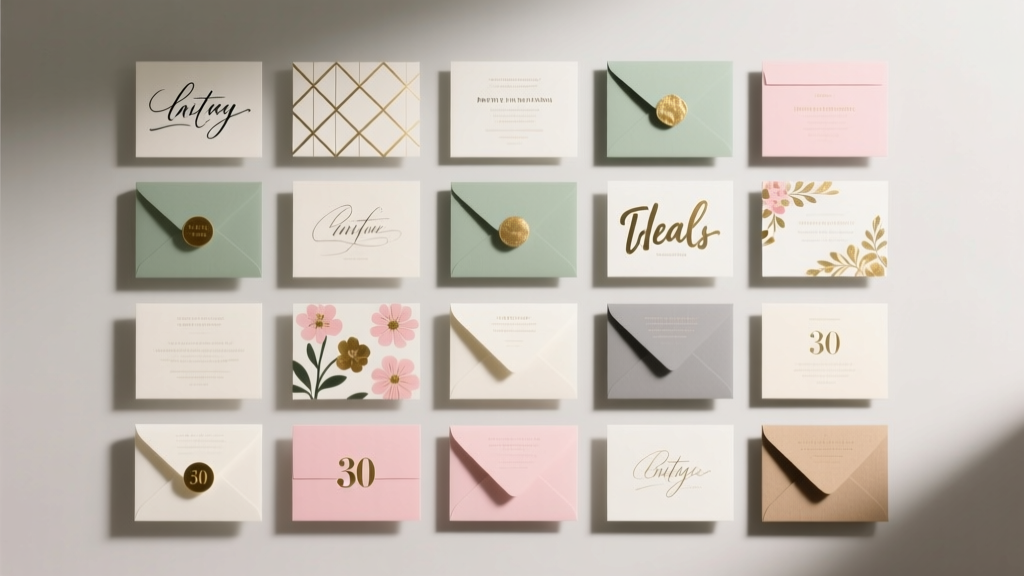 30 Creative Invitations Ideas
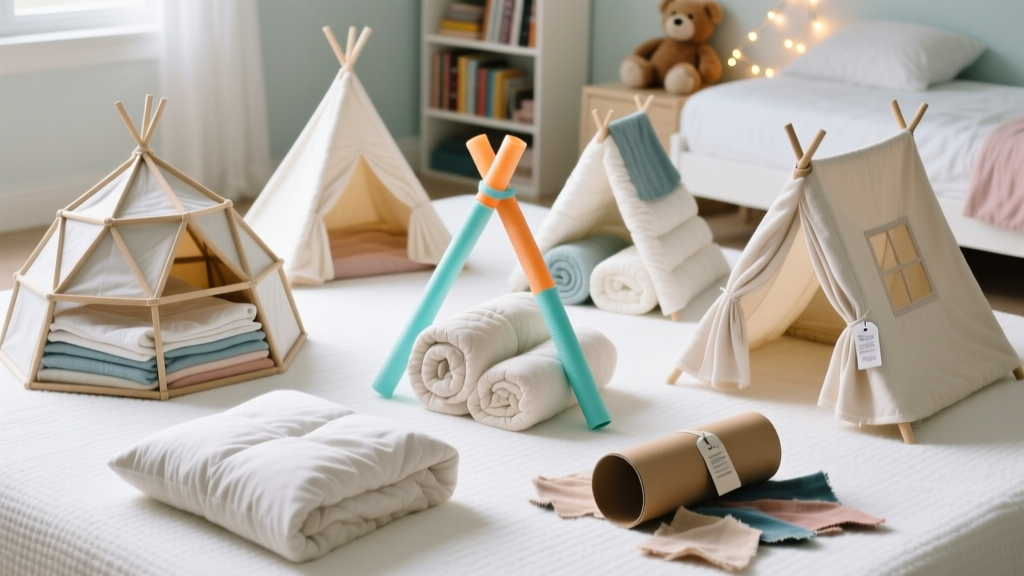 How to Make Tents for a Slumber Party: 7 No-Sew, Budget-Friendly Ideas That Take Under 20 Minutes (Plus Pro Tips to Keep Them Standing All Night!)
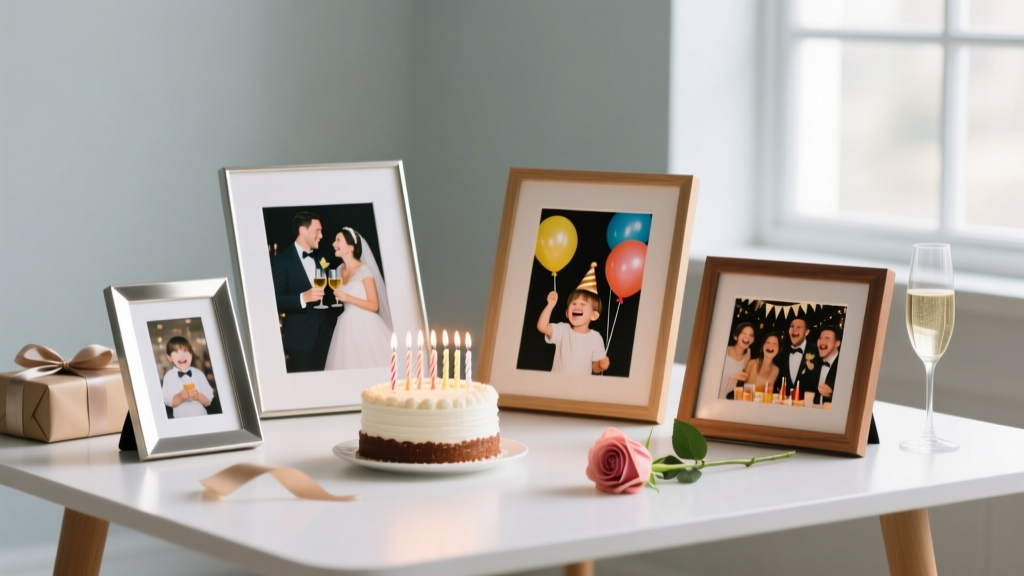 Personalized Photo Frames Gifts
 Kids' Craft: Thank You Cards
 DIY Candles with Dollar Store Supplies
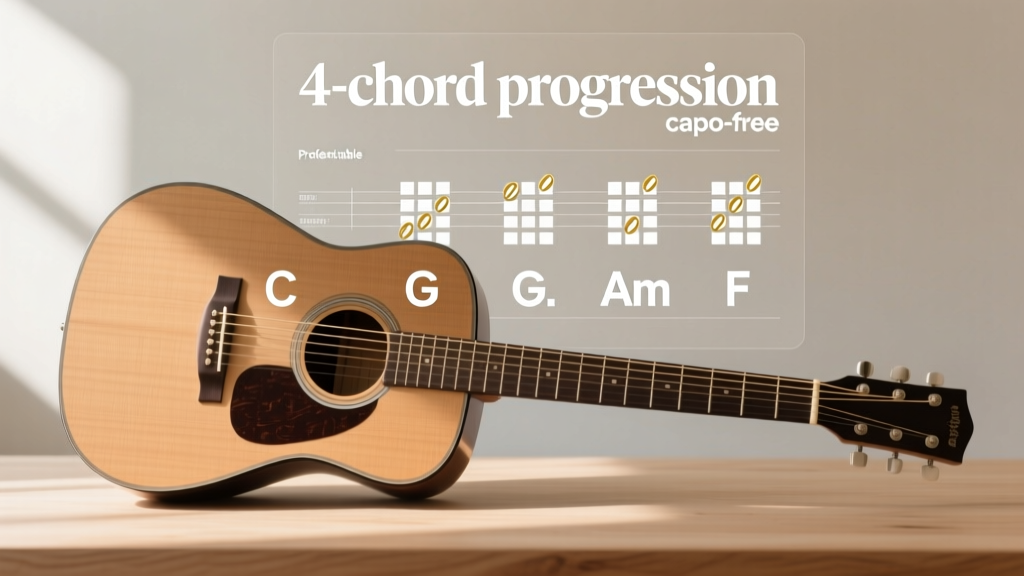 Stop Struggling with 'When the Party's Over' Guitar Chords: The Exact 4-Chord Progression (with Capo-Free & Beginner-Friendly Versions) That 92% of Learners Miss — Free Printable Chart Inside
 How to Make Favor Bags at Home
 How to Enable Third Party Cookies on Mac: A Step-by-Step Safari & Chrome Fix (2024 Verified — No More 'Blocked' Errors or Broken Logins)
 DIY Painted Rocks for Holidays
 Advanced Paper Lanterns for Crafters