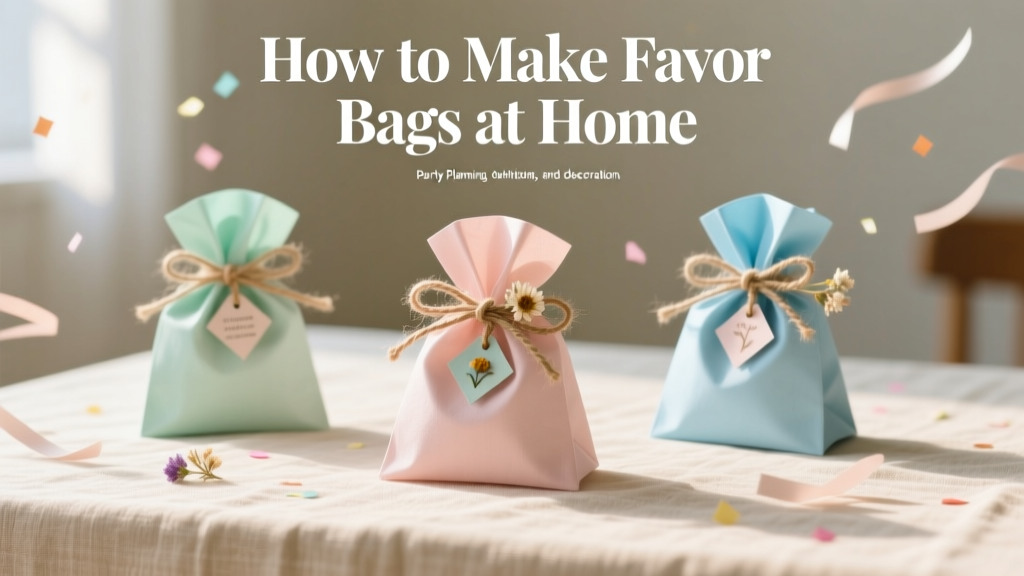
How to Make Favor Bags at Home
Handmade favor bags are one of those party details that feel small—but they make a big impact. When guests pick up a cute little bag tied with ribbon or stamped with a name, it instantly says “this party was planned with care.” Plus, DIY favor bags are a budget-friendly way to match any theme, from elegant weddings to playful kids’ birthdays.
The best part? You don’t need fancy equipment to make party favor bags at home. With a few basic supplies (many you may already have), you can create custom paper favor bags, fabric pouches, or treat sacks that look boutique-level. Whether you’re prepping for a baby shower, graduation, holiday gathering, or classroom celebration, this project is practical, creative, and surprisingly relaxing.
This guide walks you through materials, estimated costs, step-by-step instructions, and smart troubleshooting so you can confidently craft DIY favor bags that look polished and party-ready.
Project Overview: Skill Level, Time, and What You’ll Make
- Skill level: Beginner to Intermediate (advanced variations included)
- Time estimate:
- 1–5 bags: 20–40 minutes
- 12 bags: 60–90 minutes
- 24 bags (assembly-line method): 1.5–2.5 hours
- Typical bag size: 5 in x 7 in for candy and small trinkets (adjustable)
- Great for: DIY party decorations, handmade party favors, treat bags, gift bags, holiday goodie bags
Materials and Tools (with Estimated Costs)
Option A: Paper Favor Bags (No Sewing)
- Kraft paper (or scrapbook paper):
- 12 in x 12 in scrapbook sheets ($0.50–$1.50 each)
- Or a kraft paper roll, 18 in wide (often $6–$12)
- Double-sided tape (strong, 1/4 in–1/2 in wide): $4–$8
- Glue stick (optional for lightweight paper): $1–$3
- Ribbon or twine (1/8 in–3/8 in wide ribbon works well): $3–$10
- Hole punch (single-hole or 1/8 in): $5–$12
- Decorations (choose what fits your theme):
- Stickers ($2–$6 per pack)
- Washi tape ($3–$10)
- Tags ($3–$8) or cardstock to make your own
- Rubber stamp + ink pad ($8–$20 total)
Option B: No-Sew Fabric Favor Bags (Simple Pouches)
- Cotton fabric (fat quarters or yardage): $3–$10
- Iron-on hem tape (no-sew adhesive): $4–$8
- Ribbon or cord for drawstring (about 24 in per bag): $3–$10
- Safety pin (to thread drawstring): $1–$3
Recommended Tools for Clean, Professional Results
- Paper trimmer or sharp scissors ($10–$30)
- Metal ruler (12 in) for crisp folds ($5–$10)
- Bone folder (or the back of a butter knife) for creasing ($5–$10)
- Cutting mat (optional but helpful) ($10–$25)
- Iron (for fabric pouches and crisp paper folds)
Estimated cost per favor bag: Typically $0.40–$1.50 depending on paper type, embellishments, and whether you add tags or specialty ribbon.
Choosing the Right Favor Bag Style
Pick Paper Bags If You Want…
- Quick assembly and easy theme matching
- Clean lines for modern parties and weddings
- Easy labeling (names, dates, or “thank you” messages)
Pick Fabric Pouches If You Want…
- A reusable, eco-friendly feel
- A cozy, handmade look for baby showers and rustic parties
- Something sturdier for heavier favors (soaps, small candles)
Step-by-Step: DIY Paper Favor Bags (Custom Size, No Templates Needed)
This method makes a classic flat-bottom bag that stands on its own. The measurements below create a bag roughly 5 in wide x 7 in tall x 3 in deep.
Measurements (Cut List)
- Paper rectangle: 10.5 in wide x 12 in tall
- Bottom fold: 3 in
- Side gussets: 1.5 in on each side
- Top hem (optional for a neat finish): 1/2 in
Instructions
-
Cut your paper.
- Use a paper trimmer for a crisp edge, especially if you’re making multiple bags.
- If using patterned paper, decide which side you want facing out.
-
Create the side seam.
- Lay paper vertically (12 in tall).
- Fold the right edge over by 1/2 in to form a seam flap. Crease.
- Bring the left edge over to overlap the flap by about 1/2 in, creating a tube.
- Tape the seam securely from top to bottom.
-
Fold the bottom.
- From the bottom edge, fold up 3 in. Crease well.
- Open that fold back up—this crease is your bottom guide.
-
Form the side gussets.
- Flatten the bag tube so the seam sits near one edge (not centered).
- On each side, fold inward to create a gusset of 1.5 in depth.
- Crease sharply using a bone folder or ruler edge.
-
Create the flat bottom.
- Open the bottom fold area and press it into a diamond shape (like opening a paper bag).
- Fold the top triangle down to the center line, then fold the bottom triangle up, overlapping slightly (about 1/2 in).
- Tape across the overlap and add extra tape on the corners for strength.
-
Square the bag and finish the top.
- Open the bag and press the bottom flat so it stands.
- For a clean edge, fold the top down by 1/2 in (or twice for a thicker cuff). Tape or glue it.
-
Fill and close.
- Add tissue paper, shredded crinkle paper, candy, or small favors.
- Pinch the top closed and punch two holes about 1/2 in below the edge and 1.5 in apart.
- Thread ribbon or twine through and tie a bow.
Step-by-Step: No-Sew Fabric Favor Bags (Simple Drawstring Pouches)
These are perfect if you want handmade favor bags that guests can reuse. This sizing makes a pouch about 5 in x 7 in finished.
Measurements (Cut List)
- Fabric: Cut 1 rectangle at 12 in wide x 9 in tall
- Drawstring casing: 1 in at the top (folded), plus 1/2 in hem edge
- Drawstring: 24 in ribbon/cord (or two 24 in pieces for a double drawstring)
Instructions
-
Hem the top edge (for a clean casing).
- Fold the top edge down 1/2 in, press with an iron.
- Apply iron-on hem tape inside the fold and press to bond.
-
Create the drawstring casing.
- Fold the top down again by 1 in, press.
- Use hem tape to secure the fold, but leave the ends open to thread the ribbon through.
-
Form the pouch.
- Fold fabric right-sides together (if patterned), aligning edges.
- Apply hem tape along the side and bottom edges (leave the casing area free).
- Press to bond and seal.
-
Thread the drawstring.
- Attach ribbon to a safety pin and feed it through the casing.
- Tie ends together or finish with small knots at tips.
Pro Tips for Professional-Looking Handmade Favor Bags
- Use an assembly-line method: cut all paper first, then fold all seams, then form all bottoms, then decorate at the end.
- For crisp paper folds: lightly run a bone folder along every crease. It instantly makes DIY party decorations look more “store-bought.”
- Reinforce the bottom for heavier favors: cut a cardstock base at 4.75 in x 2.75 in and tape/glue it inside the bottom.
- Choose the right adhesive:
- Double-sided tape = neat and strong
- Glue stick = good for labels and light décor
- Hot glue = great for embellishments (not ideal for bag seams)
- Keep decorations flat if stacking: if you’re transporting them in a box, avoid bulky bows until you arrive.
Creative Variations (Beginner-Friendly to Advanced)
Beginner-Friendly Upgrades
- Washi tape top border: add a strip around the top cuff for instant color.
- Sticker seal: fold the top like an envelope and seal with a themed sticker.
- Printable labels: use plain kraft paper and add a printed “Thank you” label.
Intermediate Theme Ideas
- Confetti window bag: cut a 2 in x 3 in rectangle on the front and tape clear cellophane behind it.
- Two-tone paper: use one color for the outside and a contrasting sheet inside (glue together before folding).
- Name tags: cut 2 in circles or 1.75 in x 3 in tags; punch a hole and tie on.
Advanced Variations
- Die-cut monograms: add initials with a cutting machine or craft punch.
- Heat-embossed stamps: stamp a design, add embossing powder, and heat-set for a glossy raised finish.
- Lined fabric pouches: sew (or no-sew bond) a thin lining for a boutique look and extra durability.
Troubleshooting: Fix Common Favor Bag Problems
- Bag won’t stand up:
- Increase the bottom fold from 3 in to 3.5 in
- Re-crease the gussets and press the bottom flat
- Add a cardstock base insert
- Side seam pops open:
- Use stronger double-sided tape (or add a second strip)
- Increase overlap at the seam to 3/4 in
- Paper cracking on folds:
- Switch to slightly thinner paper (65–80 lb cover works well)
- Score folds lightly with a ruler and bone folder before creasing
- Fabric pouch edges lifting (no-sew):
- Use a hotter iron setting appropriate for the fabric
- Press longer (10–15 seconds per section) and let it cool fully before pulling
Common Crafting Mistakes to Avoid
- Skipping measuring for “just one” bag: small differences add up fast when you batch-make party favor bags.
- Decorating before construction: stamping and stickers can end up upside down or hidden in folds—build first, decorate second.
- Using wet glue on thin paper: it can cause warping. Choose double-sided tape for clean results.
- Overfilling: leave at least 1.5 in of space at the top so you can close the bag neatly.
- Not testing with your actual favors: always do one sample bag with the real contents before making 20 more.
FAQ: DIY Favor Bags at Home
1) What size favor bag should I make?
For candy or small toys, a finished size around 5 in x 7 in x 3 in is a reliable go-to. For cookies or larger favors, scale up: try a paper cut size of 12 in x 14 in and increase the bottom fold to 3.5–4 in.
2) What’s the best paper for DIY treat bags?
Kraft paper and medium-weight cardstock are sturdy and fold well. Scrapbook paper (12x12) is great for patterns, but avoid very thick glitter cardstock for folded bottoms—it can crack.
3) Can I make these without a bone folder or paper trimmer?
Yes. Use a ruler and the back of a spoon or butter knife to crease folds. Sharp scissors work for cutting—just mark your measurements carefully and cut slowly.
4) How do I make favor bags look expensive?
Stick to a limited color palette (2–3 colors), use high-contrast ribbon, and add one “signature” detail like a stamped logo, monogram, or matching tag. Clean creases and neat seams make the biggest difference.
5) How far in advance can I make favor bags?
You can make the empty bags 1–3 weeks ahead and store them flat in a box. Add food items (especially cookies, popcorn, or anything fragrant) as close to the event as possible, ideally within 1–2 days.
6) Are DIY favor bags food-safe?
Paper and fabric aren’t inherently food-safe. For unwrapped treats, place them in a small cellophane bag first, then put that inside your handmade favor bag.
Wrap-Up: Your Party, Your Style
Making favor bags at home is one of the easiest ways to turn simple party favors into a cohesive part of your DIY party decorations. Start with one test bag, tweak the size and closure you like, then batch-make the rest with confidence. Whether you go with crisp kraft paper and twine or soft fabric pouches with ribbon, your guests will notice the handmade touch.
Ready for your next project? Explore more DIY crafts, party decorations, and handmade party ideas on smartpartyprep.com.
More Articles
 Personalized Wreaths Gifts
 Seasonal Garlands Ideas
 Kids' Craft: Beaded Bracelets
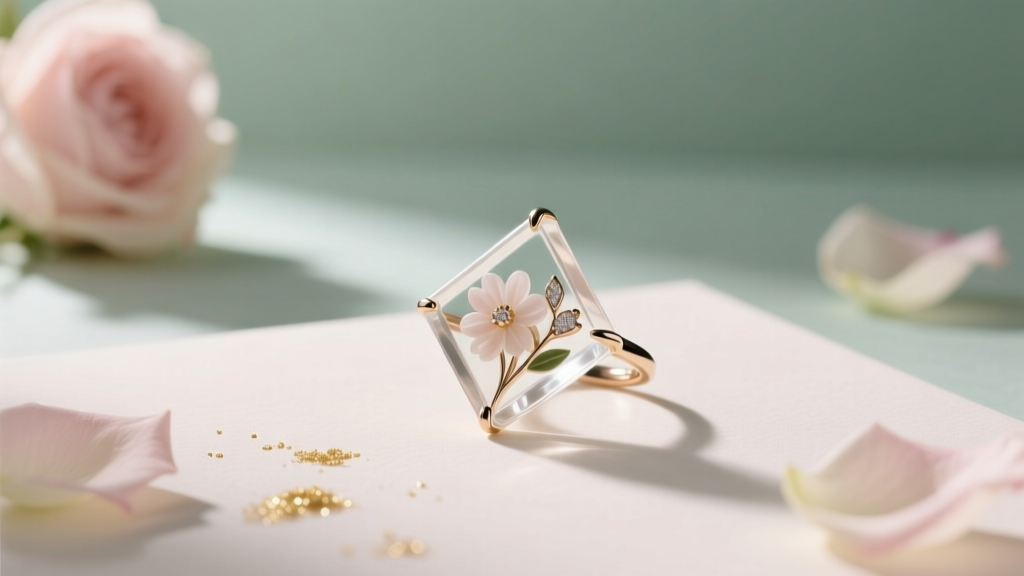 DIY Resin Jewelry for Weddings
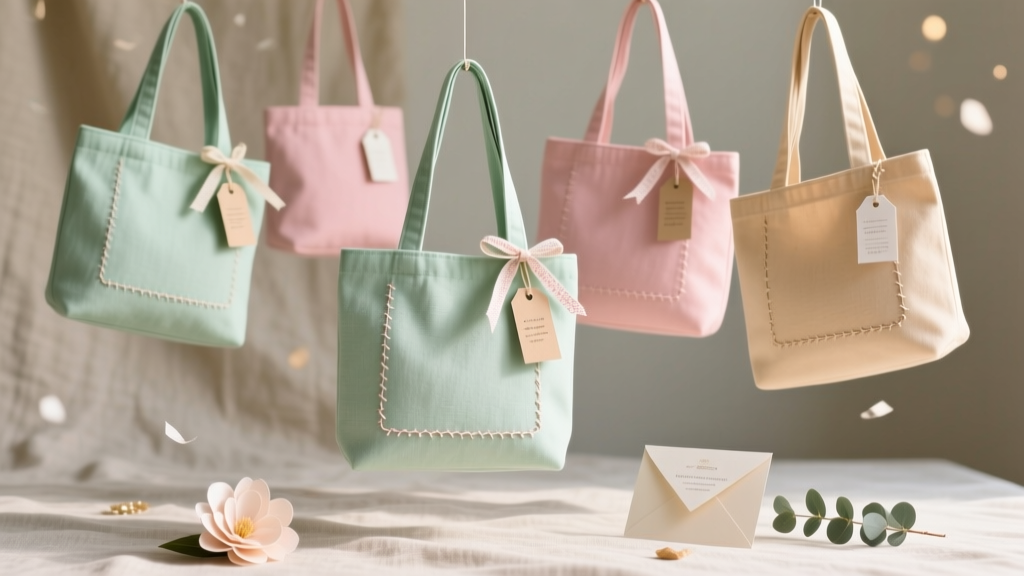 DIY Tote Bags Party Favors
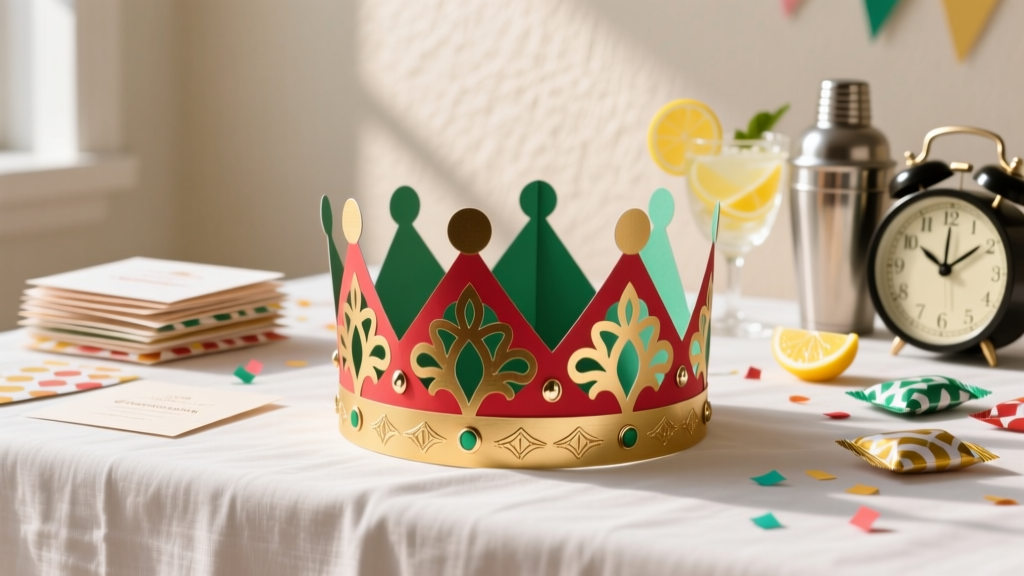 DIY Crowns in An Afternoon
 How to Draw a Party Hat in 5 Minutes (Even If You Can’t Draw): A Foolproof, Step-by-Step Guide for Kids, Teachers & Party Planners Who Need Instant Printable Art
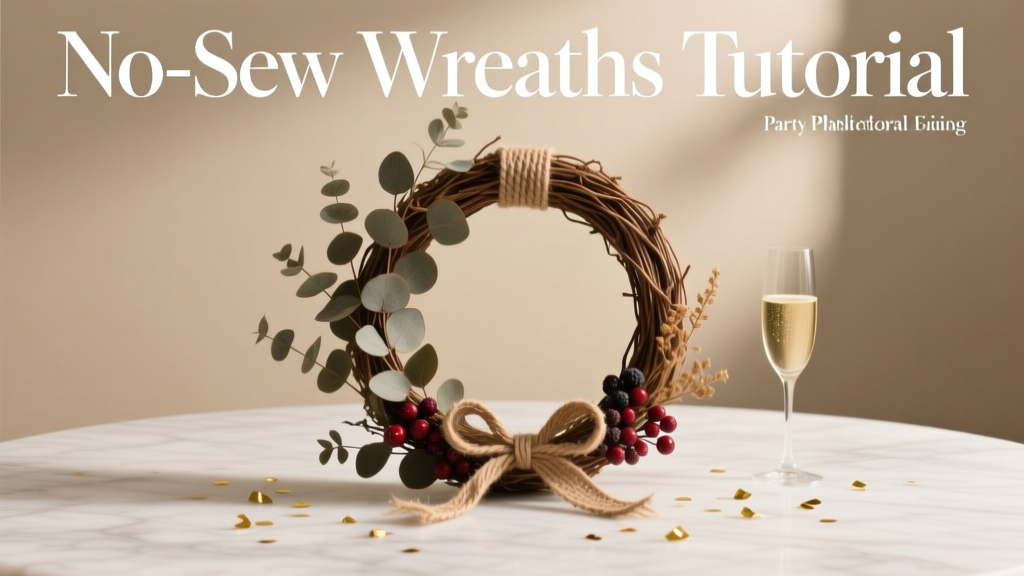 No-Sew Wreaths Tutorial
 How to Enable 3rd Party Cookies on Safari in 2024: The Real Truth (Spoiler: You Can’t — But Here’s What Actually Works Instead)
 DIY Paper Lanterns with Dollar Store Supplies