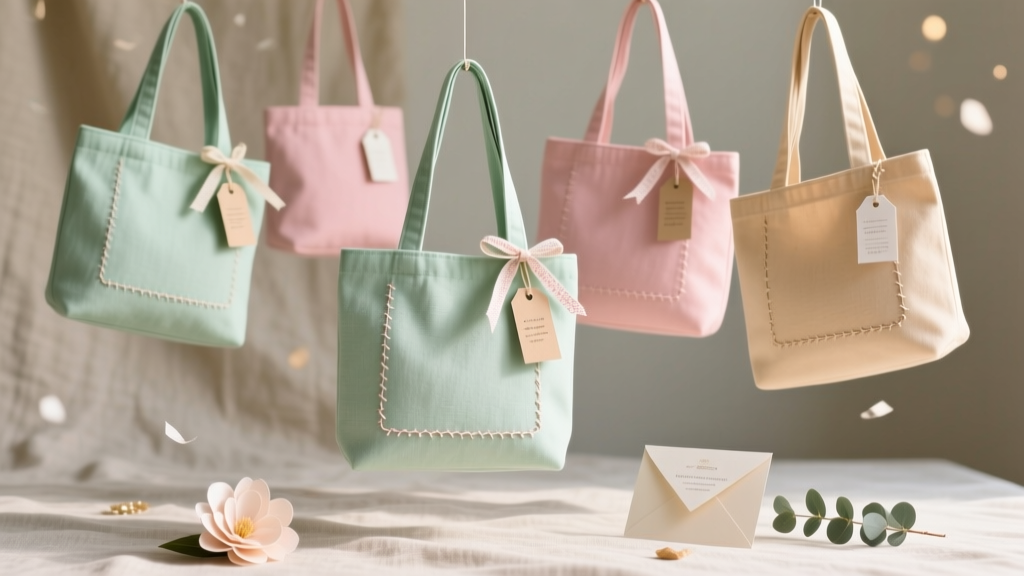
DIY Tote Bags Party Favors
Party favors don’t have to be plastic, forgettable, or destined for the junk drawer. DIY tote bags are one of those rare party projects that feel genuinely fun to make—and guests actually use them afterward. Whether you’re hosting a birthday, bridal shower, baby shower, graduation, or a crafty kids’ party, a handmade tote favor doubles as a gift and a practical “carry-all” for snacks, mini prizes, or the take-home goodies.
Even better: tote bags can match your theme perfectly. You can go bold and graphic for a modern vibe, sweet and floral for garden parties, or bright and playful for kids. The process is beginner-friendly, easy to batch-produce, and flexible enough for advanced crafters who want layered vinyl, stencils, or embellishments.
Use this guide to plan your design, choose the right materials, and make a set of party favor tote bags that look polished without requiring a studio full of equipment.
Project Overview: Skill Level, Time, and What You’ll Make
- Skill level: Beginner (iron-on vinyl or fabric paint) to Intermediate/Advanced (multi-layer designs, screen-print style)
- Time estimate:
- 1 bag: 20–40 minutes (including prep and pressing/drying)
- 6–12 bags batch: 2–4 hours (faster once your workflow is set)
- Finished size (recommended): 13–15 in wide x 14–16 in tall tote (standard party favor size)
- Customization ideas: Names, party date, short phrase, monogram, icons, theme graphics, “thank you” message
Materials & Tools (with Estimated Costs)
Costs vary by brand and where you shop, but these ranges help you budget for DIY party favors.
Base Tote Bags
- Plain cotton canvas tote bags (6–12 oz canvas recommended for durability)
- Size: ~14 in x 15 in with 9–10 in handle drop
- Estimated cost: $1.50–$4.00 per bag in multi-packs; $3–$7 each individually
- Muslin or lightweight cotton totes (budget-friendly, best for light use)
- Estimated cost: $1.25–$3.00 per bag in bulk
Decoration Options (Choose One Primary Method)
- Heat Transfer Vinyl (HTV / iron-on) (great for crisp shapes and names)
- Estimated cost: $2–$5 per 12 in x 12 in sheet (one sheet can decorate 1–4 bags depending on design size)
- Fabric paint (best for hand-painted looks or easy stencil fill)
- Estimated cost: $3–$8 per bottle; 2–3 colors cover most party palettes
- Fabric markers (kid-friendly personalization station)
- Estimated cost: $10–$18 per set
Tools & Supplies
- Household iron or heat press
- Iron: budget-friendly, works well with practice
- Heat press: faster for batching; more consistent results
- Cutting machine (optional) for HTV: Cricut/Silhouette-style
- Alternative: scissors + simple shapes or pre-cut iron-on letters
- Weeding tool (or tweezers) for HTV
- Stencils (store-bought or DIY cardstock stencils)
- Painter’s tape or stencil adhesive
- Pressing cloth (thin cotton fabric) or parchment paper
- Cardstock or thin cardboard inserts (prevents bleed-through)
- Measuring tape or ruler
- Lint roller (especially important for HTV)
- Estimated tool/supply cost if you’re starting fresh: $15–$40 (not including a cutting machine)
Design Planning: Sizes, Placement, and Theme Ideas
A little planning makes your handmade party favors look clean and intentional.
Recommended Design Measurements
- Center-front design: 7–9 in wide x 7–9 in tall (great for a name + icon)
- Small chest logo (upper corner): 3–4 in wide
- Name-only text: 5–7 in wide, depending on font
- Bottom margin: keep the design at least 2 in above the tote’s bottom seam
- Top margin: position design about 3–4 in below the top edge (so it doesn’t hide behind handles)
Theme-Friendly Ideas for DIY Party Tote Bags
- Kids’ birthday: “Party Crew,” dinos, rainbows, trucks, simple stars
- Baby shower: “Oh Baby,” moons/clouds, tiny hearts, pastel initials
- Bridal shower: “Team Bride,” floral monograms, wedding date
- Graduation: class year + cap icon, “Congrats Grad!”
- Holiday party: minimalist tree, snowflake, “Cozy Crew”
Method 1: Iron-On Vinyl (HTV) Tote Bags (Crisp and Professional)
Best for: names, icons, bold graphics, fast batch production.
Step-by-Step Instructions (HTV)
-
Pre-wash (optional) and prep the tote.
- If your totes are cotton and likely to shrink, consider pre-washing and air-drying first.
- Run a lint roller over the area where vinyl will go. Stray fibers can cause lifting.
-
Measure and mark placement.
- Use a ruler to find center width.
- Lightly crease the tote vertically (finger press) to find center, or use a tiny piece of painter’s tape as a guide.
- Target placement: about 3.5 in down from the top edge to the top of your design.
-
Cut your HTV design (mirror it!).
- For cutting machines: set material to your vinyl type.
- Mirror the design so it reads correctly after pressing.
- For no-machine option: use pre-cut iron-on letters or cut simple shapes with scissors.
-
Weed the vinyl.
- Remove excess vinyl, leaving your design on the carrier sheet.
- Tip: Good lighting makes weeding much easier.
-
Insert a cardstock protector.
- Place a piece of cardstock or thin cardboard inside the tote so heat and adhesive don’t transfer to the back layer.
- Make sure it lays flat with no wrinkles.
-
Pre-press the tote.
- With a heat press: 5 seconds at about 305°F (150°C).
- With an iron: 10–15 seconds on cotton/linen setting, no steam.
- This removes moisture and wrinkles for better adhesion.
-
Press the design.
- Place HTV (carrier sheet up) on the tote using your center marks.
- Cover with parchment paper or a pressing cloth.
- Heat press: 10–15 seconds (follow your vinyl brand’s instructions).
- Iron: press firmly for 15–20 seconds per section, lifting and overlapping (don’t slide the iron).
-
Peel the carrier sheet.
- Follow your HTV type: warm peel or cool peel.
- If any edge lifts, lay the carrier back down and press again for 5–10 seconds.
-
Final press (recommended).
- Cover with parchment and press another 5–10 seconds to seal edges.
Method 2: Stenciled Fabric Paint Tote Bags (Soft, Handmade Look)
Best for: artsy themes, boho parties, kids’ crafting tables, and textured designs.
Step-by-Step Instructions (Stencil + Fabric Paint)
-
Protect the inside of the tote.
- Insert cardboard cut to about 11 in x 14 in (or sized to your tote) to prevent paint bleed-through.
-
Place and secure the stencil.
- Position your stencil using the same placement guidelines (3–4 in from top edge).
- Use painter’s tape on all edges, or stencil adhesive for crisper lines.
-
Apply paint with minimal moisture.
- Use a stencil brush, foam pouncer, or dense sponge.
- Dip lightly, then offload paint onto scrap paper before applying to fabric.
- Use a gentle “pouncing” motion to avoid pushing paint under the stencil.
-
Build color in thin layers.
- Two to three light coats look smoother than one heavy coat.
- Let the paint sit 2–5 minutes between coats if it’s getting tacky.
-
Remove stencil carefully.
- Peel tape and stencil upward slowly while paint is still slightly wet to reduce cracking.
-
Dry and heat-set.
- Air dry for 24 hours if possible.
- Heat set with an iron (no steam) through a pressing cloth for 30–60 seconds, moving across the design.
Pro Tips for Party-Favor Batch Production
- Create a template. Cut a piece of cardstock the size of your design placement zone and use it to position every bag consistently.
- Assembly-line the process. Prep and lint-roll all totes first, then cut/weed, then press/paint.
- Choose a limited color palette. Two vinyl colors or 2–3 paint colors keeps the set cohesive and faster to produce.
- Test one tote first. Your first bag is your “proof” for sizing, placement, and heat/paint behavior.
- Let guests personalize at the party. Pre-apply a theme graphic, then set out fabric markers for names.
Creative Variations (Beginner-Friendly to Advanced)
Beginner-Friendly Adaptations
- Pre-cut iron-on letters: Spell names or “Thank You!” without a cutting machine.
- Single-color stencil: One bold icon (star, heart, balloon) looks clean and is hard to mess up.
- Fabric markers only: Turn it into an activity station—guests decorate their own tote as a party craft.
Advanced Variations
- Layered HTV designs: Add shadow text or multi-color icons (press in short stages to avoid overheating layers).
- Foil or glitter HTV accents: Use glitter for the main word and matte vinyl for smaller text.
- ��Screen print” style: Use a larger stencil and a squeegee for a bold, boutique look.
- Heat transfer paper photos: Great for milestone birthdays or bachelorette party tote bags (follow paper brand instructions closely).
Troubleshooting: Fixes for Common Issues
- HTV edges lifting:
- Cause: not enough heat/pressure or lint on fabric.
- Fix: cover with parchment and press again 5–10 seconds with firmer pressure. Lint-roll next time.
- Vinyl looks wrinkled or bubbled:
- Cause: tote wasn’t pre-pressed; seams created uneven pressure.
- Fix: pre-press longer and reposition bag so seams aren’t under the design area.
- Paint bleeding under stencil:
- Cause: too much paint or stencil not secured.
- Fix: use less paint, pounce lightly, secure edges with tape/adhesive.
- Paint looks patchy:
- Cause: too little paint or fabric absorbing unevenly.
- Fix: add 1–2 thin coats; consider a fabric medium if using acrylic paint.
- Design is crooked:
- Cause: eyeballing placement.
- Fix: fold to find center or use a ruler and a template every time.
Common Crafting Mistakes to Avoid
- Skipping the inside protector. Always use cardboard inside the tote for paint or HTV so nothing transfers to the back.
- Using steam with HTV. Steam adds moisture and reduces adhesion. Use a dry iron setting.
- Sliding the iron. Sliding can shift the vinyl or stencil. Press straight down, lift, and move.
- Overloading paint on the brush. Too much paint is the #1 cause of stencil bleed.
- Placing designs too high. Handles can cover your artwork. Stay 3–4 inches below the top edge.
- Not checking peel instructions. Some vinyl is warm peel, others cool peel—peeling at the wrong time can lift the design.
FAQ: DIY Tote Bags Party Favors
1) How many tote bags should I make for a party?
Plan for one per guest, plus 1–2 extras for last-minute RSVPs and a “sample” bag you can test materials on. For kids’ parties, extras are especially helpful.
2) Do I need a cutting machine to make iron-on tote bags?
No. You can use pre-cut iron-on letters, simple shapes cut with scissors, or stencil + fabric paint. A cutting machine just makes detailed designs faster.
3) What tote bag fabric works best for party favors?
100% cotton canvas (6–12 oz) is the easiest to decorate and holds up well. Very thin totes can wrinkle more and may need extra careful pressing/painting.
4) Can guests wash their tote bags later?
Yes. For HTV, wait 24–48 hours before washing, then wash cold and air-dry or tumble low. For fabric paint, heat-set and wait 24 hours before washing. Turning the bag inside out helps preserve the design.
5) What should I put inside tote bags as party favors?
- Individually wrapped treats
- Mini craft kits (stickers, crayons, small bead packs)
- Thank-you note + photo booth strip
- Small candles or bath bombs (for showers)
- Confetti poppers or party crowns (keep it lightweight)
6) How do I make each tote personalized without spending all day?
Use one main design (theme graphic) on every tote, then add names with a quick second step: small iron-on name strips, fabric markers, or letter stickers as a party activity station.
Wrap-Up: Your Party Favors Can Be Useful and Totally On-Theme
DIY tote bags are one of the most satisfying party decoration and favor projects because they’re creative, practical, and endlessly customizable. Start simple with a one-color design, then level up with layered vinyl, stencils, or guest personalization. Once you’ve made a batch, you’ll be surprised how polished they look lined up on the favor table.
Have fun matching your totes to your party theme, and don’t be afraid to make a “test bag” first—your confidence jumps fast after that first successful press or stencil pull. For more handmade party favors, DIY crafts, and party-ready decorations, explore more creative ideas on smartpartyprep.com.
More Articles
 Budget DIY Origami Decorations Under $15
 How to Remove a Pokemon from Your Party in Cobblemon: The 3-Step Method That Actually Works (No Crashes, No Lost Data, and Zero Mod Conflicts)
 How to Install 3rd Party Apps on Roku TV (Without Jailbreaking): The Only Legal, Step-by-Step Method That Actually Works in 2024 — No Developer Mode Confusion, No Failed Sideloading, Just Real Results
 How to Hang Party Streamers Without Tape Marks, Sagging, or Last-Minute Panic: 7 Foolproof Methods (Tested on 37 Parties)
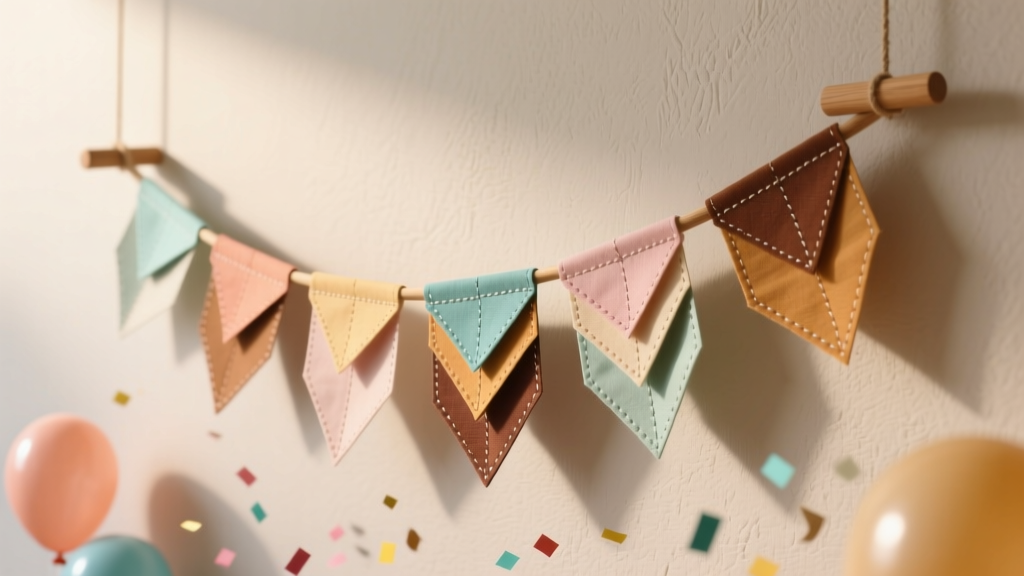 Paper Craft Fabric Bunting Ideas
 Advanced Invitations for Crafters
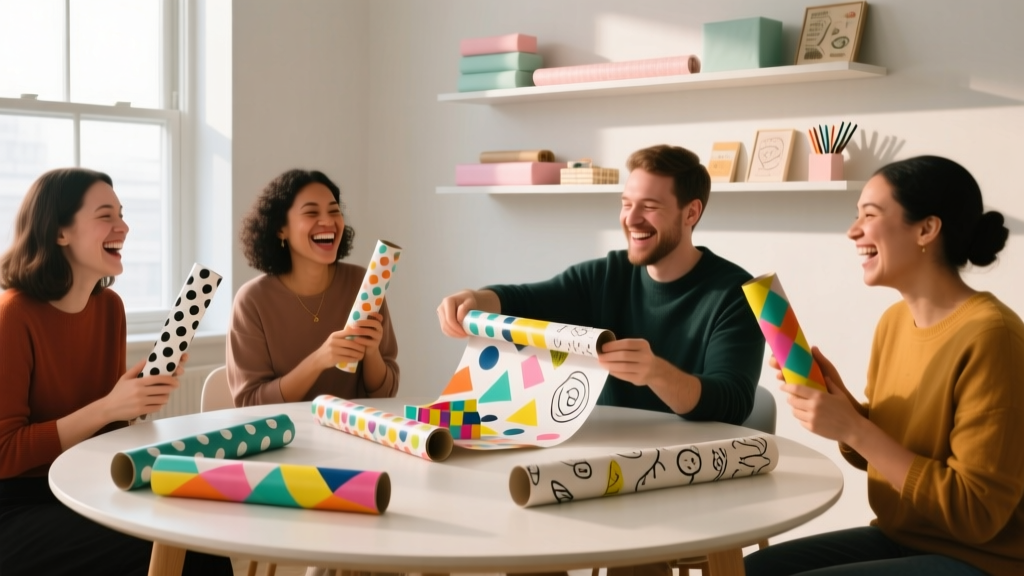 What Is Wrapped Party? The Surprisingly Genius DIY Craft Trend That Turns Gift-Wrapping Into a Joyful, Social, Memory-Making Experience (No Scissors Required!)
 Step-by-Step Wreaths Tutorial
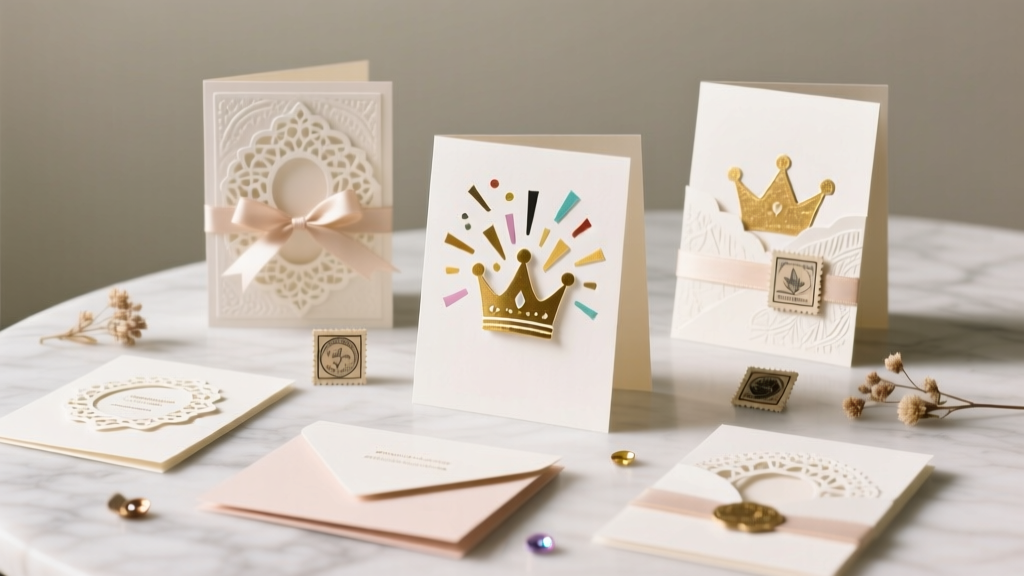 Advanced Greeting Cards for Crafters
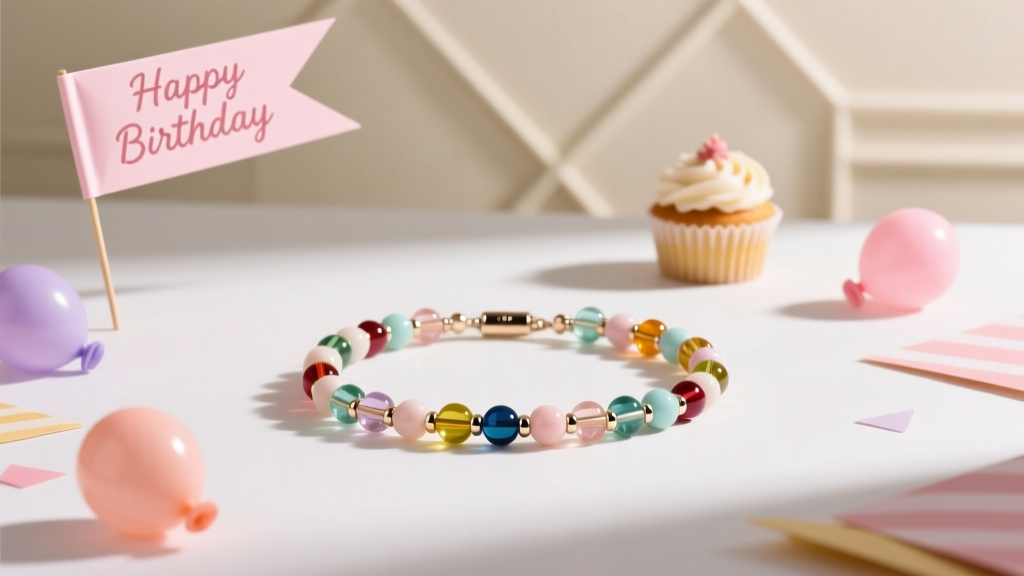 Kids' Craft: Beaded Bracelets