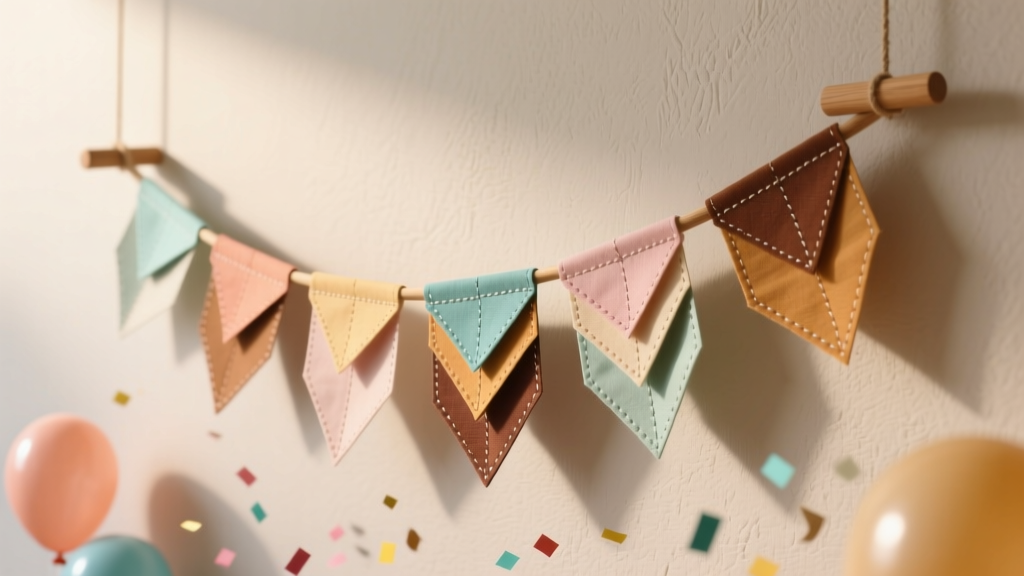
Paper Craft Fabric Bunting Ideas
Few party decorations feel as instantly cheerful as bunting. Those little flags fluttering across a wall or dessert table give any space a “something special is happening” vibe—without requiring expensive décor or complicated tools. The best part? You can make bunting that looks boutique-level using simple paper craft techniques paired with fabric accents for texture and durability.
This project is especially fun because you get to play with color, pattern, and shape: classic triangles for birthdays, scallops for baby showers, mini pennants for a cozy craft corner, or bold geometric flags for graduation parties. Paper craft fabric bunting also packs flat, stores well, and can be reused year after year when you build it with strong stringing and reinforced tops.
Below you’ll find beginner-friendly bunting ideas, step-by-step instructions, practical troubleshooting, and creative variations—so you can make handmade party decorations that fit your theme perfectly.
Skill Level, Time, and Finished Size
- Skill level: Beginner to Intermediate (advanced variations included)
- Time estimate: 60–120 minutes for a 6–8 ft bunting (plus optional drying time)
- Typical finished length: 6–10 ft (1.8–3 m), depending on flag count and spacing
- Standard flag size (recommended): 5 in wide x 7 in tall (12.7 x 17.8 cm) for triangles
- Spacing suggestion: 1–2 in (2.5–5 cm) between flags for a light, floaty look
Paper Craft Fabric Bunting Ideas (Choose Your Style)
1) Paper Flags with Fabric Top Tabs (Sturdy + Reusable)
This is the go-to option when you want crisp paper designs but need extra strength at the top where bunting usually tears. Fabric tabs wrap over the string or ribbon and reinforce each flag.
2) Fabric-Backed Paper Pennants (No Floppy Flags)
Adhere patterned paper to lightweight cotton fabric so the flags hold their shape. Great for outdoor parties or anywhere a breeze might bend paper.
3) Layered “Patchwork” Bunting (Premium Look)
Layer a smaller paper shape on top of a larger fabric shape (or vice versa). This gives color depth and makes each flag look like a mini art piece.
4) Photo + Fabric Memory Bunting (Birthdays, Showers, Graduations)
Print small photos on cardstock, mount them to fabric-backed flags, then add numbers, letters, or tiny embellishments. It doubles as party décor and a keepsake.
5) No-Sew Fold-Over Fabric Sleeves with Paper Inserts (Fast + Clean)
Create fabric sleeves that fold over the string, then slide paper flags inside. You can swap paper designs seasonally without remaking the entire bunting.
Materials List (With Estimated Costs)
Costs vary by brand and what you already have on hand, but here are realistic ranges for a single 6–10 ft bunting.
- Patterned scrapbook paper (12 x 12 in) or cardstock (8.5 x 11 in): $0.50–$1.50 per sheet (6–10 sheets total)
- Cotton fabric (fat quarters or scraps): $2–$6 each (1–2 fat quarters usually enough)
- Double-fold bias tape (½ in) or grosgrain ribbon (⅜–½ in wide): $3–$8 for 3–5 yards
- Adhesive (choose one):
- Craft glue (PVA): $3–$7
- Double-sided tape runner: $5–$10
- Hot glue sticks: $2–$6
- Spray adhesive (for fabric-backed paper): $8–$15
- Optional reinforcement: clear packing tape or matte clear contact paper $3–$8
- Embellishments: letter stickers, vinyl letters, mini pom trims, washi tape $3–$10
- Tools:
- Scissors (fabric + paper): $5–$20
- Ruler + pencil: $2–$10
- Craft knife + self-healing mat (recommended for crisp cuts): $10–$30
- Hole punch (⅛–¼ in) or crop-a-dile style punch: $6–$25
- Clips or clothespins: $2–$6
- Iron (optional for fabric tabs/sleeves): already owned or $15+
Estimated total cost: $12–$35 for most crafters (less if using scraps).
Measurements: Quick Planning Formula
Before cutting, decide how long your bunting should be and how many flags you want.
- Flag width: 5 in (12.7 cm)
- Gap between flags: 1.5 in (3.8 cm)
- Extra string for tying: 12–18 in (30–45 cm) on each end
Example: For 10 flags: (10 x 5 in) + (9 x 1.5 in) = 50 + 13.5 = 63.5 in. Add 30 in for tying = ~93.5 in (about 2.4 m / 7.8 ft) of ribbon.
Step-by-Step: Classic Paper Flags with Fabric Top Tabs
This method creates durable DIY party bunting with a clean handmade finish. No sewing required.
Step 1: Choose a Flag Template
- Triangle (classic): 5 in wide x 7 in tall
- Swallowtail (fishtail): 5 in wide x 7 in tall + 1.5 in center cut
- Scallop (sweet, vintage): 5 in wide x 6.5–7 in tall
Make a sturdy template from cereal box cardboard so every flag matches.
Step 2: Cut Your Paper Flags
- Trace the template onto the back of your patterned paper or cardstock.
- Cut with scissors or a craft knife and ruler for straight edges.
- Quantity tip: 8–12 flags looks full for most dessert tables; 12–18 flags works well across a wall.
Step 3: Reinforce the Top Edge (Highly Recommended)
The top edge takes the most stress. Pick one:
- Clear tape reinforcement: Apply a strip of clear tape across the top 1 in (2.5 cm) of the back side.
- Contact paper reinforcement: Apply matte clear contact paper to the top section for a sturdier, less glossy look.
Step 4: Cut Fabric Tabs
Cut rectangles of cotton fabric:
- Size: 2 in x 4 in (5 x 10 cm) per flag
- Why this works: 2 in height folds nicely over ribbon and gives ~1 in coverage on each side of the paper.
Step 5: Attach Tabs to Each Flag
- Fold a fabric rectangle in half (2 in x 2 in) to find the center crease.
- Add adhesive to the inside of the fabric (double-sided tape runner is clean; hot glue is fast; PVA is strong but needs dry time).
- Slide the top edge of the paper flag into the fold so the tab sits centered.
- Press firmly and clip with clothespins for 5–10 minutes if using wet glue.
Step 6: String the Bunting
Choose your stringing material:
- Best beginner option: Double-fold bias tape (easy to glue into)
- Best crisp look: Grosgrain ribbon (holds shape nicely)
- Most rustic: Twine (use stronger adhesive or sew for best hold)
- Lay out the ribbon or tape flat and mark the center point.
- Arrange your flags from center outward for a balanced pattern.
- For each flag, glue the fabric tab around the ribbon (or slide the ribbon through if you left a small tunnel).
- Keep gaps consistent (1–2 in / 2.5–5 cm) for a professional look.
Step 7: Hang and Adjust
- Use painter’s tape for walls (less damage), removable hooks for longer displays, or thumbtacks for outdoor wood surfaces.
- Step back and check spacing. It’s easier to tweak before the adhesive fully sets.
Beginner-Friendly Adaptations
- No fabric cutting confidence? Use pre-cut fabric ribbon or bias tape for tabs instead of rectangles.
- Hate measuring? Use a printable triangle template and trace quickly.
- Need it fast? Skip reinforcement and use cardstock + wide ribbon + double-sided tape (best for indoor, single-day parties).
Advanced Variations (Next-Level Handmade Party Decor)
Fabric-Backed Paper Flags
- Cut fabric slightly larger than your paper (about ¼ in / 6 mm extra on all sides).
- Spray adhesive on the fabric (protect your surface with cardboard).
- Press paper onto fabric and smooth with a brayer or old gift card.
- Trim fabric flush to paper, then add tabs or punch holes for stringing.
Why it’s great: Adds weight and reduces curling.
Layered Patchwork Look
- Cut a large triangle from fabric and a smaller triangle from paper (about ¾ in / 2 cm smaller on each side).
- Mount the smaller piece centered using foam dots for dimension.
- Add a tiny button, felt dot, or sticker at the top for a finished look.
Letter or Name Bunting
- Use 6 in wide x 8 in tall flags for clearer letters.
- Choose bold vinyl letters or thick letter stickers.
- For paper letters, cut with a craft machine or stencil and glue flat.
Pro Tips for Clean Results
- Mix scale, not chaos: Combine 2–3 patterned papers plus 1 solid color to keep it cohesive.
- Keep the top line straight: Use ribbon with a little structure (grosgrain) so flags don’t sag.
- Prevent curling: Use cardstock, reinforce with clear tape, or add fabric backing.
- Make it reusable: Add tabs that wrap fully around the ribbon instead of punching holes in paper.
- Batch your steps: Cut all flags first, then add all tabs, then string—faster and more consistent.
Troubleshooting (Quick Fixes)
- Problem: Flags curl forward.
- Fix: Switch to heavier cardstock (80–110 lb), add fabric backing, or lightly score and fold a tiny ⅛ in (3 mm) hem at the top before tabbing.
- Problem: Tabs pop open.
- Fix: Use stronger adhesive (hot glue or high-tack double-sided tape). Clip while drying if using PVA glue.
- Problem: Ribbon sags in the middle.
- Fix: Reduce flag count, shorten the span, or use two hanging points (one on each end and one in the center).
- Problem: Patterns look “busy.”
- Fix: Insert solid-color flags between bold patterns or limit to one “hero” print.
Common Crafting Mistakes to Avoid
- Skipping layout: Always arrange flags on the floor/table first to check color order and spacing.
- Using flimsy paper outdoors: Regular scrapbook paper can wilt in humidity. Use cardstock or fabric-backed paper for outdoor party decorations.
- Overloading hot glue: Thick glue blobs can create bumps and keep tabs from laying flat. Use a thin line and press firmly.
- Uneven cutting: A cardboard template saves time and keeps your bunting looking polished.
- Too little ribbon for tying: Add at least 12–18 in (30–45 cm) on each end so hanging is stress-free.
FAQ: Paper Craft Fabric Bunting
How many flags do I need for a standard party table?
For a 6 ft table backdrop, 10–14 flags at 5 in wide with 1–2 in gaps usually looks full without feeling crowded.
What’s the best adhesive for paper-to-fabric?
Spray adhesive gives the smoothest finish for fabric-backed paper. For small areas or tabs, a strong double-sided tape runner or hot glue works well. If you use liquid glue, clip pieces while they dry to prevent lifting.
Can I make bunting without sewing at all?
Yes. This project is designed to be no-sew. Fabric tabs, bias tape, and strong adhesives create a durable bunting that holds up for multiple uses.
How do I make it weather-friendly for outdoor parties?
Use cardstock or fabric-backed paper, reinforce the top edge with clear tape, and choose a sturdier stringing material like grosgrain ribbon. If there’s heavy wind, hang it with an extra center support point.
How do I store bunting so it doesn’t crease?
Wrap it loosely around a piece of cardboard or an empty paper towel tube. Avoid folding flags sharply. Store in a large zip-top bag to keep dust away.
Can I customize bunting for themed celebrations?
Absolutely. For birthday parties, add age numbers or name letters. For baby showers, use scallops and soft fabric prints. For graduation parties, try school colors and bold geometric shapes with metallic letter stickers.
Wrap-Up: Make Your Party Décor Feel Personal
Paper craft fabric bunting is one of those handmade decorations that instantly upgrades a party space—while still being approachable for beginners. With a simple template, a few sheets of pretty paper, and fabric tabs for strength, you can create reusable DIY party decorations that match your theme perfectly.
Try one style first, then experiment with layering, photo flags, or fabric-backed paper once you’re comfortable. When you’re ready for more creative party projects, explore more DIY craft ideas on smartpartyprep.com.
More Articles
 Paper Craft Soap Bars Ideas
 DIY Memory Books for Anniversaries
 Easy Balloon Arches for Beginners
 How to Enable 3rd Party Cookies in Chrome (2024): A Step-by-Step Fix for Blocked Logins, Ad Retargeting & SSO Failures — Before Google Shuts Them Down Completely
 How to Enable 3rd Party Cookies on iPad (2024): The Real Reason Safari Blocks Them & Exactly What You Lose If You Don’t Fix It in Under 90 Seconds
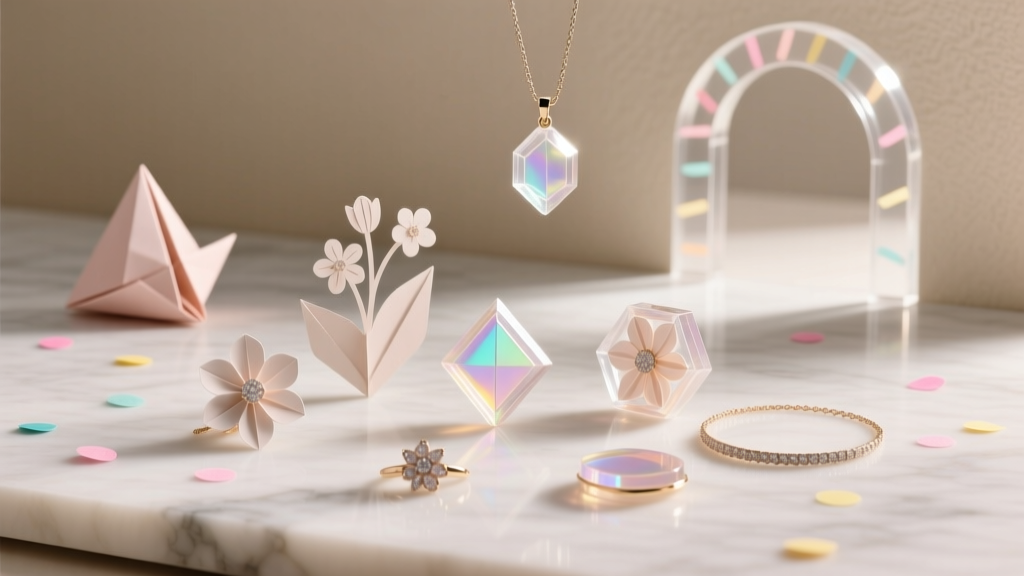 Paper Craft Resin Jewelry Ideas
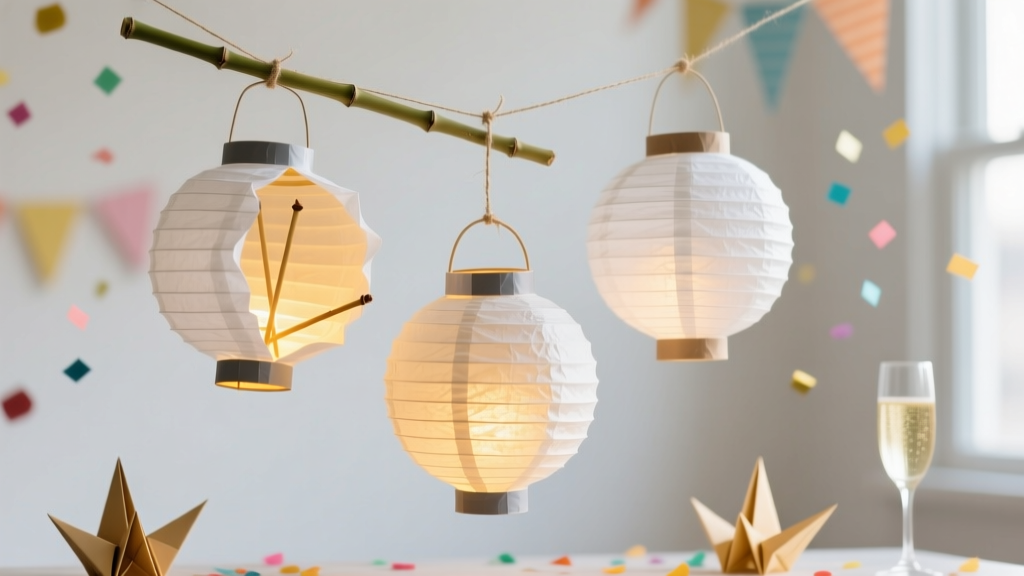 DIY Paper Lanterns with Dollar Store Supplies
 Paper Craft Centerpieces Ideas
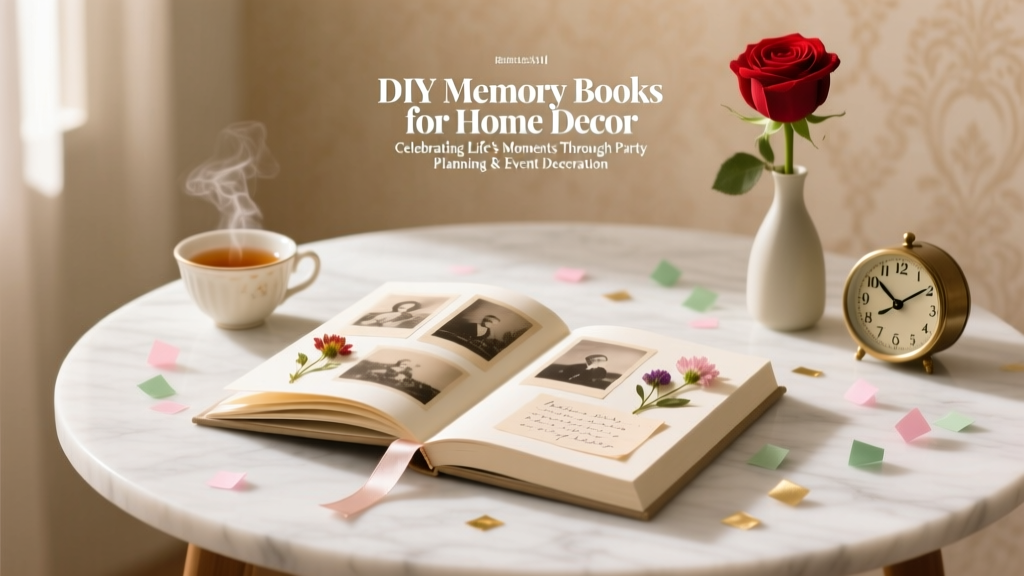 DIY Memory Books for Home Decor
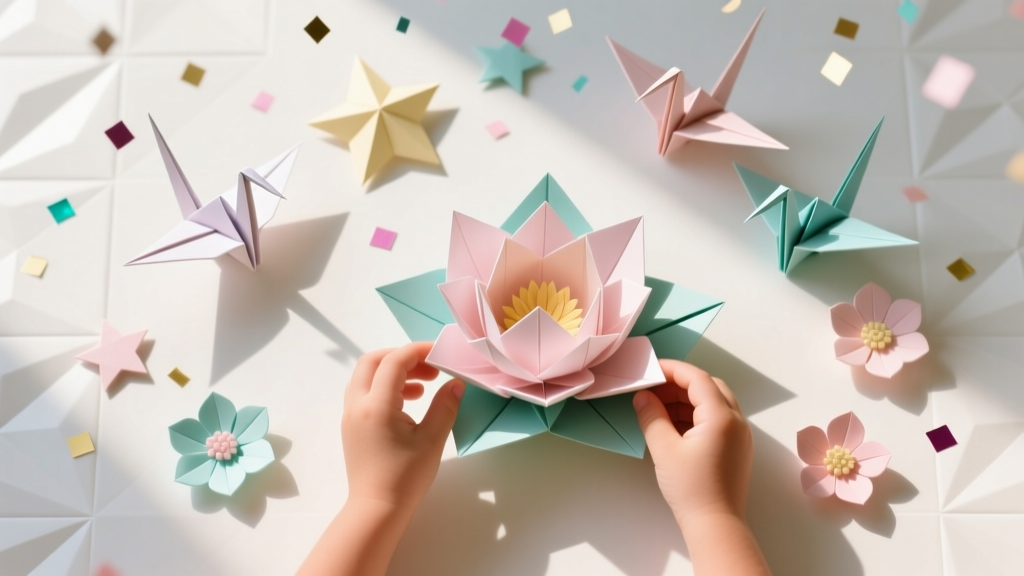 Kids' Craft: Origami Decorations