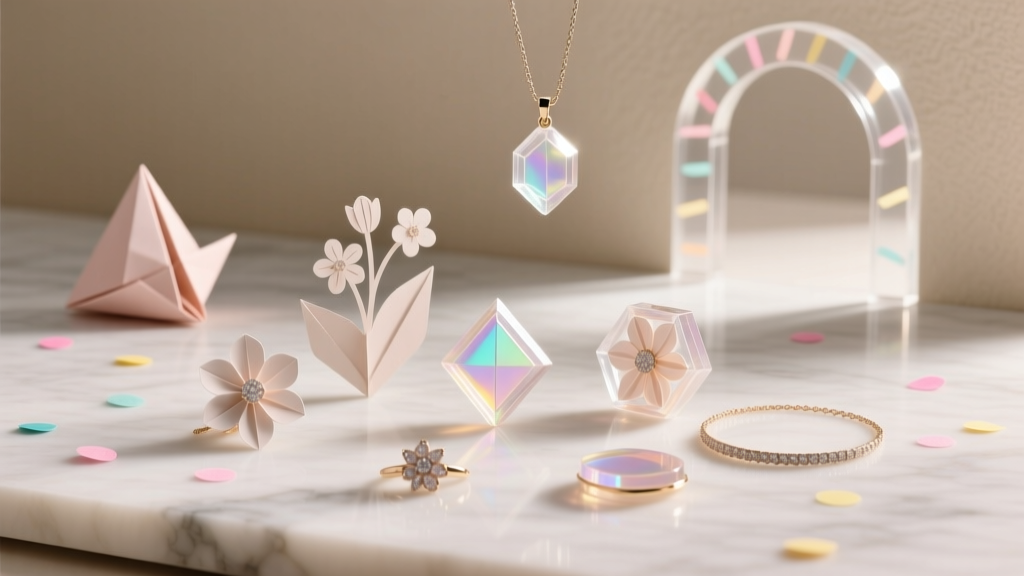
Paper Craft Resin Jewelry Ideas
Paper and resin are a surprisingly perfect match: paper brings color, pattern, and personality, while resin seals everything in a glossy, durable finish. When you combine the two, you get lightweight, custom jewelry that looks boutique-level—but can be made at your kitchen table. Even better, paper craft resin jewelry doubles as party-ready DIY: think matching earrings for a birthday crew, charm necklaces as party favors, or mini pendants to coordinate with a bridal shower theme.
This is one of those handmade projects that feels both creative and practical. You can use scraps from old invitations, wrapping paper, scrapbook sheets, book pages, or even kids’ drawings—then preserve them forever. Each piece becomes a tiny wearable keepsake, and the options are endless: glitter accents, confetti layers, pressed flowers, metallic foil, or personalized initials for a memorable party detail.
If you’re new to resin crafts, don’t worry. You can start with beginner-friendly UV resin and simple bezels, then level up to deeper pours with epoxy resin, layered designs, and professional finishing. Below you’ll find paper craft resin jewelry ideas, materials, costs, and step-by-step instructions designed for DIY enthusiasts who love handmade party decorations and creative gifts.
Project Overview: Skill Level, Time, and What You’ll Make
- Skill level: Beginner to Intermediate (advanced variations included)
- Active crafting time: 45–90 minutes (plus curing time)
- Curing time: UV resin: 2–10 minutes per layer; Epoxy resin: 8–24 hours
- Great for: Party favors, bridesmaid gifts, birthday accessories, themed events, handmade decorations
- Finished sizes: Common bezel sizes 12–25 mm (0.5–1 in) and small charms 8–15 mm
Materials List (With Product Types + Estimated Costs)
Resin Options
- UV resin (beginner-friendly) – 60–100 g bottle: $10–$20
- 2-part epoxy resin (deeper pours, clearer long-term) – 16–32 oz kit: $20–$45
Paper Supplies
- Scrapbook paper (acid-free, patterned sheets): $0.50–$2 per sheet
- Tissue paper (great for layering): $2–$6 per pack
- Decorative napkins (party themes, florals): $3–$8 per pack
- Printed photos or labels (laser print recommended): cost varies
Bezels, Molds, and Findings
- Metal bezels (round/oval/teardrop, 12–25 mm): $6–$15 per set
- Silicone molds (pendants, studs, small domes): $8–$18
- Earring hooks (hypoallergenic stainless steel): $5–$10
- Jump rings (4–6 mm): $3–$8
- Bails (glue-on or loop bails): $4–$10
- Chain or cord (1–2 mm waxed cord or 2–3 mm ribbon for parties): $5–$12
Tools + Helpful Extras
- Precision scissors or craft knife with cutting mat: $5–$15
- Circle punches (12 mm / 1 in is especially useful): $8–$20
- Fine-tip tweezers: $4–$10
- Silicone mixing cups + stir sticks (for epoxy): $8–$15
- UV lamp (36–48W for resin): $15–$30
- Heat tool (mini heat gun) or long lighter for bubbles: $10–$20
- Clear-drying sealer (Mod Podge, clear acrylic spray, or resin-compatible varnish): $6–$12
- Personal protective gear: nitrile gloves, safety glasses, and a respirator rated for organic vapors (recommended): $10–$35
Before You Start: Safety + Setup (Worth the 5 Minutes)
- Work in a well-ventilated area on a protected surface (silicone mat or freezer paper).
- Wear nitrile gloves and avoid skin contact with uncured resin.
- Keep resin away from food surfaces, kids, and pets while curing.
- Level your workspace—resin self-levels and will run to one side if the surface isn’t flat.
Paper Craft Resin Jewelry Ideas (Party-Themed Favorites)
1) Confetti-Style Pendant Necklaces (Perfect for Birthday Parties)
- Use tiny paper dots from wrapping paper or party napkins.
- Add a matching ribbon cord to coordinate with party colors.
- Great as handmade party favors for teens and adults.
2) Initial Letter Charms with Patterned Paper
- Cut initials from metallic cardstock or use letter molds.
- Back with floral or geometric scrapbook paper for a custom look.
- Make one for each guest as a place-card alternative.
3) Mini Photo Memory Lockets (Resin Cabochon Style)
- Use tiny photos (laser print recommended).
- Seal well to prevent ink bleed.
- Ideal for bridal showers, anniversaries, and milestone birthdays.
4) Layered Tissue Paper “Watercolor” Earrings
- Layer torn tissue pieces for an artsy, translucent effect.
- Looks gorgeous for spring parties, garden themes, and baby showers.
5) Book Page or Sheet Music Resin Pendants (Vintage Party Vibes)
- Use small snippets of text or music notes for a classic look.
- Add a gold foil flake accent for a dressed-up finish.
Step-by-Step: How to Make Paper + Resin Jewelry (Beginner-Friendly Method)
Step 1: Choose Your Base (Bezel or Mold)
- Bezels (metal frames) give a polished, gift-ready look.
- Silicone molds are easier for beginners and great for batches.
Recommended beginner size: 18–20 mm round bezel or a simple pendant mold about 1 inch wide.
Step 2: Cut Paper Inserts to Fit
- Place your bezel or mold on the paper and trace lightly with a pencil.
- Cut slightly smaller than the outline so it doesn’t curl up at the edges.
- For perfect circles, use a circle punch (12 mm, 16 mm, or 1 inch).
Tip: If your paper has a direction (stripes, text), align it before cutting so the design sits straight.
Step 3: Seal the Paper (Prevents Bubbles, Darkening, and Ink Bleed)
- Brush a thin coat of Mod Podge (or clear acrylic sealer) on both sides of the paper.
- Let it dry 15–20 minutes.
- Repeat with a second thin coat for best results.
Beginner shortcut: If you’re using thick scrapbook paper and UV resin, you can sometimes skip sealing—but sealing improves clarity and reduces trapped air.
Step 4: Mix Resin (If Using 2-Part Epoxy)
- Measure exactly by your resin’s instructions (often 1:1 by volume).
- Mix slowly for 3–5 minutes, scraping sides and bottom.
- Let the cup sit for 2 minutes so bubbles rise.
If using UV resin: No mixing needed—stir gently in the bottle cap area only if pigments were added.
Step 5: Pour a Thin Base Layer
- Add a thin layer of resin to the bezel/mold: about 1–2 mm deep.
- Pop bubbles with a quick pass of a heat tool (2–3 seconds) or a toothpick.
Step 6: Place the Paper Insert
- Use tweezers to place the sealed paper onto the resin layer.
- Press gently from the center outward to push out air.
- If edges lift, add a tiny drop of resin on top and press again.
Step 7: Top Coat and Dome
- Add resin until the bezel is filled to the rim, then add a little extra for a smooth dome.
- Keep the dome controlled—aim for a rounded surface without spilling over.
- Remove bubbles (toothpick or brief heat pass).
Step 8: Cure
- UV resin: Cure under UV lamp 2–5 minutes. For thicker pieces, cure in 2 layers.
- Epoxy resin: Cover to protect from dust; cure 8–24 hours (brand dependent).
Step 9: Assemble Jewelry Findings
- Attach a bail to the back (if needed) using a small amount of resin or jewelry glue (E6000 works well; allow full dry time).
- Use two pliers to open a jump ring sideways (never pull apart).
- Connect pendant to chain, or attach charms to earring hooks.
Tool recommendation: Use flat-nose pliers + chain-nose pliers for clean jump-ring work.
Pro Tips for Gorgeous, Party-Ready Results
- Work in thin layers: Especially with UV resin, multiple thin layers cure clearer and reduce warping.
- Choose paper wisely: Dark inks can bleed; metallic papers often look stunning under resin.
- Keep dust away: Cover curing pieces with an upside-down plastic container.
- Make sets: Batch-cut paper inserts and assemble matching necklaces + earrings for coordinated party accessories.
- Add subtle sparkle: A pinch of extra-fine glitter or foil flakes looks more polished than chunky glitter.
Beginner Adaptations and Advanced Variations
Beginner-Friendly Options
- Use pre-made cabochon settings and UV resin for quick curing.
- Stick to one paper layer (no extra inclusions) until you’re comfortable.
- Try resin sticker paper or sealed scrapbook paper to reduce surprises.
Advanced Variations
- Layered depth effect: Paper layer + clear layer + tiny confetti + top dome.
- Shaker charms: Make two resin layers and trap micro-confetti inside (requires molds and careful sealing).
- Embedded frames: Use a thin metallic frame or washi tape border around the paper.
- Alcohol ink accents: Tint the clear layer around the paper for an ombré “spotlight” look.
Troubleshooting: Fixes for Common Resin + Paper Problems
- Paper turns darker or looks “wet”: This is normal with some papers. Seal both sides and use light-colored patterns if you want a bright look.
- Bubbles trapped under paper: Press from center outward. Add a tiny resin drop and re-press. Seal paper to reduce air release.
- Sticky/tacky surface after curing:
- UV resin: cure longer and rotate the piece; cloudy lamps may need replacing.
- Epoxy: inaccurate measuring or under-mixing—next time measure carefully and mix longer.
- Resin overflow on bezel edges: Let it partially thicken (2–5 minutes for epoxy), then dome slowly. Clean edges with a craft stick before curing.
- Cloudy finish: Overheating with a heat gun, moisture, or aggressive stirring can cause haze. Use gentle heat and slow mixing.
Common Crafting Mistakes to Avoid
- Skipping paper sealing when using inkjet prints—this often causes bleeding and blurred images.
- Eyeballing epoxy measurements instead of measuring accurately (leads to soft or sticky resin).
- Stirring too fast and whipping in bubbles; mix slowly and scrape the sides.
- Pouring too thick in one go (especially UV resin), causing heat buildup, warping, or incomplete cure.
- Touching pieces during cure—fingerprints and dust are hard to fix later.
- Using weak jump rings for party favors; choose thicker rings (18–20 gauge) so they don’t pull open.
FAQ: Paper Craft Resin Jewelry
What’s better for beginners—UV resin or epoxy resin?
UV resin is usually easiest because it cures fast and doesn’t require measuring. Epoxy resin is great for larger batches and often cures harder and clearer over time, but it requires careful measuring and longer cure time.
Do I have to seal the paper before adding resin?
Sealing is strongly recommended, especially for tissue paper, napkins, book pages, and inkjet prints. It reduces bubbles, prevents discoloration, and helps avoid ink bleeding.
Can I use regular printer paper photos?
Yes, but results depend on ink. Laser prints tend to resist bleeding better. If using an inkjet print, seal both sides with Mod Podge or clear acrylic spray and let it dry fully before embedding.
How do I make these into party favors quickly?
Batch the steps: pre-cut 20–30 paper inserts, seal them all at once, then use silicone molds to cast multiple pieces in one session. Finish with simple cords or ribbon necklaces in your party colors for a coordinated look.
Why is my resin jewelry still bendy after curing?
This usually happens with epoxy resin when the mix ratio is off or it wasn’t mixed long enough. With UV resin, it typically needs more time under the lamp or thinner layers for complete curing.
How do I keep resin jewelry from yellowing?
Use a quality resin labeled non-yellowing or UV-resistant, avoid storing pieces in direct sunlight, and choose papers and colors that still look good with a slight warm tone over time.
Wrap-Up: Make a Set, Share Them, and Have Fun with Themes
Paper craft resin jewelry is one of the most satisfying DIY crafts because every piece feels personal—whether you’re matching a party theme, turning invitations into keepsakes, or making handmade gifts that guests will actually wear. Start simple with a single paper layer and a glossy dome, then experiment with confetti, initials, and layered designs as your confidence grows.
Ready to plan your next creative celebration? Keep exploring more DIY craft ideas, party decorations, and handmade projects on smartpartyprep.com.
More Articles
 Easy Coasters for Beginners
 Budget DIY Photo Booth Props Under $25
 How to Train Your Dragon Birthday Party Decorations: 7 No-Stress DIY Projects That Take Under 2 Hours (No Craft Store Run Needed)
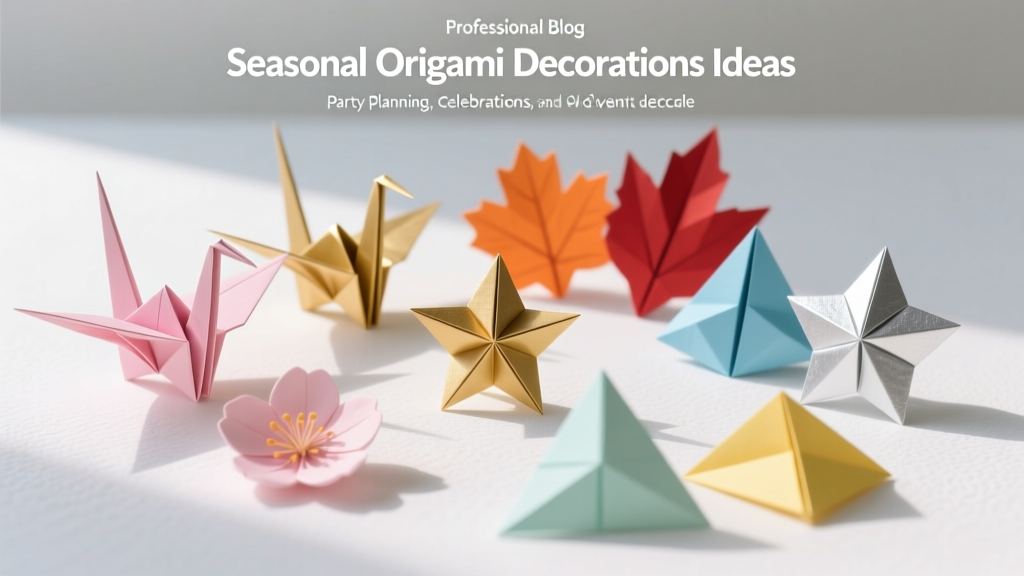 Seasonal Origami Decorations Ideas
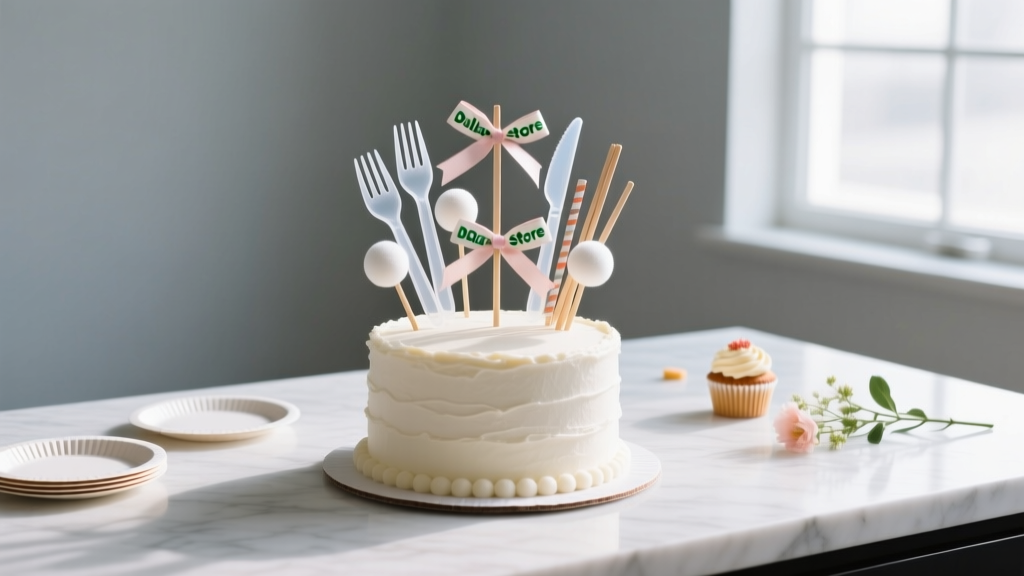 DIY Cake Toppers with Dollar Store Supplies
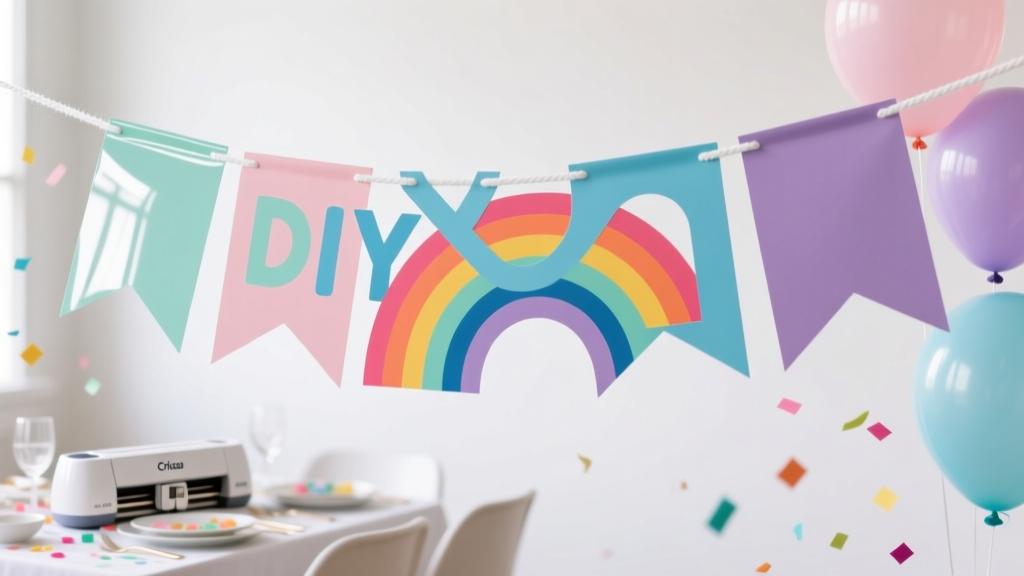 DIY Party Banners Using Cricut
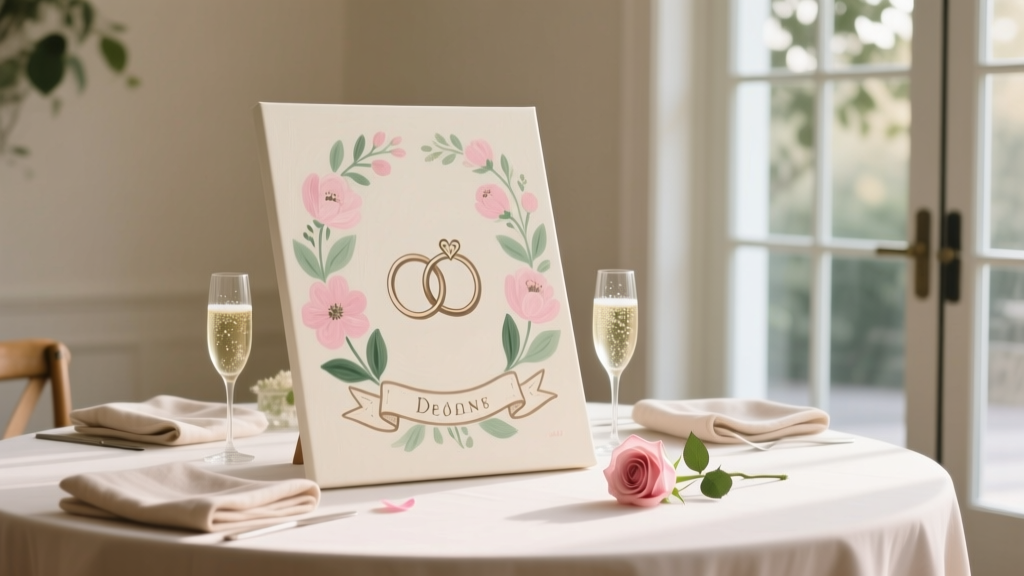 DIY Painted Canvas for Weddings
 How to Enable 3rd Party Cookies on Safari in 2024: The Real Truth (Spoiler: You Can’t — But Here’s What Actually Works Instead)
 Step-by-Step Backdrops Tutorial
 Advanced Photo Frames for Crafters