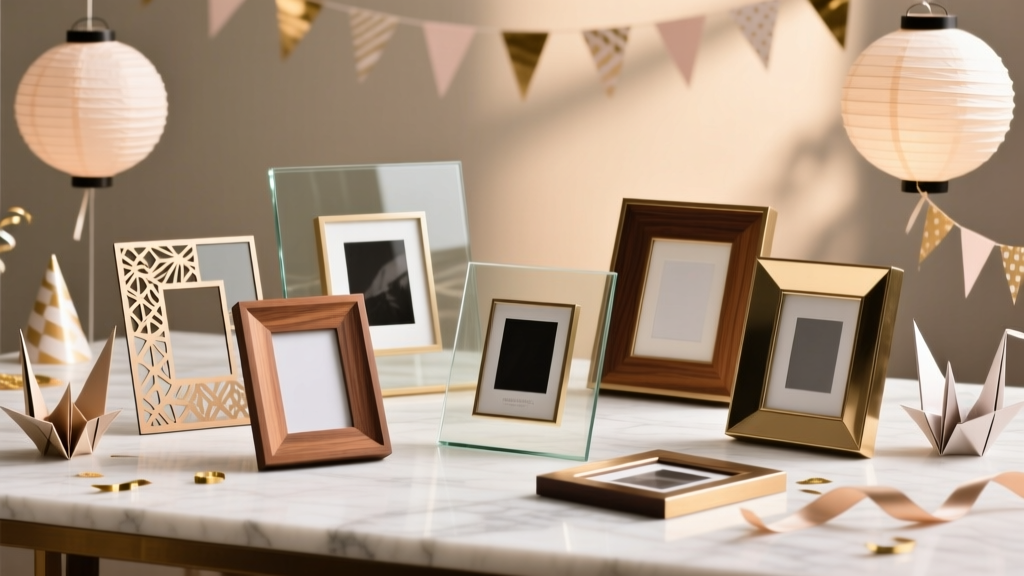
Advanced Photo Frames for Crafters
Photo frames are already a classic DIY craft, but “advanced” photo frames are where the real party magic happens. Instead of a basic border around a picture, you’re building a decorative piece that doubles as table décor, a photo booth prop, a guestbook alternative, or even a party signage display. The best part: you can tailor the style to any theme—baby shower, bridal shower, birthday, graduation, holiday party, or milestone anniversary.
This project is especially fun because it blends practical skills (measuring, cutting, gluing, finishing) with creativity (texture, color palettes, embellishments, lighting). You can keep it beginner-friendly with a simple layered design, or go full “wow” with shadowbox depth, shaker windows, LED accents, and interchangeable inserts that let you swap messages like “Happy Birthday” or “Welcome, Guests!” in seconds.
Below you’ll find a step-by-step, party-ready approach to making advanced DIY photo frames that look boutique-quality—without boutique pricing.
Project Overview: What You’ll Make
- Primary build: A layered, mixed-media photo frame (8" x 10" photo size) with optional shadowbox depth
- Party use ideas: Photo booth frame prop, dessert table signage frame, memory table display, guest photo station, centerpiece accent
- Skill level: Intermediate (with beginner adaptations + advanced upgrades)
- Time estimate: 2–4 hours active time + drying/curing (overnight recommended)
- Finished size: Approximately 11" x 14" (varies by frame and mat choice)
Materials & Tools (With Estimated Costs)
Base Frame Options
- Unfinished wood frame (11" x 14" with 8" x 10" opening): $8–$18
- MDF shadowbox frame (1"–2" depth): $15–$30
- Thrifted frame (wood or resin): $3–$12
Surface & Design Materials
- Cardstock sheets (12" x 12", party colors): $0.50–$1.50 each
- Chipboard or foam board (3/16" or 1/4" thick for layering): $2–$6
- Decorative paper (scrapbook paper, metallic or glitter): $0.75–$2 each
- Acrylic paint (matte or satin): $2–$6 per bottle
- Rub ‘n buff / metallic wax (for gilded edges): $7–$12
- Vinyl (adhesive) for names/phrases: $5–$15
- Acetate sheet (for shaker window): $2–$6
- Shaker fillers (sequins, confetti, tiny stars): $3–$10
- Mini LED fairy lights (battery pack): $6–$15
- Embellishments: silk flowers, ribbon, resin accents, pearls, buttons, mini bunting: $3–$20
Adhesives & Finishing
- Hot glue gun (high-temp recommended) + glue sticks: $10–$25
- PVA craft glue (for paper + wood): $3–$8
- Double-sided tape (strong): $4–$10
- Mod Podge (Matte or Satin): $6–$12
- Clear acrylic sealer spray (optional): $6–$12
Tools (Recommended)
- Craft knife (X-Acto style) + fresh blades: $6–$15
- Metal ruler (18"): $6–$12
- Self-healing cutting mat (12" x 18"): $10–$20
- Corner punch (optional for clean rounded corners): $6–$15
- Precision scissors: $6–$12
- Small clamps or binder clips (for drying): $3–$10
- Sandpaper (220 grit + 400 grit): $3–$6
- Foam tape (for dimension): $3–$8
Design Planning: Choose Your Party Frame Style
Pick one “advanced” feature (or combine two) so your frame looks elevated but still manageable.
Style A: Layered Mixed-Media Frame (Fast + High Impact)
- Stacked mats and decorative cutouts
- Raised lettering (names, dates)
- Painted or gilded edges
Style B: Shadowbox Memory Frame (Great for Showers + Milestones)
- 1"–2" depth to add tiny keepsakes (mini florals, ribbons, party tags)
- Works as a guestbook alternative: guests write messages on small cards inside
Style C: Shaker Frame Window (Fun for Birthdays + Kid Parties)
- Clear acetate window + foam tape “well”
- Confetti, sequins, or theme shapes that move when shaken
Style D: LED Accent Frame (Perfect for Evening Parties)
- Mini lights behind vellum, inside a shadowbox, or around the inner border
- Best paired with metallic paper or glitter accents
Step-by-Step: Advanced Photo Frame Build (8" x 10" Insert)
Step 1: Prep the Frame (15–30 minutes)
- Disassemble the frame: remove backing, glass/acrylic, and any inserts.
- Lightly sand the frame (220 grit). Focus on glossy areas so paint adheres well.
- Wipe off dust with a dry cloth.
- Paint or stain:
- Paint 2 thin coats (dry 20–40 minutes between coats).
- Optional: add metallic wax to edges once paint is fully dry for a gilded look.
Beginner-friendly adaptation: Skip sanding if the frame is unfinished raw wood. Just paint and seal.
Step 2: Cut a Clean Mat + Decorative Layers (20–45 minutes)
This is what makes your frame look “store-bought,” not “last-minute.”
- Cut the main mat from 12" x 12" cardstock or thin chipboard:
- Outer size: 11" x 14" (to fit the frame)
- Window opening for an 8" x 10" photo: 7.5" x 9.5" (gives a 1/4" overlap on each side)
- Cut 1–3 decorative layers slightly smaller for a stacked look:
- Layer 2 outer size: 10.5" x 13.5"
- Layer 3 outer size: 10" x 13"
- Optional: vary the window shape (rounded corners, scallop, arch) for a custom party vibe.
- Dry fit all layers inside the frame before gluing.
Tool recommendation: Use a metal ruler + craft knife on a cutting mat for crisp windows. Change blades often—dull blades tear paper.
Step 3: Add Dimension (10–20 minutes)
- Use foam tape (1/16" to 1/8" thick) between layers to create depth.
- Keep foam tape at least 1/4" away from the window edge so it doesn’t show from the front.
- Press firmly and evenly so the stack sits flat inside the frame.
Step 4: Create Your Party Message or Nameplate (15–30 minutes)
This is where DIY party decorations become personalized party décor.
- Vinyl lettering: Cut “Happy Birthday, Ava!” or “Welcome Baby Mia” and apply to the top mat layer.
- Die-cut cardstock: Stack 3–5 identical cuts to create thick “chipboard-style” letters.
- Hand-lettering: Use a paint pen for a modern look; practice on scrap first.
Placement tip: Center the name/date about 1"–1.5" above the photo window, or create a bottom banner that spans 8"–10" wide.
Step 5 (Optional): Build a Shaker Window (30–45 minutes)
- Replace the glass with an acetate sheet cut to 11" x 14" (or to match your frame’s inner size).
- On the back of the mat layer, apply foam tape in a closed rectangle around the window opening—no gaps.
- Add shaker filler (start with 1–2 teaspoons for an 8" x 10" window).
- Seal with acetate (or a second mat layer) and press firmly to lock it in.
Troubleshooting: If sequins stick to the acetate, lightly rub the inside with a dryer sheet before sealing.
Step 6 (Optional): Add LED Lighting (20–40 minutes)
- Use micro LED fairy lights with a slim battery pack.
- For a shadowbox frame, coil lights around the inner edge behind the mat layers.
- Leave the battery pack accessible near the back corner and secure it with strong double-sided tape.
Safety tip: Use cool micro LEDs (not bulb-style lights that heat up). Don’t glue directly onto the wire—glue next to it and press it into place.
Step 7: Seal, Assemble, and Set Up for the Party (20 minutes + drying)
- Spot-seal delicate areas (like paper edges) with Mod Podge using a light coat.
- Let dry flat for 30–60 minutes.
- Assemble the frame: insert your layered mat stack, add photo or party sign, then backing.
- For party use, add a sturdy stand or display on an easel. For heavier designs, use a tabletop easel rated for 2–5 lbs.
Pro Tips for a Polished, Professional Finish
- Keep your palette tight: 2 main colors + 1 metallic accent reads “event styling,” not “craft bin.”
- Match party décor textures: Satin ribbon for elegant parties, burlap/twine for rustic, holographic for modern.
- Edge ink is a secret weapon: Ink the edges of cardstock layers to hide white cores and sharpen contrast.
- Use odd numbers: Cluster embellishments in groups of 3 or 5 for a balanced look.
- Weight matters: If you add heavy embellishments (resin, wood pieces), reinforce with hot glue + a small bead of PVA for long-term hold.
Creative Variations (Party-Perfect Ideas)
Interchangeable Sign Insert Frame
- Create a frame that holds 8" x 10" prints like “Gifts & Cards,” “Please Sign Our Guestbook,” or “Dessert Bar.”
- Add washi tape hinges or mini magnets to swap signs quickly.
Photo Booth “Giant Frame” Prop
- Scale up using foam board: outer size 24" x 36", window 16" x 24".
- Reinforce corners with extra strips of foam board on the back.
- Use lightweight décor (paper florals, cardstock lettering) so guests can hold it comfortably.
Shadowbox Keepsake Frame (Baby Shower or Wedding)
- Include tiny items: a ribbon bow from the invitation suite, a mini dried flower bundle, or a piece of lace.
- Add a printed label: “Date, Location, Names.”
Advanced Upgrade: Textured Paste + Stencil
- Apply stencil paste through a stencil for raised patterns (stars, florals, geometric).
- Paint over it once dry for a high-end embossed look.
Troubleshooting: Fixes for Common Frame Problems
- Warped paper layers: Use less glue, switch to double-sided tape for large areas, and press under a book while drying.
- Paint looks streaky: Use a soft synthetic brush or foam brush, apply thin coats, and lightly sand between coats (400 grit).
- Embellishments falling off: Clean the surface (dust/oil), then use hot glue plus a tiny dot of strong tacky glue.
- Shaker leaks: Your foam tape “well” must be continuous. Patch gaps with small foam pieces before sealing.
- Vinyl lifting: Burnish firmly with a scraper tool; avoid applying vinyl onto dusty or freshly sealed surfaces.
Common Crafting Mistakes to Avoid
- Skipping dry-fit: Always test your layers inside the frame before committing to glue—frames vary slightly.
- Cutting the window too big: Leave at least 1/4" overlap so the photo doesn’t slip through.
- Overloading the design: Too many focal points compete. Choose one star element (big name, florals, or shimmer).
- Using low-tack tape for weight-bearing pieces: For dimensional stacks, use foam tape rated “strong hold” or combine adhesives.
- Not planning for display: Heavy frames need an easel or wall hook. Don’t assume the original frame stand can handle upgrades.
FAQ: Advanced DIY Photo Frames
1) What’s the easiest way to make a frame look “advanced” without complicated tools?
Add layered mats with foam tape and a personalized vinyl name/date. Dimension + personalization creates a designer look fast.
2) Can I make this project if I don’t have a cutting machine?
Yes. Use a craft knife + metal ruler for clean windows, and try sticker letters, printed text, or hand-lettering for the message.
3) What glue works best for mixed materials (paper, ribbon, wood, resin)?
Use a combo: PVA/tacky glue for paper-to-paper and paper-to-wood, and hot glue for heavier embellishments like resin accents or thick ribbon bows.
4) How do I keep my paper layers from bubbling?
Use double-sided tape for large flat areas, apply glue in a thin even coat, and press the piece under a flat weight for 15–30 minutes.
5) Is glass necessary, or can I replace it?
You can replace glass with clear acrylic (lighter, safer for parties) or acetate (best for shaker frames). Acrylic is sturdier for long-term display.
6) How far ahead can I make these for a party?
Make them 3–10 days ahead. That gives paint and sealers time to fully cure and lets you store them flat without risking smudges or shifted embellishments.
Ready to Make Your Own Party-Worthy Frame?
Whether you keep it simple with layered cardstock and a nameplate or go bold with a shaker window and LED sparkle, these advanced photo frames are a satisfying handmade project that guests will notice. Pick your party theme colors, build in a little dimension, and don’t be afraid to add one “extra” feature—those details are what turn DIY crafts into unforgettable party decorations.
Have fun customizing your frame for your next celebration, and when you’re ready for more handmade projects, party décor ideas, and smart DIY craft plans, explore more creative inspiration on smartpartyprep.com.
More Articles
 DIY Painted Rocks Using Cricut
 ‘Is Just Ingredients Third Party Tested?’ — The Truth Behind Label Claims (and How to Verify What You’re Really Buying)
 Advanced Resin Jewelry for Crafters
 How to Make Fabric Bunting at Home
 Personalized Balloon Arches Gifts
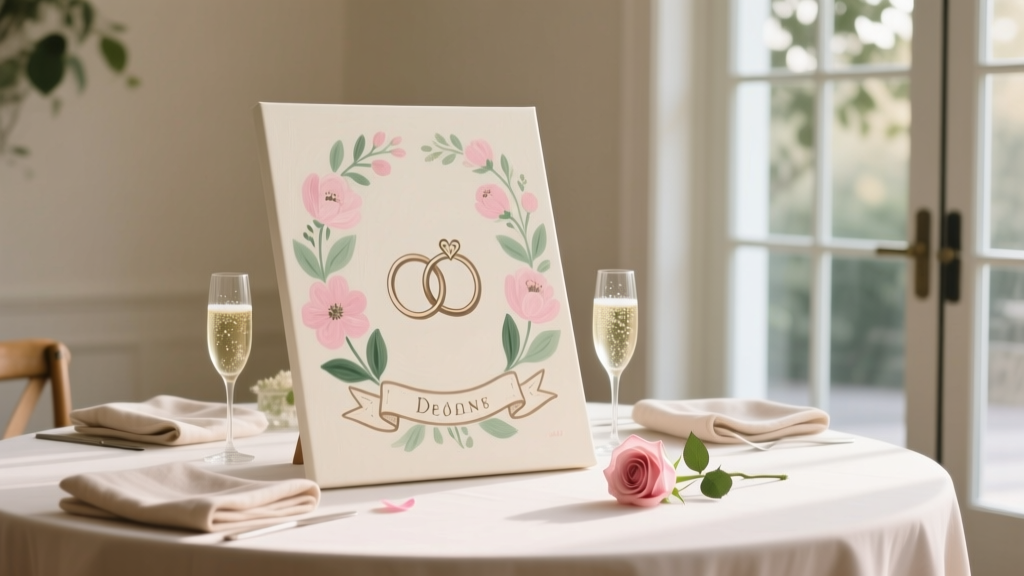 DIY Painted Canvas for Weddings
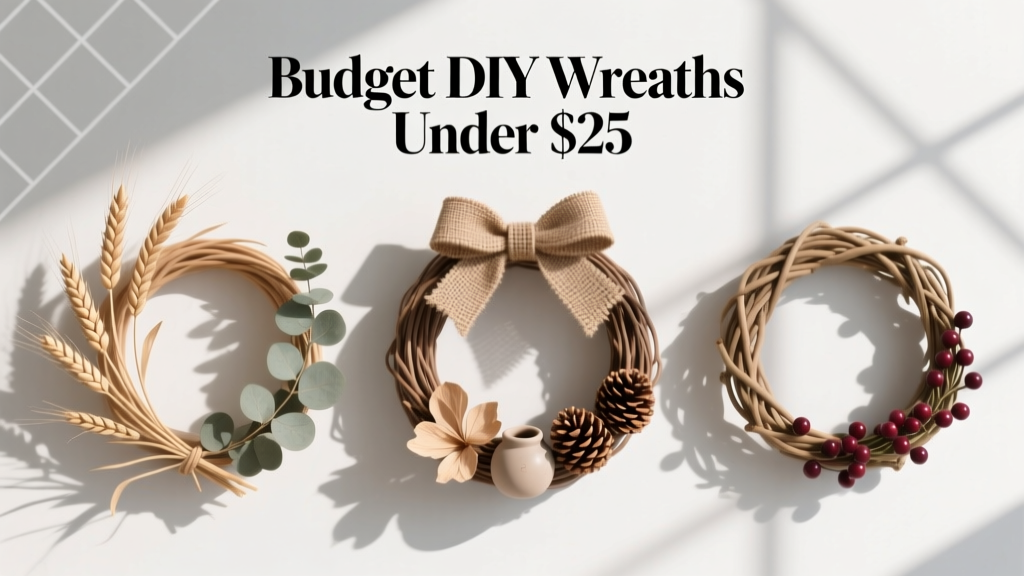 Budget DIY Wreaths Under $25
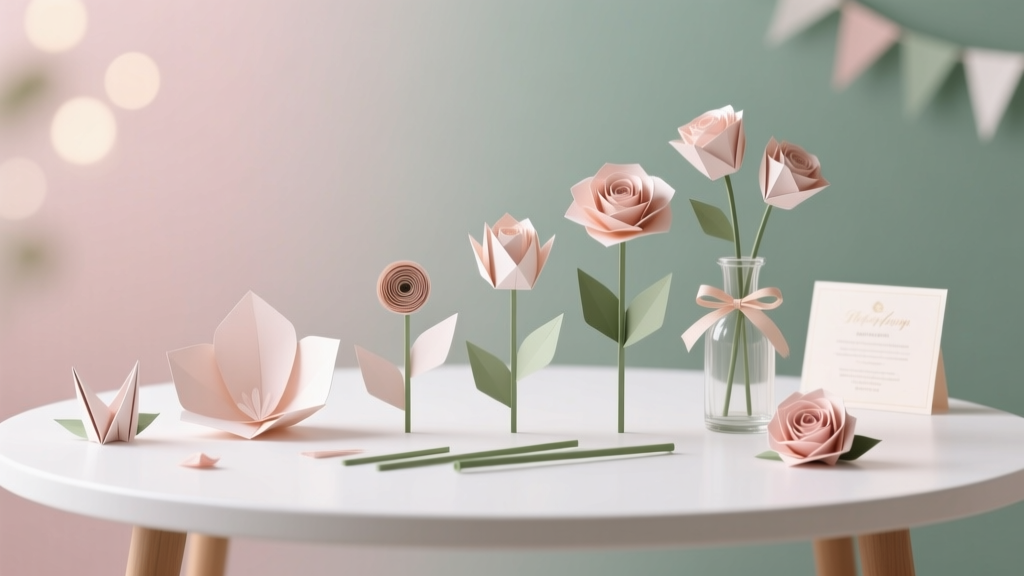 Step-by-Step Paper Flowers Tutorial
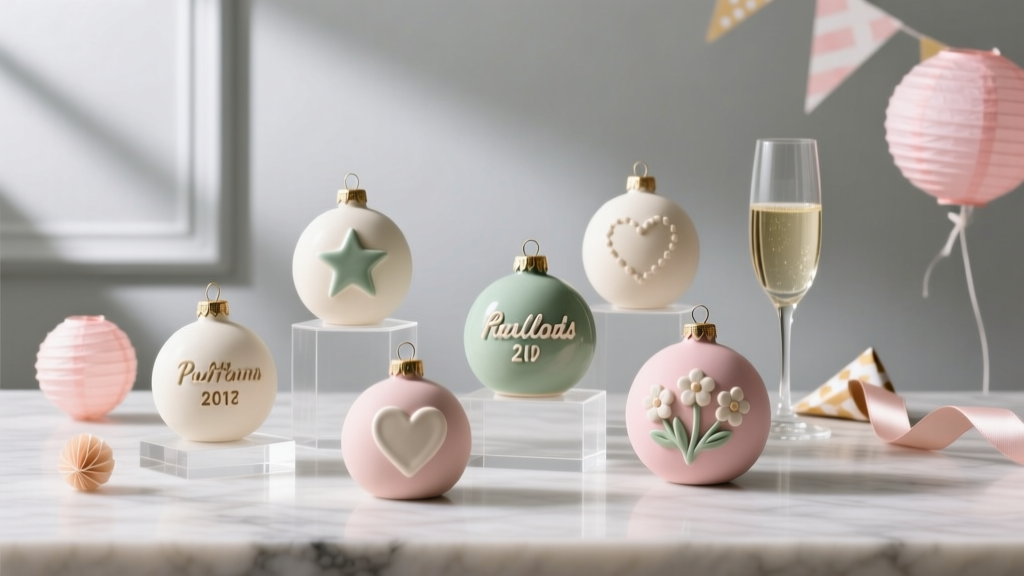 Personalized Clay Ornaments Gifts
 No-Sew Beaded Bracelets Tutorial