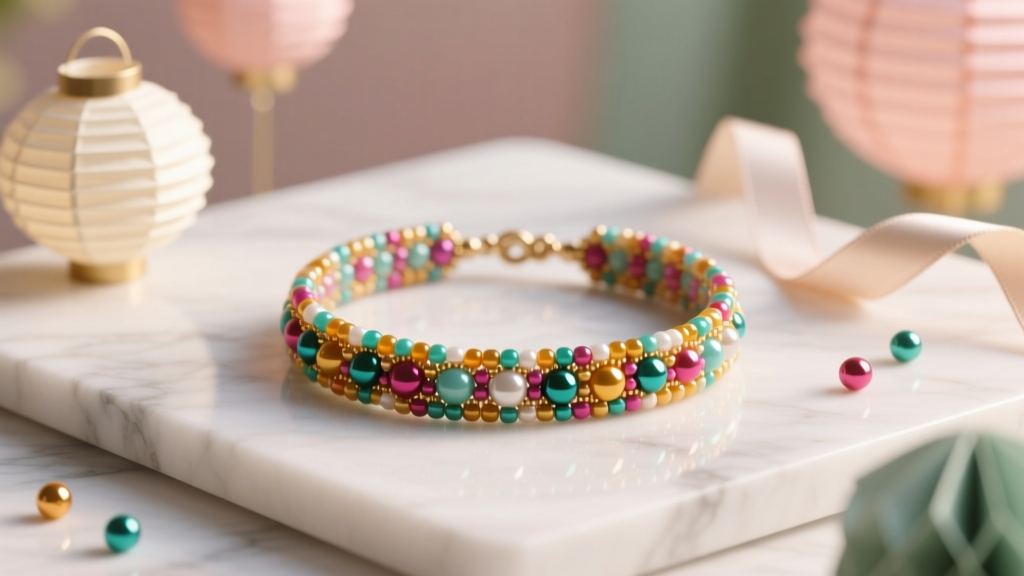
No-Sew Beaded Bracelets Tutorial
Nothing says “party-ready” like a pop of sparkle on your wrist—especially when you made it yourself. No-sew beaded bracelets are one of those DIY crafts that feel instantly rewarding: you can finish one in under 20 minutes, customize colors to match your theme, and make enough for a whole group without dragging out a sewing machine or complicated tools.
These bracelets are also incredibly useful for parties and events. Use them as DIY party favors, friendship bracelets for a birthday sleepover, “VIP” wristbands for a graduation party, or a crafty activity station at a bridal shower. Bonus: they double as handmade decorations when you drape finished bracelets around place cards, napkins, or a gift table display.
Whether you’re a beginner who wants a simple win or an experienced crafter looking to create a matching bracelet bar for guests, this step-by-step tutorial will help you make polished, comfortable no-sew beaded bracelets—fast.
Skill Level, Time & Finished Size
- Skill level: Beginner (with optional advanced variations)
- Time estimate: 10–25 minutes per bracelet (plus 5 minutes setup)
- Finished size: Typically 6.5–7.5 in (16.5–19 cm) circumference for adults
- Best for: DIY party favors, handmade gifts, friendship bracelets, party craft stations
Materials & Tools (With Estimated Costs)
These are easy-to-find product types that work well for no-sew construction. Prices vary by brand and store, so consider these reasonable estimates.
Core Supplies
- Elastic beading cord (stretch cord), 0.8 mm or 1.0 mm thickness (best all-purpose) – $4–$8 per spool
- Assorted beads (choose based on your theme):
- 6 mm or 8 mm acrylic pearls (great for weddings/bridal showers) – $6–$12 per pack
- Heishi clay disc beads (perfect for bright birthday parties) – $8–$15 per kit
- Letter beads (names, “BRIDE,” “BFF,” team names) – $5–$10 per pack
- Seed beads or 3–4 mm spacer beads (adds polish) – $3–$8 per pack
- Crimp covers (optional but makes a knot look finished), 4 mm – $4–$7
- Beading glue (clear-drying jewelry glue or super glue gel) – $3–$7
Tools That Make It Easier
- Beading mat or a small towel (keeps beads from rolling) – $5–$12
- Small scissors (sharp craft scissors) – $3–$10
- Tape measure or ruler – $2–$6
- Bead reamer (optional, for widening tight holes) – $6–$12
- Tweezers (optional, helpful for tiny beads/crimp covers) – $2–$8
- Large-eye beading needle (optional for small beads; not sewing) – $2–$6
Party-Friendly Add-Ons
- Charms (stars, hearts, mini tassels, birthdays, wedding icons) – $4–$12
- Gift tags & favor bags (for DIY party favors) – $5–$15
- Color-coordinated bead organizers (keeps craft table tidy) – $6–$20
Before You Start: Choose a Bracelet Style
This tutorial focuses on the classic no-sew elastic bracelet—secure, comfortable, and perfect for stacking. Pick one of these easy styles:
- Simple strand: One bead pattern repeated around the wrist.
- Name/word bracelet: Letter beads centered with matching colors on both sides.
- Stack set: Make 3–5 coordinating bracelets for one party favor bundle.
Step-by-Step No-Sew Beaded Bracelet Instructions (Elastic Cord)
Step 1: Measure the Wrist (Or Use Standard Sizes)
For the most comfortable fit, measure the wearer’s wrist snugly with a tape measure.
- Kids (approx.): 5–6 in (12.5–15 cm)
- Teen/small adult: 6–6.5 in (15–16.5 cm)
- Adult average: 6.5–7.5 in (16.5–19 cm)
Add “ease”: Add 0.25–0.5 in (0.6–1.3 cm) so it slides on comfortably. If using larger beads (8 mm+), use the smaller end of the ease range so it doesn’t become too loose.
Step 2: Cut Your Elastic Cord
Cut elastic cord longer than you think you need:
- Cut length: Wrist measurement + 8–10 in (20–25 cm)
This extra length gives you room to tie secure knots without fighting the beads.
Step 3: Plan Your Pattern (Quick Layout Trick)
On a beading mat (or towel), lay out beads in the order you want. This prevents last-minute “oops” moments where you run out of a color or the word isn’t centered.
- For a centered word: Count your letter beads, then build matching bead sequences for both sides.
- For party themes: Choose 2–4 colors that match your decorations (balloons, tableware, banners) for a cohesive handmade party look.
Step 4: String the Beads
- Optional: Wrap a tiny piece of tape around one end of the elastic to make a “needle” tip.
- String beads in your planned order.
- Every 10–15 beads, gently slide them down and check that the cord isn’t overly stretched.
Fit check: Once all beads are on, wrap it around the wrist (without tying) to confirm the length. You want it snug but not tight.
Step 5: Tie a Secure Knot (No Sewing Needed)
Use a knot that holds well on elastic cord:
- Bring the two cord ends together.
- Tie a surgeon’s knot:
- Make an overhand knot, but loop one end through twice before tightening.
- Pull slowly and evenly until snug.
- Tie a second overhand knot on top for extra security.
Tightening tip: Pull the knot tight enough that it won’t slip, but don’t yank so hard that you permanently stretch the elastic.
Step 6: Add Glue (Tiny Amount!)
- Place a small dot of clear-drying beading glue on the knot.
- Let it set for 2–5 minutes (or follow your glue’s instructions).
Too much glue can get tacky and stiff—small is perfect.
Step 7: Hide the Knot for a Professional Finish
You have two easy options:
- Option A: Slide the knot into a larger bead. Choose a bead with a slightly bigger hole (often 8 mm beads or pony beads). Gently pull beads apart, tuck the knot inside, and let the beads close around it.
- Option B: Use a crimp cover. Place the knot inside an open crimp cover and pinch closed carefully (use tweezers or your fingers; pliers can dent it if you squeeze too hard).
Step 8: Trim the Ends
Once the glue is dry, trim cord tails to about 1–2 mm. Don’t cut too close—leave a tiny “safety margin.”
Pro Tips for Stronger, Longer-Lasting Bracelets
- Use the right cord thickness:
- 0.8–1.0 mm works well for most acrylic, clay, and letter beads.
- If beads have tiny holes, try 0.6–0.7 mm, but double-knot and glue carefully.
- Pre-stretch the elastic: Gently pull the cord (not too hard) along its length before stringing. This helps reduce loosening later.
- Balance weight: If you add a charm, balance it with spacer beads so the bracelet doesn’t constantly rotate.
- Comfort check: Avoid scratchy metal beads right next to the knot area; place smoother beads there instead.
- Make it party-proof: If these are DIY party favors, test one bracelet by stretching it on/off 10–15 times before making a batch.
Fun Variations (Beginner-Friendly to Advanced)
Beginner Variations
- Color-block bracelet: Use three sections (e.g., 10 beads of pink, 10 beads of white, 10 beads of gold).
- Heishi + letters: A heishi bead base with a 3–5 letter word (“HBD,” “BEST,” “TEAM”) in the center.
- Pearl party favor: Alternate 8 mm pearls with 4 mm gold spacers for a classy event look.
Advanced Variations
- Double-strand illusion (still no sew): Use larger beads as “anchors,” then add clusters of smaller beads between them for a fuller look.
- Charm station bracelets: Add one charm per guest to match party roles (Bride, Maid of Honor, Birthday Girl, etc.).
- Gradient ombré pattern: Arrange bead shades from light to dark and back to light for a smooth transition.
Troubleshooting: Quick Fixes When Things Go Sideways
- Bracelet is too tight: Add 2–4 small spacer beads, or re-string with +0.25 in (0.6 cm) more length.
- Bracelet is too loose: Remove 2–3 beads and re-knot. (If it slides over the hand too easily, it’ll feel sloppy.)
- Knot keeps slipping: Switch to a surgeon’s knot + second knot, and use glue. Also check that your cord isn’t too thin for the bead holes.
- Elastic frays while stringing: Your bead holes may be sharp. Use a bead reamer to smooth, or swap the problem beads.
- Beads won’t fit the cord: Try thinner elastic (0.6–0.7 mm) or use beads with larger holes (pony beads, larger acrylic beads).
- Glue turns cloudy: Use less glue and choose clear-drying jewelry glue. Let it cure fully before wearing.
Common Crafting Mistakes to Avoid
- Cutting the cord too short: Always add 8–10 in (20–25 cm). Knots are harder than they look when you’re short on cord.
- Over-stretching the elastic while tying: This leads to a bracelet that feels loose after a few wears.
- Skipping the glue: A well-tied knot is great, but glue adds “party favor durability,” especially for kids.
- Using heavy beads on thin elastic: If you’re using glass or gemstone beads, choose thicker cord and fewer heavy beads—or expect breakage.
- Not checking bead hole quality: Rough or sharp holes can cut elastic over time.
- Forgetting to center letter beads: Lay out your design first so names and words don’t end up awkwardly off-center.
Party Ideas: How to Use No-Sew Beaded Bracelets
- DIY bracelet bar: Set out sorted beads, elastic pre-cut to 18 in (46 cm), and simple pattern cards guests can copy.
- Place setting décor: Wrap a bracelet around a rolled napkin or attach a name tag to make it a wearable escort card.
- Party favor bundles: Create a set of three stackable bracelets in party colors, then package in a clear favor bag with a tag.
- Team identifiers: Use color-coded bracelets for party games, scavenger hunts, or group photos.
FAQ: No-Sew Beaded Bracelets
1) What’s the best elastic cord size for bracelets?
For most DIY beaded bracelets (acrylic, clay, letter beads), 0.8 mm or 1.0 mm elastic cord is the sweet spot. If bead holes are small, drop to 0.6–0.7 mm and double-knot with glue.
2) How do I keep the knot from showing?
Hide it inside a larger-hole bead (often an 8 mm bead works), or use a crimp cover to enclose the knot. Both options make the bracelet look store-bought.
3) Can kids make these at a party?
Yes—this is one of the best beginner-friendly party crafts. For younger kids, use pony beads or larger 8–10 mm beads, pre-cut the elastic, and skip tiny seed beads. Adult help for knotting and gluing keeps the bracelets secure.
4) How many beads do I need for one bracelet?
It depends on bead size and wrist size. As a rough guide for an adult 7 in (18 cm) bracelet:
- 6 mm beads: about 28–32 beads
- 8 mm beads: about 22–26 beads
- Heishi discs: often 120–160 discs (depending on thickness)
5) How do I make bracelets that match my party decorations?
Choose 2–4 colors pulled directly from your party palette (tableware, balloons, banners). Add a metallic spacer (gold or silver) to make the colors feel more “event-ready,” especially for weddings, graduations, and milestone birthdays.
6) What’s the fastest way to make a batch of party favors?
Assembly-line style works best: pre-cut all elastic, lay out bead patterns in piles, string each bracelet, then knot/glue all at once. You’ll get consistent sizes and quicker results.
Make One, Then Make a Whole Stack
No-sew beaded bracelets are the kind of handmade project that fits perfectly into party planning: quick to make, easy to customize, and fun to share. Try a simple pattern first, then level up with letters, charms, ombré color blends, or matching stacks for DIY party favors your guests will actually wear.
Want more party-ready DIY crafts, handmade decorations, and creative celebration ideas? Browse more projects on smartpartyprep.com and keep the fun going—one craft at a time.
More Articles
 Are Pure Encapsulations third party tested? Yes—but here’s exactly which labs verify them, what tests they run (heavy metals, microbes, potency), and how to spot fake 'certified' claims in 2024.
 Step-by-Step Backdrops Tutorial
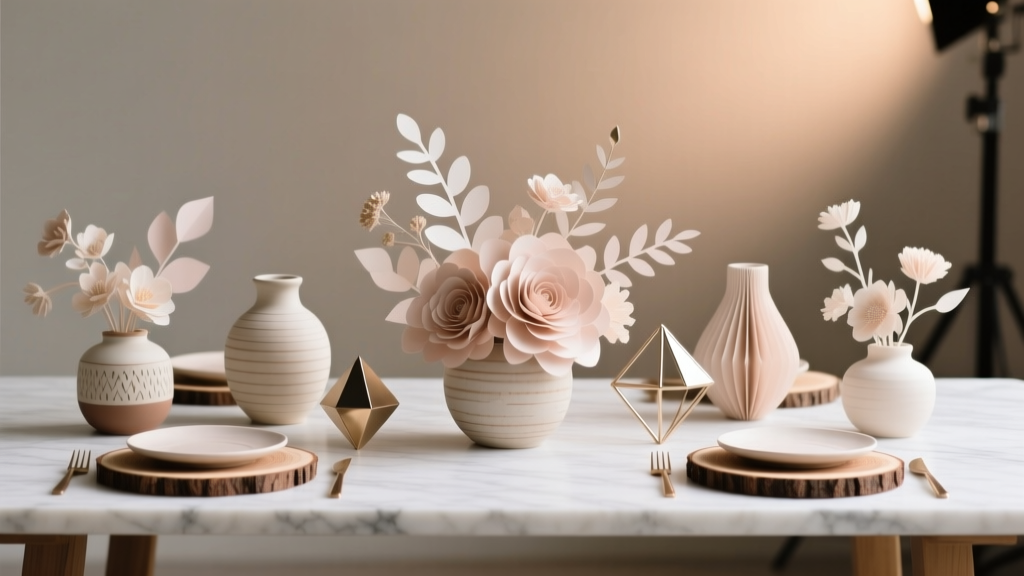 Advanced Centerpieces for Crafters
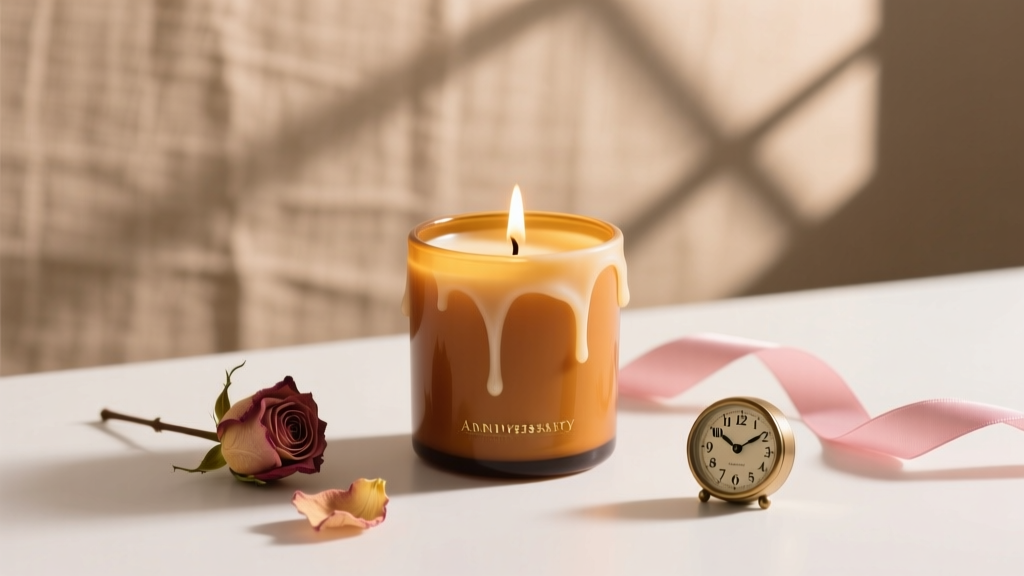 DIY Candles for Anniversaries
 Advanced Painted Canvas for Crafters
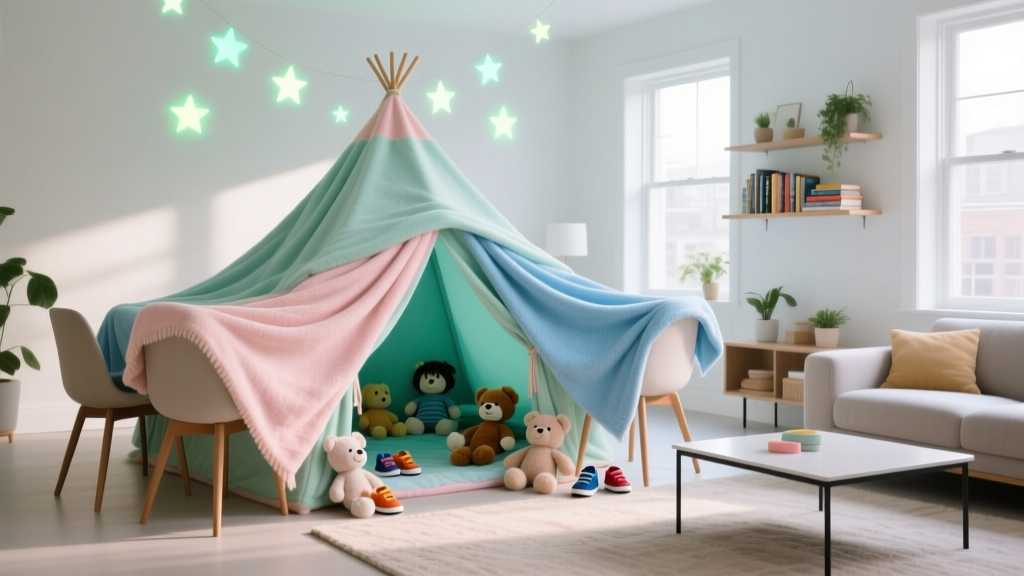 How to Make a Slumber Party Tent in Under 20 Minutes (No Sewing, No Special Tools — Just Blankets, Chairs & Kid-Approved Magic)
 Budget DIY Origami Decorations Under $15
 Upcycled Origami Decorations from Recycled Materials
 Personalized Custom Stickers Gifts
 DIY Beaded Bracelets for Home Decor