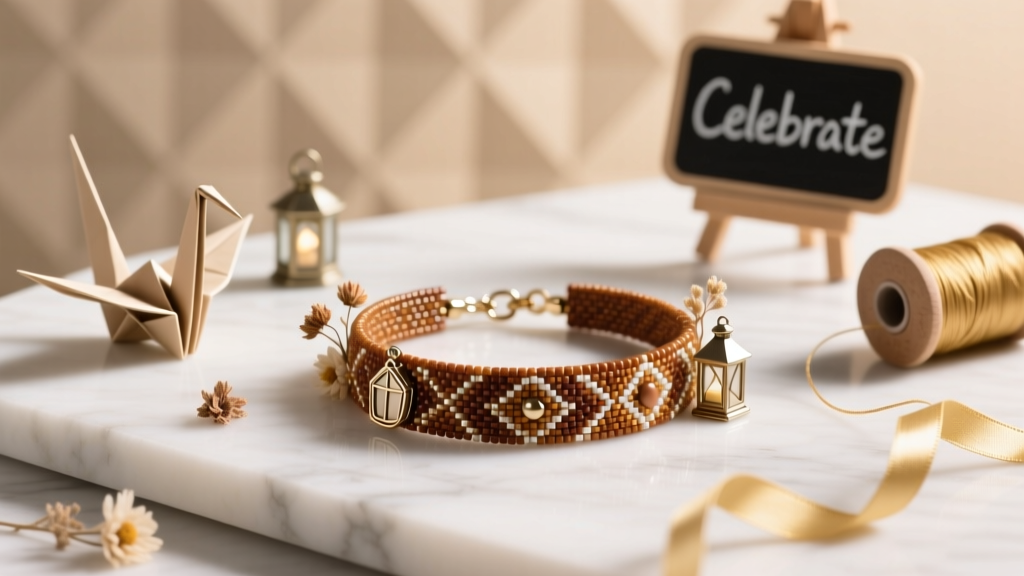
DIY Beaded Bracelets for Home Decor
Beaded bracelets aren’t just for wrists—they’re tiny, colorful building blocks that can transform your party decor and everyday home styling. When you string beads with intention (and a little bit of hardware), you get decor pieces that look boutique-level but feel totally doable at a kitchen table. The best part: you can match your bead colors to a party theme, a seasonal palette, or even your living room throw pillows.
This project is especially fun because it’s flexible. You can make one statement “bracelet” to dress up a vase, or create a whole set for napkin rings, curtain tiebacks, and garlands. It’s also a great craft for groups—perfect for a DIY party night, a bridal shower activity, or a kid-friendly craft station with a few safety adjustments.
Below you’ll find a practical, step-by-step guide to turning DIY beaded bracelets into stylish home decor accents—plus pro tips, common mistakes to avoid, variations for beginners and advanced crafters, and a helpful FAQ.
Project Overview (Skill Level, Time, and Uses)
- Skill level: Beginner (basic stringing) to Intermediate (wire wrapping, clasps, multi-strand)
- Estimated time:
- Simple elastic bracelet decor: 15–25 minutes each
- Clasped/wire bracelet decor: 25–45 minutes each
- Set of 6 napkin rings: about 1.5–2.5 hours
- Great for: DIY party decorations, handmade table settings, giftable decor, seasonal styling
Easy Ways to Use Beaded “Bracelets” as Decor
- Napkin rings for birthdays, baby showers, bridal showers, and holiday dinners
- Vase collars (wrap around candle holders, bud vases, pitchers)
- Wine glass charms or straw markers (mini versions)
- Cabinet knob or bottle “jewelry” for party drink stations
- Chair-tie embellishments (add a bracelet to ribbon or twine)
- Mini garlands (string multiple “bracelets” together)
Materials List (Product Types + Estimated Costs)
Costs vary by bead type and whether you already own tools. This list is designed to keep your DIY crafts budget practical while still looking polished for party decorations.
Beads (Pick One Main + Optional Accents)
- Wood beads (12–20 mm) – great for farmhouse, boho, neutral themes (approx. $6–$12 per 50–100 beads)
- Acrylic beads (8–14 mm) – lightweight, bright colors for party themes (approx. $5–$10 per assorted pack)
- Glass or crystal beads (6–10 mm) – sparkly, elevated table decor (approx. $8–$18 per strand/pack)
- Pearl-style beads (8–12 mm) – classic bridal shower or anniversary vibes (approx. $6–$14 per pack)
- Spacer beads (3–6 mm) – metallic, silicone, or seed-bead spacers to add rhythm (approx. $4–$10)
Stringing Materials
- Elastic stretch cord (0.8–1.0 mm) – best for beginners and quick napkin rings (approx. $4–$8 per roll)
- Nylon beading thread (size D or similar) – strong and flexible with a needle (approx. $4–$7)
- Beading wire (0.38–0.46 mm / 0.015–0.018 in) – best for clasped, structured pieces (approx. $6–$10)
Findings and Extras (Optional but Makes It Look Finished)
- Crimp beads (2x2 mm or 2x3 mm) for beading wire (approx. $4–$7)
- Lobster clasps + jump rings for adjustable decor wraps (approx. $5–$10)
- Charm drops or tassels for party flair (approx. $6–$15)
- Ribbon (1/4 in to 1 in) for bows and chair decor (approx. $3–$8)
Tools (Recommended)
- Beading needle (for thread) or big-eye needle (approx. $3–$6)
- Flush cutters for wire (approx. $8–$15)
- Needle-nose pliers + round-nose pliers (approx. $10–$20 for a set)
- Crimping pliers (nice-to-have for wire projects) (approx. $10–$18)
- Measuring tape or ruler
- Bead mat or towel to stop beads from rolling (approx. $5–$10)
Measurements: Sizing “Bracelets” for Decor (Not Wrists)
For home decor, sizing is all about the object you’re wrapping. Use a soft measuring tape and measure the circumference where the beads will sit.
- Standard cloth napkin ring circumference: 5.5–6.5 in (14–16.5 cm)
- Stemless wine glass charm loop: 2.5–3.5 in (6.5–9 cm)
- Small vase/candle holder collar: 7–10 in (18–25.5 cm)
- Mason jar collar: 9–10.5 in (23–27 cm)
Rule of thumb: Add 1/2 in (1.3 cm) for knotting on elastic, or add 3/4–1 in (2–2.5 cm) total for clasp hardware on wire.
Step-by-Step: Basic Elastic Beaded “Bracelet” Napkin Rings
This is the fastest, most beginner-friendly version—perfect for DIY party decorations and handmade table settings.
What You’ll Make
- One elastic beaded ring that slides over a rolled napkin
Time Estimate
- 15–25 minutes each (faster after your first one)
Instructions
- Measure your napkin ring size. Aim for a finished loop of 6 in (15 cm) for standard cloth napkins. If your napkins are thick or you’re doing fancy folds, go up to 6.5 in (16.5 cm).
- Cut elastic cord. Cut 14–16 in (36–41 cm) so you have plenty to hold while stringing and knotting.
- Plan your bead pattern. On a bead mat, lay out beads in the order you’ll string:
- Example pattern: 1 large bead (14–16 mm) + 3 small beads (8–10 mm) + spacer + repeat
- For party themes: match 2–3 main colors and add metallic spacers for shine
- String the beads. If beads are small, use a big-eye needle. Keep checking length by wrapping around two fingers or around a paper towel roll (a great napkin substitute while crafting).
- Test the fit. Before knotting, wrap the strand around a rolled napkin or the cardboard tube. It should stretch slightly to slide on, then sit snug.
- Knot securely. Use a surgeon’s knot (double pass on the first tie), then tie 2–3 more tight knots. Pull firmly—elastic needs tension to hold.
- Hide the knot. Dab a tiny dot of clear-drying craft glue on the knot (optional), let it get tacky for 20–30 seconds, then slide the knot into a larger bead.
- Trim ends. Cut cord tails to about 1/8 in (3 mm).
Step-by-Step: Clasped Beaded Wrap for Vases, Jars, and Drink Stations
If you want a more “decor jewelry” look (and the ability to open/close the piece), go with beading wire and a clasp. This version is sturdy and reusable—great for party setups where you’ll assemble decor on-site.
What You’ll Make
- A beaded strand with a lobster clasp and jump ring that wraps around a vase, jar, or bottle
Time Estimate
- 25–45 minutes each
Instructions
- Measure the object. Measure the circumference where the beads will sit. Add 1 in (2.5 cm) for clasp and wiggle room.
- Cut beading wire. Cut wire to circumference + 6–8 in (15–20 cm) extra for finishing.
- Add the first crimp + clasp.
- Slide on one crimp bead
- Slide on a lobster clasp
- Loop wire back through the crimp bead leaving a small loop
- Crimp with crimping pliers (or flatten carefully with chain/needle-nose pliers)
- String beads. Add beads in your planned sequence. For a polished party decoration look, repeat a motif:
- Example: pearl bead + gold spacer + pearl bead + crystal bicone
- Or: wood bead + painted bead + wood bead + tassel anchor bead
- Check length as you go. Wrap around the vase/jar occasionally to avoid making it too tight.
- Finish with jump ring end. Slide on a crimp bead, then a jump ring, then pass wire back through the crimp. Pull snug so beads don’t rattle but aren’t forced.
- Crimp and trim. Crimp firmly, then trim excess wire with flush cutters. If you have a few beads with larger holes, tuck the trimmed tail into the nearest bead for extra security.
Pro Tips for Professional-Looking Results
- Use odd-number groupings (3, 5, 7) in repeating patterns—your eye reads them as more natural and decorative.
- Mix finishes, not chaos. Choose:
- 1 main bead style (wood/pearl/glass)
- 1 accent (spacer/metallic)
- 1 “spark” element (crystal, charm, tassel, or one standout bead)
- Keep a consistent tension. Elastic should be snug; wire should be neat without gaps.
- Make a sizing jig. Tape two pencils to your table 6 in (15 cm) apart to quickly compare lengths for napkin rings.
- Batch your work. For party decorations, lay out beads for 6–12 pieces at once—faster and more consistent.
Creative Variations (Beginner-Friendly and Advanced)
Beginner-Friendly Adaptations
- Chunky wood-bead napkin rings: 16–20 mm beads + 1 mm elastic for quick threading
- Color-block party sets: Make each ring a different color for place settings
- Letter bead name rings: Add letter beads to spell names for a birthday party table (use larger beads so letters are easy to read)
Advanced Variations
- Multi-strand “bracelet” collars: Create 2–3 beaded strands and connect at clasps for a layered vase wrap
- Wire-wrapped charm dangles: Use 22–24 gauge wire and round-nose pliers to add bead drops between larger beads
- Adjustable extender chain: Add a 2–3 in (5–7.5 cm) extender so one piece fits multiple jar sizes
- Beaded tassel tiebacks: String beads onto thicker cord, finish with tassels, and loop around curtain panels for party backdrops
Troubleshooting: Fixes for Common Issues
- My elastic knot keeps slipping.
- Use a surgeon’s knot + 2 extra knots
- Use 0.8–1.0 mm elastic (too thin slips more)
- Add a tiny dot of clear glue and let it set before hiding the knot
- The ring is too tight on the napkin.
- Add 2–4 beads or increase circumference by 1/4–1/2 in (0.6–1.3 cm)
- For thick napkins, target 6.5 in (16.5 cm)
- My beads don’t line up nicely.
- Add spacer beads to create visual rhythm
- Stick to 2–3 bead sizes maximum per piece
- Wire ends feel sharp.
- Use flush cutters (not scissors)
- Tuck the trimmed tail into a bead with a larger hole
- Make sure crimps are fully closed and smooth
Common Crafting Mistakes to Avoid
- Cutting elastic too short. Give yourself extra length so you can knot without fighting the beads.
- Using the wrong cord size. If beads have large holes, very thin cord can look “wobbly” and won’t hold shape.
- Overstuffing patterns. Too many different bead styles can look busy. Keep your handmade decor cohesive.
- Skipping fit tests. Check size on a rolled napkin or the actual vase/jar before you commit to knots or crimps.
- Not planning for guests and cleanup. If this is for a party, avoid fragile beads on high-traffic tables. Acrylic and wood are durable and lightweight.
- Leaving knots exposed. Visible knots can make the piece look unfinished—hide them inside a bead whenever possible.
FAQ: DIY Beaded Bracelet Decor
1) Are elastic beaded napkin rings durable enough for parties?
Yes—if you use 0.8–1.0 mm elastic, tie a secure surgeon’s knot, and keep tension consistent. For events where items get handled a lot (kids’ parties), acrylic or wood beads are the most forgiving.
2) How many beads do I need for one napkin ring?
It depends on bead size. As a quick guide for a 6 in (15 cm) ring:
- 12 mm beads: about 12–13 beads
- 16 mm beads: about 9–10 beads
- Mixed sizes: plan the pattern first, then adjust by 1–2 beads during fit testing
3) Can kids make these as a party craft?
They can with supervision. Choose large beads (14–20 mm) and elastic cord, skip tiny spacers, and avoid small metal findings for younger kids. Pre-cut cords and pre-sort bead sets to keep it smooth and fun.
4) What’s the best bead type for elegant table decor?
For a dressy look, use pearl-style beads with gold or silver spacers, or add a few crystal beads for sparkle. Keep the palette tight—two neutrals plus one metallic is a reliable formula.
5) How do I match these to a party theme?
Pick your theme colors, then choose one “hero” bead (like a pearl or a glossy acrylic) and one accent (metal spacer, charm, or tassel). For example:
- Baby shower: pearl + pastel + silver spacer
- Birthday party: bright acrylic + confetti-style mix + star charm
- Holiday dinner: deep red/green + gold spacer + one feature bead
6) Can I turn these into garlands or hanging decor?
Absolutely. Make multiple beaded “bracelets,” then connect them with ribbon or jump rings to create a swag for a dessert table, photo backdrop, or party bar cart.
Wrap-Up: Make a Few, Then Make a Set
Once you make your first beaded decor “bracelet,” you’ll start spotting opportunities everywhere—napkins, jars, candles, even party favor bags. Start simple with elastic napkin rings, then level up with clasped wraps and layered strands for a more styled, reusable look.
Gather your beads, choose a party palette, and make one test piece today. Then scale it into a matching set for your next celebration—your table will look intentional, handmade, and totally you.
Happy crafting! Explore more DIY crafts, party decorations, and handmade project ideas at smartpartyprep.com.
More Articles
 Budget DIY Wreaths Under $25
 How to Turn Off 3rd Party Cookies in 2024: A Step-by-Step Guide That Actually Works (No Tech Jargon, Just Real Browser Instructions)
 How to Automate Third Party Plugins in FL Studio: The 7-Step Blueprint That Cuts Your Mix Automation Time by 68% (No Coding Required)
 How to Make a Party Popper in 7 Minutes (No Glue, No Mess, No Store-Bought Kits) — A Foolproof DIY Guide That Actually Works Every Time
 Kids' Craft: Origami Decorations
 Personalized Invitations Gifts
 Is Levels Protein Third Party Tested? We Investigated Every Batch Report, Lab Certificate, and FDA Compliance Record So You Don’t Have to Waste Money on Unverified Supplements
 Personalized Confetti Gifts
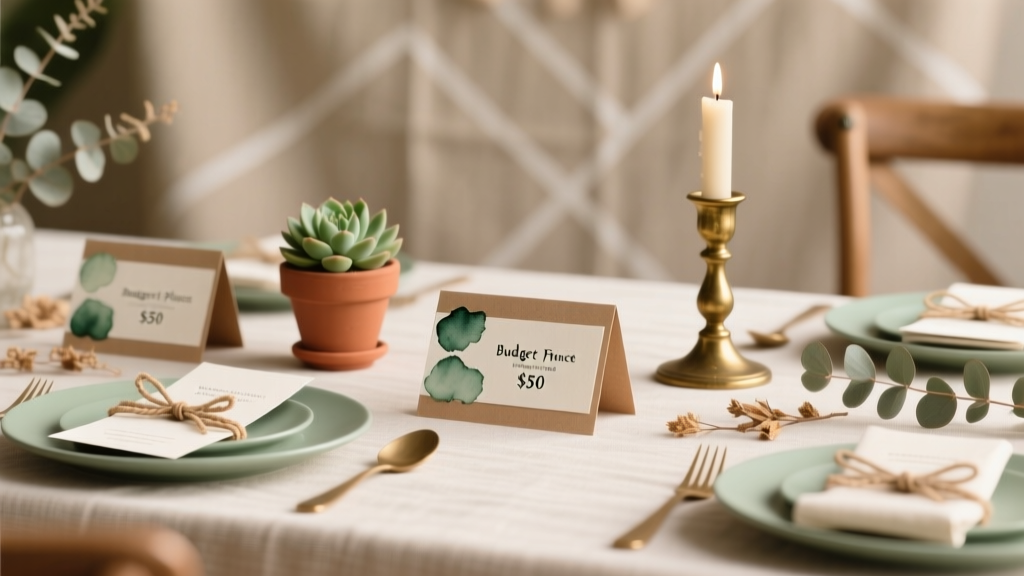 Budget DIY Place Cards Under $50
 25 Creative Slime Ideas