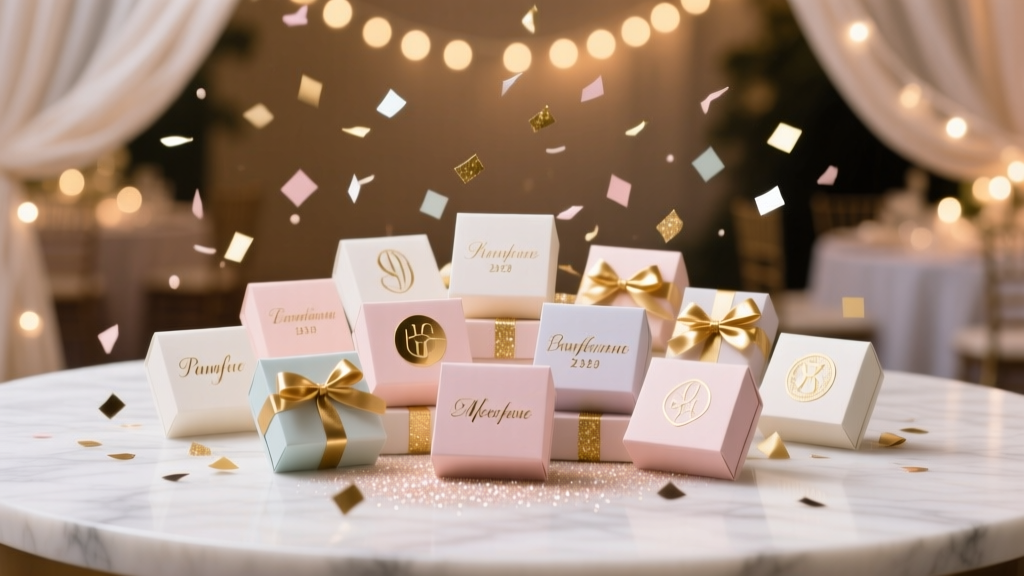
Personalized Confetti Gifts
Confetti makes people smile. It’s colorful, celebratory, and instantly turns an everyday package into a party moment. Personalized confetti gifts take that feeling one step further—because the confetti doesn’t just “look cute,” it’s customized to the guest of honor, your theme, your message, and your event.
This project is also incredibly practical. With a few basic tools, you can create handmade party favors, memory keepsakes, table decorations, and gift toppers that cost less than store-bought personalized items. Whether you’re planning a birthday, baby shower, graduation, engagement party, or holiday gathering, these DIY confetti gifts are a fast way to make your party decorations feel thoughtful and custom.
Best of all: you can keep it beginner-friendly (simple color mixes in clear bags) or go advanced (layered confetti shakers, name-filled envelopes, and themed cutouts). Either way, your guests get a fun little surprise that looks like it came from a boutique.
Project Overview
- Skill level: Beginner (basic) / Intermediate (shaker add-ons) / Advanced (custom-cut shapes + layered packaging)
- Time estimate:
- 10–15 minutes for 6 simple confetti bags
- 30–60 minutes for 6 personalized shaker pouches or confetti tubes
- 1.5–2 hours for 12+ favors with labels, layered mixes, and custom shapes
- Best uses: DIY party favors, handmade gift toppers, place settings, table decor, party decorations, surprise inserts for cards
What Are Personalized Confetti Gifts?
A personalized confetti gift is any small favor or add-on where the confetti is customized in at least one of these ways:
- By name: confetti tags, labels, or a mini note that matches the confetti mix
- By theme: shapes (stars, hearts, dinosaurs), colors (team colors, bridal palette), or motifs (snowflakes, pumpkins)
- By message: “Happy Birthday,” “Class of 2026,” “Baby,” “Cheers,” initials, or date stickers
- By experience: shaker pouches, confetti pop tags (non-explosive), or tiny “sprinkle this on your table” envelopes
Materials & Tools (With Estimated Costs)
Costs vary by quantity and quality, but the list below keeps things accessible while still looking polished.
Confetti Options
- Tissue paper confetti (pre-made circles): 1–2 oz bag, $4–$10
- Foil confetti (stars/hearts): 1–2 oz bag, $5–$12
- Biodegradable confetti: $6–$15 (great for eco-friendly party favors)
- DIY punched confetti (from cardstock): $3–$8 for cardstock pack
Packaging (Pick One Style)
- Clear cellophane treat bags (approx. 4 x 6 in / 10 x 15 cm): $5–$10 for 50
- Mini clear zip bags (approx. 3 x 4 in / 7.5 x 10 cm): $6–$12 for 100
- Clear plastic tubes (approx. 6 in tall / 15 cm): $10–$18 for 12
- Glassine envelopes (approx. 3.5 x 5 in / 9 x 13 cm): $6–$12 for 50
- Shaker pouches (DIY from sheet protectors or acetate): $3–$8
Labels & Decorating
- Printable sticker paper (letter size): $8–$15 for 20 sheets
- Cardstock for tags (65–110 lb): $6–$12 per pack
- Ribbon or twine: $3–$8
- Alphabet stickers/vinyl letters: $5–$12
- Optional: metallic marker or paint pen: $3–$8
Tools (Recommended)
- 1-inch (2.5 cm) circle punch for fast confetti: $8–$18
- Shape punches (stars/hearts): $8–$20 each
- Scissors (sharp craft scissors): $6–$15
- Paper trimmer (for clean tag edges): $12–$30
- Small funnel (or rolled paper funnel): $3–$8
- Double-sided tape or glue runner: $4–$10
- Optional for advanced: heat sealer ($15–$30) for sleek packaging
Choose Your Confetti Gift Style
Style A: Personalized Confetti Favor Bags (Fast & Cute)
Perfect for birthdays, showers, and classroom treats.
Style B: Confetti Tubes (Great for Place Settings)
Elegant, tidy, and easy to display standing up.
Style C: Confetti Shaker Pouches (Interactive Keepsake)
Looks high-end, especially with a custom name label.
Step-by-Step: Personalized Confetti Favor Bags
Finished size: about 4 x 6 in (10 x 15 cm) bag
Per-bag fill: 1 to 2 tablespoons confetti (about 3–6 grams depending on material)
Step 1: Plan Your Color Mix
- Pick 2–4 colors that match your party theme.
- Use a simple ratio to keep it consistent:
- 50% main color
- 30% secondary color
- 20% accent (metallic/foil or a bold pop)
Step 2: Make DIY Confetti (Optional)
If you want custom colors or shapes, punch your own.
- Cut cardstock into strips about 1.5 in (4 cm) wide so it fits easily in your punch.
- Punch circles or shapes into a bowl or tray.
- If using glitter cardstock, punch slowly to avoid tearing.
Step 3: Fill the Bags Neatly
- Open your treat bags and stand them upright in a mug or small jar while filling.
- Use a funnel and add 1–2 tablespoons confetti per bag.
- Tap the bag lightly on the table so the mix settles and looks full.
Step 4: Seal the Bags
- Beginner-friendly: fold the top down about 0.5 in (1.2 cm) and seal with clear tape.
- Polished look: use a heat sealer or double-sided tape for a clean edge.
- Extra-secure for kids’ parties: fold, tape, then add a staple through a tag (staple hidden behind the tag).
Step 5: Add Personalized Tags
- Cut tags to about 2 x 3 in (5 x 7.5 cm) (or use a scalloped tag punch).
- Write or print a message:
- “Happy Birthday, Mia!”
- “Thanks for celebrating!”
- “Baby Shower • Ava • 06.14”
- Punch a hole and tie with ribbon/twine, or tape the tag directly onto the bag.
Step-by-Step: Confetti Tubes (Display-Ready)
Best tube size: about 6 in (15 cm) tall
Per-tube fill: fill to 2/3 full so it shakes nicely
- Layer for a luxe look: add confetti in color blocks (example: 1 in gold stars, 2 in pink circles, 1 in white hearts).
- Insert a tiny rolled message on a strip of paper sized 1 x 3.5 in (2.5 x 9 cm).
- Cap tightly. If the cap feels loose, wrap a thin strip of clear tape around the rim before closing.
- Add a name label:
- Sticker label size: 2 x 1 in (5 x 2.5 cm)
- Place it straight using a ruler as a guide.
Step-by-Step: Confetti Shaker Pouches (Advanced & Giftable)
Skill level: Intermediate/Advanced
Time: 5–8 minutes each once you get a rhythm
- Cut two rectangles of acetate or a sheet protector to about 4 x 5.5 in (10 x 14 cm).
- Round corners with scissors (prettier and less pokey).
- Run double-sided tape along three sides, leaving the top open.
- Add 1 tablespoon confetti + a few larger shapes (stars/hearts) for visual interest.
- Seal the top with tape. For extra security, add a thin strip of washi tape across the top edge.
- Personalize with a vinyl name, sticker, or printed label centered on the front.
Pro Tips for Clean, Professional Results
- Work over a tray: a baking sheet catches runaway confetti and makes cleanup fast.
- Use anti-static tricks for acetate: wipe the pouch lightly with a dryer sheet before sealing to reduce cling.
- Mix sizes: pair small circles with a few larger shapes (about 10–15 large pieces per bag) so it looks intentional.
- Keep personalization readable: put name labels on a solid-color tag or white sticker so they don’t get visually lost in the confetti.
- Batch like a pro: prep all tags first, then fill all bags, then seal all bags, then attach all tags.
Creative Variations (Beginner to Advanced)
Beginner-Friendly Adaptations
- One-color confetti + bold name tag: fast and modern.
- Store-bought confetti mix: skip punching and focus on packaging.
- Glassine envelopes: hide the confetti until the guest opens it—less mess at the party.
Advanced Variations
- Custom theme shapes: punch mini butterflies for a garden party, stars for a graduation party, snowflakes for winter party decorations.
- Confetti “recipe” cards: include a tiny instruction card: “Sprinkle on the table for cake time!”
- Layered ombré: build a gradient in a tube (dark at bottom to light at top).
- Personalized confetti mix by guest: assign each guest a signature color and add their name label—perfect as place cards.
Troubleshooting: Quick Fixes
- Confetti sticks to the bag or pouch: use less foil, add more tissue/cardstock pieces, and wipe acetate with a dryer sheet.
- Bags won’t stand up or look “flat”: increase fill slightly or use a smaller bag size (3 x 4 in / 7.5 x 10 cm) for a fuller look.
- Colors look muddy together: limit to 2–3 colors and add one metallic accent (gold or silver) to unify.
- Handwritten tags smudge: use a fast-drying permanent marker or let ink dry fully before handling (about 60 seconds).
- Confetti leaks: double-seal with tape, or heat-seal if possible; avoid overfilling near the top seam.
Common Crafting Mistakes to Avoid
- Overfilling: more isn’t always better—overfilled bags pop open and won’t seal neatly. Aim for 1–2 tablespoons.
- Skipping a test bag: make one complete sample first to confirm size, label placement, and mix.
- Using only tiny confetti: it can look like “dust” in photos. Add a few larger shapes for that party-perfect look.
- Messy label alignment: use a ruler or a simple center guideline on your tag sheet before cutting.
- Not considering the event space: for indoor venues, choose larger confetti pieces or envelope packaging to reduce cleanup concerns.
FAQ: Personalized Confetti Gifts
How far in advance can I make confetti party favors?
You can make them 2–4 weeks ahead if stored in a dry place out of direct sunlight. Foil confetti holds up well; tissue confetti can fade if left in bright sun.
What’s the least messy way to gift confetti?
Use glassine envelopes or sealed tubes. Add a small note encouraging guests to open it over a table or tray.
How do I personalize without a cutting machine?
Use alphabet stickers, printable sticker paper, or neatly handwritten tags with a metallic marker. A simple name label still looks custom and handmade.
What confetti works best for shaker pouches?
A mix of cardstock circles and a small amount of foil shapes looks great and reduces static cling compared to using all foil.
Are these safe for kids’ parties?
They can be, with a few adjustments: use larger confetti shapes, seal packaging securely, and avoid giving confetti favors to very young children who might put small pieces in their mouths.
Can I make eco-friendly DIY confetti gifts?
Yes—choose biodegradable confetti, punch confetti from recycled paper, and package in paper envelopes or recyclable containers.
Wrap-Up: Make It Personal, Make It Party-Ready
Personalized confetti gifts are one of those DIY party projects that deliver big impact with small effort. A simple confetti mix becomes a thoughtful handmade detail when you add a name, a date, or a theme that matches your celebration. Start with a quick batch of favor bags, then level up with tubes or shaker pouches when you want that extra “wow” factor.
If you make a set, try snapping a photo of your confetti mix “recipe” (your color ratios and shapes) so you can recreate it for future party decorations and handmade projects.
More party-ready DIY crafts and creative ideas are waiting for you—explore more inspiration on smartpartyprep.com.
More Articles
 How to Make Party in Infinite Craft (Step-by-Step Guide): The 4 Hidden Combinations You’re Missing — Plus Why ‘Fire + Music’ Fails Every Time
 Kids' Craft: Tie-Dye Shirts
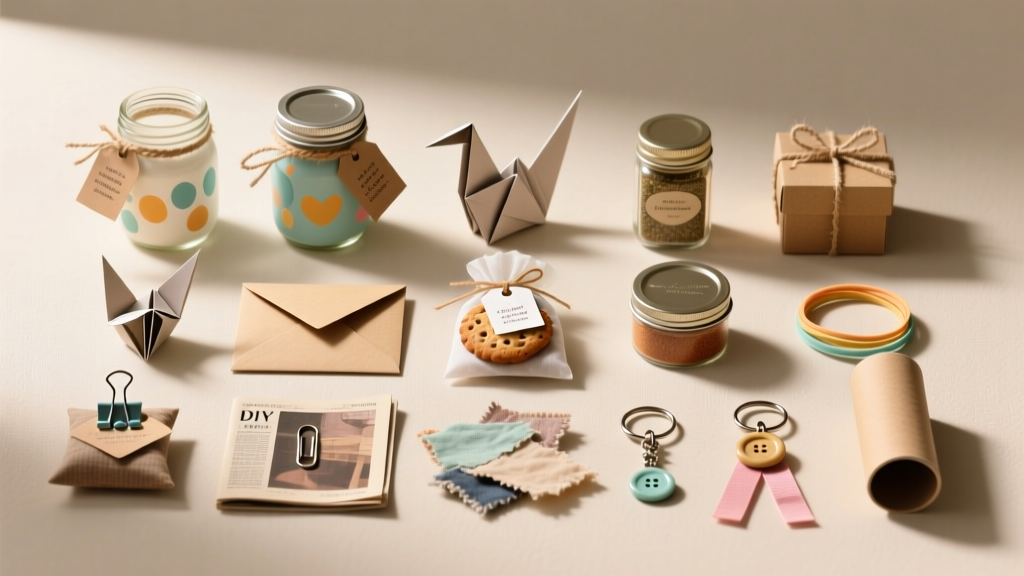
 How to Make Favor Bags at Home
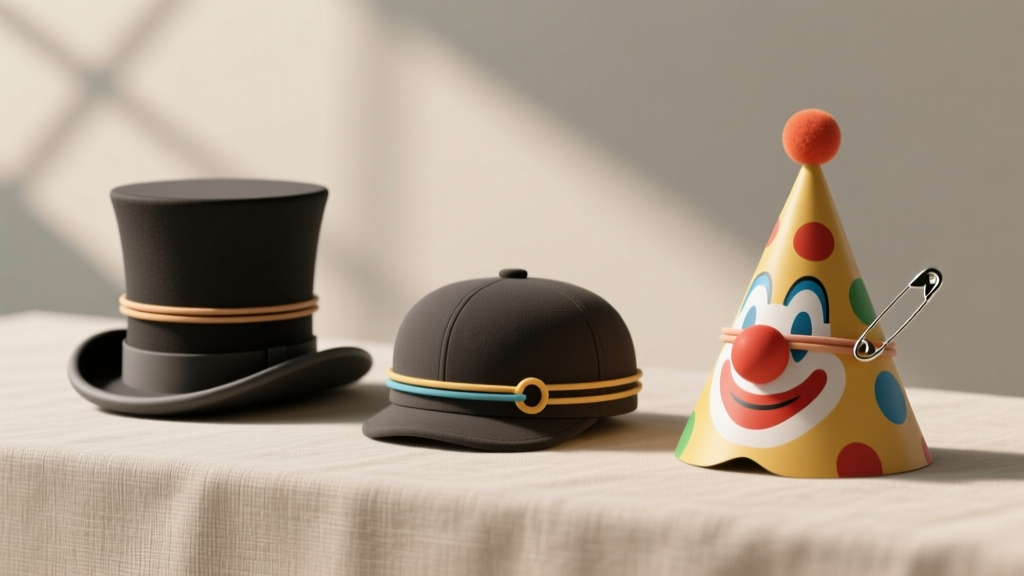 How Do You Make Party Hats That Actually Stay On? (No Glue Gun, No Tears — Just 3 Foolproof Methods Using Stuff You Already Have)
 How to Unblock 3rd Party Session Cookies on Mac: A Step-by-Step Safari & Chrome Fix That Actually Works (No Extensions Needed)
 Personalized Mugs Gifts (DIY Party Favors & Handmade Keepsakes)
 How to Make Crowns at Home
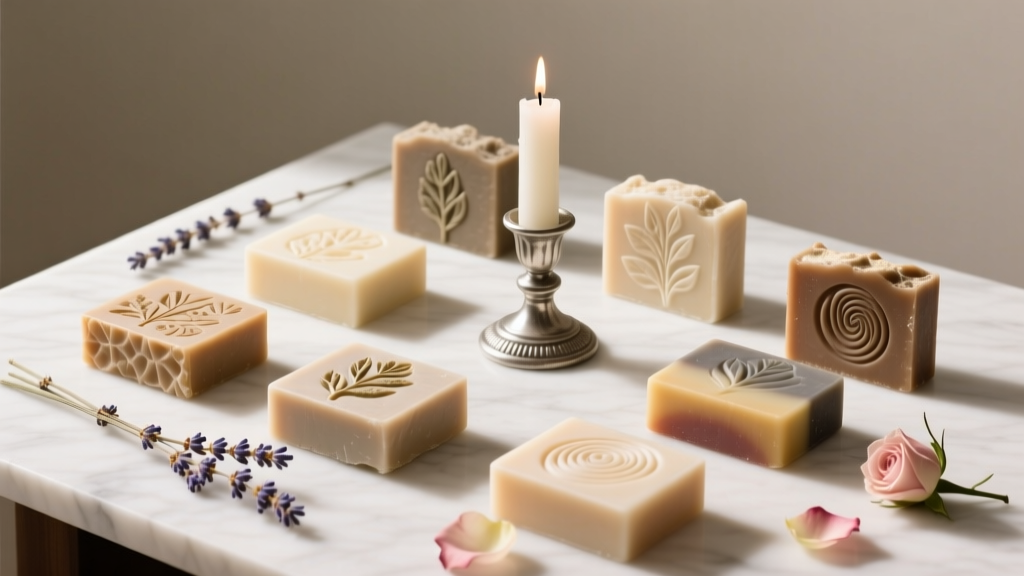 Advanced Soap Bars for Crafters
 17 Do It Yourself Party Favors That Actually Impress Guests (No Craft Store Run Needed — Just $5, 20 Minutes & What’s Already in Your Drawer)
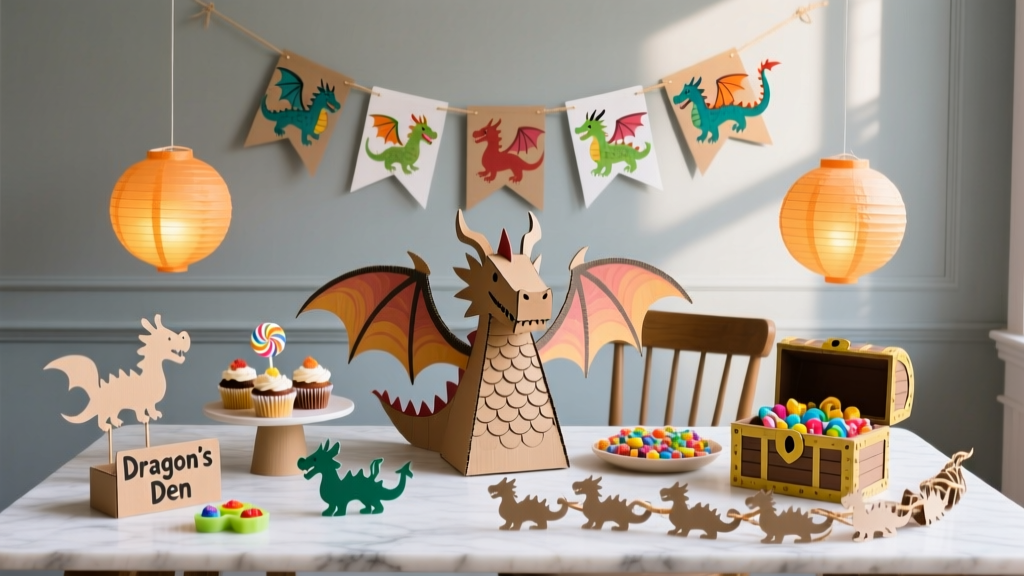 How to Train Your Dragon Birthday Party Decorations: 7 No-Stress DIY Projects That Take Under 2 Hours (No Craft Store Run Needed)