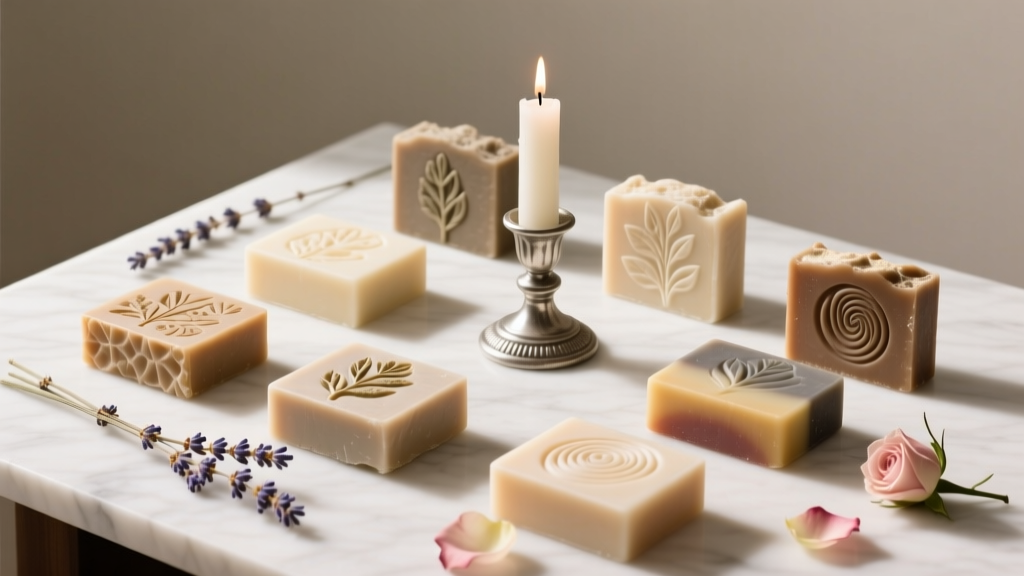
Advanced Soap Bars for Crafters
Handmade soap bars are one of those crafty projects that feel like a little bit of magic: you start with simple ingredients, add color, fragrance, and a creative theme, and end up with something beautiful, useful, and giftable. If you’re the kind of DIY enthusiast who loves party prep—custom favors, coordinated décor, and wow-factor details—advanced soap bars fit right into your handmade projects toolkit.
These aren’t your plain “one-color block” soaps. This guide focuses on party-ready techniques like layers, embeds, swirls, mica painting, and confetti effects—perfect for birthdays, baby showers, bridal showers, holiday gatherings, and even DIY “spa party” nights. You’ll learn how to plan designs that match party themes, how to avoid common soap-making mishaps, and how to package your bars so they look boutique-level on a favor table.
Skill level: Confident beginner to advanced crafter (you can absolutely start with the beginner-friendly adaptations!).
Time estimate: 1.5–3 hours active crafting + 2–24 hours curing/setting depending on method (details below).
Batch size: Typically 8–12 standard bars, depending on your mold.
Choose Your Soap Method: Melt-and-Pour vs. Cold Process
Melt-and-Pour (Best for Party Favors + Fast Results)
- Pros: Quick, beginner-friendly, kid/teen crafting-friendly with supervision, easy colors and embeds, minimal chemistry.
- Set time: 2–6 hours to unmold (often sooner), ready to use right away.
- Best for: Party favors, themed décor soaps, last-minute handmade projects.
Cold Process (Best for Artisan Look + Long-Lasting Bars)
- Pros: Ultimate control over ingredients, luxurious feel, advanced swirls, long-lasting bars.
- Cure time: 4–6 weeks (not ideal for last-minute party deadlines).
- Best for: Serious soap crafters, seasonal gift prep, high-end “spa party” sets.
Safety note: Cold process soap uses lye and requires protective gear and careful handling. If your goal is party decorations and favors with a shorter timeline, melt-and-pour is the easiest advanced-looking option.
Materials + Tools (with Estimated Costs)
Core Supplies (Melt-and-Pour Focus)
- Melt-and-pour soap base (clear or white, 2 lb / 0.9 kg) – $10–$18
- Soap-safe fragrance oil (1 oz / 30 ml) – $3–$8
- Mica powder (cosmetic-grade, soap-safe, 3–5 colors) – $10–$25
- Liquid soap colorant (optional, for bright neons) – $5–$10
- 99% isopropyl alcohol (spray bottle) – $3–$6
- Silicone loaf mold (approx. 10 in x 3 in x 2.5 in) – $10–$20
- Soap cutter or straight crinkle cutter – $10–$35
- Heat-safe measuring cups (2–4 cup / 500–1000 ml) – $6–$15
- Digital scale (0.1 oz or 1 g increments) – $10–$20
- Infrared thermometer (optional but helpful) – $15–$25
Design Extras (Party-Perfect Details)
- Silicone mini molds (stars, hearts, flowers, letters) for embeds – $5–$15
- Biodegradable glitter or mica “sparkle” (soap-safe) – $6–$12
- Paper confetti (for packaging only, not inside soap) – $3–$8
- Cellophane bags or shrink wrap bands – $5–$15
- Favor tags + twine/ribbon – $5–$15
If You Want to Try Cold Process Later (Advanced Path)
- Lye (sodium hydroxide) + distilled water – $10–$20
- Safety gear: goggles, gloves, long sleeves – $10–$25
- Stick blender – $25–$45
Project Plan: 3 Advanced Party-Themed Soap Designs
Pick one design for a cohesive favor table, or mix them into a “soap flight” gift set. Each method below is melt-and-pour and designed to look advanced without requiring weeks of curing.
Design A: Layered Ombré Party Bars
Look: Smooth gradient layers that match party colors (great for birthdays, baby showers, weddings).
Skill: Confident beginner.
Active time: 60–90 minutes.
Design B: Embed Surprise Soaps (Stars/Hearts/Letters)
Look: Clear or lightly tinted bars with a crisp shape inside—like a hidden decoration.
Skill: Intermediate.
Active time: 90–120 minutes (includes making embeds).
Design C: Confetti + Swirl Celebration Bars
Look: Party confetti effect using soap shreds plus a mica swirl top.
Skill: Intermediate to advanced.
Active time: 90–150 minutes.
Step-by-Step Instructions (Melt-and-Pour Advanced Techniques)
Step 1: Prep Your Work Area (10 minutes)
- Cover your surface with freezer paper or a craft mat.
- Set out your mold(s), alcohol spray, colors, fragrance, and stirring tools.
- Pre-mix mica into a small cup with 1 teaspoon (5 ml) of 99% isopropyl alcohol to make a smooth slurry (reduces clumps).
Step 2: Cut and Melt the Soap Base (10–15 minutes)
- Cut soap base into 1 inch (2.5 cm) cubes for even melting.
- Weigh your base. A standard loaf mold often takes 2 lb (0.9 kg).
- Melt in the microwave in 20–30 second bursts, stirring between bursts until just melted. Avoid boiling.
Target temperature: about 125–135°F (52–57°C). If it’s too hot, let it cool a few minutes to reduce sweating and warping.
Step 3: Add Fragrance (Soap-Safe Amounts)
Start with 0.3–0.5 oz fragrance per 1 lb soap base (about 9–15 g per 454 g). Stir gently for 20–30 seconds to avoid bubbles.
Step 4A: Make Layered Ombré Bars
- Divide melted soap into 3–5 cups depending on how many layers you want.
- Color each cup: darkest for the first layer, gradually lighter for each next layer. Add mica slurry a few drops at a time.
- Pour the first layer into the mold. Spritz the surface with alcohol to pop bubbles.
- Wait until the layer forms a “thick skin” (usually 5–10 minutes).
- Spritz the layer with alcohol before pouring the next layer—this helps layers bond.
- Repeat until all layers are poured.
Party tip: Match layers to your party decorations—think pastel rainbow for a unicorn party, black/gold for New Year’s, or dusty rose/cream for a bridal shower.
Step 4B: Make Embed Surprise Soaps
- Create embeds: Melt 4–8 oz (113–227 g) of soap base, color it bold (embeds look best with strong contrast), and pour into mini silicone molds (stars/hearts/letters).
- Let embeds cool 30–60 minutes, then unmold.
- Pour a base layer: Pour 1/3 of your main soap base into the loaf mold. Let it set until thick.
- Place embeds in a neat line (or scattered pattern). Spritz with alcohol.
- Pour remaining soap base slowly over a spatula or down the side of the mold to reduce floating embeds.
- Spritz top with alcohol to remove bubbles.
Advanced option: Use letter embeds to spell a name or party phrase (“BABY”, “BRIDE”, “HBD”).
Step 4C: Confetti + Swirl Celebration Bars
- Make confetti: Use a vegetable peeler or cheese grater to create soap curls from a contrasting colored bar (store-bought is fine). Aim for 1/4 cup (about 20–30 g) confetti per 2 lb batch.
- Mix confetti into your melted base when it cools to about 120–125°F (49–52°C). Stir gently to distribute.
- Pour into mold and spritz alcohol.
- Swirl top: Mix a pinch of mica with a few drops of alcohol. Drizzle lightly across the top and use a skewer to create soft swirls.
Decoration idea: Pick confetti colors that match your party tableware for a coordinated “handmade party decoration” moment.
Step 5: Cool, Unmold, and Cut (2–6 hours)
- Let the soap cool at room temperature until firm. Avoid the fridge unless your room is very hot—rapid cooling can cause sweating later.
- Unmold carefully. Cut into bars about 1 inch (2.5 cm) thick.
- For clean edges: wipe your cutter between slices.
Packaging Ideas for Party Favors (Looks Like Boutique Gifts)
- Shrink wrap bands for a glossy professional look (especially helpful in humid climates).
- Clear favor bags + ribbon in party colors + printed tag (“Thank you for celebrating!”).
- Soap boxes with a window cut-out for weddings and bridal showers.
- Mini guest soap sets: cut bars into 1/2 inch (1.3 cm) slices and bundle 3 together.
Pro Tips for Professional Results
- Use alcohol between layers every time. It’s the secret to preventing layer separation.
- Control temperature: Too hot = warping and sinking embeds; too cool = clumpy pours.
- Go easy on fragrance: Too much can cause cloudiness or seepage. Stick to supplier guidelines when possible.
- Pre-mix mica: A quick slurry prevents speckles and gives smoother color.
- Choose the right base: Clear base shows embeds best; white base makes pastel colors pop.
- Plan a color palette: 2–4 colors looks polished and party-coordinated.
Variations (Beginner-Friendly and Advanced)
Beginner-Friendly Adaptations
- Single-layer “confetti top” bars: Pour one color base and sprinkle soap curls only on top (no mixing).
- Two-layer bars: Less waiting than 5-layer ombré but still looks intentional.
- One embed per bar: Place a single heart or star embed centered in each cavity mold.
Advanced Variations for Serious Crafters
- Geode soaps: Carve a center “crystal pocket,” fill with translucent soap and mica sparkle (great for glam parties).
- Drop swirls: Alternate pours of two colors into a loaf mold and skewer lightly for a marbled celebration look.
- Mica-painted details: Paint a thin mica + alcohol mixture into mold details before pouring for crisp accents.
- Theme molds: Use custom silicone molds (numbers for milestone birthdays, baby-themed shapes, holiday icons).
Troubleshooting Guide (Fix-It Fast)
- Problem: Layers are separating.
Fix: Always spritz alcohol between layers and pour the next layer when the prior layer is tacky, not fully cold. If already separated, gently remelt the top surface with a heat gun, spritz alcohol, and press layers together. - Problem: Bubbles on top.
Fix: Spritz alcohol right after pouring. Stir gently (don’t whisk). Tap the mold lightly to release trapped air. - Problem: Embeds float or sink.
Fix: Let the base thicken slightly before placing embeds. Pour slowly and cooler (around 120–125°F / 49–52°C). - Problem: Soap “sweats” (glycerin dew).
Fix: Wrap finished bars tightly once fully cool. Avoid fridge cooling. Use a low-sweat base if your climate is humid. - Problem: Colors look dull.
Fix: Use mica for shimmer and depth, and consider a white base for pastels. Keep notes on how much color you add.
Common Crafting Mistakes to Avoid
- Overheating the soap base: Boiling creates bubbles and can make the finished bar rubbery or prone to sweating.
- Using non-skin-safe glitter or pigment: Only use cosmetic-grade, soap-safe colorants and biodegradable glitter designed for body products.
- Skipping the scale: Measuring by “eyeballing” fragrance and color leads to inconsistent results across party favor batches.
- Pouring layers too soon or too late: Too soon = colors bleed; too late = layers separate. Aim for that tacky “skin” stage.
- Adding fresh botanicals: Real petals and herbs can turn brown or mold. For party decoration vibes, use soap embeds or cosmetic clays instead.
- Not labeling favors: Add a simple ingredient note (at least “soap + fragrance”) for guests with sensitivities.
FAQ: Advanced Soap Bars for Party Crafts
How far in advance can I make soap favors?
Melt-and-pour favors can be made 1–4 weeks ahead if wrapped tightly to prevent sweating and fragrance loss. Cold process soap needs 4–6 weeks to cure, so plan much earlier.
What’s the best soap base for clear “floating” embeds?
Use a clear melt-and-pour base for maximum visibility. For a dreamy look, lightly tint the clear base with one drop of colorant or a tiny pinch of mica.
Can I use essential oils instead of fragrance oils?
Yes, but choose skin-safe essential oils and use conservative amounts (many are potent and can irritate at high levels). Fragrance oils made for soap usually have more stable scent retention and more party-themed options (cake, cotton candy, champagne toast, etc.).
Why did my soap turn cloudy?
Cloudiness can come from overheating, too much fragrance, stirring too aggressively, or using a white base when you meant to use clear. Try melting at lower heat, stirring slowly, and sticking to recommended fragrance rates.
How do I get crisp, clean lines in layered soap?
Let each layer set until tacky, spritz alcohol before the next pour, and pour over a spatula to soften the impact. A loaf mold with straight sides also helps the layers look sharp.
Is this project safe for a teen craft party?
Melt-and-pour is a great supervised teen project. Pre-cut the base, handle the hot melting step for them, and let guests focus on colors, embeds, and packaging. Skip cold process for group settings unless everyone is trained and equipped for lye safety.
Ready to Make Your Own Party-Perfect Soap Bars?
Advanced soap bars are a crafty sweet spot: they’re functional, beautiful on a party table, and totally customizable to your theme. Start with an ombré loaf or a simple embed design, take notes on your colors and temperatures, and you’ll be turning out coordinated handmade party favors that look like they came from a specialty shop.
When you’re ready for your next DIY crafts win—decor ideas, party decorations, and more handmade projects—explore fresh inspiration on smartpartyprep.com. Happy crafting!
More Articles
 How to Hang Party Streamers Without Tape Marks, Sagging, or Last-Minute Panic: 7 Foolproof Methods (Tested on 37 Parties)
 How to Make Balloon Arches at Home
 How to Hang Streamers for a Party Without Tape Mess, Sagging, or Last-Minute Panic: 7 Foolproof Methods That Actually Stick (Tested on 32 Parties)
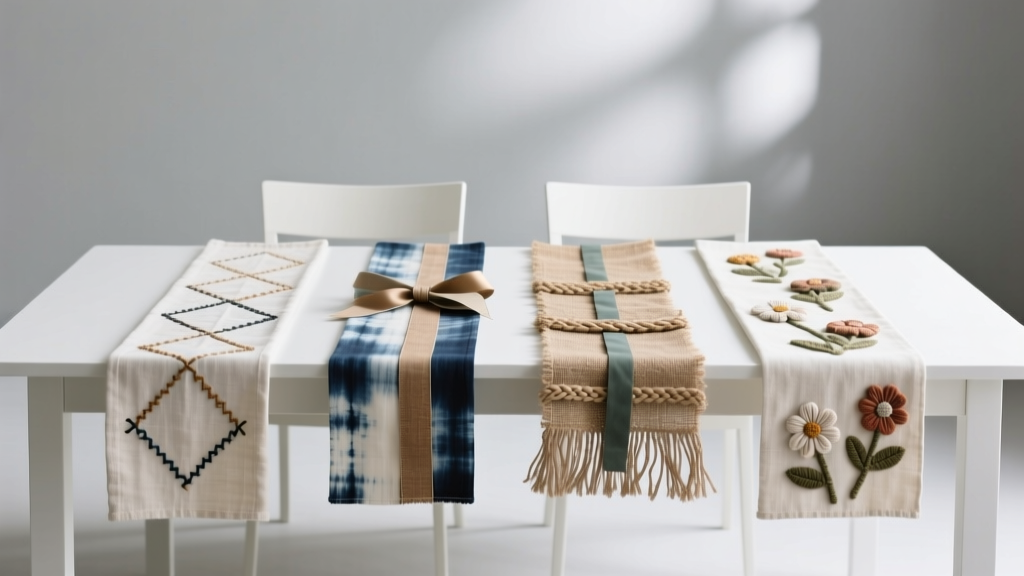 Budget DIY Table Runners Under $20
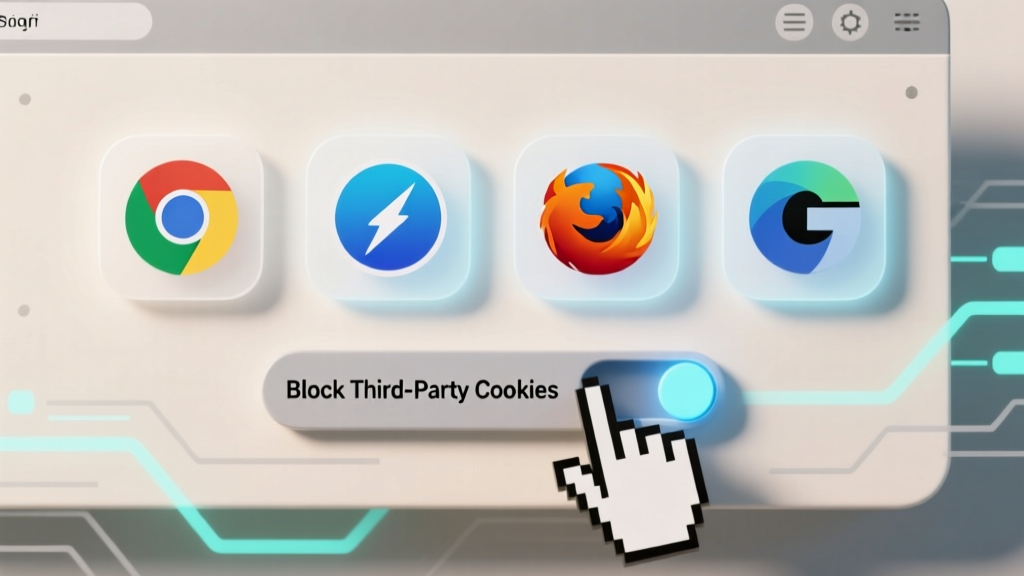 How to Disable 3rd Party Cookies in 2024: A Step-by-Step Guide for Chrome, Safari, Firefox & Edge (No Tech Skills Needed)
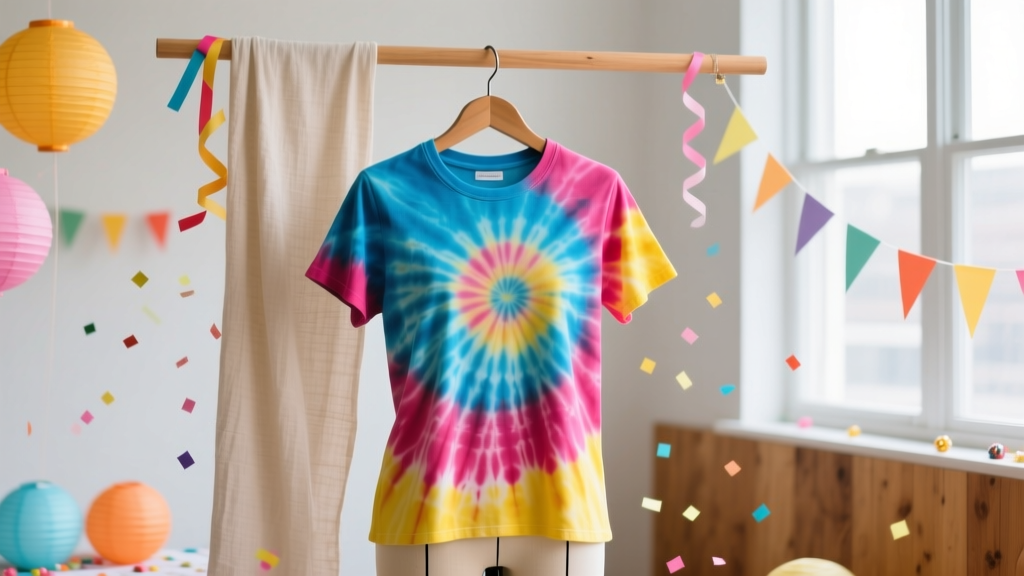 DIY Tie-Dye Shirts with Dollar Store Supplies
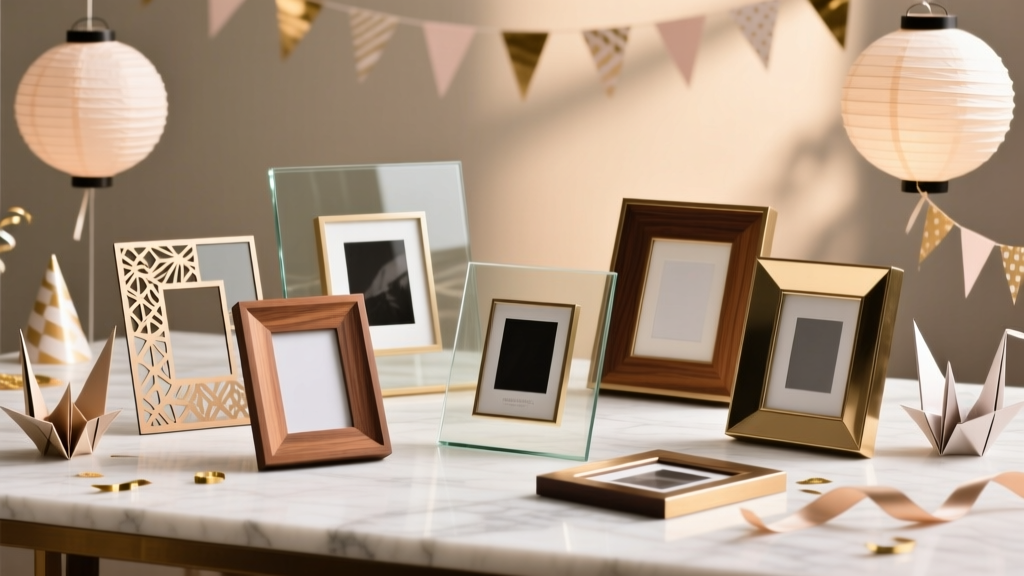 Advanced Photo Frames for Crafters
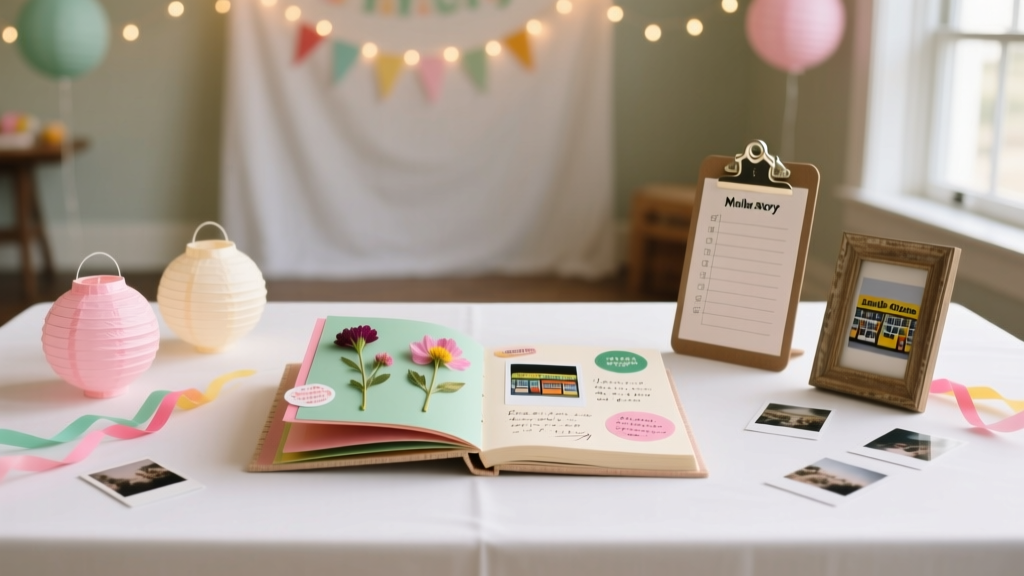 DIY Memory Books with Dollar Store Supplies
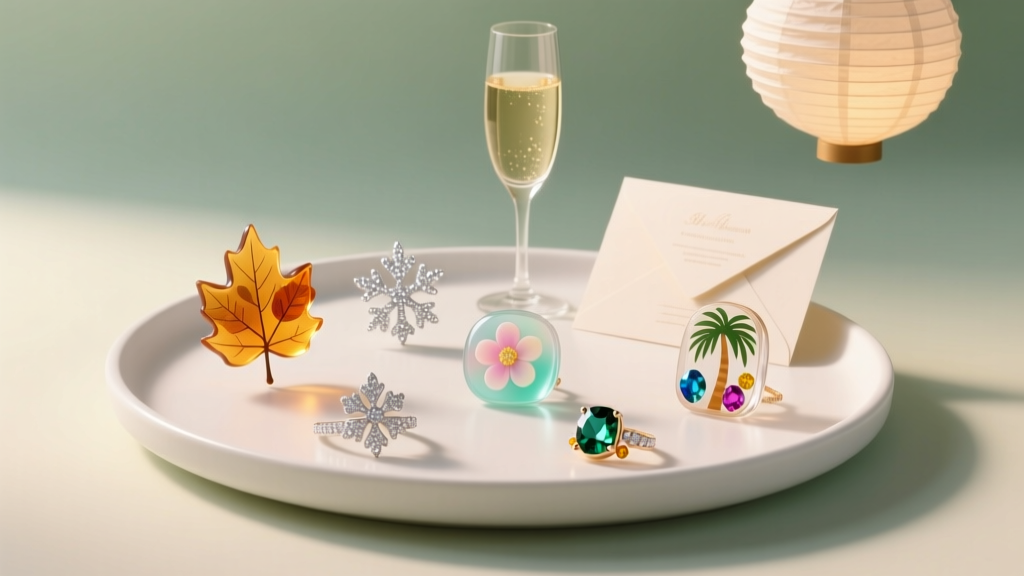 Seasonal Resin Jewelry Ideas
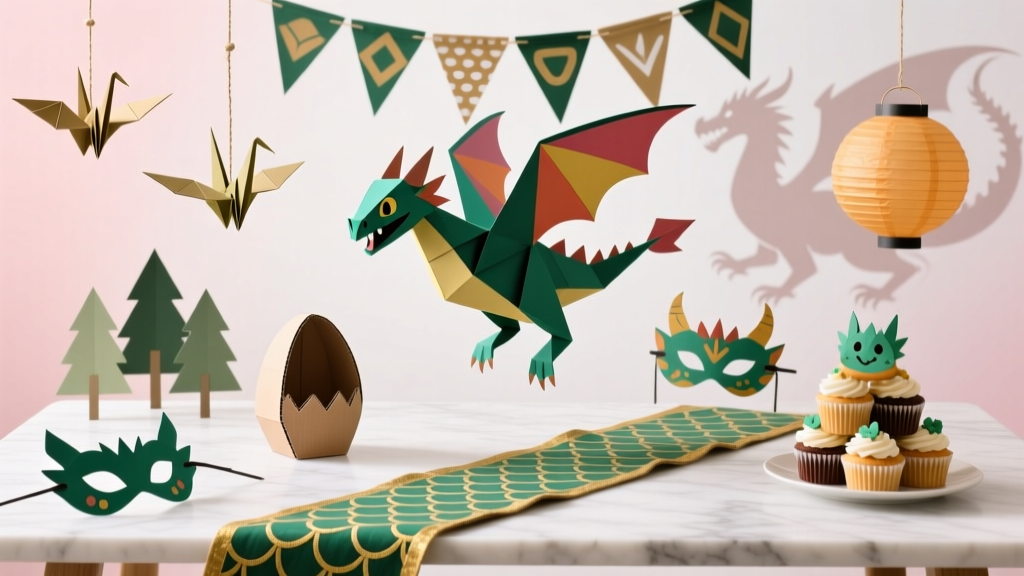 How to Train Your Dragon Party Decorations: 7 No-Stress DIY Projects That Take Under 2 Hours (No Glue Gun Required!)