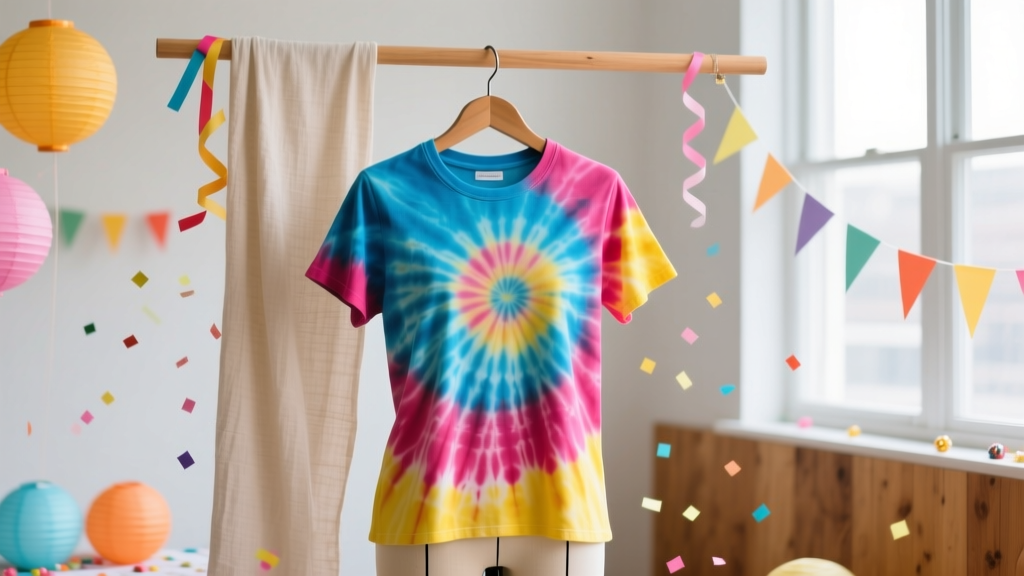
DIY Tie-Dye Shirts with Dollar Store Supplies
Nothing says “party-ready” like a rainbow of custom shirts hanging to dry in the backyard. DIY tie-dye is one of those creative projects that feels like instant magic: you twist, you dye, you unwrap, and suddenly you’ve made wearable art. Even better? You don’t need a pricey kit to get bold, colorful results. With a quick trip to the dollar store (plus one or two basics you may already have at home), you can create vibrant tie-dye shirts that double as party favors, team shirts, or themed party decorations.
This project is especially fun for birthdays, sleepovers, summer BBQs, family reunions, and kids’ craft parties—because everyone can participate at their own skill level. Beginners can stick to simple spirals and stripes, while more experienced crafters can experiment with ombré effects, ice-dye looks, and multi-color patterns.
Grab a few plain tees, set up a “dye station,” and you’ve got an activity that keeps guests busy and sends them home with a handmade project they’ll actually wear.
Project Overview
- Skill level: Beginner-friendly (easy patterns) to Intermediate (multi-layer color work)
- Active time: 30–60 minutes per 4–6 shirts
- Batch-friendly: Yes—perfect for parties and group crafting
- Set time: 6–24 hours (longer set = stronger color)
- Drying time: 1–2 hours (air dry) or per dryer cycle
Dollar Store Materials List (with Estimated Costs)
Availability varies by store, but most of these are easy to find at Dollar Tree, Dollar General, or similar discount shops. Costs are estimated per item.
Core Supplies
- White 100% cotton T-shirts (best color payoff) – $3–$6 each (discount store packs or sales)
- Fabric dye (powder or liquid; look for “all-purpose dye”) – $1.25–$4 per color
- Plastic squeeze bottles (condiment bottles) – $1.25 for 1–2
- Rubber bands (assorted sizes) – $1.25
- Disposable gloves (latex-free if needed) – $1.25
- Plastic tablecloths (for mess control) – $1.25 each
- Plastic zipper bags (gallon size) or plastic wrap – $1.25
Helpful Extras (Highly Recommended)
- Measuring cups/spoons (dollar store set) – $1.25
- Spray bottle (for dampening fabric) – $1.25
- Foam board or baking rack (to elevate shirts while dyeing) – $1.25–$5
- Trash bags (cleanup) – $1.25
- Permanent marker (label colors/bags) – $1.25
Items You May Already Have at Home
- Salt (for many all-purpose dyes)
- White vinegar (optional; helps some dyes on cellulose fibers)
- Large plastic tub or bucket (for pre-soak or rinsing)
- Old towels
Estimated cost per shirt (budget version): $4–$10 depending on shirt price and how many colors you use.
Best Fabric Choices for Bright Tie-Dye
For party-perfect color, start with the right fabric:
- Best: 100% cotton tees or cotton blends with at least 80% cotton
- Okay (lighter color payoff): 50/50 cotton-poly blends
- Skip for first-time dyeing: 100% polyester (needs special dye and heat)
Shirt prep tip: If your shirts are brand new, wash them first (no fabric softener). This removes sizing and helps dye absorb evenly.
Set Up a Party-Friendly Tie-Dye Station
For group crafting, a smart setup makes the whole project smoother and faster.
Layout Ideas
- Cover table with a plastic tablecloth (tape the edges down if it’s windy).
- Create zones:
- Zone 1: Folding & rubber banding
- Zone 2: Dye bottles & coloring
- Zone 3: Bagging & labeling
- Zone 4: Rinsing area (outdoors hose or laundry sink)
- One dye color per bottle to prevent muddy shades.
- Label bottles with marker or masking tape: “Blue,” “Pink,” “Yellow,” etc.
Tool recommendation: Use a small baking rack or foam board under each shirt while dyeing so colors don’t pool underneath.
Step-by-Step: How to Tie-Dye Shirts with Dollar Store Supplies
Step 1: Pre-Soak (Optional but Helps)
If you’re using an all-purpose dye, follow the package directions. A simple, beginner-friendly pre-soak can improve brightness.
- Fill a tub with 1 gallon (3.8 L) of warm water.
- Stir in 1/2 cup (120 g) salt (common for many all-purpose dyes).
- Soak shirts for 15 minutes, then wring out until damp (not dripping).
Beginner adaptation: If you’re short on time, you can skip the soak—just dampen shirts with a spray bottle for easier folding and softer color transitions.
Step 2: Choose a Pattern (3 Easy Options)
Option A: Classic Spiral (Crowd Favorite)
- Lay the damp shirt flat.
- Pinch the fabric at the center (chest area) and twist in one direction.
- Keep twisting until the whole shirt forms a flat “cinnamon roll.”
- Secure with 3–4 rubber bands crossing over the circle like pizza slices.
Option B: Stripes (Fast & Great for Team Colors)
- Fold the shirt in accordion folds (about 1 inch / 2.5 cm per fold).
- Add rubber bands every 2–3 inches (5–7.5 cm).
Option C: Bullseye (Simple + Looks Impressive)
- Pinch the center of the shirt and pull upward into a cone shape.
- Add rubber bands down the cone every 2 inches (5 cm).
Step 3: Mix Dye in Squeeze Bottles
Follow your dye’s label first, but here’s a practical budget approach that works for many powdered dyes:
- Add 1–2 teaspoons dye powder to a squeeze bottle.
- Fill with 8–12 oz (240–355 ml) warm water.
- Cap tightly and shake until dissolved.
Pro tip: Strain dye through a small piece of paper towel if you notice clumps (clumps can create dark speckles).
Step 4: Apply Dye (Color Placement Tips)
- Put on gloves and keep paper towels nearby.
- Place the bound shirt on a rack or plastic-covered surface.
- Apply dye to one section at a time, flipping as needed to reach both sides.
- For bold color, apply until the fabric looks fully saturated—not just damp.
- For bright results: Use 2–4 colors max per shirt (too many can turn muddy).
- For party themes: Stick to your palette—like pink/purple for a spa party, or teal/yellow for a summer pool party.
- For definition: Leave a little white space between colors.
Step 5: Bag and Set the Dye
- Slip each dyed shirt into a gallon zipper bag or wrap tightly in plastic wrap.
- Label the bag with the name (great for party guests) and the date/time.
- Let the dye set for 6–24 hours at room temperature.
Time guideline: 6–8 hours = good color; 12–24 hours = richer and more wash-fast for many dyes.
Step 6: Rinse, Wash, and Dry
- Keeping rubber bands on, rinse under cold water until water runs less dark.
- Remove rubber bands and keep rinsing, gradually switching to cool-to-warm water.
- Wash shirts separately the first time in warm water with a small amount of detergent.
- Dry on medium heat or air dry.
Party planning tip: If you want guests to take shirts home same day, consider doing the dyeing activity near the end of the party and send shirts home bagged with simple rinse/wash instructions.
Pro Tips for Brighter, Cleaner Tie-Dye
- Damp fabric dyes more smoothly (soft blends), while dry fabric holds sharper lines. Try both for different looks.
- Apply dye to both sides of the folded shirt so you don’t end up with pale “shadow” areas.
- Use fewer colors for bolder impact. Two-color spirals often pop more than five-color blends.
- Keep complementary colors apart (e.g., avoid mixing red + green directly if you don’t want brown).
- Seal each shirt separately to prevent dye transfer if you’re working assembly-line style.
Creative Variations (Beginner to Advanced)
Beginner-Friendly Variations
- Monochrome tie-dye: Use one color and vary saturation (light on some sections, heavier on others).
- Two-tone party colors: Great for birthday themes, sports parties, or bridal shower events.
- Half-and-half dip effect: Tie the shirt in stripes, then dye one side one color and the other side a second color.
Advanced Variations (For Confident Crafters)
- Ombré fade: Apply one color heavily at the bottom and gradually reduce dye as you move upward; mist with water to blend.
- Reverse tie-dye (bleach effect): Start with a dark cotton shirt, use a diluted bleach solution in a spray bottle, then rinse thoroughly and overdye with bright colors. (Do outdoors with extra safety precautions.)
- “Geode” look: Scrunch the shirt into a long twist, band irregular sections, and dye with black + jewel tones (purple/blue/teal) leaving tiny white lines.
Troubleshooting: Fix Common Tie-Dye Problems
- Colors look dull:
- Use 100% cotton, increase dye concentration, and let it set longer (12–24 hours).
- Make sure fabric is fully saturated with dye.
- Too much white space:
- Apply dye more generously and press dye into folds with gloved hands.
- Check the underside—many pale areas come from skipping the back.
- Colors turned muddy/brown:
- Limit to 2–4 colors and avoid layering opposites (red/green, purple/yellow, blue/orange).
- Leave small gaps between colors.
- Dye bleeding after washing:
- Rinse longer before the first wash.
- Wash separately the first 2–3 washes.
Common Crafting Mistakes to Avoid
- Skipping the shirt pre-wash: New shirts often have finishes that resist dye.
- Using too many colors “because it’s tie-dye”: More colors can mean less contrast and more muddy blending.
- Not protecting your workspace: Dye finds table edges, chair seats, and sleeves—cover more than you think you need.
- Forgetting to label bags: At parties, unlabeled shirts become a mystery fast.
- Rinsing with hot water right away: Start cold to reduce back-staining and keep whites cleaner.
- Over-tightening rubber bands: Too tight can prevent dye from reaching folds and can tear fabric.
FAQ: DIY Tie-Dye Shirts for Parties and Craft Nights
1) Can I do tie-dye with food coloring from the dollar store?
Food coloring can tint fabric, but it usually fades quickly and won’t be as wash-fast as real fabric dye. For party shirts you want guests to keep, fabric dye (even budget all-purpose dye) is the better choice.
2) How many shirts can I make with one bottle of dye?
It depends on how saturated you like your color, but a typical 8–12 oz squeeze bottle can dye about 2–4 youth shirts or 1–2 adult shirts strongly. For a party, plan extra dye so no one has to “ration” color.
3) What’s the best tie-dye pattern for kids?
Accordion stripes and scrunch dye are the easiest because the folding doesn’t need to be perfect. Kids also love spirals—just help them start the twist and add rubber bands.
4) How do I keep tie-dye from staining my sink or patio?
Rinse outdoors when possible. If you’re using a sink, line the area with a plastic tub and rinse into that, then dump outside. Wipe surfaces right away with warm soapy water.
5) Can I make tie-dye shirts ahead of a party?
Yes—tie-dye is a great prep-ahead DIY craft. Make them 2–7 days before, wash once, and then stack them by size. They also make fun “uniforms” for hosts or party helpers.
6) What other party decorations can I make with the same dyes?
If your dye works on cotton, you can dye bandanas, cotton tote bags, cotton napkins, or fabric banners to match your theme—easy handmade party decorations that look cohesive.
Make It Party-Ready: Fun Ways to Use Your Tie-Dye Shirts
- DIY party favors: Each guest makes their own shirt to take home.
- Team shirts: Great for birthday squads, camp groups, or family reunion color-coding.
- Photo booth coordination: Matching tie-dye makes photos look instantly styled.
- Handmade party décor: Use a dyed tee as a table runner accent, chair-back cover, or backdrop fabric.
Wrap-Up: Your Colorful Dollar Store Craft Win
DIY tie-dye shirts are affordable, hands-on, and totally customizable—exactly what you want from a party craft that doubles as a wearable keepsake. Start simple with a spiral or stripe, keep your colors intentional, and give the dye time to set. You’ll be amazed how professional your “dollar store” supplies can look with the right steps.
Want more DIY crafts, party decorations, and handmade project ideas that feel special without spending a fortune? Browse more creative inspiration on smartpartyprep.com and keep the party prep fun.
More Articles
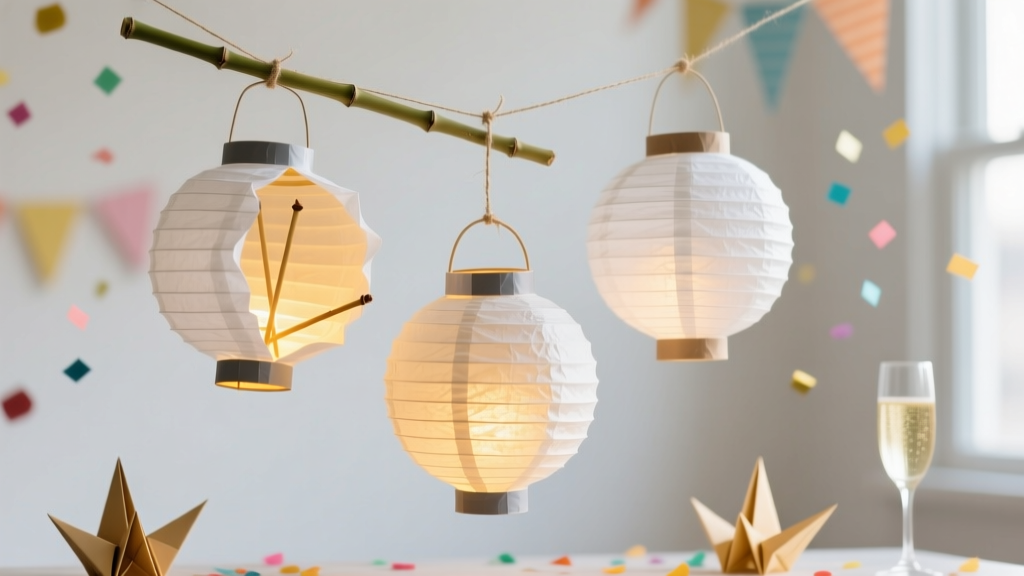 DIY Paper Lanterns with Dollar Store Supplies
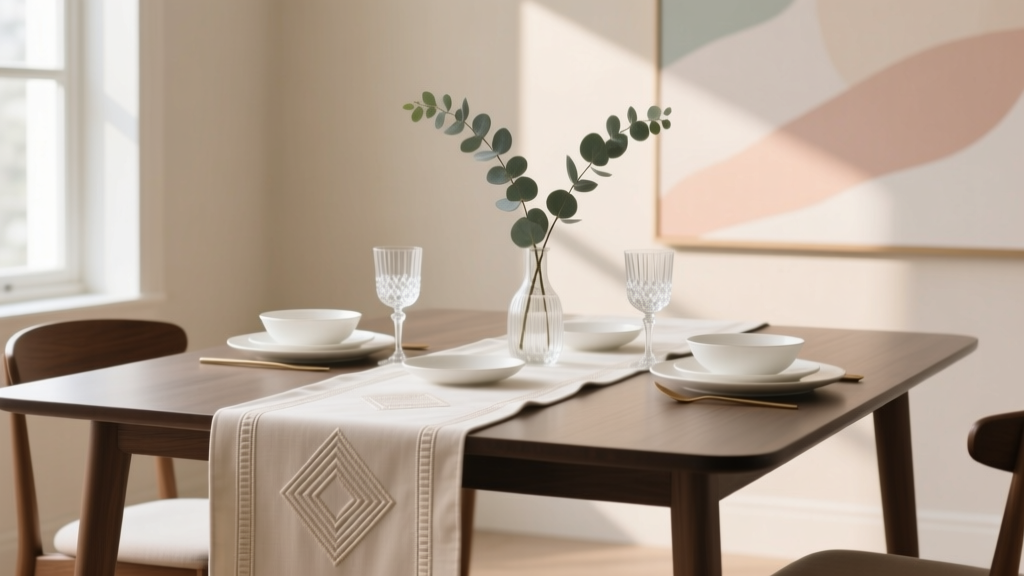 Modern Table Runners Designs
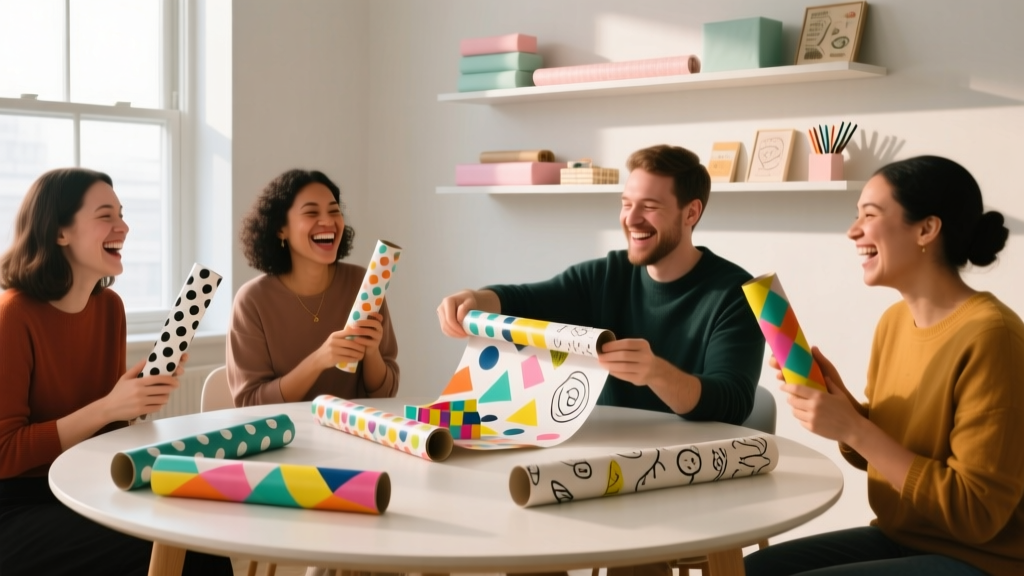 What Is Wrapped Party? The Surprisingly Genius DIY Craft Trend That Turns Gift-Wrapping Into a Joyful, Social, Memory-Making Experience (No Scissors Required!)
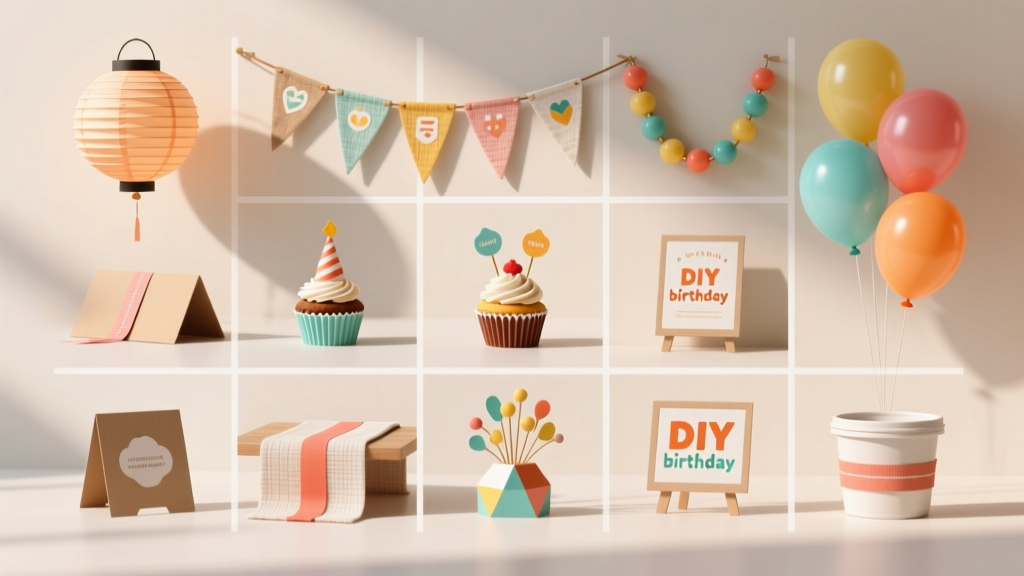 12 Do It Yourself Birthday Party Decorations That Take Under 30 Minutes Each (No Craft Store Runs, No Glue Gun Stress, Just Real Results You’ll Actually Use)
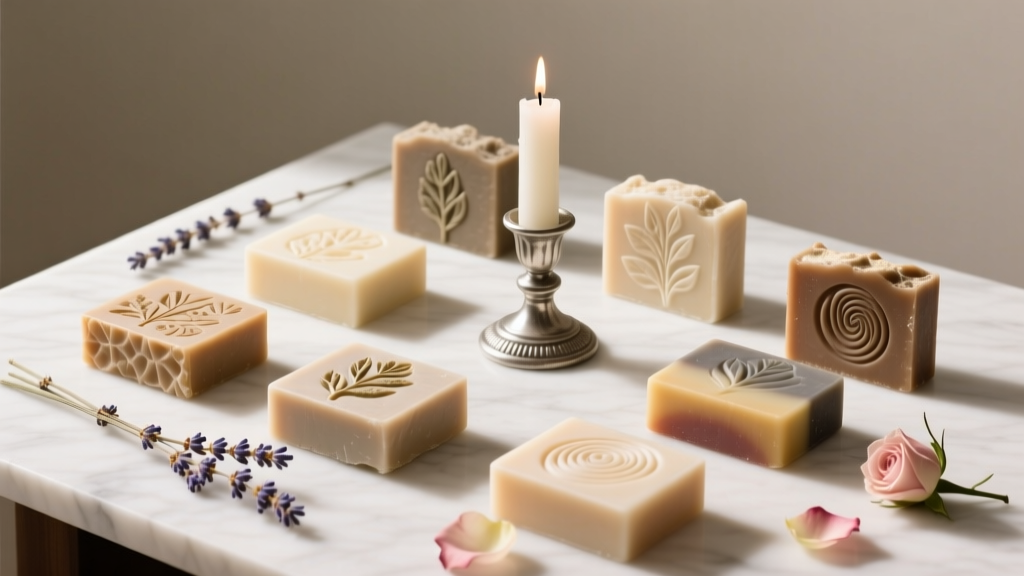 Advanced Soap Bars for Crafters
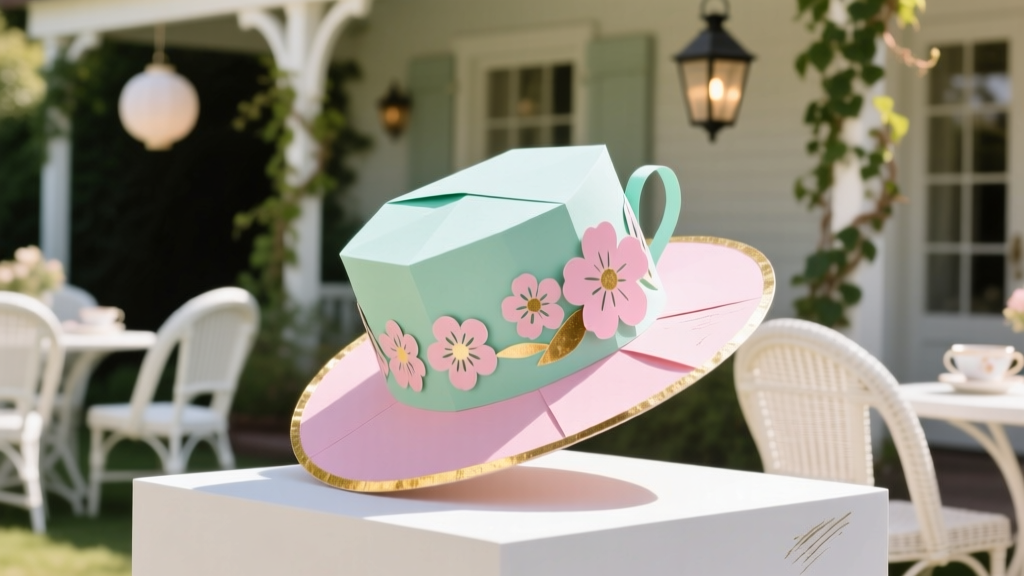 How to Make a Tea Party Hat in Under 45 Minutes (No Sewing, No Fancy Tools—Just Paper, Glue & Joy!)
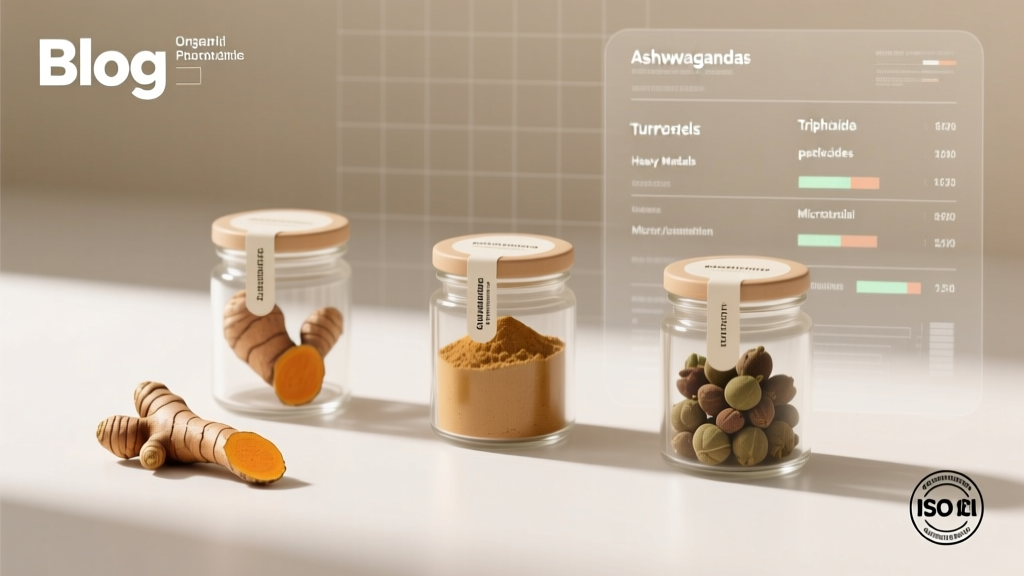 Is Organic India Third Party Tested? We Investigated Lab Reports, Certifications & Hidden Gaps—Here’s What Independent Testing *Actually* Reveals About Their Turmeric, Ashwagandha & Triphala
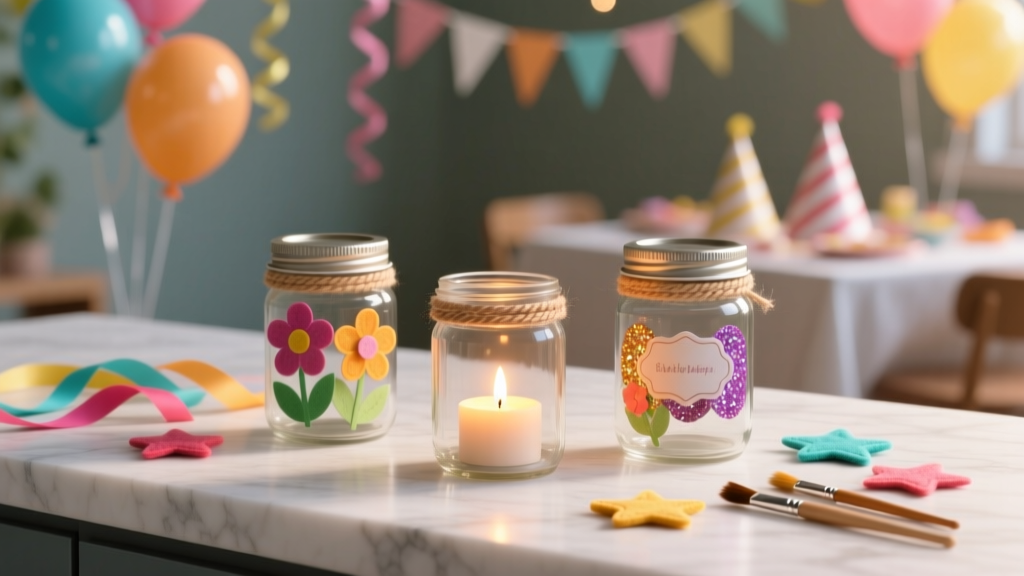 Kids' Craft: Mason Jar Crafts
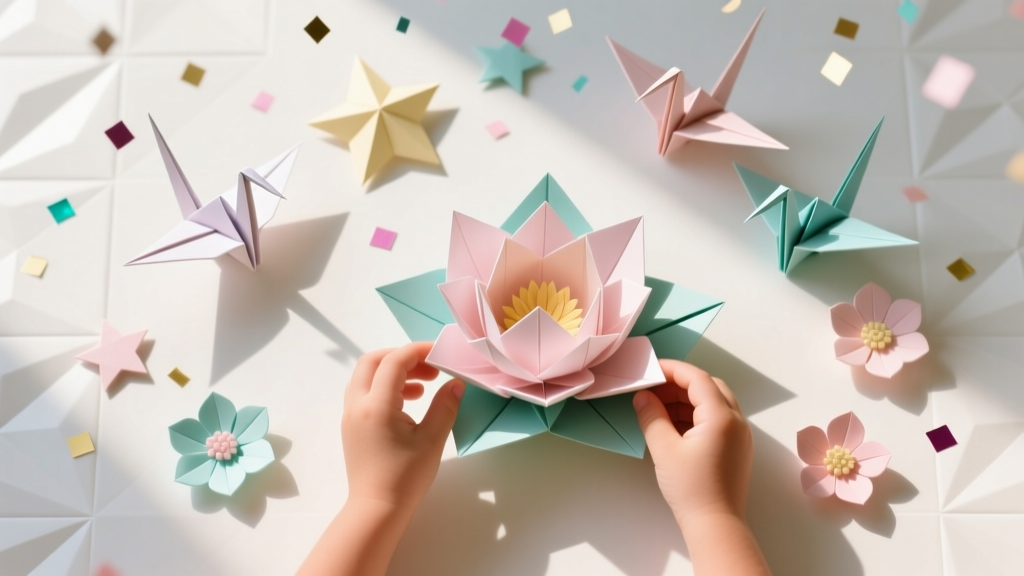 Kids' Craft: Origami Decorations
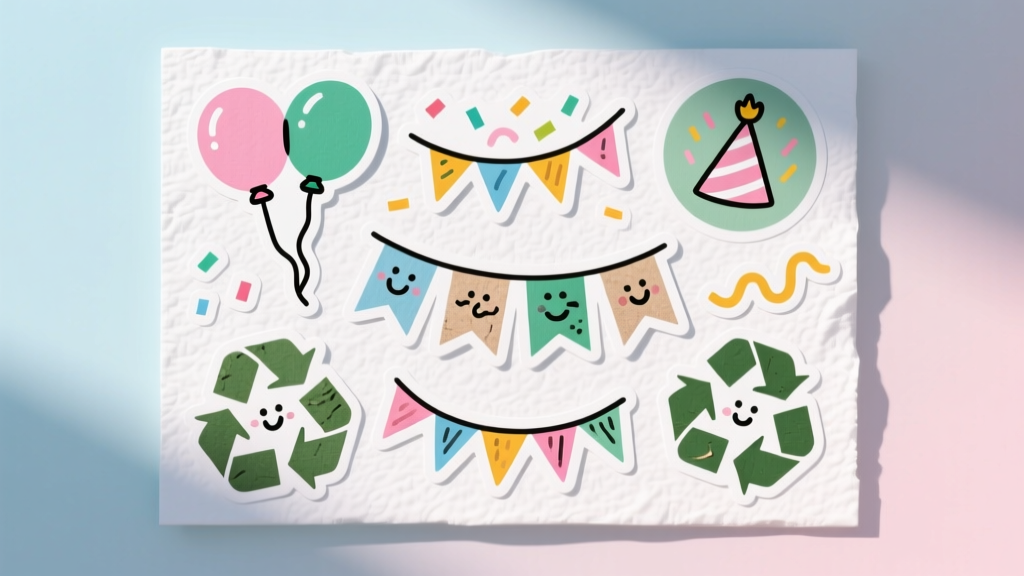 Upcycled Custom Stickers from Recycled Materials