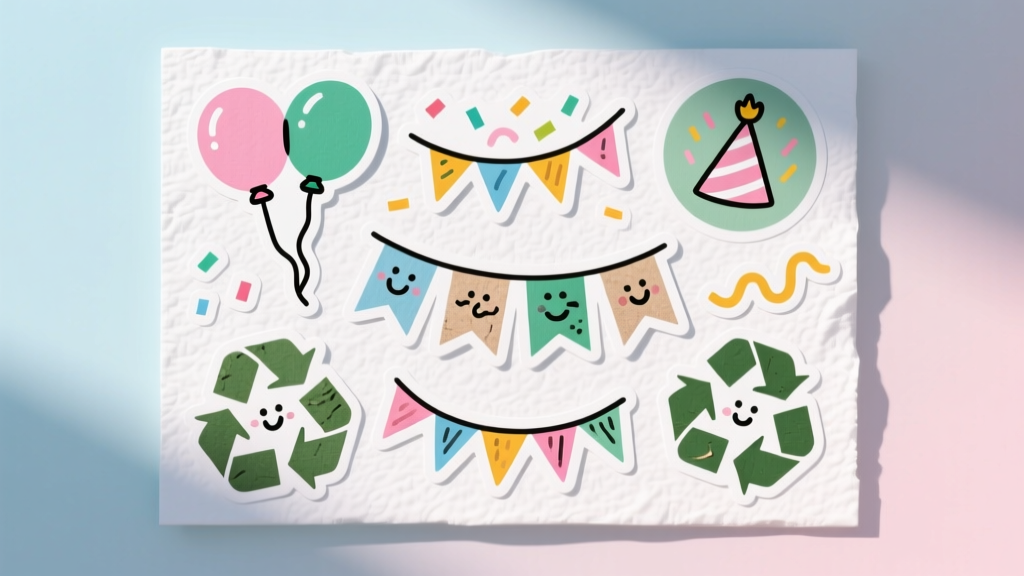
Upcycled Custom Stickers from Recycled Materials
Custom stickers make everything feel more “party-ready”—from favor bags and thank-you notes to drink labels and cupcake toppers. The best part? You don’t need fancy equipment or pricey specialty paper to make them. With a few recycled materials you likely already have (packaging, old magazines, scrap paper, even junk mail), you can create handmade stickers that look playful, polished, and totally unique.
This project is especially fun for party prep because you can match your stickers to any theme—rainbows, dinos, disco, florals, sports, baby showers, birthdays, classroom celebrations—without buying multiple sticker packs you’ll only use once. It’s also a satisfying way to turn “trash” into party decorations, and kids love helping with the cutting and decorating steps.
Whether you want quick, beginner-friendly sticker seals for envelopes or advanced waterproof labels for party cups, this step-by-step guide will walk you through several methods using recycled materials, simple tools, and budget-friendly supplies.
Project Overview: Skill Level, Time, and Best Uses
Skill Level
- Beginner: Tape-backed stickers, sticker “seals,” collage stickers
- Intermediate: Clear-packing-tape laminated stickers, clean-cut labels
- Advanced: Waterproof-ish labels, consistent sizing with templates, layered designs
Time Estimates
- Quick batch (10–20 stickers): 30–45 minutes
- Party-sized batch (40–60 stickers): 60–120 minutes
- Drying time (if using glue): 15–30 minutes, plus optional overnight press
Great Party Uses
- Seal invitations, thank-you cards, and envelopes
- Label favor bags, treat boxes, and reusable containers
- Decorate balloons (on ribbon tails), cups, and water bottles
- Create themed “reward” stickers for party games
- Make planner-style stickers for party planning and schedules
Materials List (with Product Types and Estimated Costs)
You can mix-and-match materials based on what you have. Costs below are typical craft-store or big-box prices in the U.S. (recycled items are often free).
Upcycled Sticker “Top” Materials (Choose 1–3)
- Cereal boxes / food packaging cardboard (thin, sturdy): free
- Magazine pages / catalogs (great color): free
- Wrapping paper scraps (party-ready patterns): free
- Junk mail postcards (thicker, good for tags): free
- Brown paper bags (rustic look): free
- Scrapbook paper offcuts (optional): $0.50–$1 per sheet
Adhesive Options (Pick the Method You Like)
- Double-sided tape (permanent or removable): $4–$8
- Glue stick (fast, low-warp): $1–$4
- PVA/white glue (strong, needs drying): $2–$6
- Clear packing tape (also acts as laminate): $3–$7
- Sticker paper sheets (optional base; not recycled but convenient): $7–$15
Tools (Recommended)
- Sharp scissors (detail scissors help): $5–$15
- Craft knife + cutting mat (best for clean edges): $8–$25
- Metal ruler (safer, straight cuts): $5–$10
- Bone folder or old gift card (for burnishing tape): free–$8
- Permanent marker + fine-tip pen (outlines, doodles): $2–$8
- Hole punch (optional) (to make sticker “confetti” dots): $5–$12
Optional Finishing Supplies
- Clear contact paper (extra protection): $5–$10
- Acrylic sealer spray (advanced; for durability): $6–$12
- Wax paper or parchment (for backing sheets): $2–$6
Design Planning: Sizes That Work for Party Projects
Before cutting, choose a few standard sticker sizes so your batch looks cohesive. Here are party-friendly measurements that are easy to repeat:
- Envelope seals: 1.5 in (3.8 cm) circles
- Favor bag labels: 2 in (5 cm) circles or 2 in squares
- Water bottle labels: 1 in x 3 in (2.5 cm x 7.6 cm) rectangles
- Cup labels: 1.25 in (3.2 cm) circles or 1 in squares
- Gift tags (sticker style): 2 in x 3 in (5 cm x 7.6 cm) rounded rectangles
Beginner-friendly tip: Trace around household objects (bottle caps, cookie cutters, small cups) to get repeatable shapes without a template.
Step-by-Step: Make Upcycled Custom Stickers (Three Easy Methods)
Prep Step (for All Methods): Choose and Flatten Your Recycled Materials
- Pick your designs from magazines, packaging, or wrapping paper. Look for bold graphics, letters, patterns, and icons.
- Flatten curled paper by placing it under a heavy book for 10 minutes.
- Cut rough pieces about 0.5 in (1.3 cm) larger than your final sticker to give yourself trimming room.
Method 1: Tape-Backed Stickers (Fastest, Great for Kids)
This method is simple and surprisingly effective for party decorations and envelope seals.
You’ll need
- Recycled paper or thin cardboard designs
- Double-sided tape (or loops of regular tape)
- Scissors
- Wax paper/parchment (for storage)
Steps
- Cut out your sticker shapes. Aim for clean edges; rounded corners stick better than sharp points.
- Add adhesive to the back:
- For small stickers: cover the back with overlapping strips of double-sided tape.
- For larger stickers: place tape around edges and one strip through the center.
- Trim excess tape so it doesn’t peek out.
- Store on wax paper until party prep time. Label the sheet by theme (e.g., “Rainbow Party,” “Baby Shower”).
Best for
- Favor bags, paper cups, treat boxes, envelopes
- Short-term use (same day or same week)
Method 2: “Tape Laminate” Stickers (Glossy + More Durable)
If you want your handmade stickers to survive handling (kids’ hands, party set-up, gift bags), this method adds a protective clear layer.
You’ll need
- Clear packing tape (wide works best)
- Recycled paper designs (magazine pages work beautifully)
- Scissors or craft knife + cutting mat
- Double-sided tape or glue stick (for the back)
- Old gift card/bone folder (to smooth bubbles)
Steps
- Place your cut-out design face-up on the table.
- Apply clear packing tape over the front, sticky side down. Start at one edge and slowly lay it across to reduce bubbles.
- Burnish firmly using a gift card. Push from the center outward.
- Trim around the design, leaving a 1–2 mm clear border of tape. This “seal edge” helps prevent peeling.
- Add adhesive to the back with double-sided tape (cleanest) or glue stick (press well).
- Store on wax paper until you’re ready to decorate.
Best for
- Party favor labels, cupcake box seals, thank-you note stickers
- Stickers that need to look glossy and bright
Method 3: Cardboard “Sticker Tags” (Sturdy Labels for Favors)
This version is more like a thick sticker-label—perfect for party favor bags, treat containers, and DIY party decorations where you want dimension.
You’ll need
- Cereal box cardboard or thin packaging cardboard
- Pretty recycled paper (wrapping paper or magazine art)
- Glue stick or PVA glue
- Scissors/craft knife
- Double-sided tape (for attaching)
Steps
- Cut cardboard bases in your chosen size:
- Try 2 in circles for favor bags
- Try 1 in x 3 in rectangles for buffet labels
- Glue decorative paper onto the cardboard (cover the whole front). Smooth it flat.
- Let it dry for 10–15 minutes, then trim the edges flush.
- Add lettering or icons with marker (names, ages, “THANK YOU,” “HAPPY BIRTHDAY”).
- Apply double-sided tape to the back and stick to favor bags, boxes, or party signage.
Best for
- Rustic party themes, modern minimalist parties, personalized name labels
- Heavier paper surfaces (kraft bags, boxes)
Pro Tips for Clean Cuts, Strong Stick, and Party-Ready Results
- Round your corners: Corners lift first. Even a tiny curve improves durability.
- Use a cutting mat and craft knife for batches of squares/rectangles. It’s faster and looks more “store-bought.”
- Burnish tape like you mean it: Packing tape laminate looks best when fully pressed down (less cloudiness, fewer bubbles).
- Make a “theme palette”: Pick 2–3 colors from your party decorations and only use those pages/patterns.
- Mass-produce with templates: Cut a 2 in circle template from cardboard; trace it 20 times before you start cutting.
- Label storage sheets: Store finished stickers on wax paper in envelopes marked “Unicorn,” “Space,” “Graduation,” etc.
Creative Variations (Beginner to Advanced)
Beginner Variations
- Letter stickers from packaging: Cut big bold letters from cereal boxes and magazines to spell a child’s name on party favors.
- Confetti dot stickers: Use a hole punch on colorful paper to make mini dot stickers for envelope seals and gift wrap.
- Simple doodle stickers: Draw icons (stars, balloons, hearts) on brown paper bag scraps, then tape-back them.
Intermediate Variations
- Layered stickers: Mount a smaller shape onto a larger one (example: a 1 in star on a 2 in circle) for a bold party label.
- Shaker-style look (flat version): Collage tiny bits of shiny magazine paper under clear packing tape for a confetti effect.
- Sticker sets: Create 3–4 coordinating designs and repeat them (great for party planning and coordinated DIY crafts).
Advanced Variations
- Water-resistant labels: Use tape laminate on the front and cover the back with tape too, then add double-sided tape only where needed for sticking. This helps for coolers, drink stations, and outdoor parties.
- Sealed edges for outdoor use: Leave a 2 mm tape border around the whole sticker; press down hard to reduce moisture seepage.
- Precision batches: Use a metal ruler and knife to make 1 in x 3 in labels for a dessert table that looks professionally styled.
Troubleshooting: Quick Fixes When Things Go Sideways
- My sticker won’t stick:
- Wipe the surface (especially plastic cups) with a dry cloth first.
- Switch to stronger double-sided tape (look for “permanent” or “photo safe”).
- Add tape to the edges—edges lifting is the usual culprit.
- I have bubbles under packing tape:
- Burnish from center outward with a card.
- Work slowly and apply tape at an angle instead of dropping it straight down.
- If the bubble is tiny, prick it with a pin and press flat.
- The paper wrinkled from glue:
- Use a glue stick instead of liquid glue for thin papers.
- Spread PVA glue very thinly and press under a book while drying.
- Ink smeared (magazine pages):
- Let marker ink dry fully before taping over it.
- Test pens on a scrap first—some markers smear under tape.
Common Crafting Mistakes to Avoid
- Skipping surface prep: Dusty or oily surfaces (especially plastic) make stickers peel fast. Wipe before sticking.
- Using thin paper without support: Very thin magazine paper can tear when peeled. Add a thin cardboard backing or laminate the front with tape.
- Cutting sharp corners: Sharp points snag and lift. Round them for longer-lasting party labels.
- Over-gluing: Too much liquid glue causes warping. Thin layer only, and press flat while drying.
- Making every sticker a different size: A little consistency makes DIY party decorations look coordinated. Pick 2–3 standard sizes.
- Not testing first: Before you commit to 50 stickers, test one on the exact surface you’ll decorate (paper bag, plastic cup, box).
FAQ: Upcycled Sticker Making for Parties
1) Can I make these stickers truly waterproof?
Fully waterproof stickers are tough without specialty vinyl and waterproof adhesive. For party use, you can get water-resistant results by laminating the front with clear packing tape and sealing edges with a small tape border. They’ll handle light splashes, condensation, and quick wipe-downs better than plain paper stickers.
2) What’s the best adhesive for plastic cups and bottles?
Permanent double-sided tape tends to grip plastic better than glue sticks. For extra hold, apply tape near the edges and press firmly for 10–15 seconds. If the cup is cold and wet, dry it first—condensation breaks adhesion fast.
3) How do I store homemade stickers so they don’t stick together?
Store them on wax paper or parchment in a labeled envelope or folder. For party planning, keep theme sets together (example: “Mermaid Party”) so decorating goes faster.
4) Are these projects kid-friendly?
Yes—especially the tape-backed method with safety scissors. For younger kids, pre-cut simple shapes and let them decorate with markers and help place tape. Save craft knives and cutting mats for adults.
5) Can I use recycled shipping labels or sticker backing paper?
Absolutely. Smooth, waxy backing paper is excellent for storage sheets. If you have unused areas on old label sheets, you can sometimes cut around them and use the backing as a peel-friendly surface for finished stickers.
6) What party themes work best with upcycled materials?
Themes with strong color palettes and graphic shapes are easiest: rainbow, dinosaur, space, circus, under-the-sea, sports, retro disco, and floral garden. Magazine pages and packaging are packed with bold colors that match these styles beautifully.
Wrap-Up: Make a Batch and Watch Your Party Prep Get Easier
Upcycled custom stickers are one of those DIY crafts that pay off fast: you’ll use them on invitations, party favors, treat bags, and last-minute decorations—and every batch feels personal. Start with 10 simple seals, then build up to a full theme set once you find your favorite method.
Grab a cereal box, flip through a magazine, and make a handful of stickers tonight—your next party set-up will feel more coordinated, more creative, and a lot more you.
Want more party-perfect handmade projects? Keep exploring DIY craft ideas, party decorations, and smart prep tips right here on smartpartyprep.com.
More Articles
 Rustic Cake Toppers Ideas
 Personalized Slime Gifts
 Personalized Clay Ornaments Gifts
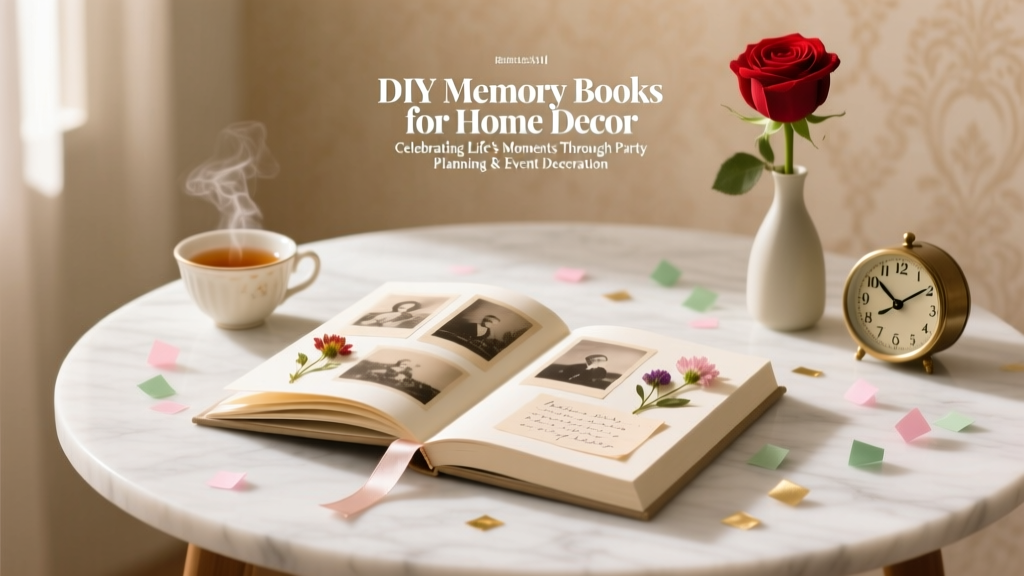 DIY Memory Books for Home Decor
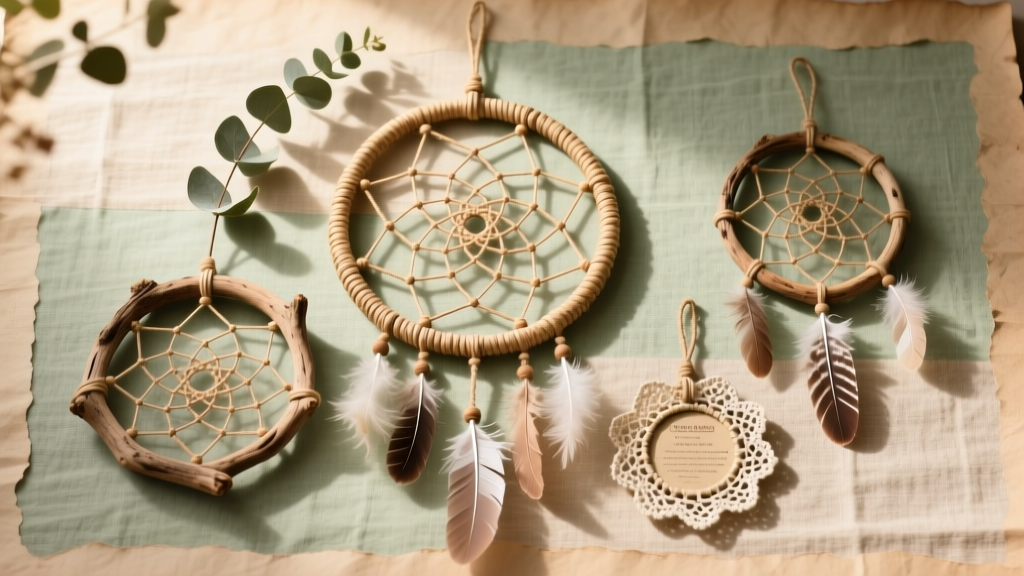 Rustic Dream Catchers Ideas
 How to Draw a Party in 7 Simple Steps (Even If You Can’t Draw Stick Figures): No Fancy Tools, No Art School Required — Just Paper, Pencil & Joy
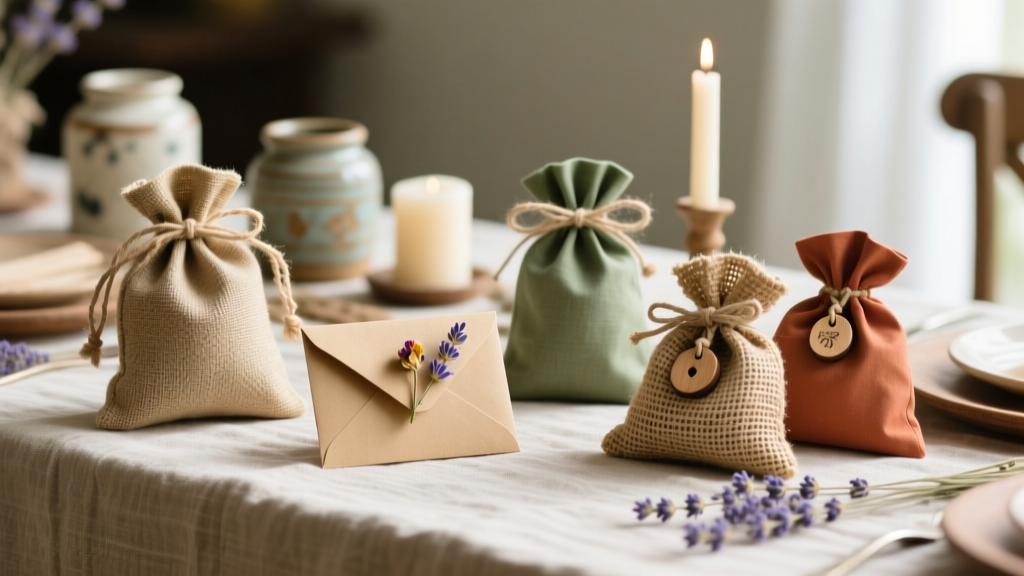 Rustic Favor Bags Ideas
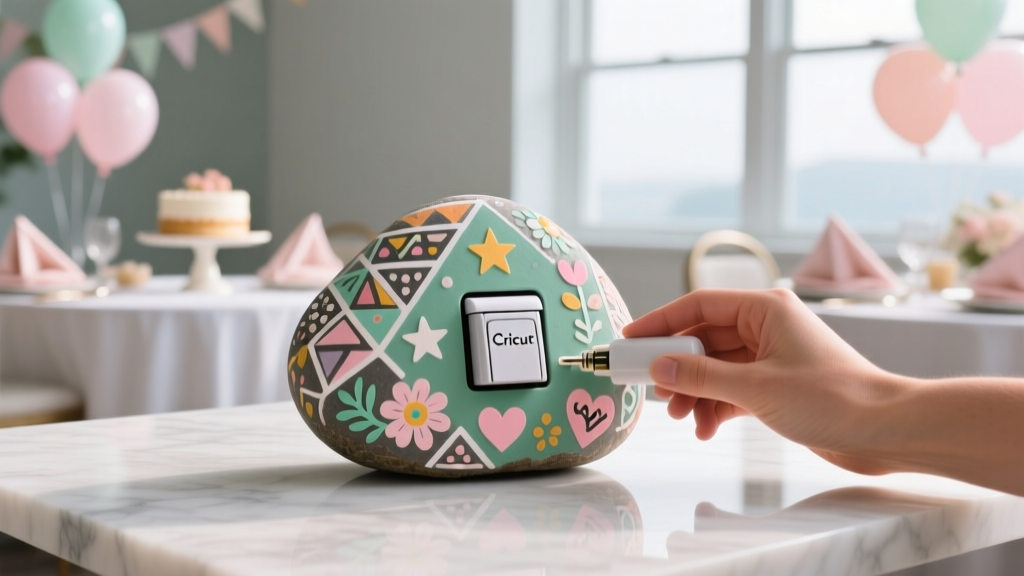 DIY Painted Rocks Using Cricut
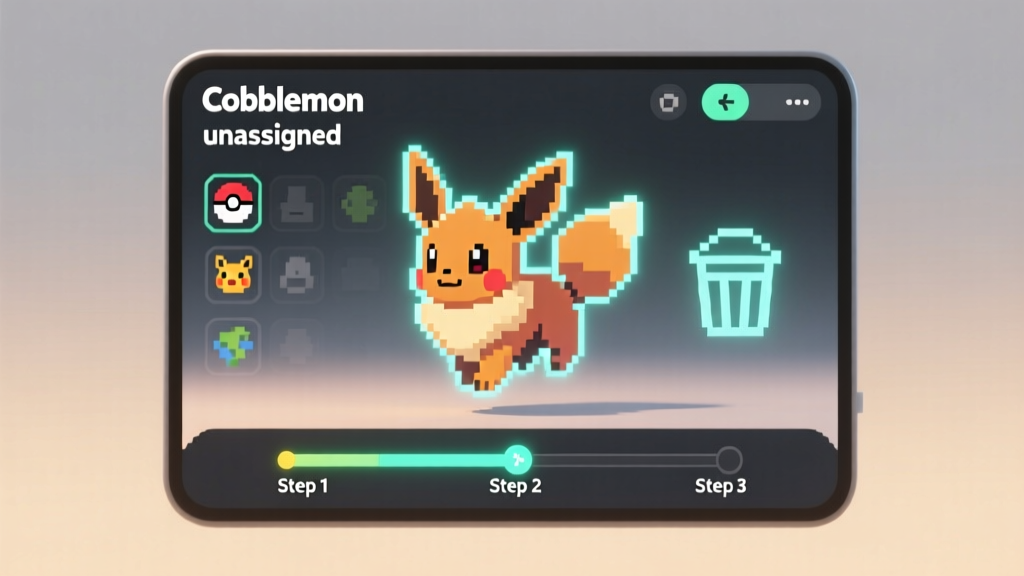 How to Remove a Pokemon from Your Party in Cobblemon: The 3-Step Method That Actually Works (No Crashes, No Lost Data, and Zero Mod Conflicts)
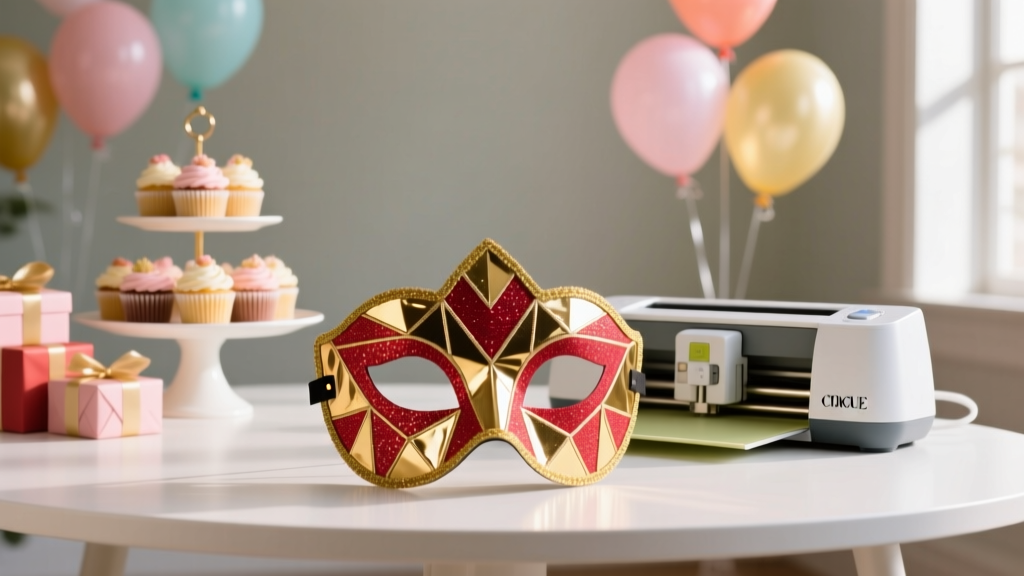 DIY Masks Using Cricut