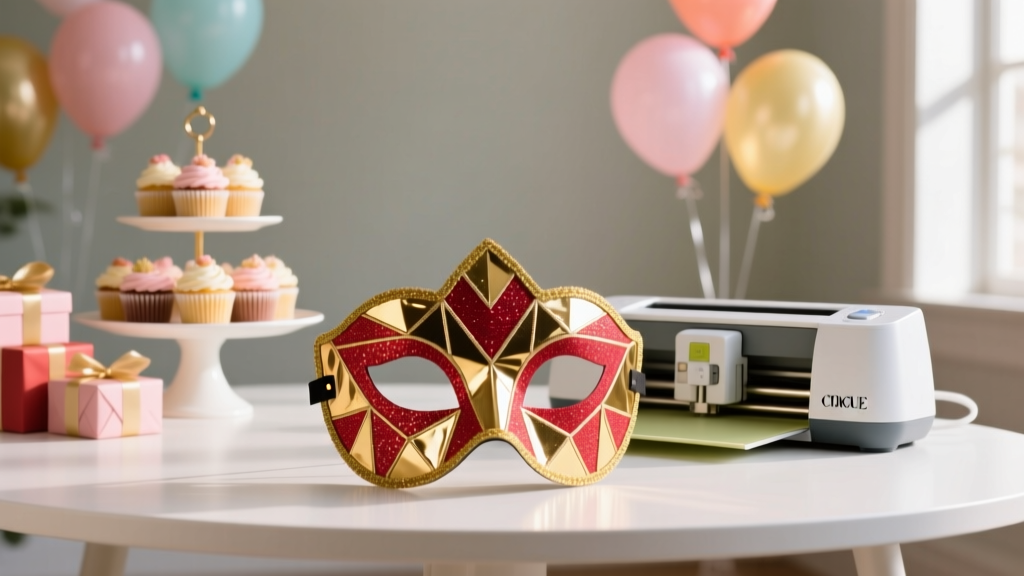
DIY Masks Using Cricut
Handmade party masks have a special kind of magic: they instantly turn a regular get-together into a themed celebration. Whether you’re hosting a masquerade birthday, a New Year’s Eve bash, a superhero playdate, or a photo-booth-heavy bridal shower, DIY masks add that “wow” factor without blowing your budget.
Using a Cricut machine makes the process faster, cleaner, and far more customizable than hand-cutting. You can create crisp shapes, intricate cutouts, layered details, and personalized names—then repeat them consistently for a whole crowd. This project is also a great “assembly line” craft for parties: you can cut everything in advance and let guests decorate their own masks as an activity.
Below you’ll find practical, step-by-step instructions, plus variations for every skill level. Choose classic cardstock masks for quick party prep, step up to glitter and metallics for glam events, or create foam masks for kids who need something sturdier.
Project Overview: Skill Level, Time, and Best Uses
- Skill level: Beginner to Intermediate (Advanced options included)
- Total time: 30–60 minutes for 4–6 masks (plus drying time if painting/gluing heavily)
- Cut time: 5–15 minutes depending on complexity and materials
- Great for: DIY party decorations, photo booth props, themed birthdays, masquerade parties, Halloween gatherings, classroom celebrations, and handmade party favors
Materials & Tools (With Estimated Costs)
Cricut Essentials
- Cricut machine: Cricut Explore Air 2 / Explore 3 / Maker / Maker 3 (use what you have) (varies)
- Design software: Cricut Design Space (free)
- Fine-Point Blade: Best for cardstock and vinyl ($10–$15)
- StandardGrip Mat (Green): Ideal for cardstock and glitter cardstock ($12–$17)
- StrongGrip Mat (Purple): Helpful for thick glitter cardstock or faux leather ($12–$17)
- Weeding tools set: Especially for intricate cutouts ($8–$20)
- Scraper/brayer: Helps materials stick evenly to the mat ($6–$15)
Mask Base Materials (Pick One)
- Heavy cardstock (80–110 lb): Best all-around, affordable, easy to cut ($6–$15 per pack)
- Glitter cardstock: Great for glam party decorations (note: some glitter sheds) ($8–$18 per pack)
- EVA craft foam sheets (2mm): Sturdy and kid-friendly ($8–$15 for a multi-pack)
- Faux leather (thin): Gorgeous, durable “masquerade” look ($10–$20 per roll/sheets)
Decor & Assembly Supplies
- Elastic cord (1/8 inch): Comfortable, adjustable fit ($4–$10)
- Wooden skewers or lollipop sticks: For handheld photo booth masks ($2–$6)
- Hot glue gun + glue sticks: Strong hold, fast assembly ($10–$25)
- Craft glue (tacky glue): Good for paper layers (drying time needed) ($3–$8)
- Double-sided tape or foam tape: Quick and clean layering ($4–$10)
- Hole punch (single hole): For elastic stringing ($5–$12)
- Optional embellishments: Sequins, rhinestones, feathers, ribbon trim, metallic markers, paint pens ($5–$20)
Estimated Cost Per Mask
- Basic cardstock mask: ~$0.75–$2.00 each
- Glitter/foil layered mask: ~$1.50–$3.50 each
- Foam or faux leather mask: ~$2.50–$6.00 each
Measurements & Sizing (So Your Masks Actually Fit)
Most party masks fit well when the finished mask is sized around:
- Adult width: 6.75–7.5 inches (171–191 mm)
- Adult height: 2.75–3.5 inches (70–89 mm)
- Kids width: 5.75–6.5 inches (146–165 mm)
- Kids height: 2.5–3.0 inches (64–76 mm)
Eye holes typically look and feel right at:
- Each eye opening: ~1.5 inches wide x 0.6 inches tall (38 mm x 15 mm)
- Space between eyes (bridge): ~0.6 inches (15 mm)
Elastic length (cut longer and tie/adjust):
- Kids: 10–12 inches (25–30 cm)
- Teens/Adults: 12–14 inches (30–36 cm)
Step-by-Step: How to Make DIY Masks with Cricut
Step 1: Choose a Mask Style and Plan Your Build
Decide which mask format works best for your party:
- Elastic-worn mask: Great for guests to wear longer
- Handheld stick mask: Perfect for photo booth props and little kids
- Layered decorative mask: Ideal for masquerade parties and fancy themes
Beginner-friendly build: One cardstock layer + optional small decor pieces.
Advanced build: 2–3 layers + intricate cutouts + foam shaping + mixed materials (faux leather, vinyl accents).
Step 2: Create or Select a Mask Design in Cricut Design Space
- Open Cricut Design Space and start a new project.
- Search for “mask,” “masquerade mask,” “superhero mask,” or “party mask” in images, or upload an SVG you purchased/created.
- Resize the mask to your target width:
- Adult: Start at 7.25 inches wide
- Kids: Start at 6.25 inches wide
- Add eye holes if they aren’t included:
- Use simple ovals or rounded rectangles.
- Position them, then use Combine > Subtract (or Slice) to cut out openings.
- If layering, duplicate the base and create a slightly smaller “detail layer” (reduce by ~0.15–0.25 inches overall) for a neat border effect.
Step 3: Prep Your Mat and Material
- Place your cardstock/foam/faux leather on the mat. Smooth it with a brayer or scraper.
- If using glitter cardstock, place it glitter side down when possible (depending on the material type) to reduce tearing.
- For intricate cuts, use a cleaner mat and consider Less Pressure to avoid ripping delicate areas.
Step 4: Cut the Mask Pieces
- Click Make in Design Space.
- Select the correct material setting (e.g., “Heavy Cardstock,” “Glitter Cardstock,” “Craft Foam,” “Faux Leather”).
- Load the mat and cut.
- Unload and carefully remove the material:
- Flip the mat upside down and peel the mat away from the cardstock to prevent curling.
Step 5: Assemble and Reinforce the Mask
For cardstock masks (recommended for most parties):
- Glue layers together:
- Use double-sided tape for quick, clean results.
- Use tacky glue for full coverage (apply thinly to avoid warping).
- Add reinforcement (optional but helpful):
- Cut a second base layer and laminate it to the back for a sturdier mask.
- Or add a thin strip of cardstock across the top edge on the back side.
For foam masks:
- Glue foam layers with hot glue (low-temp is safer for quick handling).
- Lightly shape the mask by curling it around a cup or rolling pin for 10–15 seconds.
Step 6: Add Elastic or a Stick Handle
Elastic-worn masks:
- Mark hole points about 0.5 inches (13 mm) from each outer edge and roughly centered vertically.
- Punch holes with a single-hole punch.
- Thread elastic through each hole and tie a double knot on the inside.
- Test fit and adjust before trimming ends.
Handheld photo booth masks:
- Hot glue a lollipop stick or skewer to the back at a diagonal angle (bottom corner works well).
- Add a small cardstock “patch” over the stick end for extra strength (about 1 inch x 2 inches).
Step 7: Decorate for Your Theme
Now the fun part—make it match your party decorations:
- Masquerade: Black + gold, filigree cutouts, rhinestones, feather clusters
- Superhero party: Bold colors, lightning bolts, initial monograms
- Kids animal party: Add ears, whiskers, and cute nose pieces
- Princess or fairy: Glitter accents, pastel layers, tiny paper flowers
- Spooky/Halloween: Bat wings, spiderweb overlays, metallic silver details
Pro Tips for Clean Cuts and Strong Masks
- Use the right blade for the job: Fine-Point works for cardstock; thicker materials may need a Deep-Point Blade depending on your machine/material.
- Do a small test cut: Especially for glitter cardstock and faux leather. Saves time and materials.
- Prevent cardstock tearing: Use a newer mat, reduce pressure, and avoid ultra-intricate designs on thin paper.
- Stop warping: Apply glue thinly, or use tape runner/double-sided tape for paper layers.
- Batch your workflow: Cut all bases first, then all top layers, then punch holes, then decorate—perfect for party prep.
- Comfort matters: If kids will wear them, round off sharp corners in Design Space and keep embellishments away from the inner eye area.
Creative Variations (Beginner to Advanced)
Beginner-Friendly Adaptations
- One-layer mask: Heavy cardstock base + metallic marker details
- Sticker-style decor: Use self-adhesive vinyl shapes (stars, dots, names)
- Handheld masks only: Skip elastic and just glue on sticks for easy photo booth props
Intermediate Ideas
- Two-layer contrast: Solid base + glitter detail layer (trim 0.2 inches smaller)
- Personalized names: Cut small vinyl names (0.4–0.6 inch tall letters) and apply to the cheek area
- 3D accents: Add foam tape behind cutouts to raise them for dimension
Advanced Cricut Mask Options
- Intricate filigree overlay: Cut a lacy top layer in metallic cardstock and mount it over a solid base
- Faux leather + cardstock lining: Leather exterior for durability, cardstock inside for shape
- Heat-embossed details: Add embossing powder to stamped accents (great for formal themes)
- LED mini-lights: For older teens/adults, add tiny battery fairy lights to a photo-booth-only mask (keep wires away from eye holes; not recommended for small children)
Troubleshooting: Quick Fixes When Things Go Sideways
- My cardstock ripped during cutting:
- Switch to heavier cardstock (100–110 lb).
- Use a cleaner StandardGrip mat.
- Reduce design complexity (thicker lines, fewer tiny bridges).
- My cuts didn’t go through:
- Check blade sharpness and re-seat the blade housing.
- Increase pressure or add a second pass (some materials settings do this automatically).
- My glitter cardstock is shedding everywhere:
- Choose “no-shed” glitter cardstock when possible.
- Seal lightly with a clear acrylic sealer (spray outdoors, let dry fully).
- My mask curls/warps after gluing:
- Use tape runner or double-sided tape instead of wet glue.
- Press the mask under a book for 5–10 minutes with parchment paper in between.
- The elastic feels too tight:
- Cut longer elastic and tie adjustable knots.
- Use soft elastic cord or ribbon ties for comfort.
Common Crafting Mistakes to Avoid
- Skipping a fit test: Before making 20 masks, cut one sample and test eye placement and width.
- Choosing overly delicate designs for thin paper: Intricate swirls look amazing, but they need sturdier cardstock or fewer tiny cutouts.
- Over-gluing: Too much liquid glue leads to wrinkles, warping, and visible bumps under glitter layers.
- Placing embellishments where they scratch: Keep rhinestones, sequins, and heavy trim away from the inner eye area and nose bridge.
- Using weak adhesives for heavier decor: Feathers and thick gems usually need hot glue, not a glue stick.
- Forgetting reinforcement for handheld masks: Add a patch over the stick on the back so it doesn’t peel off mid-photo.
FAQ: DIY Cricut Party Masks
1) What Cricut machine is best for making masks?
Any Cricut that cuts cardstock works well (Explore series and Maker series). If you want to cut thicker materials like craft foam or faux leather more often, the Cricut Maker models give you more flexibility with tools and settings.
2) Can I make these masks without buying special SVG files?
Yes. You can build a simple mask using basic shapes (a rounded rectangle + two ovals for eyes) in Cricut Design Space. Then customize with hearts, stars, swirls, or text for names and party titles.
3) What’s the best material for kids’ masks?
2mm EVA craft foam is a favorite for kids because it’s flexible and durable. If you’re using cardstock, go with 100–110 lb and consider laminating a second layer on the back for strength.
4) How do I make masks quickly for a large party?
Use an assembly line approach: cut all bases first, then all decorative layers, then punch holes, then attach elastics. Keep decor simple (vinyl shapes, markers, a few gems) and offer a “decorate your own mask” station as a party activity.
5) How do I keep glitter cardstock from cracking when I bend the mask?
Don’t over-curve it. Gently shape cardstock masks around a wide cup instead of sharply folding. For extra durability, layer glitter cardstock on top of a plain heavy cardstock base.
6) Can I turn these into photo booth props instead of wearable masks?
Absolutely. Skip the elastic and attach a lollipop stick or skewer to the back with hot glue. These make fantastic party decorations for a DIY photo booth table and are easier for guests to use quickly.
Wrap-Up: Your Party Just Got More Handmade
DIY masks using a Cricut are one of those party-related projects that feel impressive but come together with simple supplies and repeatable steps. Once you dial in the size and pick a theme, you can create a whole matching set—perfect for party decorations, photo booth fun, and memorable handmade party favors.
Try one basic mask first, then level up with layers, glitter accents, or personalized names. Your guests will love the detail, and you’ll love how polished everything looks.
Happy crafting! Explore more DIY party décor, handmade projects, and creative celebration ideas at smartpartyprep.com.
More Articles
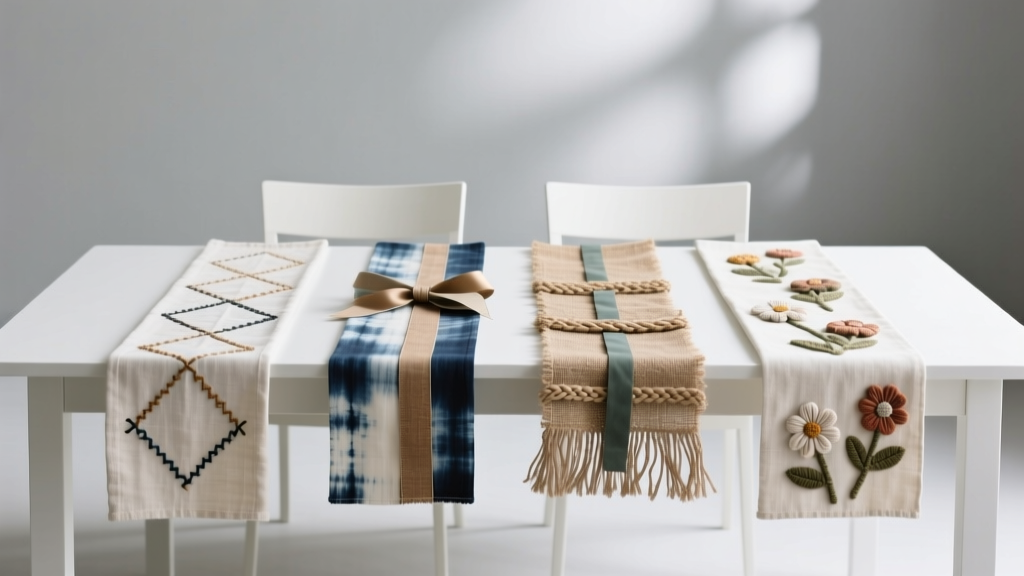 Budget DIY Table Runners Under $20
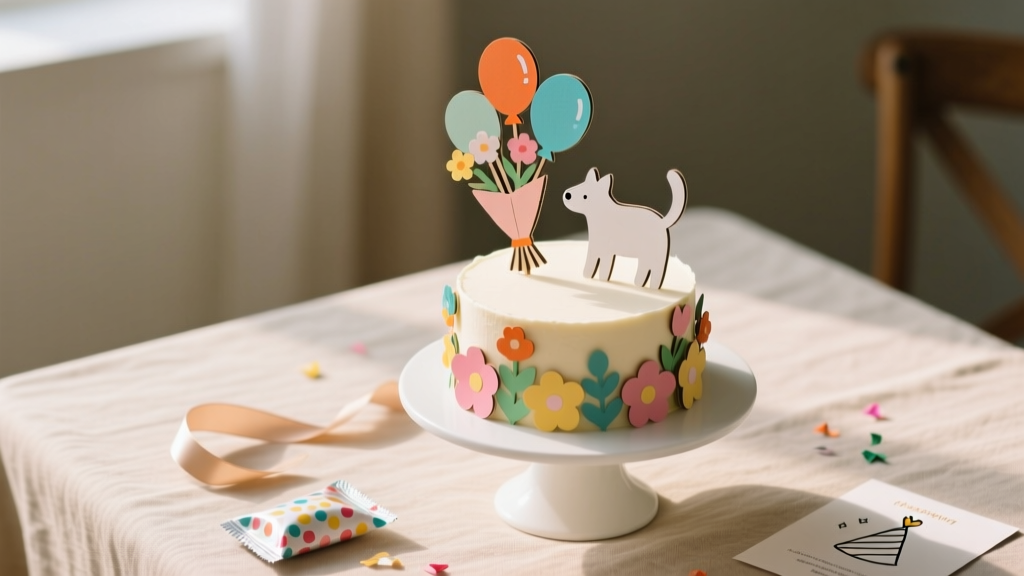 DIY Cake Toppers in An Afternoon
 Personalized Invitations Gifts
 Modern Mugs Designs
 Seasonal Wooden Signs Ideas
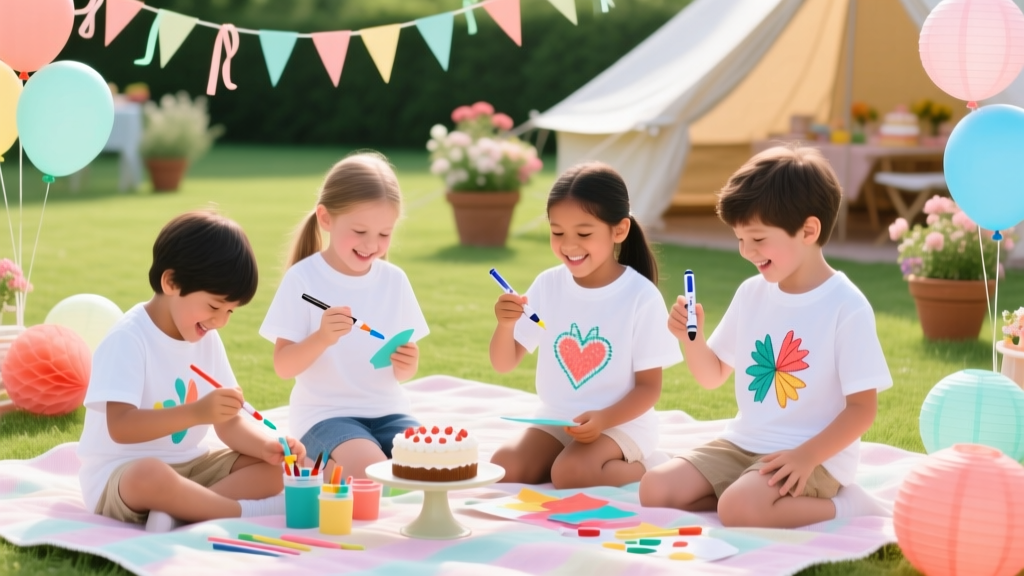 Kids' Craft: T-Shirts (Party-Perfect DIY Shirts Kids Can Make)
 Paper Craft Resin Jewelry Ideas
 How to Make a Slumber Party Tent in Under 20 Minutes (No Sewing, No Special Tools — Just Blankets, Chairs & Kid-Approved Magic)
 DIY Scrapbook Pages Using Cricut
 No-Sew Coasters Tutorial