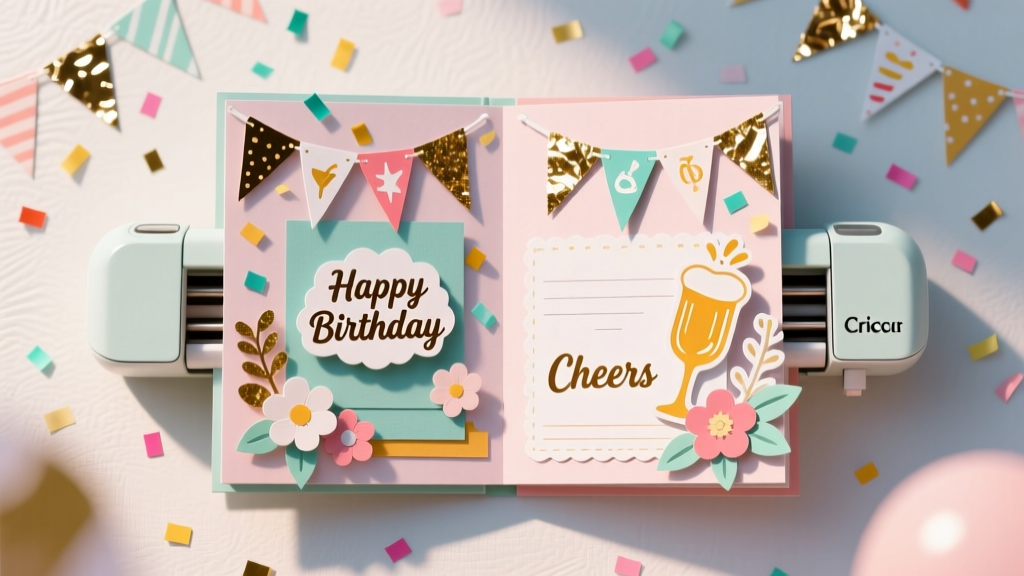
DIY Scrapbook Pages Using Cricut
Party memories deserve more than a quick phone scroll. A DIY scrapbook page turns your favorite moments—cake-smudged smiles, silly photo booth poses, and that perfect balloon arch—into something you can flip through anytime. With a Cricut cutting machine, you can create clean, professional-looking titles, layered shapes, and themed embellishments that make every page feel like a boutique keepsake.
This project is especially fun for party lovers because you can match your scrapbook page to the party theme: birthdays, baby showers, graduation parties, Halloween bashes, or a cozy Friendsgiving. Cricut makes it easy to repeat elements (think: identical mini confetti shapes, matching banners, or name cutouts) so your pages look coordinated without hours of fussy hand-cutting.
Whether you’re a beginner learning Design Space or an experienced crafter ready to add layered cardstock, foiled accents, and shaker pockets, these Cricut scrapbook pages are a practical, feel-good project that doubles as handmade party decor—because a finished page can be framed, displayed on a dessert table, or gifted to the guest of honor.
Project Overview
- Skill level: Beginner to Intermediate (advanced add-ons included)
- Time estimate: 60–120 minutes per 12" x 12" page (plus photo printing time)
- Finished size: Standard 12" x 12" scrapbook page (adaptable to 8.5" x 11")
- Great for: Birthday parties, baby showers, bridal showers, graduation parties, holiday gatherings, and photo booth strips
- Keywords you’ll naturally use: DIY crafts, Cricut scrapbook, party scrapbook page, handmade party decorations, Cricut party decor, DIY memory book, scrapbook layout ideas
Materials & Estimated Costs
Costs vary by brand and what you already have. Here’s a practical shopping list with budget-friendly options.
Core Supplies
- Cricut cutting machine (Explore Air 2, Explore 3, Maker, Maker 3, Joy with smaller layouts) — $150–$400+
- LightGrip or StandardGrip cutting mat (12" x 12") — $10–$16
- Fine-Point Blade (good for cardstock) — $12–$18
- Cardstock (65 lb for layering; 80–100 lb for sturdy titles) — $8–$20 per pack
- Patterned scrapbook paper (12" x 12") — $0.75–$2 per sheet or $10–$25 per pad
- 12" x 12" scrapbook base/page protector — $8–$20
- Adhesives: tape runner, liquid glue (fine tip), and foam tape/dots — $12–$25 total
- Photos (printed 4" x 6", 2" x 3" wallet prints, or photo strips) — $0.20–$1 each
Tools That Make It Easier
- Weeding tool set (hook, spatula, scraper) — $8–$20
- Paper trimmer (for clean straight cuts) — $15–$35
- Scoring stylus or scoring wheel (optional for fold-out flaps) — $10–$40
- Brayer (helps cardstock adhere flat to the mat) — $8–$15
- Precision scissors — $8–$15
Optional “Wow” Add-Ons
- Vinyl (permanent or removable) for sleek titles — $8–$15 per roll
- Iron-on (HTV) for fabric scrapbook covers — $8–$15 per roll
- Foil transfer kit (Explore/Maker compatible) — $35–$60
- Glitter cardstock (use StrongGrip mat if needed) — $8–$18
- Acetate for shaker windows — $5–$10
- Sequins/confetti for shaker pockets — $3–$10
Plan Your Scrapbook Page (Theme + Layout)
A little planning helps your page look balanced and party-ready. Pick a theme and keep your color palette tight (2–4 main colors is plenty).
Choose a Party Theme
- First birthday: “ONE” title, balloons, stars, mini pennants
- Baby shower: onesies, rattles, clouds, floral wreaths
- Graduation: cap, diploma, year numbers, school colors
- Holiday party: ornaments, snowflakes, cocoa mugs, gift tags
- Halloween: bats, candy buckets, spooky labels
Pick a Simple Layout Formula
- Classic grid: 3–4 photos + title + journaling block
- Diagonal design: patterned paper strip corner-to-corner + photos clustered on top
- Center feature: one large photo (4" x 6" or 5" x 7") + bold Cricut title
Step-by-Step: DIY Cricut Scrapbook Page (12" x 12")
Step 1: Prep Your Base & Background
- Select your base sheet: Use a sturdy 12" x 12" cardstock (80–100 lb) in white, cream, or a coordinating color.
- Create a background layer (optional but pretty): Cut patterned paper to 11.5" x 11.5" to create a clean border. Adhere centered on the base sheet.
- Add a “grounding strip”: Cut a coordinating strip 2" x 12" (or 3" x 12") and place near the bottom or across the middle to anchor photo clusters.
Step 2: Choose Photos & Photo Mat Sizes
Photo mats make everything look polished and intentional.
- Pick 3 photos (easy starting point). Suggested sizes:
- Two photos at 3" x 4"
- One photo at 4" x 6"
- Cut cardstock mats: For each photo, cut a mat that’s 1/4" bigger on all sides.
- For a 3" x 4" photo, cut mat at 3.5" x 4.5"
- For a 4" x 6" photo, cut mat at 4.5" x 6.5"
- Dry-fit first: Place mats and photos on the page without glue. Leave room for your title (usually top or bottom).
Step 3: Design Your Cricut Title in Design Space
- Create your title text: Examples:
- “A Sweet Celebration”
- “Happy Birthday, Ava!”
- “Baby Shower Joy”
- “Graduation Day 2026”
- Size it for a 12" page: A good starting width is 8"–10". For long phrases, do two lines.
- Choose your cut style:
- Beginner-friendly: Bold single-layer script or block font
- More detail: Layered shadow (duplicate text, offset it, and cut in a second color)
- Recommended font approach: Avoid ultra-thin scripts for small cuts. If letters look delicate, increase size or switch to a thicker font.
Step 4: Cut Your Cardstock Pieces
- Place cardstock on the mat: Use a brayer for full contact so edges don’t lift.
- Select the correct material setting: “Medium Cardstock” is a common starting point for 65 lb cardstock. Do a small test cut if you’re unsure.
- Cut these essentials:
- Title + optional shadow layer
- 3–6 themed icons (stars, balloons, confetti, flowers)
- Optional banner pieces (triangles about 1.5" wide x 2" tall)
- Remove cardstock carefully: Flip the mat upside down and peel the mat away from the cardstock to prevent curling.
Step 5: Assemble Layers (Title, Embellishments, and Photo Cluster)
- Adhere the background layers: Use a tape runner for smooth, wrinkle-free adhesion.
- Mat your photos: Glue photos to their mats, then place on the page with slight overlapping for a cohesive cluster.
- Add the title:
- For flat pages: tape runner works well.
- For dimension: add foam dots behind the shadow layer or behind the entire title.
- Place embellishments in “visual triangles”: Add 1–2 near the title, 1–2 near the photo cluster, and 1 near the journaling area so your eye travels across the page.
Step 6: Add Journaling & Finishing Touches
- Create a journaling card: Cut a rectangle 3" x 4" or 3.5" x 5" from light cardstock. Add a printed label or handwrite:
- Date and location
- Guest of honor
- Funny moment or favorite quote
- Optional party-style accents:
- Mini “confetti” dots (hole punch or Cricut cut at 0.25"–0.4")
- Twine bow on a banner
- Foiled highlights on a title shadow
- Final check: Make sure bulky 3D items still fit in a page protector or album. If not, keep dimension near the center and use low-profile foam.
Pro Tips for Beautiful Cricut Scrapbook Pages
- Use an odd number of embellishments: 3 or 5 tends to look more natural than 4.
- Repeat shapes for a “party collection” vibe: Cut the same star in 3 sizes (ex: 1", 1.5", 2").
- Keep adhesive intentional: Tape runner for large areas, liquid glue for delicate cuts, foam dots for dimension.
- Offset is your best friend: A shadow layer makes titles easier to read on busy patterned paper.
- Save time with a “party page template”: Create a reusable Design Space file with photo mats, title placement, and a few icons—then swap colors and text for each event.
Beginner-Friendly Adaptations
- Use pre-made scrapbook paper pads: Choose a party-themed pad and let the patterns do the heavy lifting.
- Cut larger shapes: Keep most cuts above 1.25" for easy weeding and clean edges.
- Skip tiny script fonts: Choose bold text and add a simple shadow layer.
- Limit your layers: Background + photo mats + title + 3 embellishments is plenty.
Advanced Variations (For Extra Wow)
- Shaker element: Create a 3" x 4" shaker pocket with acetate, foam tape, and sequins (confetti matches party themes perfectly).
- Flip-out flap for more photos: Score a 4" x 6" cardstock flap, hinge it with washi tape, and hide journaling underneath.
- Foiled title: Use Cricut Foil Transfer for metallic accents on the title shadow or a border.
- Layered cake or balloon bouquet: Stack 3–5 cardstock layers (slightly offset) for a dimensional centerpiece.
- Vinyl on cardstock: Cut a sleek vinyl title and apply to cardstock for a crisp, pro finish.
Troubleshooting: When Cricut Cuts Don’t Go As Planned
- Problem: Cardstock tears or looks fuzzy.
Fix: Replace or clean the blade, use a fresh mat, and reduce intricate details (bigger font or less swirly script). Try “Cardstock for Intricate Cuts” if available. - Problem: Cuts don’t go all the way through.
Fix: Make sure your material setting matches your cardstock weight. Add “More Pressure” or run a second cut (without unloading the mat). - Problem: Small pieces lift or shift during cutting.
Fix: Brayer the cardstock, use a cleaner/less used mat for paper, and avoid warped cardstock. - Problem: Title is hard to read on patterned paper.
Fix: Add a solid shadow layer (offset) or place the title on a simple banner strip. - Problem: Glue shows on dark cardstock.
Fix: Use a tape runner for clean edges and apply liquid glue with a fine-tip only where needed.
Common Crafting Mistakes to Avoid
- Overcrowding the page: Leave breathing room. A few bold elements beat lots of tiny ones.
- Skipping the dry-fit: Always arrange photos, title, and embellishments first—then glue.
- Using the wrong adhesive for the job: Liquid glue for delicate cuts, tape runner for flat layers, foam for dimension.
- Cutting tiny, thin text: If the font looks spidery in Design Space, it will likely tear when cut.
- Not considering album bulk: Puffy embellishments are cute, but too many make albums hard to close.
- Forgetting to back up your Design Space file: Save a reusable party scrapbook template you can copy for future events.
FAQ: DIY Cricut Scrapbook Pages
1) What Cricut machine is best for scrapbook pages?
Any Cricut that cuts cardstock works well. Cricut Explore and Maker models are ideal for 12" x 12" pages. Cricut Joy can work for smaller elements (titles and icons), but you’ll assemble them onto a 12" layout separately.
2) What cardstock weight should I use?
Use 65 lb cardstock for most layered shapes and embellishments. Use 80–100 lb cardstock for sturdy titles and photo mats. Glitter cardstock may need a stronger grip mat and sometimes a bit more pressure.
3) How do I keep scrapbook pages flat in page protectors?
Keep foam tape to a minimum and place dimension near the center. Avoid thick buttons or chipboard near the edges where protectors pinch. If you want a 3D look, use thin foam dots instead of chunky embellishments.
4) Can I use vinyl on scrapbook pages?
Yes—vinyl makes crisp titles and labels. Removable vinyl is great for flexibility, and permanent vinyl is best if you want it to last. Burnish gently to avoid wrinkling the cardstock.
5) What are easy Cricut scrapbook ideas for party themes?
Try balloon clusters, confetti sprinkles, party hats, banners, cake slices, gift boxes, and large name cutouts. Add a big year number for milestone birthdays or graduations for an instant focal point.
6) How can I make my pages feel more “handmade” and less perfect?
Mix clean Cricut cuts with a little hand touch: ink the edges of cardstock, tear a paper strip for texture, add hand journaling, or use a tiny stamped date. The contrast makes your DIY crafts feel warm and personal.
Wrap-Up: Your Party Memories, Turned Into a Keepsake
A Cricut scrapbook page is one of those DIY crafts that feels relaxing while still giving you a big “wow” payoff. With a simple layout, a bold title, and a few themed party decorations made from cardstock, you’ll capture the energy of the celebration and create something you’ll actually want to display.
Pick one party theme, choose three photos, and build your page step-by-step. After you finish the first one, you’ll have a repeatable system for birthdays, showers, holidays, and every fun gathering in between.
Want more handmade party decorations and memory-making DIY projects? Browse more creative ideas and smart crafting tips on smartpartyprep.com.
More Articles
 How to Make Diddy Party in Infinite Craft: The Only 4-Step Method That Actually Works (No Random Combos, No Wasted Time)
 Easy Fabric Bunting for Beginners
 DIY Wreaths for Birthdays: Handmade Party Decorations That Wow
 How Do You Make a Party Hat in Under 12 Minutes? 5 Foolproof Methods (No Glue Gun Needed) + Printable Templates & Pro Tips to Avoid Lopsided Crowns
 DIY Mugs for Home Decor
 Rustic Embroidered Patches Ideas
 12 Stunning Do It Yourself Party Centerpieces You Can Make in Under 30 Minutes (No Craft Experience Needed — Seriously)
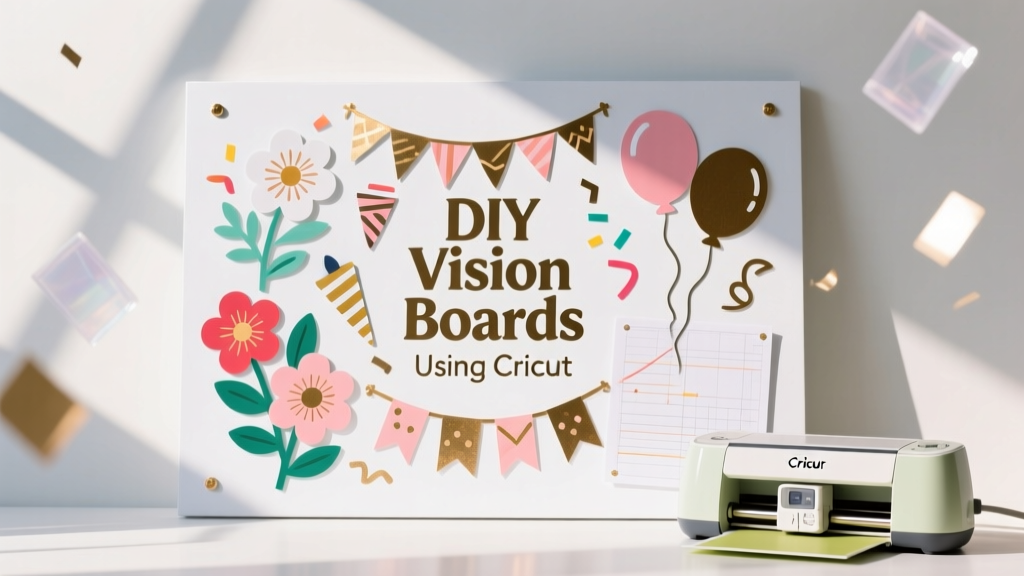 DIY Vision Boards Using Cricut
 How to Make a Party Hat Out of Paper in Under 12 Minutes (No Glue Gun, No Scissors Required — Just Printer Paper & Tape)
 Step-by-Step T-Shirts Tutorial