DIY Cake Toppers in An Afternoon
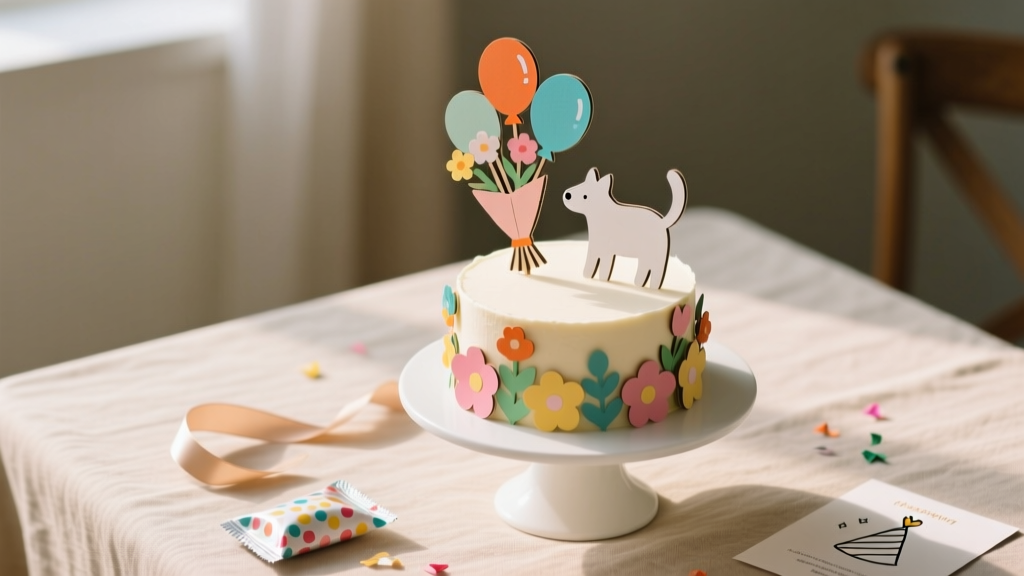
Nothing makes a cake feel instantly “party-ready” like a topper. A simple sheet cake becomes a birthday centerpiece, a batch of cupcakes looks styled for a photo, and a homemade dessert feels polished—without needing pro-level decorating skills. The best part? You can craft DIY cake toppers in one afternoon with basic supplies and a little imagination.
This is one of those party DIY projects that pays off fast. Cake toppers are lightweight, inexpensive, and endlessly customizable—perfect for birthdays, baby showers, graduations, engagement parties, holiday gatherings, and even “just because” celebrations. If you love handmade party decorations but don’t want to commit to a week-long craft marathon, this project hits the sweet spot.
Below you’ll find beginner-friendly options, more advanced paper-crafting variations, and practical tips so your handmade cake topper looks crisp, stands upright, and survives the trip from craft table to dessert table.
Project Overview (Skill Level, Time, and What You’ll Make)
- Skill level: Beginner to Intermediate (advanced variations included)
- Total time: 60–180 minutes (depending on design and drying time)
- Active crafting time: 45–90 minutes
- Drying/setting time: 15–60 minutes (glue/paint optional)
- Best for: DIY party decorations, handmade cake toppers, cupcake toppers, photo-worthy desserts
Materials and Tools (With Estimated Costs)
You can create great DIY cake toppers with what you already have, but these specific product types make the process smoother and the finished topper sturdier.
Core Materials (Choose a Mix)
- Cardstock (65–110 lb / 176–300 gsm) – 12x12 or 8.5x11 sheets; $6–$15 per pack
- Glitter cardstock (no-shed preferred) – for bold sparkle; $8–$18 per pack
- Adhesive foam squares (3D pop dots) – adds dimension; $3–$6
- Wooden skewers (12 inch) or food-safe paper lollipop sticks (6–8 inch) – supports; $2–$6
- Double-sided tape (strong craft grade) – clean adhesion; $4–$10
- Craft glue or hot glue sticks – assembly; $3–$8
- Clear cake-safe barrier: parchment paper strips or plastic straw sleeves to cover the part that touches cake; $2–$5
Optional “Upgrade” Materials
- Acetate sheets (clear) – shaker toppers or clean backing; $6–$12
- Washi tape – quick pattern and color; $3–$10
- Vinyl (adhesive) or iron-on HTV – crisp lettering; $8–$15
- Acrylic paint pens or metallic markers – easy detail work; $6–$15
- Mini pom-poms, tiny paper flowers, confetti – texture and fun; $3–$8
Tool Recommendations
- Scissors: sharp detail scissors for clean cuts (especially on glitter cardstock)
- Craft knife + self-healing cutting mat: best for precise lettering; $10–$25 total
- Ruler: for measuring stick placement and symmetry
- Hole punch (optional): for banner toppers or garlands
- Hot glue gun (optional): mini hot glue gun is plenty; $8–$15
Estimated Total Cost Per Topper
- Basic cardstock topper: ~$1–$3
- Layered/glitter topper: ~$2–$6
- Shaker topper or advanced build: ~$4–$10
Design Planning: Pick a Style That Fits Your Party
Before cutting anything, decide what your cake topper needs to do. Ask yourself:
- What’s the cake size? (8–10 inch round cakes usually look best with a topper 5–7 inches wide.)
- Where will it go? Centered on top, or slightly off-center with florals?
- What’s the theme? Kids character-inspired shapes, elegant script, rustic boho, holiday icons?
Quick Measurement Guide
- Cupcake toppers: 2–2.5 inches wide, 3–4 inches tall including stick
- 6-inch cake: 4.5–5.5 inches wide topper
- 8-inch cake: 5.5–6.5 inches wide topper
- 10-inch cake: 6–7.5 inches wide topper
- Stick height: Insert depth 1.5–2 inches into cake for stability
Step-by-Step: Make Three Popular DIY Cake Toppers
Option 1: Classic Layered Name Topper (Beginner-Friendly, High Impact)
Best for: birthdays, baby showers, graduations
Time: 60–90 minutes
- Choose your lettering style. Print a name or phrase in a bold font (avoid super-thin scripts if you’re cutting by hand). Aim for 5–7 inches wide for a standard cake.
- Create a backing shape. Trace a cloud, circle, scalloped oval, or rectangle around the text. Leave a 0.5-inch margin around letters so the topper doesn’t tear easily.
- Cut the base layer. Use 110 lb cardstock for structure. Cut slowly for clean edges.
- Cut the top layer. Use glitter cardstock or a contrasting color for the name. If cutting by hand, cut the letters as a single “word silhouette” rather than separate letters whenever possible.
- Attach the lettering. Use strong double-sided tape or a thin layer of craft glue. Press under a book for 5 minutes to reduce warping.
- Add dimension (optional). Place foam squares behind the letters or behind the entire top layer for a 3D look.
- Attach the sticks. Place two skewers or lollipop sticks on the back, spaced about 2–3 inches apart for stability. Secure with hot glue or heavy-duty tape.
- Make it cake-safe. Wrap the bottom 2–3 inches of each stick with parchment paper, or slide the sticks into short straw pieces so no adhesive touches the cake.
Option 2: Mini Banner Cake Topper (Fast, Cute, Great for Cupcakes Too)
Best for: casual parties, rustic themes, kids parties
Time: 45–75 minutes
- Cut banner flags. Cut 6–10 small rectangles, each 1 inch wide x 1.25 inches tall. Snip a small triangle from the bottom for the classic pennant look.
- Add letters or icons. Write with a marker, use letter stickers, or cut small letters from cardstock.
- Punch holes. Punch one hole near the top left and top right of each flag (about 1/8 inch from edges).
- String the banner. Use baker’s twine or embroidery floss. Leave 3–4 inches of extra string on each end.
- Mount to sticks. Tape or tie each end to a skewer/lollipop stick. Adjust the swag so the center dips slightly (about 0.5–1 inch).
- Stiffen (optional). If your banner flops, add a tiny dot of glue behind the string on each flag to lock spacing in place.
Option 3: Shaker Cake Topper (Advanced Variation, Big “Wow” Factor)
Best for: milestone birthdays, themed parties, sparkle lovers
Time: 90–180 minutes
- Create a shaker window. Cut a large shape (star, circle, number) from cardstock: 6 inches wide is a great target for cakes.
- Cut an inner opening. Leave a frame border of 0.5–0.75 inch so the shape stays strong.
- Add acetate. Tape an acetate sheet behind the opening to create a clear “window.” Use strong double-sided tape for a clean seal.
- Build the shaker walls. Apply foam tape around the frame on the back side, creating a continuous border (no gaps). This depth holds your confetti.
- Add filler. Pour in a small amount of sequins, confetti, or glitter (less than you think—overfilling prevents shaking).
- Seal the back. Cover with a solid cardstock piece. Press firmly all around edges for a tight seal.
- Mount sticks securely. Use two sticks and reinforce with an extra cardstock strip across them like a “brace.”
Pro Tips for Sturdy, Photo-Ready Handmade Cake Toppers
- Use two sticks for any topper wider than 5 inches. One stick often twists in softer frosting.
- Prevent warping: apply glue sparingly, spread evenly, and press under a heavy book for a few minutes.
- Make it readable from across the room: choose high-contrast colors (white + gold, black + pink, navy + silver).
- Hide stick attachments: glue a second backing piece over the back to sandwich the sticks for a clean finish.
- Keep it food-safe: no exposed hot glue, tape, or raw wood touching the cake—use straw sleeves or parchment wrap.
- Test placement: stick it into a piece of cardboard or a spare cupcake first to check balance and height.
Fun Variations (Beginner to Advanced)
Beginner Variations
- Silhouette shapes: hearts, stars, balloons, daisies—simple, cute, quick to cut.
- Washi tape patterns: cover plain cardstock with washi tape, then cut shapes.
- Sticker letter topper: create a blocky base shape and add letter stickers for instant wording.
Intermediate Variations
- Layered florals: add 3–5 small paper flowers clustered at one corner of the topper.
- Number toppers: big “ONE,” “16,” “50” using foam squares to create dimension.
- Color ombré: blend two cardstock colors with a torn-paper edge for a trendy look.
Advanced Variations
- Acrylic-look topper: use acetate as the main base and apply vinyl letters for a modern style.
- Multi-piece scene: add layered silhouettes (mountains, clouds, animals) with foam tape spacing.
- LED micro string lights: weave tiny battery-operated lights behind a cutout frame (keep battery pack away from food and secure behind cake stand).
Troubleshooting: Quick Fixes for Common Topper Problems
- Topper leans forward: add a second stick, insert sticks deeper (up to 2 inches), or widen stick spacing.
- Paper curls or ripples: too much glue—use tape instead, or press flat under a book for 10–15 minutes.
- Glitter sheds onto frosting: switch to no-shed glitter cardstock or seal with a clear spray sealer (let fully dry before use).
- Letters tear while cutting: thicken your font, enlarge your design, or cut a silhouette word instead of delicate script.
- Banner flags slide around: add tiny glue dots behind the string at each flag and let set.
Common Crafting Mistakes to Avoid
- Skipping a sturdy base layer. Thin paper bends easily—use 65–110 lb cardstock, especially for larger toppers.
- Putting adhesive where it touches cake. Always create a barrier (straw sleeves or parchment wrap) for food safety.
- Making the topper too tall. A super tall topper can look top-heavy; aim for 6–8 inches total height above the cake for most designs.
- Using one support stick on wide toppers. Two sticks prevent spinning and wobbling.
- Overcomplicating the first try. Start with a bold, simple shape—then add layers once you like the proportions.
- Not letting glue dry. Rushing leads to sliding layers and warped edges. Give it 15–30 minutes if you used wet glue.
FAQ: DIY Cake Toppers
How do I make cake toppers food-safe?
Keep all glue/tape and raw wood away from the cake. Use paper lollipop sticks, or slide wooden skewers into short plastic straw pieces. You can also wrap the portion that inserts into the cake with parchment paper (about 2–3 inches).
What’s the best cardstock weight for sturdy toppers?
80–110 lb (216–300 gsm) is ideal for the base. If you’re layering, you can use 65–80 lb for the top decorative layer while keeping the backing thick.
Can I make these without a cutting machine?
Yes. Stick to bold fonts, simple silhouettes, and banner styles. Print templates, cut slowly with sharp scissors, and use a craft knife for tight corners.
How far in advance can I make handmade cake toppers?
Most paper DIY cake toppers can be made 1–2 weeks ahead. Store them flat in a box or large envelope, away from humidity and direct sunlight.
How do I keep a topper from sinking into soft frosting?
Use two sticks spaced apart, insert them deeper (1.5–2 inches), and consider using wider lollipop sticks. For very soft frosting, chill the cake for 15–20 minutes before inserting the topper.
What’s a good topper size for cupcakes?
Aim for 2–2.5 inches wide on a 3–4 inch stick. Anything larger tends to overwhelm the cupcake and tip more easily.
Wrap-Up: Your Cake, Instantly More Celebratory
DIY cake toppers are one of the fastest ways to add personality to a party dessert—whether you go with a simple layered name, a cute banner, or an extra-sparkly shaker design. Start with a basic shape, keep your supports sturdy, and give yourself a little time for clean cutting and careful assembly. You’ll be surprised how “store-bought” your handmade party decorations can look after just one afternoon of crafting.
Want more quick party DIY projects and creative handmade decoration ideas? Explore more on smartpartyprep.com and keep your celebrations looking personal, polished, and totally you.
More Articles
 How to Unblock 3rd Party Session Cookies in 2024: The Only 5-Step Guide You’ll Need (No Extensions, No Coding, Works on Chrome, Safari & Edge)
 DIY Thank You Cards Party Favors
 How to Unblock 3rd Party Session Cookies on Mac: A Step-by-Step Safari & Chrome Fix That Actually Works (No Extensions Needed)
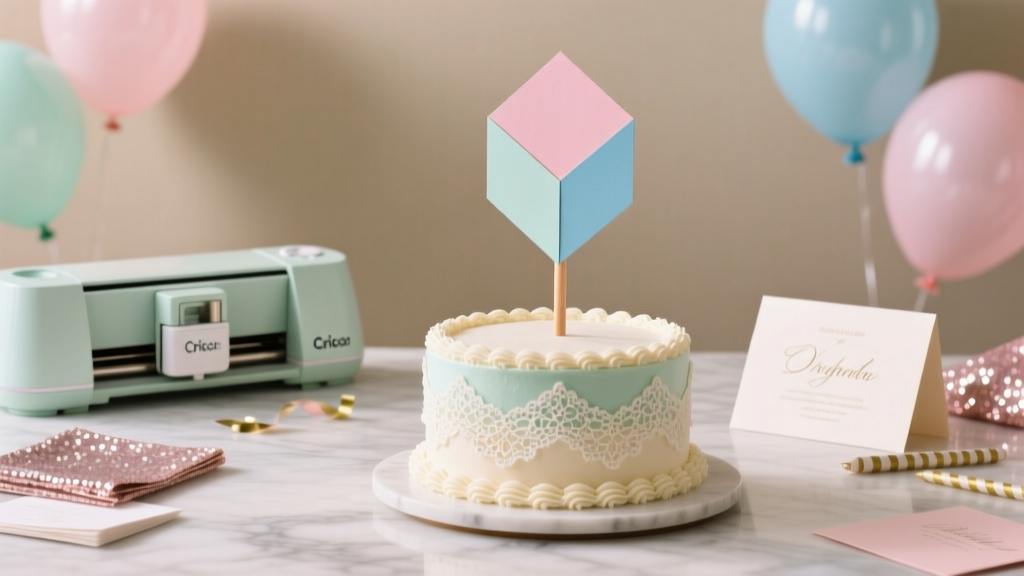 DIY Cake Toppers Using Cricut
 How to Enable Third Party Cookies on Mac: A Step-by-Step Safari & Chrome Fix (2024 Verified — No More 'Blocked' Errors or Broken Logins)
 No-Sew Friendship Bracelets Tutorial
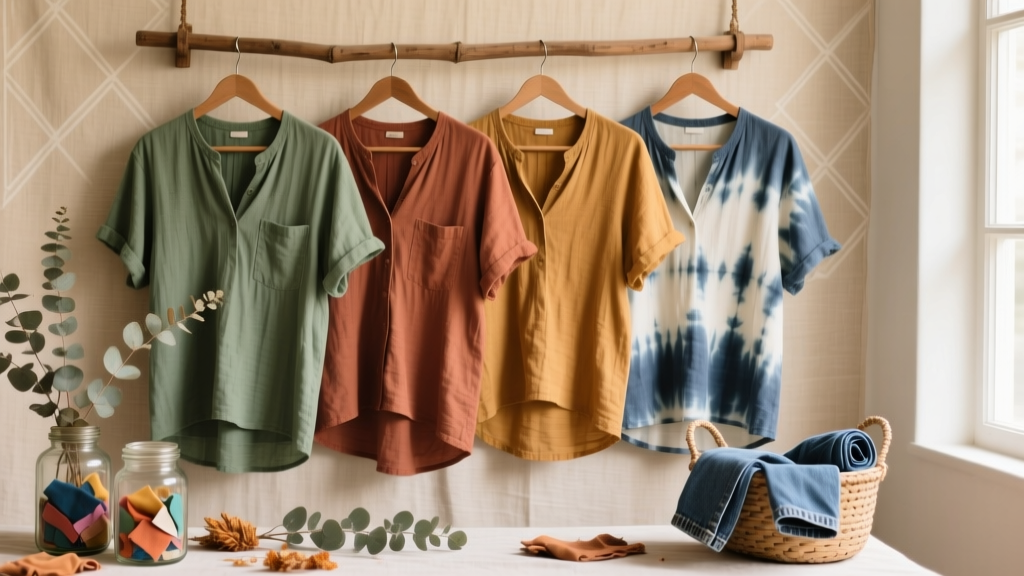 Rustic Tie-Dye Shirts Ideas
 How Do I Allow Third Party Cookies on My Mac? A Stress-Free, Step-by-Step Guide for Safari, Chrome & Firefox (2024 Tested)
 How to Make a Party Hat from Paper in Under 8 Minutes (No Glue Gun, No Scissors Required — Just 3 Sheets & a Stapler)
 DIY Confetti in 30 Minutes