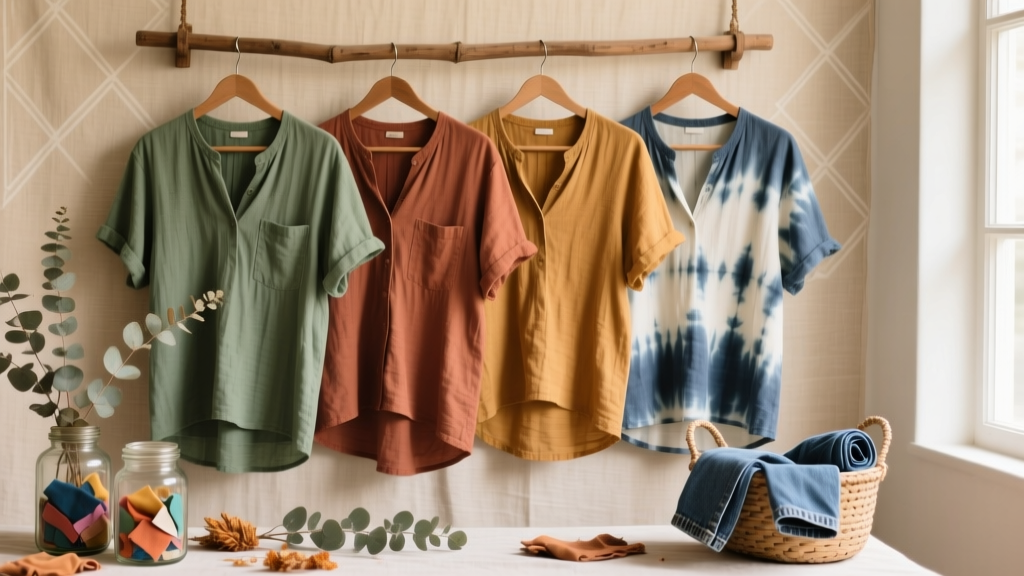
Rustic Tie-Dye Shirts Ideas
Rustic tie-dye shirts hit the sweet spot between “effortless and artsy” and “party-ready statement piece.” Instead of neon swirls, these designs lean into earthy colors, weathered textures, and vintage-inspired patterns that look right at home at backyard BBQs, camp-themed birthdays, fall festivals, bachelorette weekends in the woods, and cozy family reunions.
Even better: tie-dye is one of those DIY crafts that feels like an activity and a finished product all in one. You can set up a simple dye station as a party craft table, let guests make their own handmade shirts, and send everyone home with a wearable favor—no extra party decorations needed because the shirts become part of the vibe.
This guide walks you through rustic color palettes, beginner-friendly folds, advanced variations, and practical steps so your shirts come out warm, earthy, and intentionally “aged”—not muddy or blotchy.
Skill Level, Time Estimates, and Project Planning
- Skill level: Beginner to Intermediate (advanced variations included)
- Hands-on time per shirt: 20–35 minutes (folding + dyeing)
- Batch time for a party of 8–12: 1.5–2.5 hours with a helper
- Processing time (wait time): 8–24 hours (the longer end gives deeper, richer rustic tones)
- Rinse + wash time: 15–25 minutes per 3–4 shirts
Rustic Tie-Dye Color Palettes (That Don’t Scream Neon)
Rustic tie-dye looks best when you build color like you would a cozy room: neutrals first, then warm accents. Choose 2–4 colors for each shirt so the design stays intentional.
Palette Ideas
- Campfire Classic: tan + rust + charcoal
- Autumn Market: mustard + terracotta + olive
- Desert Sunset: sand + clay + warm brown
- Forest Hike: sage + moss + bark brown
- Vintage Barn: dusty blue + taupe + brick red
- Neutral Boho: oatmeal + cocoa + muted blush
Keyword-friendly tip: If you’re styling a party theme (camping birthday, rustic wedding weekend, fall baby shower), match the palette to your party decorations—table runners, kraft paper place cards, and dried florals pair beautifully with these tones.
Materials + Estimated Costs (Per 6 Shirts)
Costs vary by brand and region, but this gives a realistic budgeting range for DIY party projects.
- 100% cotton shirts (6): $18–$45
- Recommended: ring-spun cotton tees or heavyweight cotton for a vintage look
- Helpful colors: natural, sand, light gray, or white (natural gives an instant rustic base)
- Fiber-reactive dye powders (2–4 colors): $12–$28
- Look for “fiber-reactive dye” for cotton (better color payoff than all-purpose dyes)
- Rustic-friendly shades: camel/tan, terracotta, golden yellow, olive, navy, charcoal
- Soda ash (fixative): $5–$10
- Squeeze bottles (4–6): $6–$15
- Rubber bands + string: $3–$8
- Disposable gloves (nitrile): $4–$10
- Plastic tablecloth or painter’s plastic drop cloth: $2–$8
- Zip-top bags or plastic wrap (for processing): $3–$8
- Measuring tools: $0–$10
- Measuring cups/spoons, a small kitchen scale (optional but great for consistent batches)
- Optional but helpful:
- Wire rack + tray (keeps shirts from sitting in puddles): $6–$20
- Spray bottle (for misting water/dye): $2–$6
- Dust mask (when handling dye powder): $3–$8
Estimated total for 6 shirts: $53–$160 (depending on shirt quality and how many dye colors you buy). Dyes and bottles last for multiple events, so future batches are much cheaper.
Before You Start: Set Up a Simple Dye Station (Party-Friendly)
- Cover a table with plastic; tape down corners.
- Set out a “grab-and-go” kit per person:
- 1 shirt
- 3–6 rubber bands
- 1 pair of gloves
- Paper towels
- Zip-top bag labeled with their name
- Keep dye powders away from fans and food. Mix dyes in a separate area if possible.
Step-by-Step: Rustic Tie-Dye Shirts (Core Method)
Step 1: Pre-wash the Shirts
- Wash shirts in warm water with a small amount of detergent.
- Skip fabric softener (it can block dye absorption).
- Leave shirts damp for folding; damp fabric helps dye spread smoothly.
Step 2: Mix Soda Ash Soak
This step helps the dye bond to cotton for richer, longer-lasting color.
- Mixing ratio: 1 cup soda ash per 1 gallon (3.8 L) of warm water
- Soak time: 15–30 minutes
- Put on gloves.
- Soak shirts fully, then gently wring out until damp (not dripping).
Step 3: Choose a Rustic Pattern Fold
Pick one of these rustic-friendly folds (details in the next section). Secure with rubber bands or string.
Step 4: Mix Dye (Muted, Rustic Strength)
For earthy tones, you want solid saturation but not harsh contrast. Use slightly diluted dye and layer colors.
- Basic dye bottle: 1–2 teaspoons dye powder + 8–12 oz (240–355 ml) warm water
- Optional for deeper color: add 1 teaspoon urea (helps keep fabric damp during processing)
- Add a small amount of water to the bottle first.
- Add dye powder (avoid breathing dust; a dust mask helps).
- Fill with warm water, cap, and shake well.
- Label bottles by color (masking tape works great).
Step 5: Apply Dye (Layer for a Weathered Look)
- Place the folded shirt on a rack or tray.
- Start with your lightest color (tan, sand, oatmeal) as a base.
- Add mid-tones (mustard, olive, dusty blue) in sections.
- Finish with dark accents (brown, navy, charcoal) sparingly for depth.
- Flip and dye the other side to avoid white “surprises” unless you want negative space.
Measurement tip: A good starting point is 6–10 oz (180–300 ml) of total liquid dye per adult shirt, depending on how tightly it’s folded and how saturated you want it.
Step 6: Bag and Let It Process
- Carefully place the dyed shirt into a zip-top bag or wrap in plastic wrap.
- Let it sit at room temperature:
- Minimum: 8 hours
- Best rustic depth: 18–24 hours
Step 7: Rinse, Wash, and Dry
- Rinse in cold water first (still tied) until water runs less dark.
- Remove rubber bands and continue rinsing, gradually warming the water.
- Wash shirts in hot water with a small amount of detergent.
- Dry on medium heat or line dry for a more vintage finish.
Rustic Tie-Dye Pattern Ideas (With How-To)
1) “Campfire Ring” Spiral (Beginner-Friendly Rustic)
Look: A softer spiral with warm gradients instead of bright contrast.
- Lay the damp shirt flat.
- Pinch fabric at the center of the chest (or slightly off-center for a modern look).
- Twist into a disk about 8–10 inches wide.
- Band into 6 wedges.
- Dye wedges in this order: tan base on all wedges, rust on 2 wedges, mustard on 2 wedges, charcoal lightly along edges.
2) “Worn Plaid” Crumple (Fast, Great for Parties)
Look: Textured, stonewashed, rustic—perfect for a casual handmade party favor.
- Scrunch the shirt into a loose mound (about 10–12 inches across).
- Use 3–4 rubber bands to hold it together (not too tight).
- Apply tan all over, then mist olive and brown in patches.
- Add a tiny bit of charcoal in a few creases for depth.
3) “Barnwood Stripes” Accordion Fold (Intermediate)
Look: Weathered linear stripes like reclaimed wood.
- Fold the shirt vertically into 2–3 inch (5–7.5 cm) accordion pleats.
- Band every 2–3 inches along the folded bundle.
- Run dye along the ridges: tan base, then alternate dusty blue and brown, finishing with a light charcoal edge.
4) “Canyon Ombre” Dip + Tie (Beginner to Intermediate)
Look: A grounded fade that feels vintage and wearable.
- Fold the shirt in half lengthwise.
- Band lightly in 3 sections.
- Apply sand at the top, clay in the middle, and brown at the bottom.
- Blend transitions by misting with water where colors meet.
5) “Wildflower Speckle” Rustic Splatter (Advanced, Controlled Mess)
Look: Modern speckled dye with earthy confetti—great for boho party themes.
- Do a light crumple and secure with 2–3 bands.
- Dye a soft base (oatmeal or tan).
- Mix a small cup of stronger dye (extra 1/2 teaspoon powder in 4 oz/120 ml water).
- Use a stiff brush or toothbrush to flick tiny speckles of rust and olive over the surface.
Pro Tips for Rustic Results (Not Bright, Not Muddy)
- Start with “natural” cotton shirts for an instant warm undertone.
- Use one dark color as an accent (charcoal or deep brown). Too much dark makes everything look gray.
- Leave a little negative space (small undyed areas) so patterns don’t turn into one flat color.
- Mist blends with water instead of adding more dye. This softens transitions and keeps the look vintage.
- Keep folds medium-tight for rustic texture. Super-tight folds create sharp, high-contrast lines that can feel less “aged.”
- Warm processing helps: if your room is cool, place bagged shirts in a closed plastic bin with a towel (warmer environment = stronger reaction).
Variations for Party Themes (Easy + Advanced)
Beginner-Friendly Party Adaptations
- Team/Family Reunion Sets: keep every shirt the same fold (crumple) but let people choose 1 accent color (rust or olive) for variety.
- Kids’ Craft Table Version: pre-fold and band the shirts; kids only apply 2 colors. Use aprons and supervise closely.
- Rustic Party Decor Add-On: dye extra fabric scraps or bandanas in matching colors to use as:
- napkin wraps
- mini bunting
- gift bag ties
Advanced Variations (For Serious DIY Enthusiasts)
- Ice dye (rustic gold mine): place folded shirt on a rack, cover with ice, sprinkle dye powder lightly, and let it melt through. Results are beautifully weathered.
- Reverse dye on darker shirts: remove color with a color remover (or diluted bleach technique) first, then over-dye with earthy tones.
- Wax-resist touches: use a washable resist gel for fine lines, then dye for a handcrafted artisan look.
Troubleshooting: What to Do When Things Go Sideways
- Problem: Colors look dull.
- Fix: Process longer (18–24 hours), keep warmer, and make sure you used soda ash.
- Next time: Use fresh dye and warmer water in bottles.
- Problem: Shirt has lots of unexpected white patches.
- Fix: Re-dye just the pale areas (spot application), then re-bag for 8–12 hours.
- Next time: Flip and dye both sides; apply a bit more liquid to thick folds.
- Problem: Everything turned brown/gray (muddy).
- Fix: Over-dye with a single unifying color like tan or dusty blue to “reset” the look.
- Next time: Limit to 2–3 colors and avoid mixing complementary opposites heavily (for example, strong green + strong red can brown out fast).
- Problem: Dye bled everywhere (no pattern).
- Fix: Lean into it—call it “stonewashed.” Add a few controlled darker accents for dimension.
- Next time: Tighten bands slightly and use less liquid per section.
Common Crafting Mistakes to Avoid
- Skipping the pre-wash: factory sizing can repel dye and cause uneven patches.
- Using fabric blends unknowingly: polyester-heavy shirts won’t take dye well. Aim for 100% cotton (or at least 90% cotton).
- Overusing black dye: black can overpower rustic palettes. Use charcoal sparingly for shadow.
- Not labeling bags: at parties, unmarked shirts become a comedy of errors—label every bag with a name.
- Rinsing too soon: cracking open a shirt early is tempting, but under-processing leads to faded results after washing.
- Washing dyed shirts with regular laundry immediately: do 1–2 solo washes first to avoid transferring dye.
FAQ: Rustic Tie-Dye Shirts
1) What makes tie-dye look “rustic” instead of bright?
Rustic tie-dye uses earthy, muted colors (tan, rust, olive, dusty blue) and softer transitions. Crumple folds, ombre fades, and light speckling create a weathered, vintage feel.
2) Do I have to use soda ash?
For cotton and fiber-reactive dyes, soda ash makes a big difference in color strength and wash-fastness. If you skip it, the shirt may look fine at first but fade faster after laundering.
3) How do I keep the colors from turning muddy?
Limit your palette to 2–4 colors, use one dark color as an accent, and add water misting for blends instead of piling on more dye. Leaving some negative space also keeps designs crisp and intentional.
4) Can we do this as a party activity without making a huge mess?
Yes. Pre-soak and pre-fold shirts ahead of time, cover tables with plastic, set each guest up with a labeled bag, and keep a “gloves only” dye zone. Crumple dye is the fastest, least fussy group option.
5) What’s the best shirt color to start with for a rustic look?
Natural/off-white cotton is the easiest way to get warm, rustic tones. White works too, but colors can look brighter—use diluted dye and earthy shades to keep it grounded.
6) How should I wash and care for the finished shirts?
Wash separately the first 1–2 washes (warm or hot), then wash with similar colors. Turn shirts inside out to reduce fading and keep that handcrafted look longer.
Make One Shirt First… Then Make a Whole Set
Rustic tie-dye shirts are the kind of DIY craft that feels relaxing, creative, and genuinely useful—especially when you turn them into party favors, matching family sets, or a wearable part of your party theme. Start with one simple crumple or ombre, learn how your colors behave, and you’ll be ready to batch-make a full lineup for your next get-together.
Want more DIY crafts, party decorations, and handmade project ideas? Keep exploring fresh, practical inspiration here at smartpartyprep.com.
More Articles
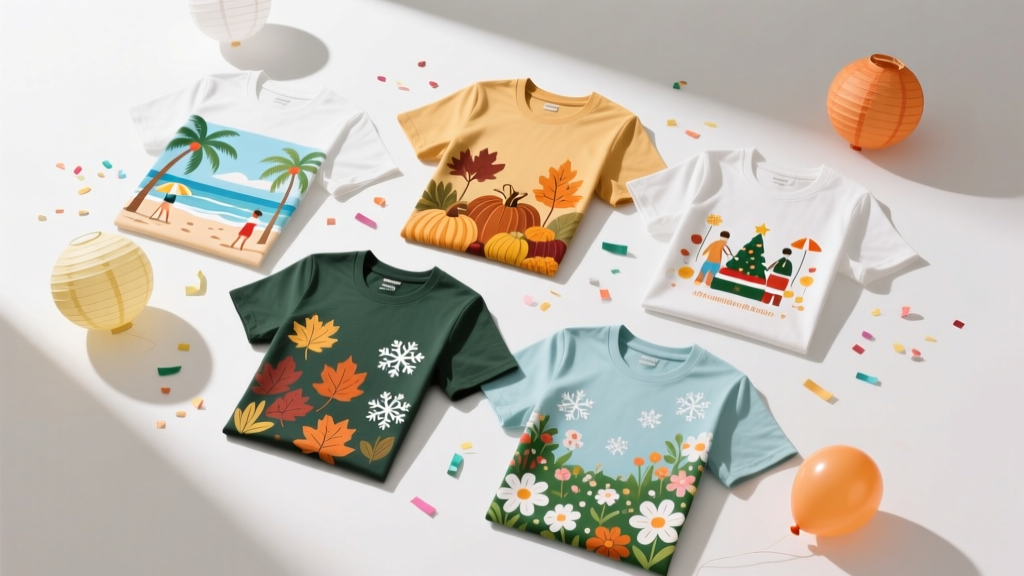 Seasonal T-Shirts Ideas
 How to Enable Third Party Cookies on iPad in 2024: A Step-by-Step Guide That Actually Works (No More 'Blocked' Errors or Broken Logins)
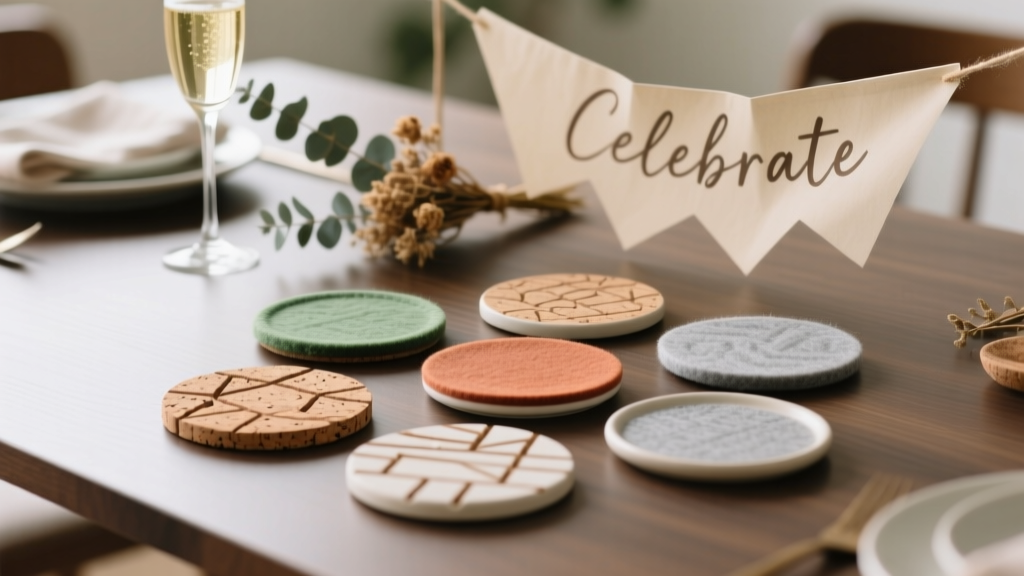 Budget DIY Coasters Under $15
 DIY Balloon Arches for Anniversaries
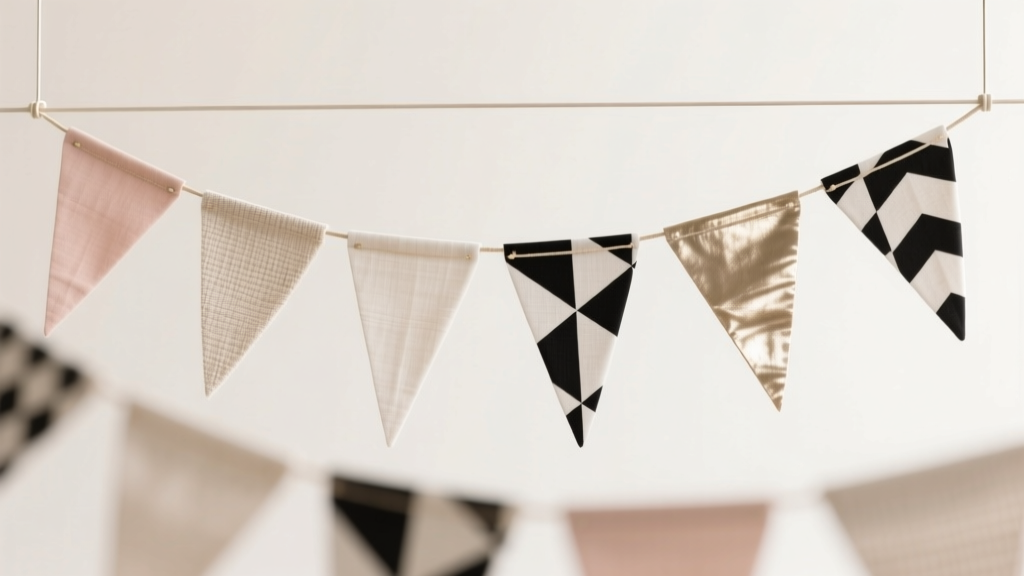 Modern Fabric Bunting Designs
 Rustic Invitations Ideas (That You Can DIY at Home)
 Budget DIY Slime Under $50
 How to Make Mini Party Hats in Under 12 Minutes (No Glue Gun, No Scissors Required) — 7 Foolproof Methods That Actually Hold Their Shape
 How to Enable Third Party Cookies on iPad Chrome (2024 Guide): Why It’s Not Possible — And What You *Can* Actually Do Instead to Restore Login & Tracking Functionality
 Personalized Clay Ornaments Gifts