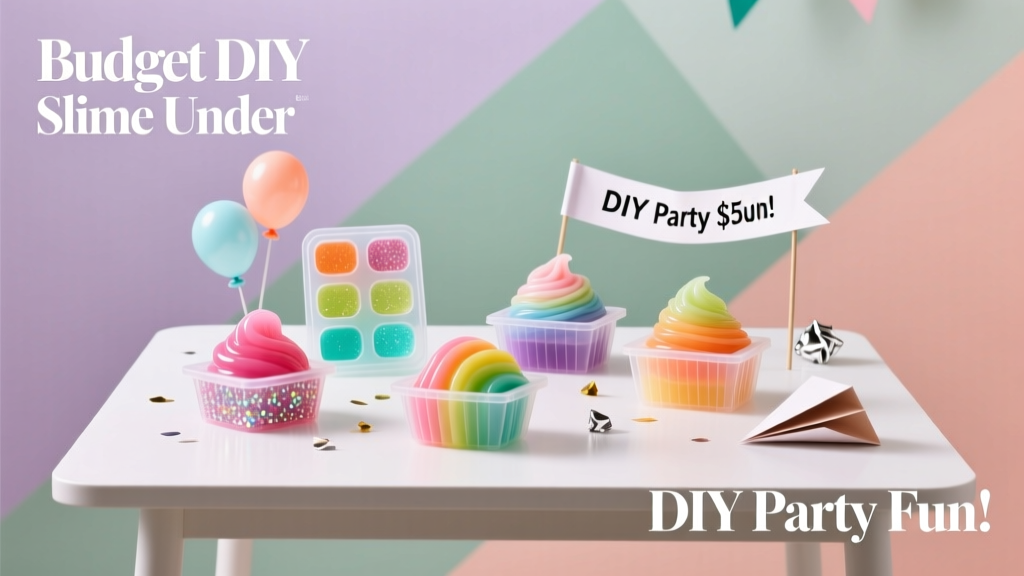
Budget DIY Slime Under $50
If you’re planning a party and want an activity that doubles as a take-home favor, DIY slime checks every box: it’s hands-on, hilarious, customizable, and surprisingly calming once the giggles settle. Kids love the sensory play, teens love the trendy textures and colors, and adults secretly love perfecting the “stretch and swirl.” Best of all, you can make a full slime bar setup for under $50—enough to entertain a small crowd and send everyone home with a handmade party souvenir.
This guide is designed for crafters and DIY enthusiasts who want a practical, step-by-step slime plan that works for birthdays, sleepovers, classroom celebrations, and family gatherings. You’ll get a budget-friendly shopping list, clear measurements, simple recipes, and party-ready tips for keeping mess under control—plus advanced add-ins for that extra “wow” factor.
Skill level: Beginner-friendly (with advanced variations included)
Active time: 30–60 minutes (plus 10 minutes setup/cleanup)
Yield: About 10–14 small party slimes (2–4 oz each), depending on container size
Why DIY Slime Makes a Perfect Party Project
- Budget-friendly entertainment: Supplies are inexpensive, especially when purchased in multi-packs.
- Built-in party activity: Guests stay engaged while they mix, color, and decorate their slime.
- Handmade party favors: Each guest leaves with a personalized slime in a labeled container.
- Endless themes: Mermaid, galaxy, neon, pastel, glow-in-the-dark, holiday, sports—slime adapts to any party décor.
- Photo-worthy setup: A “slime bar” table looks like an intentional DIY party decoration, not a last-minute craft.
Budget Materials List (Under $50) + Estimated Costs
Costs vary by location and store, but this list is designed to keep you comfortably under $50 while still making a party-worthy batch.
Core Ingredients
- White school glue (1 gallon) – $12–$18
- Contact lens solution with boric acid or borate (2-pack) – $6–$10
- Baking soda (1 box) – $1–$2
- Foaming hand soap (optional for fluffier texture) – $2–$4
Color + Add-ins (Pick a Few)
- Food coloring or liquid watercolor (basic set) – $3–$8
- Glitter (assorted pack) – $4–$7
- Foam beads (for “crunchy” slime) – $5–$8
- Confetti sprinkles (craft, not edible) – $3–$6
- Glow pigment or glow glue (optional) – $5–$10
Tools + Party Prep Supplies
- Disposable mixing bowls or plastic bowls (10–20 count) – $3–$6
- Measuring spoons (1 tbsp, 1 tsp) – $1–$5 (if not already owned)
- Plastic spatulas or craft sticks (multi-pack) – $2–$5
- 2–4 oz lidded containers (10–14 pack) – $6–$12
- Plastic tablecloth and/or butcher paper for table covering – $2–$5
- Labels or masking tape + marker – $1–$4
Estimated total: $35–$50 depending on add-ins and container choice.
Recommended Setup for a “Slime Bar” Party Table
A slime bar turns a simple craft into a party centerpiece. It also keeps ingredients organized (and limits chaos).
- Cover the table with a plastic tablecloth, then add a layer of butcher paper on top for easier cleanup.
- Set out stations:
- Glue station (pre-poured is ideal)
- Activator station (lens solution + baking soda)
- Color station (droppers or toothpicks for controlled color)
- Add-in station (glitter, beads, confetti)
- Container + labeling station
- Tool recommendation: Provide one spatula/craft stick per guest to avoid color mixing and sharing mess.
- Décor tip: Use small clear jars or cups for add-ins and scatter a few matching party decorations (balloons or a themed banner) behind the slime bar for photos.
DIY Slime Recipe #1: Classic Glossy Party Slime (Most Reliable)
This is the go-to slime recipe for parties: simple, stretchy, and consistent once you get the activator ratio right.
Measurements (Per Guest Batch)
- Glue: 1/2 cup (120 ml) white school glue
- Water: 1 tablespoon (15 ml) for a softer stretch (optional)
- Baking soda: 1/2 teaspoon
- Contact lens solution: 1–2 tablespoons (add slowly)
- Color/add-ins: a few drops of coloring + 1/2–1 teaspoon glitter or add-ins
Step-by-Step Instructions
- Prep your bowl. Add 1/2 cup glue to a mixing bowl. Stir in 1 tablespoon water if you want extra stretch.
- Add color. Add 1–3 drops of food coloring. Mix thoroughly before activating so the color blends evenly.
- Mix in baking soda. Sprinkle in 1/2 teaspoon baking soda and stir until fully combined. This helps the slime firm up and reduces stickiness later.
- Activate slowly. Add 1 tablespoon contact lens solution and stir. The mixture will start clumping. If it’s still very sticky, add lens solution 1/2 teaspoon at a time.
- Knead to finish. When it pulls away from the bowl, pick it up and knead with clean hands for 1–2 minutes. If it’s sticky, add a few drops more solution and knead again.
- Add the fun stuff. Gently fold in glitter, beads, or confetti. For foam beads, start with 1 tablespoon and add more for crunch.
- Store and label. Place in a lidded container. Label with the guest’s name and slime “flavor” (example: “Galaxy Sparkle”).
DIY Slime Recipe #2: Fluffy Slime (Great for Younger Kids)
Fluffy slime feels like a soft cloud and looks adorable in party photos. It’s a bit less stretchy than glossy slime, but it’s very forgiving and fun to mix.
Measurements (Per Guest Batch)
- Glue: 1/2 cup (120 ml) white school glue
- Foaming hand soap: 1 tablespoon
- Shaving cream: 1–2 cups (add until fluffy)
- Baking soda: 1/2 teaspoon
- Contact lens solution: 1–2 tablespoons (add slowly)
Step-by-Step Instructions
- Combine glue + soap. Stir 1/2 cup glue with 1 tablespoon foaming hand soap for extra softness.
- Add shaving cream. Fold in 1 cup shaving cream. Add more for a bigger, fluffier slime.
- Color it. Add coloring (go light—colors intensify as you mix).
- Stir in baking soda. Mix in 1/2 teaspoon.
- Activate. Add lens solution slowly while stirring. When it begins to form, knead. Stop adding activator once it’s no longer sticky.
- Pack it up. Store in containers right away; fluffy slime can shrink if left uncovered.
Pro Tips for Party-Perfect Slime
- Pre-portion glue for speed: Before guests arrive, pour glue into bowls (1/2 cup each). This prevents “oops I used half the gallon” moments.
- Use droppers or toothpicks for dye: Less mess and fewer stained hands.
- Make an activator helper: Put lens solution in a small squeeze bottle and label it “ACTIVATOR.” Adults can control the pour for younger kids.
- Keep hands clean between colors: Provide baby wipes or a damp paper towel stack so colors stay bright instead of muddy.
- Choose add-ins that match your party décor: Confetti shapes, glitter blends, or foam beads in theme colors can tie the craft to your party decorations.
Creative Variations (Beginner-Friendly + Advanced)
Beginner-Friendly Themes
- Mermaid Slime: Teal + purple coloring, iridescent glitter, a few pearl beads.
- Galaxy Slime: Split one batch into 3 mini colors (navy, purple, black), then swirl together with silver glitter.
- Pastel Party Slime: Use one tiny drop of color, mix well, add confetti sprinkles.
- Holiday Slime: Red/green with star confetti; orange/black with chunky glitter.
Advanced Variations (For Confident Crafters)
- Two-texture “Combo” Slime: Make half glossy slime and half bead slime, then twist together for a textured swirl.
- Butter-style feel (without clay): Mix a small amount of foaming soap and extra kneading time for a smoother, spreadable texture (not true butter slime, but a fun party-friendly alternative).
- Layered jar slime: Press two colors into the container in layers. Guests can “mix” it later for a surprise effect.
Troubleshooting: Fix Common Slime Problems Fast
- Too sticky: Add 3–5 drops of lens solution, knead 30 seconds, repeat as needed. Don’t dump in a full tablespoon at once.
- Too rubbery or rips easily: You added too much activator. Work in 1 teaspoon warm water or 1 teaspoon glue and knead until softer.
- Slime won’t form (stays gluey): Check your lens solution label—ensure it contains boric acid or sodium borate. Add a pinch more baking soda and try again.
- Cloudy slime: Over-stirring can create bubbles. Let it rest in the container for a few hours.
- Beads falling out: The base is too wet. Knead a tiny bit more activator into the slime before adding more beads.
Common Crafting Mistakes to Avoid
- Pouring activator too quickly: This is the fastest way to get stiff, over-activated slime. Add slowly and knead between additions.
- Skipping measurements at a party: “Eyeballing it” can work at home, but for a group it usually leads to inconsistent results. Use measuring spoons.
- Using the wrong contact solution: Not all brands work. Look for boric acid or borate on the ingredient list.
- Adding chunky add-ins too early: Mix the base first, then fold in beads/confetti so the slime forms properly.
- No containers ready: Slime dries out fast. Have lidded containers set out before guests begin mixing.
- Forgetting cleanup planning: Cover the table, set up a trash bag nearby, and keep wipes handy. The party feels smoother when cleanup is part of the plan.
FAQ: Budget DIY Slime for Parties
1) How many slimes can I make with a gallon of glue?
A gallon is about 16 cups. Using 1/2 cup per slime, you can make roughly 32 small batches. For a party, you’ll likely make fewer but add bigger portions or multiple colors.
2) What containers work best for slime party favors?
2–4 oz plastic jars with screw-top lids are ideal. They stack well, don’t leak easily, and look cute on a favor table with labels.
3) Is this slime safe for kids?
Slime is a supervised craft. Use non-toxic glue and keep ingredients away from mouths and eyes. Encourage hand washing afterward and avoid slime for very young children who might taste it.
4) How long will homemade slime last?
Stored in an airtight container, slime typically lasts 1–2 weeks, sometimes longer. If it dries out, knead in a few drops of warm water. If it gets sticky, add a few drops of lens solution.
5) Can I make slime ahead of time for a party?
Yes. Make slime 1–3 days ahead, store airtight, and set up a slime bar where guests decorate with add-ins (glitter, beads, confetti) so they still get the hands-on experience.
6) How do I keep slime from sticking to the table at a party?
Use a plastic tablecloth and provide each guest a disposable placemat (wax paper, cardstock, or a paper plate). Also remind guests to keep slime in hands/bowls until it’s fully activated and kneaded.
Ready to Make Your Own Budget Slime Bar?
With a gallon of glue, a few smart add-ins, and an easy setup, you can create a colorful DIY slime station that feels like a polished party activity—without blowing your budget. Pick a theme that matches your party decorations, set out labeled containers, and let guests craft a handmade favor they’ll actually be excited to take home.
Want more party-ready DIY crafts, handmade decorations, and creative project ideas? Explore more on smartpartyprep.com and keep the celebration wonderfully homemade.
More Articles
 Advanced Soap Bars for Crafters
 Advanced Invitations for Crafters
 DIY Greeting Cards in 5 Minutes
 Budget DIY Coasters Under $50
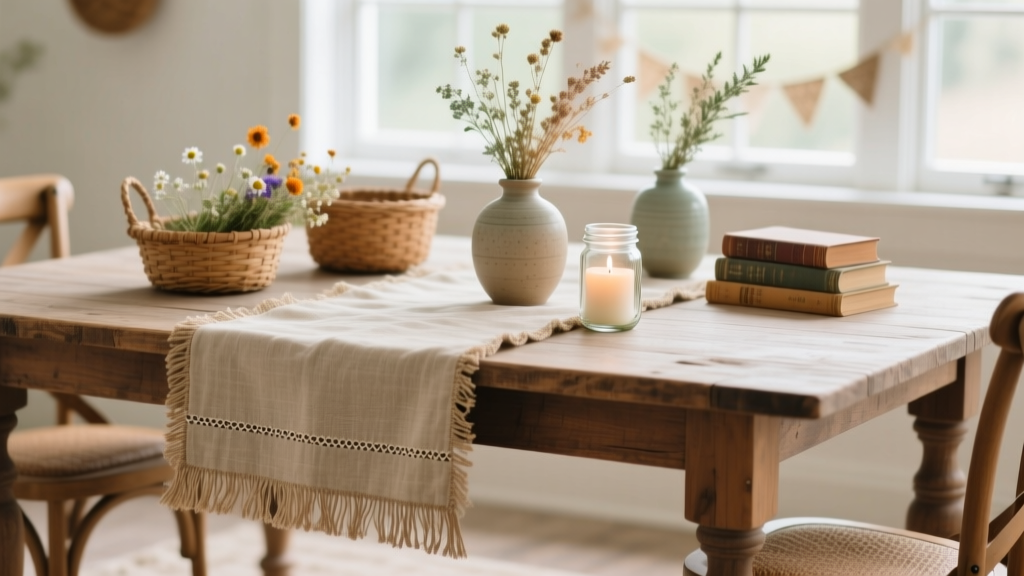 Rustic Table Runners Ideas (DIY Projects for Parties, Showers, and Cozy Gatherings)
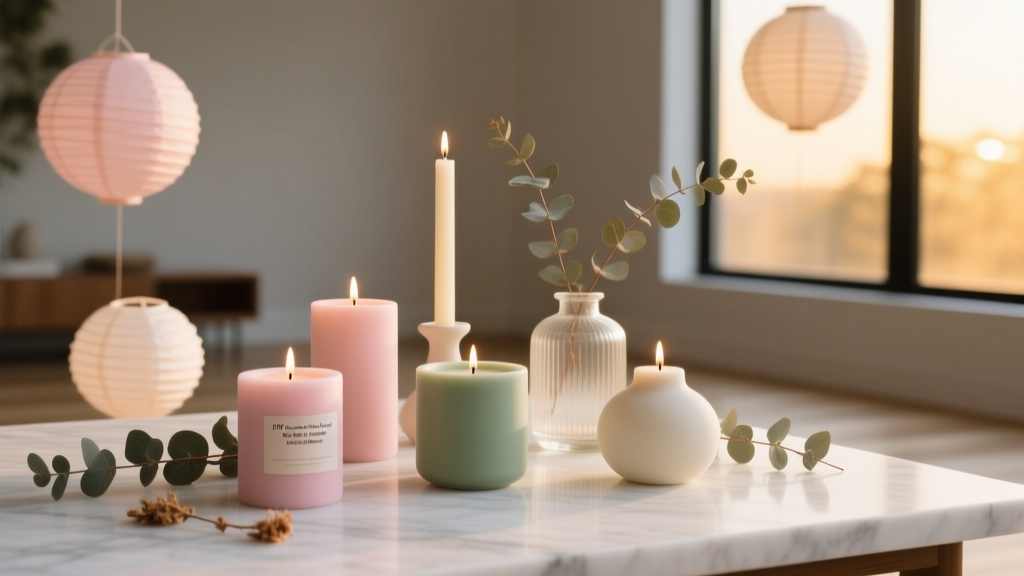 DIY Candles for Home Decor
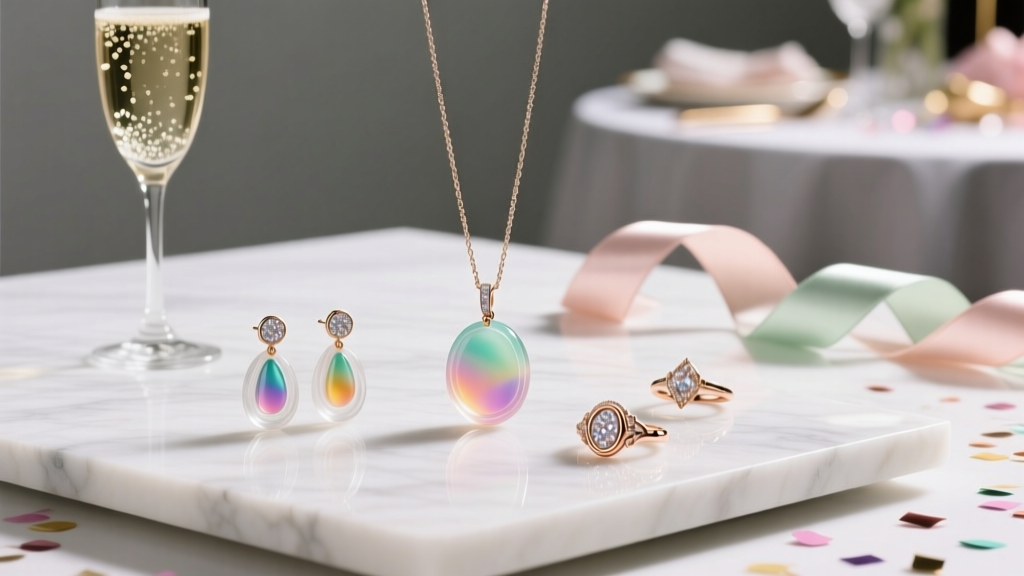 Advanced Resin Jewelry for Crafters
 Personalized Backdrops Gifts
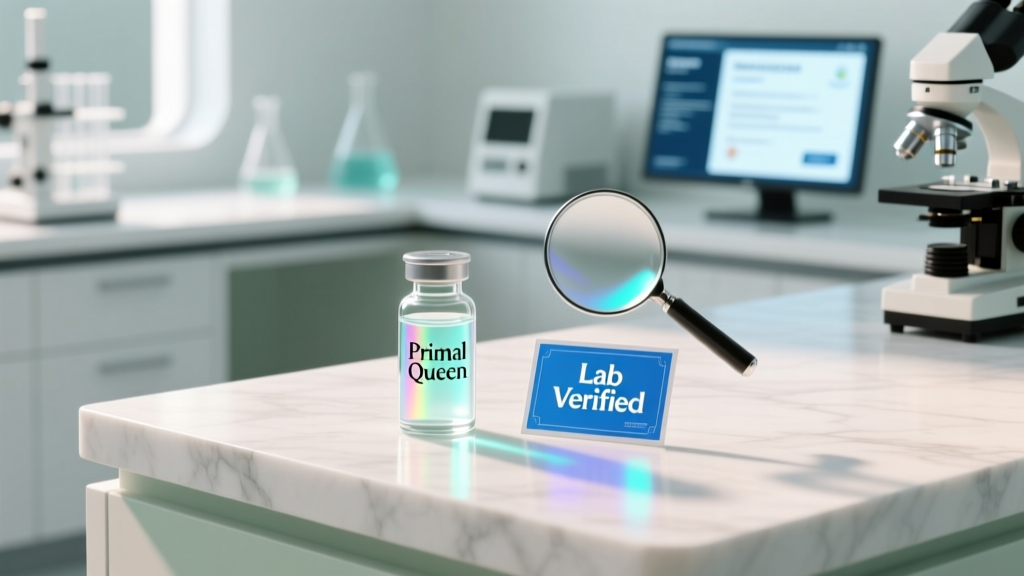 Is Primal Queen Third Party Tested? The Truth About Lab Verification, What ‘Certified’ Really Means, and How to Spot Genuinely Transparent Brands (Not Just Marketing Claims)
 DIY Resin Jewelry Using Cricut