
DIY Resin Jewelry Using Cricut
Resin jewelry is one of those crafty projects that feels a little bit magical—pour a liquid, add color and sparkle, and a few hours later you’re holding glossy, custom pieces that look boutique-level. Pair that with a Cricut machine, and you can create crisp shapes, clean patterns, and personalized details (names, dates, party themes) that are hard to achieve by hand.
This project is especially fun for party prep: think bridesmaid gifts, birthday party favors, matching “crew” earrings for a bachelorette weekend, or a table of DIY resin charms guests can choose from. It’s also a clever way to make coordinated handmade decorations—mini resin tags for place settings, drink markers, or gift toppers that match your party’s color palette.
If you’re new to resin, don’t worry. You can start with simple molds and easy Cricut cutouts, then level up to layered designs, shaker charms, and photo-resin keepsakes. This guide walks you through both beginner-friendly steps and advanced variations, with practical tips to help you avoid sticky disasters and wasted supplies.
Project Overview: Skill Level, Time, and What You’ll Make
- Skill level: Beginner to Intermediate (advanced options included)
- Total time: 30–60 minutes active time + curing time
- Cure time: Typically 8–24 hours (varies by resin type)
- Best for: Party favors, handmade gifts, bridal shower crafts, birthday accessories, themed jewelry, and coordinated party decorations
- Typical output: 4–12 pieces per session depending on mold size and resin quantity
How Cricut Helps With Resin Jewelry
Your Cricut can boost resin jewelry in three big ways:
- Custom inserts: Cut vinyl decals, cardstock shapes, faux leather, or printable stickers to embed in resin.
- Clean labels & personalization: Add names, monograms, dates, and party phrases to charms and earrings.
- Stencils & masks: Create vinyl masks for crisp paint or alcohol ink patterns on cured resin.
Materials & Tools (With Estimated Costs)
Resin Essentials
- Epoxy resin kit (1:1 mixing ratio) – 16 oz to 32 oz total kit: $20–$45
Look for “low odor,” “non-yellowing,” and “1:1 by volume” beginner-friendly formulas. - Silicone jewelry molds (earrings, pendants, circles, arches): $8–$18
- Mixing cups (graduated) and stir sticks: $6–$12
- Nitrile gloves and protective apron: $8–$18
- Silicone mat or freezer paper to protect your surface: $8–$15
Cricut + Cutting Supplies
- Cricut machine (Explore Air 2 / Explore 3 / Maker): already owned or $180–$400
- Permanent vinyl (for decals) or removable vinyl (for stencils): $8–$15
- Transfer tape: $6–$12
- StandardGrip mat and fine-point blade: typically on hand; replacements $10–$25
- Weeding tools: $8–$15
Color, Sparkle, and Add-Ins
- Mica powders (multi-pack): $10–$20
- Alcohol inks (optional): $10–$25
- Fine glitter (resin-safe): $5–$12
- Dried flowers or confetti sprinkles: $6–$15
Jewelry Findings & Finishing
- Earring hooks/posts, jump rings, eye pins: $8–$15
- Small hand drill (pin vise) or Dremel for holes: $10–$35
- Jewelry pliers set (round nose + chain nose): $12–$25
- Sandpaper (400/800/1200 grit) or sanding pads: $6–$12
- Heat tool or small kitchen torch (for bubbles): $15–$25
Optional but Helpful
- Resin pigment paste (more opaque than ink): $10–$18
- UV resin for quick sealing small areas: $10–$20
- Leveling mat or small bubble level: $3–$10
- Dust cover (plastic bin or box): free–$10
Safety Setup (Quick but Non-Negotiable)
- Work in a well-ventilated area (open window + fan is a great start).
- Wear nitrile gloves (latex can break down with some resins).
- Protect your table with a silicone mat or freezer paper.
- Keep resin away from food surfaces and pets.
- Read your resin’s label for cure time and mix ratio.
Step-by-Step: DIY Resin Jewelry Using Cricut
Step 1: Choose a Party Theme and Design Your Pieces (10–20 minutes)
Start with the event: baby shower, birthday party, wedding, graduation, holiday party. Then pick shapes and colors that match.
- Great party-favor shapes: hearts, stars, arches, circles, mini tags
- Popular party color palettes:
- Bridal shower: blush + gold + pearl
- Birthday party: bright rainbow glitter or neon confetti
- Halloween: black + orange with tiny bat cutouts
- Winter party: icy blue + silver flakes
Cricut Design Space tip: Keep tiny details simple. For resin inserts, aim for shapes at least 0.25 in (6 mm) wide so they cut and weed cleanly.
Step 2: Cut Your Cricut Inserts (10–25 minutes)
You have three beginner-friendly options:
- Vinyl decals (best for crisp lettering): Cut names, monograms, or small icons.
- Cardstock inserts (easy + cute): Cut party shapes (balloons, bows, stars) to embed.
- Vinyl stencils (best for painting on cured resin): Cut a stencil to mask areas for metallic paint.
Recommended vinyl types:
- Use permanent vinyl for decals that will stay sealed under resin.
- Use removable vinyl for stencils you’ll peel off later.
Measurement guide: For standard earring molds, cut decals around 0.5–1.0 in wide. For pendant molds, 1.0–1.5 in works well.
Step 3: Prep Your Molds (5 minutes)
- Make sure molds are clean and dry. Dust becomes permanent in resin.
- Place molds on a perfectly level surface (use a bubble level if you have one).
- Set up a simple dust cover (an upside-down plastic bin works great).
Step 4: Mix Resin Correctly (8–12 minutes)
Most beginner epoxy kits mix 1:1 by volume (Part A resin + Part B hardener). Always confirm your specific brand.
- Pour equal amounts of Part A and Part B into a graduated cup.
- Stir slowly for 3 minutes, scraping sides and bottom.
- Transfer to a second clean cup (this “double-cup method” reduces sticky spots).
- Stir again for 1 minute.
Batch size suggestion: Start with 1–2 oz total for a small mold set. Smaller batches are easier to manage and less stressful if you’re learning.
Step 5: Add Color and Sparkle (2–5 minutes)
- Mica powder: Start with 1/16 tsp per 1 oz of mixed resin; add more for stronger color.
- Alcohol ink: Add 1–2 drops at a time. Too much can affect curing.
- Glitter: Use fine glitter for smooth results; chunky glitter can sink or create bumps.
Step 6: Pour a Base Layer (5–10 minutes)
For embedded Cricut pieces, a layered pour gives the cleanest look.
- Pour resin to fill the mold about 1/3 of the way.
- Use a toothpick to guide resin into corners.
- Pop bubbles with a heat tool held 6–8 inches away for a few seconds.
Step 7: Add Cricut Cutouts and Decor (5–10 minutes)
Now place your Cricut elements:
- For vinyl decals: Place the decal (sticky side down) onto the semi-filled resin layer. Press gently with tweezers.
- For cardstock: Seal it first with a thin coat of resin (or clear-drying glue) to reduce bubbles and darkening.
- For dried flowers/confetti: Place sparingly and keep pieces away from the mold edge for a clean border.
Beginner trick: Let the base layer sit for 10–20 minutes (until it thickens slightly) before placing inserts. This helps prevent floating or sinking.
Step 8: Top Off the Mold and Remove Bubbles (5–10 minutes)
- Pour the final resin layer until the mold is nearly full, leaving about 1 mm at the top to prevent overflow.
- Pop bubbles again with brief heat.
- Cover with your dust cover.
Step 9: Cure, Demold, and Finish (Next day: 20–40 minutes active)
- Let resin cure for the time recommended (often 12–24 hours).
- Demold gently by flexing the silicone mold.
- If edges are sharp or uneven, sand with 400 grit, then 800, then 1200 for a smooth finish.
- Drill holes if needed:
- Use a 1 mm to 2 mm drill bit for most jump rings.
- Drill slowly to avoid cracking.
- Attach findings with pliers (jump rings, earring hooks, necklace bails).
Pro Tips for Cleaner Results
- Warm your resin bottles in a bowl of warm water for 5–10 minutes before mixing (caps closed). Warmer resin mixes with fewer bubbles.
- Use the double-cup method to avoid sticky “uncured” patches.
- Less pigment is more. Too much colorant can cause soft or tacky resin.
- Make a party set. Batch-produce 6–10 matching pairs for bridesmaids or party favors.
- Keep a theme bin. Store leftover confetti, vinyl icons, and color notes by party theme for quick future projects.
Creative Variations (Beginner to Advanced)
Beginner-Friendly Variations
- Single-color swirl: Two mica colors, gently swirled with a toothpick.
- Name initial charms: Cricut-cut initials embedded in clear resin.
- Confetti party studs: Tiny confetti sprinkled into small circle molds.
Intermediate Variations
- Layered decals: Place one vinyl decal, cure, then add a second layer for depth.
- Gold leaf flakes: Add flakes to a clear base for a glam party look.
- Matching place cards: Use the same Cricut design to create mini resin tags for napkin rings or favor bags.
Advanced Variations
- Shaker charms: Create a hollow center with a second mold layer; fill with micro beads or glitter and seal.
- Photo jewelry: Print tiny photos, seal them, then embed for keepsake party gifts.
- Glow-in-the-dark resin: Use glow powder for nighttime parties or Halloween themes.
Troubleshooting: Fixes for Common Resin Issues
- Sticky or tacky pieces: Usually incorrect ratio or under-mixing. Let it cure longer (up to 48 hours). If still tacky, you can sometimes seal with a thin layer of correctly mixed resin on top.
- Bubbles around vinyl or paper: Press inserts gently into resin; use a toothpick to coax bubbles out. Warm resin and slower stirring also help.
- Cloudy resin: Moisture or over-heating. Keep tools dry and avoid excessive heat blasts.
- Glitter sinking: Wait until resin thickens slightly (10–20 minutes) before adding glitter, or use finer glitter.
- Decal lifting or shifting: Let the base layer gel a bit before placing decals; use tweezers for precise placement.
Common Crafting Mistakes to Avoid
- Guessing measurements: Always measure resin parts accurately (especially with 1:1 kits).
- Stirring too fast: Fast stirring adds bubbles you’ll fight later.
- Skipping surface leveling: A slightly tilted table creates lopsided jewelry.
- Overloading with pigment: Too much mica/ink can prevent a full cure.
- Unsealed paper inserts: Cardstock can darken or release bubbles if not sealed.
- Demolding too early: If resin feels flexible, give it more time to harden before sanding or drilling.
FAQ: DIY Resin Jewelry Using Cricut
1) Can I use removable vinyl inside resin?
You can, but permanent vinyl generally stays adhered better. If you’re embedding vinyl inside resin, permanent vinyl is the safer choice. Removable vinyl is excellent for stencils you plan to peel off after painting.
2) What resin is best for beginners?
A 1:1 epoxy resin labeled low odor and non-yellowing is the easiest to start with. Choose a kit with clear instructions and a cure time that fits your schedule (many are demold-ready in 12–24 hours).
3) How do I keep my Cricut cutouts from floating?
Pour a base layer first, wait 10–20 minutes for it to thicken slightly, then place your cutouts. You can also add a tiny drop of resin under the insert like “glue” to anchor it.
4) Can I make these as party favors for guests to take home the same day?
Yes, with planning. Use faster-curing resin (check labels) or make pieces 1–2 days ahead. If you want a same-day activity, set up a “design station” where guests pick colors and decals, then you pour and cure the pieces overnight for later pickup or mailing.
5) Do I need a special sealant over the finished resin?
Usually no—properly cured epoxy resin cures glossy. If you sand the top and want shine back, you can add a thin “top coat” layer of resin or use a resin polish.
6) What Cricut materials work best to embed in resin?
Permanent vinyl decals, thin faux leather shapes, and sealed cardstock inserts work well. Avoid anything porous or damp. If using paper, sealing it first dramatically improves results.
Wrap-Up: Make a Matching Set for Your Next Party
DIY resin jewelry using a Cricut is a creative sweet spot: you get the glossy, professional look of resin plus the precision and personalization of machine-cut designs. Whether you’re crafting birthday earrings, bridal shower favors, or matching charms that double as party decorations, these pieces add a handmade touch that guests remember.
Pick one simple mold, choose two party colors, and try a small batch first. Once you see that first demolded piece shine, you’ll have a hard time stopping—and that’s the fun of it.
Want more party-ready DIY crafts, handmade decorations, and creative project ideas? Explore more tutorials and inspiration on smartpartyprep.com.
More Articles
 How Do You Enable 3rd Party Cookies in 2024? (Spoiler: It’s Not Just One Click — Here’s Exactly What Changes in Chrome, Safari, Edge & Firefox)
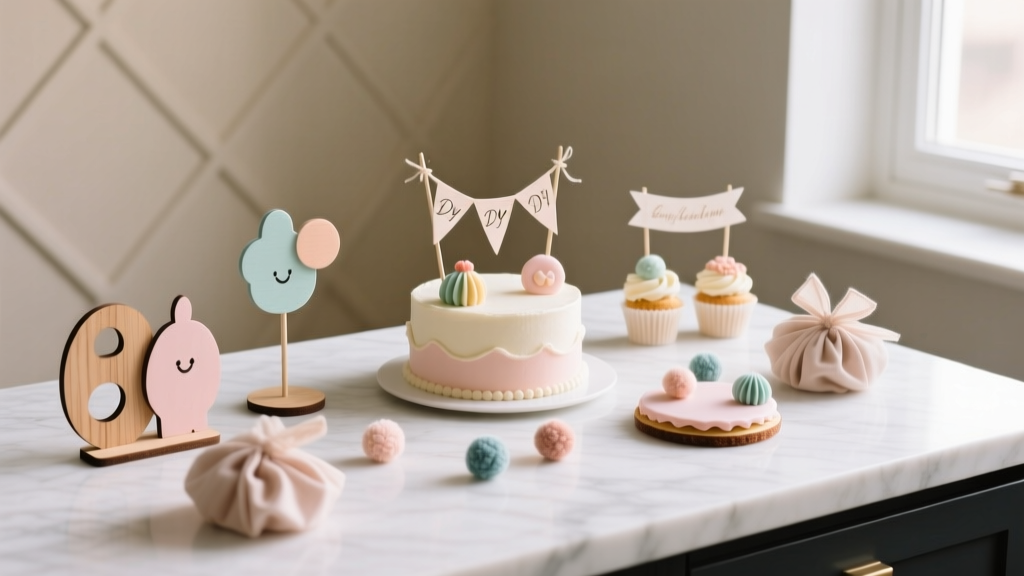 DIY Cake Toppers Party Favors
 How to Make Party Hats Out of Construction Paper in Under 12 Minutes (No Glue Gun, No Scissors Required for Kids!) — 7 Foolproof Designs That Actually Stay On Heads
 How to Enable Third Party Cookies in My Browser (2024 Guide): Step-by-Step Fixes for Chrome, Safari, Firefox & Edge — Because Yes, You *Can* Still Do It (Without Compromising Security)
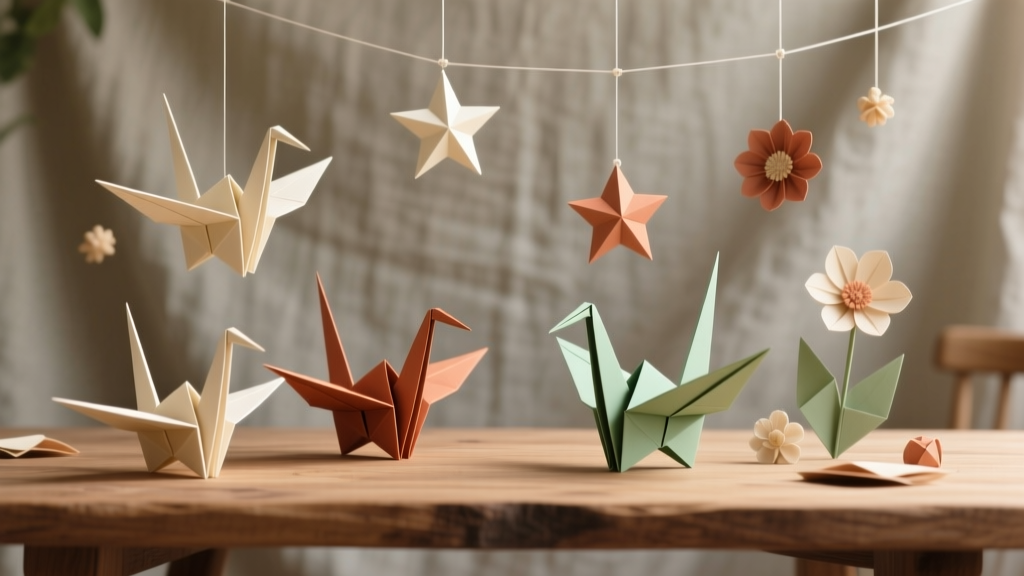 Rustic Origami Decorations Ideas
 DIY Paper Lanterns with Dollar Store Supplies
 Rustic Favor Bags Ideas
 DIY Dream Catchers Party Favors
 No-Sew Friendship Bracelets Tutorial
 Personalized Custom Stickers Gifts