Personalized Custom Stickers Gifts
Personalized custom stickers are one of those DIY party projects that feel almost “too easy” for how impressive the results look. With a few basic tools and a little creativity, you can make custom sticker gifts that double as party decorations, favor labels, and keepsakes guests actually want to take home.
Whether you’re planning a birthday party, baby shower, bridal shower, graduation, or holiday gathering, stickers let you add names, dates, themes, and inside jokes to just about anything—treat bags, cups, candle lids, notebooks, favor boxes, even balloons. They’re also a budget-friendly way to make store-bought items look intentionally curated and handmade.
This guide walks you through beginner-friendly methods (printable sticker paper and clear labels) plus upgraded options (waterproof vinyl, holographic accents, and layered designs). You’ll finish with a stash of personalized stickers you can use for party decor, handmade gifts, and DIY craft projects all year.
Project Overview: What You’ll Make
- Project: Personalized custom stickers used as gifts and party decorations
- Skill level: Beginner to Intermediate (Advanced variations included)
- Total time: 45–120 minutes (depends on quantity and drying time)
- Best for: Party favors, treat labels, envelope seals, custom gift tags, water bottle labels, cupcake toppers (as sticker seals), thank-you gifts
- Batch size: 20–100+ stickers per session
Design Planning: Choose Your Sticker Style
Before you buy materials, decide how your stickers will be used. A “perfect” sticker for favor bags isn’t always the best choice for water bottles or candles.
Popular Sticker Sizes for Parties
- 1.5 inch (38 mm) circles: envelope seals, thank-you seals, small treat bags
- 2 inch (50 mm) circles: favor bags, candle lids, mini boxes
- 3 inch (76 mm) circles: party favor boxes, notebooks, gift bags
- 2 x 3 inches (51 x 76 mm) rectangles: name labels, water bottle labels (small)
- 8.5 x 2 inches (216 x 51 mm) wraps: standard water bottle labels (trim-to-fit)
Pick a Finish That Matches the Job
- Matte: looks modern, photographs well, hides fingerprints (great for party decorations)
- Glossy: bright colors pop, more “store-bought” look (great for favor stickers)
- Clear: blends into glass/plastic for a clean, upscale finish
- Waterproof vinyl: best for bottles, coolers, outdoor parties, and anything that might get damp
Materials & Tools (With Estimated Costs)
Costs vary by brand and what you already have at home. These estimates help you budget for a first-time sticker crafting setup.
Sticker Supplies
- Printable sticker paper (letter size 8.5 x 11 in): matte or glossy; 15–30 sheets pack
Estimated cost: $10–$18 - Printable vinyl sticker paper (water-resistant): better durability, stronger adhesive
Estimated cost: $12–$22 (10–20 sheets) - Clear full-sheet labels: great for glass jars and sleek party favor labels
Estimated cost: $10–$20 - Optional laminate sheets (self-adhesive) for extra protection:
Estimated cost: $8–$15
Cutting Tools (Choose One Option)
- Scissors (sharp craft scissors): budget-friendly, slower for large batches
Estimated cost: $6–$15 - Craft knife + self-healing cutting mat: best for clean rectangles and label wraps
Estimated cost: $15–$30 - Circle punch (1.5 in, 2 in, or 3 in): fast and consistent for party stickers
Estimated cost: $10–$25 each - Optional cutting machine (Cricut/Silhouette): pro look, kiss-cut sticker sheets
Estimated cost: varies (higher investment)
Printing & Design Tools
- Inkjet printer: most sticker papers are optimized for inkjet (check packaging)
- Design software: Canva, Google Slides, or any label template tool
- Ruler: 12 in (30 cm) recommended for trimming accuracy
Estimated cost: $2–$8 - Squeegee or old gift card: helps apply laminate without bubbles
Estimated cost: $0–$8
Party Items to Sticker (Gift Bases)
- Treat bags: cellophane bags 4 x 6 in (10 x 15 cm) or 5 x 7 in (13 x 18 cm)
Estimated cost: $6–$12 (50 pack) - Favor boxes: 2 x 2 x 2 in (5 x 5 x 5 cm) cube boxes or pillow boxes
Estimated cost: $10–$18 (25–50 pack) - Mini jars: 2 oz (60 ml) to 4 oz (120 ml) for candy, honey, scrub, or confetti
Estimated cost: $12–$25 (12 pack) - Plain notebooks or favor cards:
Estimated cost: $8–$15 (set)
Step-by-Step: Make Personalized Custom Sticker Gifts
Step 1: Decide the Sticker Use and Final Size
Choose one main purpose first. This keeps your designs cohesive and prevents sizing headaches.
- Favor bag seals: 2 in (50 mm) circles
- Jar labels: 2 x 3 in (51 x 76 mm) rectangles or 2.5 in (64 mm) circles
- Water bottle labels: 8.5 x 2 in (216 x 51 mm) wraps (trim to fit)
Time: 5–10 minutes
Step 2: Create Your Sticker Design
Build a simple party-ready layout that prints cleanly. If you’re new to DIY crafts, start with bold text and fewer tiny details.
- Text ideas: “Thank you, [Name]!”, “Happy Birthday [Age]!”, “Baby [Last Name]”, “Team Bride”, “Class of 2026”
- Design elements: confetti dots, stars, hearts, simple icons (cake, balloon, baby rattle), monograms
- Readable font sizes:
- 1.5 in sticker: main text 14–20 pt
- 2 in sticker: main text 18–28 pt
- 3 in sticker: main text 24–36 pt
Beginner-friendly tip: Make one “hero sticker” first (single design), then duplicate it across the page.
Time: 15–35 minutes
Step 3: Set Up the Print Sheet
Use a letter-size canvas (8.5 x 11 in). Keep a safe margin so nothing gets cut off.
- Outer margin: at least 0.25 in (6 mm); 0.5 in (13 mm) is safer for beginners
- Spacing between stickers: 0.125–0.25 in (3–6 mm) so cuts are easier
Time: 10–15 minutes
Step 4: Print a Test Page (Regular Paper First)
This saves sticker paper and helps you confirm sizing before committing.
- Print your design on plain printer paper.
- Cut out one sample sticker.
- Hold it up to the item you’re labeling (jar lid, bag, bottle, favor box).
- Adjust size if needed, then re-test.
Time: 10–15 minutes
Step 5: Print on Sticker Paper
- Check the sticker paper packaging for the correct print side.
- Set printer to:
- Paper type: “Photo Paper” or “Premium Presentation” (varies by printer)
- Quality: High or Best
- Scale: 100% (turn off “fit to page”)
- Print one sheet first, inspect color and sharpness, then print the rest.
- Let ink dry 10–20 minutes before cutting (longer for heavy ink coverage).
Time: 10–30 minutes (including drying)
Step 6 (Optional): Add Laminate for Durability
If stickers might get wet (coolers, outdoor drinks, water bottles), laminate makes a big difference.
- Trim your laminate sheet to slightly larger than the printed area.
- Peel back 1–2 inches (2.5–5 cm) of the laminate backing.
- Stick the edge down, then slowly smooth forward with a squeegee or gift card.
- Press firmly to reduce bubbles.
Time: 10–20 minutes
Step 7: Cut Your Stickers
Choose the tool that matches your sticker shape and quantity.
- Circle punch method (fastest for parties):
- Rough-cut around the printed circles into strips.
- Slide each circle into the punch window and press.
- Scissors method:
- Cut slowly for smooth curves.
- Rotate the paper, not the scissors, for cleaner circles.
- Craft knife method (best for rectangles/wraps):
- Use a metal ruler on a cutting mat.
- Make two light passes instead of one heavy cut.
Time: 15–45 minutes depending on quantity
Step 8: Apply Stickers to Make Gifts and Party Decor
For the cleanest look, apply stickers to smooth, dry surfaces.
- Wipe jars/bottles with rubbing alcohol and let dry (especially if oily or dusty).
- Peel the sticker halfway, align, then smooth down from the center outward.
- Press edges firmly for 10–15 seconds.
Easy party gift ideas using your personalized stickers:
- Favor bags: fill with candy or confetti; seal with a 2 in sticker
- Mini jars: honey, sprinkles, bath salts, or slime; label the lid + side
- Thank-you gifts: candles with custom lid stickers + side labels
- Place cards: use rectangular stickers on favor boxes as name tags
Pro Tips for Crisp, Professional-Looking Stickers
- Use high-contrast text: dark text on light background (or vice versa) reads best in party lighting.
- Keep a “cut buffer”: leave at least 0.1–0.15 in (2.5–4 mm) border around designs if hand-cutting.
- Match finish to the theme: matte for modern/minimalist parties; glossy for bright kids’ birthdays; clear for elegant showers.
- Batch your workflow: design everything first, print everything next, then cut, then apply. It feels faster and reduces mistakes.
- Color test: print one sheet before a big batch—reds and dark blues can shift between printers and paper types.
Creative Variations (Beginner to Advanced)
Beginner-Friendly Adaptations
- Monogram sticker set: one initial + date; repeat across the sheet.
- Black-and-white stickers: use a basic printer setting; looks chic and saves ink.
- Use pre-made label templates: search “2 inch circle label template” and swap in your text.
Intermediate Upgrades
- Theme packs: make 3 coordinated designs (favor seal + thank-you seal + jar label).
- Overlay effects: add a faint pattern behind names (gingham, polka dots, stars).
- Clear labels on metallic paper: place clear stickers over gold or silver cardstock for luxe party decor.
Advanced Variations
- Kiss-cut sticker sheets: use a cutting machine to cut stickers without cutting through the backing.
- Holographic laminate: adds party sparkle—great for birthdays and bachelorettes.
- Layered decals: print a base shape, then add a smaller clear sticker with names on top for a dimensional look.
Troubleshooting: Fix Common Sticker Problems
- Problem: Ink smears.
Fix: Confirm paper is inkjet-compatible; increase dry time to 30 minutes; use “Best” quality; consider matte sticker paper (often dries faster than glossy). - Problem: Colors look dull.
Fix: Switch printer paper type to “Photo” or “Presentation”; use glossy sticker paper; brighten your design by 5–10% before printing. - Problem: Stickers peel up at the edges.
Fix: Clean surface with rubbing alcohol; avoid textured surfaces; press edges firmly; use permanent adhesive vinyl sticker paper for tricky plastics. - Problem: Bubbles under laminate.
Fix: Apply slowly with a card; if a bubble appears, lift laminate gently and re-squeegee; tiny bubbles can be popped with a pin and smoothed flat. - Problem: Cut lines are uneven.
Fix: Use a punch for circles; for knife cuts, use a metal ruler and multiple light passes; add a thicker border to hide minor wobbles.
Common Crafting Mistakes to Avoid
- Printing without a test page: one test print can save multiple sheets of sticker paper.
- Using “fit to page” scaling: it changes sticker sizes and throws off templates—print at 100%.
- Making text too small: party stickers are meant to be read quickly; keep names bold and simple.
- Applying stickers to dusty or oily surfaces: wipe items first for better adhesion.
- Rushing the drying time: glossy sticker paper needs extra patience to avoid fingerprints and smudges.
- Overcrowding a page layout: leave enough spacing so you can cut comfortably and consistently.
FAQ: Personalized Custom Stickers Gifts
What’s the best sticker paper for party favors?
For dry items like favor bags and boxes, matte or glossy printable sticker paper works great. If favors might get chilled (like bottled drinks), choose printable vinyl sticker paper and add laminate for extra durability.
Can I make custom stickers without a cutting machine?
Yes. A 2-inch circle punch is the fastest low-cost option for party stickers. Scissors work fine for small batches, and a craft knife with a metal ruler is perfect for rectangular labels and water bottle wraps.
How many stickers fit on one 8.5 x 11 inch sheet?
It depends on size and spacing. As a rough guide: about 12–20 stickers at 2 inches (50 mm), or 6–9 stickers at 3 inches (76 mm), leaving comfortable cutting space.
How do I make stickers waterproof?
Use printable vinyl sticker paper and cover the printed sheet with a self-adhesive laminate. These hold up well to condensation and light splashes. For fully submerged or dishwasher use, you’ll need specialty materials that go beyond typical home crafting.
What’s a quick personalized sticker gift idea for last-minute parties?
Make 2-inch “Thank you for celebrating!” stickers with a name/date, then seal cellophane treat bags filled with candy or popcorn. It’s fast, affordable, and looks like a coordinated party decoration.
How far in advance can I make custom stickers?
You can make them weeks ahead. Store finished stickers flat in a folder or envelope, away from heat and humidity. If laminated, they’ll stay crisp even longer.
Wrap-Up: Your Party Just Got More Personal
Personalized custom stickers turn everyday supplies into memorable party decorations and handmade gifts—without requiring advanced crafting skills or a huge budget. Start with a simple design, print a test page, and build your confidence as you go. After one party, you’ll find yourself making sticker sets for holidays, thank-you notes, school events, and every celebration in between.
Want more easy DIY crafts, party decoration ideas, and handmade party projects? Explore more creative inspiration at smartpartyprep.com and keep making celebrations feel extra special.
More Articles
 Seasonal Garlands Ideas
 No-Sew Wreaths Tutorial
 Rustic Invitations Ideas (That You Can DIY at Home)
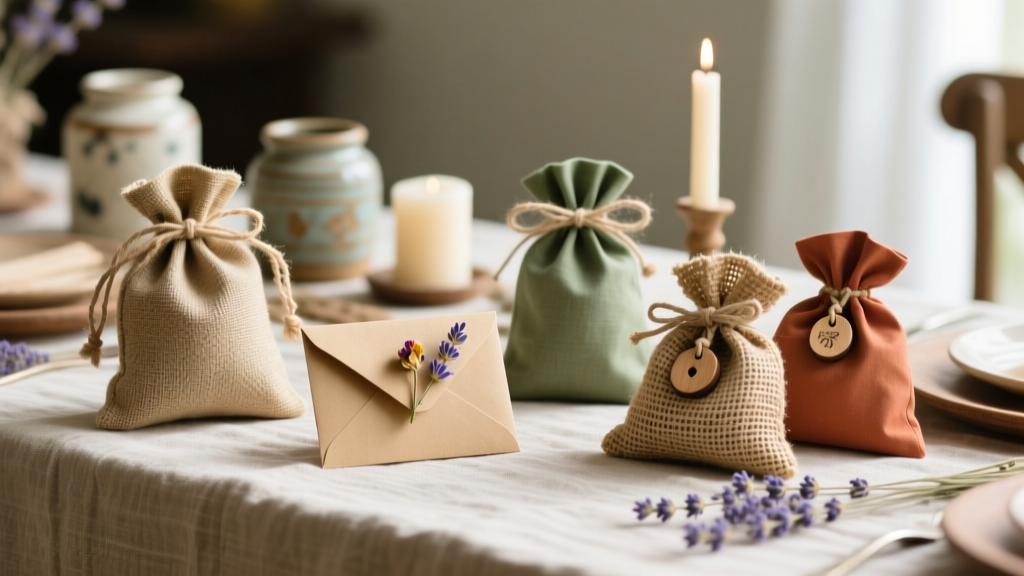 Rustic Favor Bags Ideas
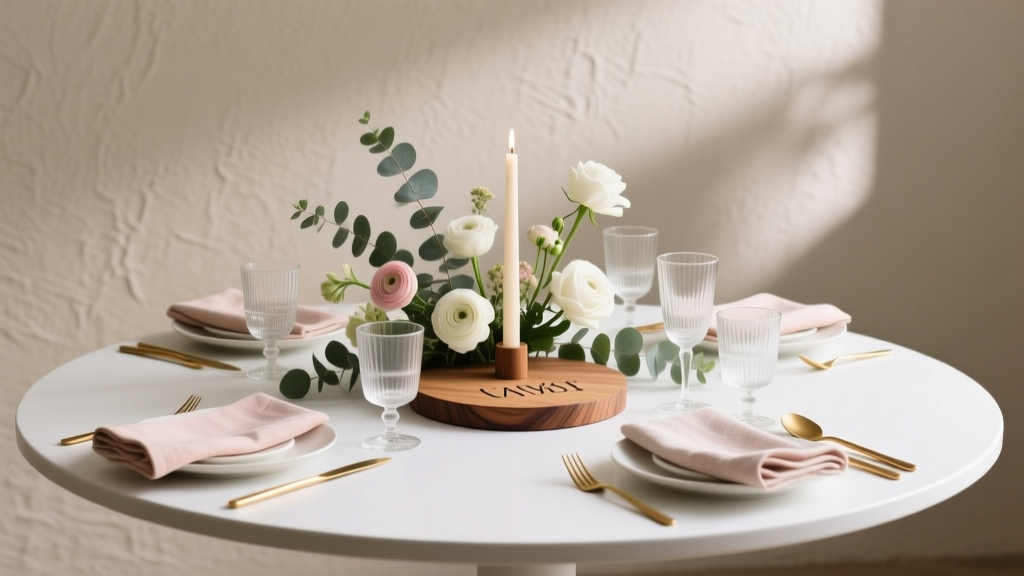 Personalized Centerpieces Gifts
 How to Enable Third Party Cookies on iPhone in 2024: The Real Truth (Spoiler: You Can’t — But Here’s What Actually Works Instead)
 How to Turn On 3rd Party Cookies in 2024: A Step-by-Step Guide for Chrome, Safari, Firefox & Edge (Without Breaking Your Privacy or Site Functionality)
 Upcycled Wall Art from Recycled Materials
 DIY Party Hats Using Cricut
 How to Make Confetti at Home