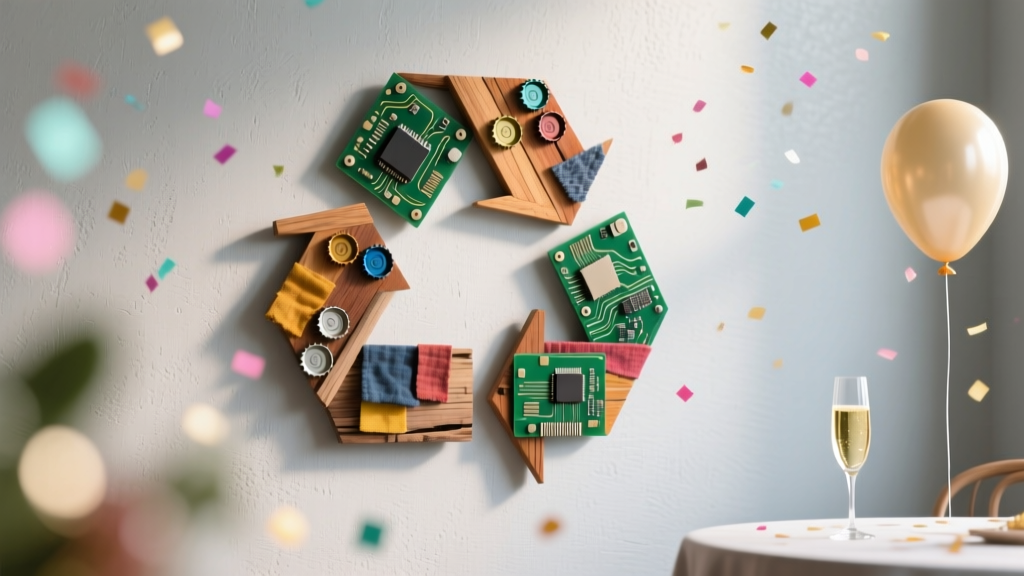
Upcycled Wall Art from Recycled Materials
If you love decorating for parties but hate the idea of buying one-time-use decor, upcycled wall art is about to become your new favorite DIY. It’s creative, budget-friendly, and surprisingly addictive—once you start seeing “trash” as crafting treasure, you’ll never look at cereal boxes, bottle caps, and paper scraps the same way again.
This project is especially fun for party prep because you can tailor it to any theme: birthdays, baby showers, graduation parties, holiday gatherings, even wedding showers. Make one statement piece for a photo backdrop, or create a matching set to line a hallway or dessert table wall. Best of all, you’ll end up with handmade decorations that feel personal and unique—something store-bought wall art rarely delivers.
Below you’ll find a practical, step-by-step guide with measurements, time estimates, beginner-friendly options, and elevated variations. Grab a few recyclables, clear a workspace, and let’s turn everyday leftovers into party-ready wall decor.
Project Overview: What You’re Making
- Project: Upcycled wall art panel (single large piece or a set of 2–3 panels)
- Skill level: Beginner to Intermediate (advanced variations included)
- Time estimate: 60–120 minutes active time + drying time (1–12 hours depending on paint/glue)
- Finished size (recommended): 12" x 16" (30.5 x 40.6 cm) or 16" x 20" (40.6 x 50.8 cm)
- Party use ideas: photo booth backdrop, gift table focal point, entryway welcome wall, dessert table frame, themed party wall collage
Design Ideas That Work for Parties
The best party wall decor reads clearly from a few feet away, photographs well, and matches the theme. Here are three reliable approaches you can adapt to any celebration:
1) Geometric “Confetti” Relief Panel
- Made from: cereal box cardboard, magazine pages, scrap paper, packaging
- Look: layered triangles/circles/squares with painted or metallic accents
- Great for: birthdays, New Year’s parties, graduation, rainbow themes
2) Florals and Petals from Egg Cartons
- Made from: paper egg cartons + paint
- Look: 3D blooms for a whimsical, photo-ready backdrop
- Great for: baby showers, bridal showers, spring parties, garden themes
3) Modern “Word Art” with Cardboard Letters
- Made from: shipping boxes + string/twine + bottle caps/buttons
- Look: bold statement words like “CHEERS,” “HAPPY,” “BABY,” or a name
- Great for: milestones, engagement parties, themed events
The tutorial below focuses on the Geometric Confetti Relief Panel because it uses the widest range of recycled materials and works for almost any party theme.
Materials & Tools (with Estimated Costs)
Costs vary by what you already have on hand. This list mixes recycled materials (often free) with a few basic craft supplies for sturdy, party-ready results.
Recycled Materials (Free–$5)
- Cardboard: cereal boxes, cracker boxes, shipping boxes (aim for 2–4 sheets) ($0)
- Paper scraps: old wrapping paper, magazines, flyers, tissue paper ($0)
- Small texture pieces (optional): bottle caps, aluminum can tabs, buttons, ribbon scraps ($0–$5)
Base & Adhesives ($8–$25)
- Canvas panel or foam board: 12" x 16" or 16" x 20" ($5–$12)
- PVA craft glue: 4–8 oz bottle ($3–$6)
- Hot glue gun + glue sticks: mini or full size ($8–$20)
- Painter’s tape (optional for clean borders): 1" wide ($4–$7)
Paint & Finishing ($6–$20)
- Acrylic craft paint: 2–4 colors (2 oz bottles) ($1–$2 each)
- Metallic accent paint or paint marker (optional): gold/silver/rose gold ($3–$8)
- Clear sealer (optional but helpful): matte or satin spray ($6��$12)
Recommended Tools ($0–$18)
- Scissors (for paper and thin cardboard)
- Craft knife + cutting mat (best for clean shapes) ($6–$18 if needed)
- Ruler (12" or longer)
- Pencil + eraser
- Paintbrushes: 1" flat + small detail brush ($5–$10)
Step-by-Step: Upcycled Geometric Wall Art Panel
Step 1: Pick Your Party Palette and Pattern (10 minutes)
Choose 3 main colors and 1 accent that match your party theme. Examples:
- Kids birthday: turquoise + yellow + coral + white
- Elegant party: black + cream + gold + blush
- Baby shower: sage + ivory + soft pink + gold
- Graduation: school colors + metallic silver
Pattern options that look great on a wall or in party photos:
- Diagonal “confetti” sweep from one corner to the other
- Color-blocked sections (top half vs. bottom half)
- Central burst (dense cluster in the middle, fading outward)
Step 2: Prepare the Base (10–15 minutes)
- Decide size: 12" x 16" is easy to hang; 16" x 20" makes a stronger statement for a party backdrop.
- Tape a border (optional): Use painter’s tape to create a clean 1/2" to 1" frame around the edges.
- Paint the background: Use a 1" flat brush. Two thin coats look smoother than one thick coat.
Drying tip: Acrylic paint is usually touch-dry in 15–30 minutes, but wait 45–60 minutes before heavy gluing.
Step 3: Create Your Upcycled Shapes (20–40 minutes)
Aim for about 60–120 shapes for a 12" x 16" panel, depending on size and layering.
Suggested shape sizes:
- Triangles: 1"–2" wide
- Circles: 3/4"–1 1/2" diameter
- Squares/rectangles: 1" x 1" and 1" x 2"
- Cut sturdy pieces: Use cereal box cardboard for structure. Cut 20–40 shapes.
- Cut decorative pieces: Use magazine pages, wrapping paper, tissue paper, or patterned packaging. Cut 40–80 shapes.
- Make “raised” pieces: For 3D depth, cut a few shapes from corrugated cardboard (shipping boxes). Keep these to 10–20 pieces so the panel doesn’t get too bulky.
Beginner-friendly shortcut: Trace a coin, jar lid, or cookie cutter for quick circles and repeatable shapes.
Step 4: Arrange Before You Glue (10 minutes)
- Place your largest shapes first to define the design.
- Fill around them with medium shapes.
- Add small pieces last (these create the “confetti” effect).
Quick composition guide: Keep your busiest area within the center 2/3 of the panel. Leaving a little breathing room near edges helps it look intentional—especially for party photos.
Step 5: Glue Everything Down (20–35 minutes)
Use both glue types strategically:
- PVA craft glue: best for paper-to-paper and paper-to-canvas (smooth, less bumpy)
- Hot glue: best for heavier items (corrugated cardboard, bottle caps, buttons)
- Start with the bottom layer: Glue down large, sturdy cardboard shapes first.
- Layer decorative paper: Add patterned pieces on top, slightly offset for dimension.
- Add texture accents: Use 5–15 accents total (tabs, caps, buttons). A few go a long way.
- Press and set: Press each piece for 5–10 seconds. If the base is foam board, don’t press too hard or you may dent it.
Dry time: Let PVA glue cure at least 1–2 hours before painting over it (overnight is ideal).
Step 6: Paint, Unify, and Add Party-Friendly Shine (25–45 minutes)
You can leave some paper patterns visible, or paint everything for a cohesive “sculptural” look.
- Option A: Partial paint (fast and colorful): Paint only the cardboard shapes and leave patterned paper visible.
- Option B: Full paint (modern and photo-ready): Paint over everything in 2–4 colors, working in sections.
- Add highlights: Dry-brush metallic paint on raised edges, or use a gold/silver paint marker on corners and outlines.
Finishing (optional): Once fully dry, spray a matte or satin sealer from 10–12" away in light passes.
Step 7: Hang It Safely for Party Day (5–10 minutes)
- Lightweight panels: Use removable picture hanging strips (great for rentals and quick party setup).
- Heavier pieces: Use a sawtooth hanger or D-rings on the back of a wooden canvas frame.
- Party backdrop idea: Make 3 panels (12" x 16") and hang in a row above a dessert table.
Pro Tips for Cleaner Results
- Use a limited palette: 3 colors + 1 metallic accent looks cohesive and high-end.
- Repeat shapes: Repetition (like all triangles plus a few circles) makes the design feel intentional.
- Build depth in “steps”: Flat layer + medium layer + a few tall accents is enough. Too many tall pieces can look cluttered.
- Pre-paint tricky pieces: Bottle caps and plastic items are easier to paint before gluing.
- Photo test: Snap a phone photo in black-and-white. If the design looks balanced in grayscale, it will photograph well at your party.
Variations: Beginner-Friendly and Advanced Upgrades
Beginner-Friendly Adaptations
- Monochrome texture panel: Paint everything one color (white, blush, or black) and let the shadows do the work.
- Simple ombré: Paint shapes from dark-to-light across the panel for an easy wow effect.
- One-shape-only design: All circles or all triangles = faster cutting and a cleaner look.
Advanced Variations
- Name or number focal point: Cut large cardboard letters (6"–10" tall) and build the confetti around them (great for “ONE,” “30,” “GRAD”).
- LED glow: Add a short battery fairy light strand behind raised corrugated pieces so light peeks through gaps (keep batteries accessible on the side/back).
- Textile layering: Add small fabric scraps or ribbon strips, then seal with a brush-on decoupage medium for durability.
Troubleshooting: Quick Fixes When Things Go Sideways
- Problem: Cardboard curls or warps.
Fix: Use lighter coats of paint, let layers dry fully, and glue shapes evenly across the surface. If it’s already warped, weigh it down flat overnight between books (protect with parchment paper). - Problem: Pieces pop off after drying.
Fix: Use hot glue for heavier items and add a small dot of glue in the center plus a thin ring near edges. - Problem: The design looks messy.
Fix: Paint over it with one unifying color, then add metallic highlights. A cohesive top coat can instantly “pull it together.” - Problem: Paint looks streaky.
Fix: Use two thin coats and a slightly damp brush for smoother acrylic coverage.
Common Crafting Mistakes to Avoid
- Using too much glue: Excess PVA can wrinkle paper and seep out the sides. Use a thin, even layer.
- Skipping the layout step: Gluing as you go often leads to awkward gaps. Dry arrange first, then commit.
- Overloading with chunky items: A few bottle caps look cool; 40 caps can make hanging difficult and overwhelm the design.
- Not allowing dry time: Painting over wet glue can cause peeling and bubbles. Give it time—especially before sealing.
- Ignoring party setup realities: If you’re decorating a rental venue, choose removable hanging strips and avoid anything that sheds glitter or flakes.
FAQ: Upcycled Wall Art for Party Decorations
1) What’s the best base to use: canvas, foam board, or cardboard?
Canvas panel is the most durable and hang-ready for party decorations. Foam board is lightweight and budget-friendly but can dent. Thick cardboard works in a pinch—double it up (glue two layers cross-grain) to reduce warping.
2) Can I make this kid-friendly for a birthday party activity?
Yes. Pre-cut shapes (1"–2" pieces), use school glue instead of hot glue, and keep the panel size smaller (8" x 10"). Kids can arrange and glue their own “confetti” art as a take-home party craft.
3) How do I match this to my party theme without buying new supplies?
Shop your recycling bin strategically: use packaging in your theme colors, magazine pages with matching tones, and paint only the accent details. A single metallic paint marker can make recycled materials look party-polished.
4) Will recycled paper bleed or smear when I paint over it?
Some magazine inks can smear if you brush too hard. Use a light touch, let glue fully dry, and apply paint in gentle strokes. If you want extra protection, brush on a thin layer of decoupage medium and let it dry before painting.
5) How far in advance can I make this for an event?
Make it 3–10 days ahead for stress-free party prep. That gives you time for full curing, touch-ups, and sealing so it’s sturdy for setup day.
6) What are the best keywords to help me find more projects like this?
Try searching: DIY wall art, upcycled crafts, recycled materials art, handmade party decorations, DIY photo backdrop decor, and budget party decor ideas.
Wrap-Up: Your Recycled Materials Just Became a Statement Piece
This upcycled wall art project is the kind of DIY that pays off twice: you get a bold handmade decoration for your next celebration, and you keep useful materials out of the trash. Start simple with a small panel, then level up with a coordinated set for a party backdrop wall—your guests will assume it came from a boutique.
Save a few boxes, pick your colors, and try one panel this week. When you’re ready for your next handmade project, explore more DIY craft ideas and party decorations on smartpartyprep.com.
More Articles
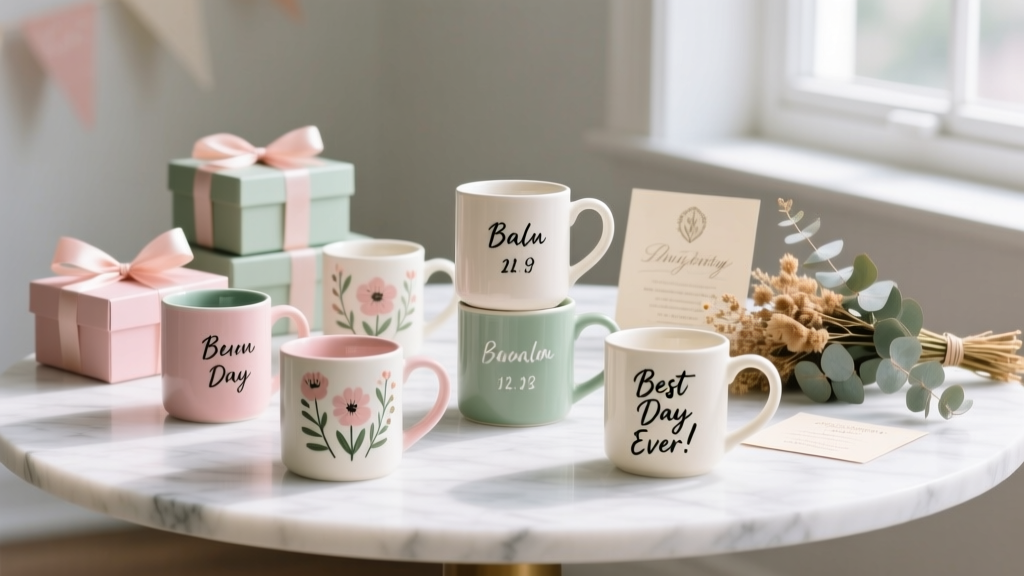 Personalized Mugs Gifts (DIY Party Favors & Handmade Keepsakes)
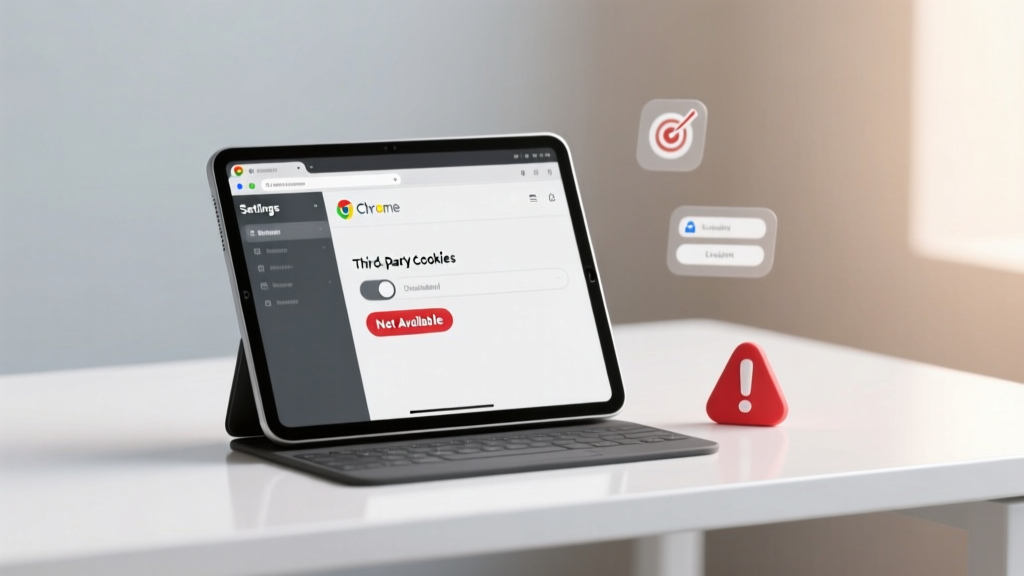 How to Enable Third Party Cookies on iPad Chrome (2024 Guide): Why It’s Not Possible — And What You *Can* Actually Do Instead to Restore Login & Tracking Functionality
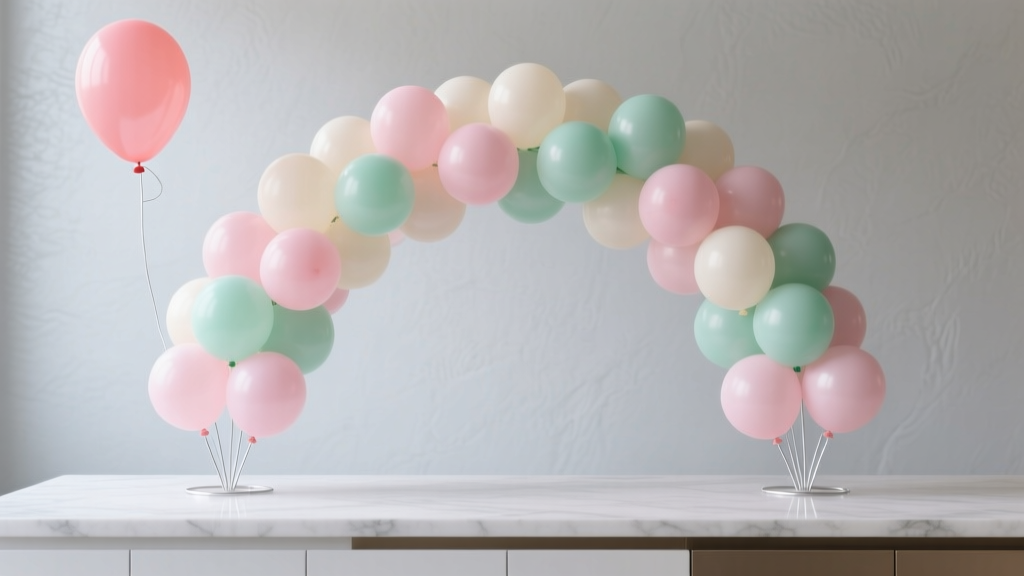 How to Make a Balloon Arch for a Birthday Party: 7 Foolproof Steps (No Glue Gun, No Experience, No Stress — Just Gorgeous Results in Under 90 Minutes)
 How to Make T-Shirts at Home
 How to Allow Third Party Cookies on a Mac in 2024: A Step-by-Step Safari & Chrome Guide (No Tech Degree Required)
 How to Make a Tea Party Hat in Under 45 Minutes (No Sewing, No Fancy Tools—Just Paper, Glue & Joy!)
 How to Turn On 3rd Party Cookies in 2024: A Step-by-Step Guide for Chrome, Safari, Firefox & Edge (Without Breaking Your Privacy or Site Functionality)
 Step-by-Step T-Shirts Tutorial
 DIY Fabric Bunting for Birthdays
 Paper Craft Wall Art Ideas