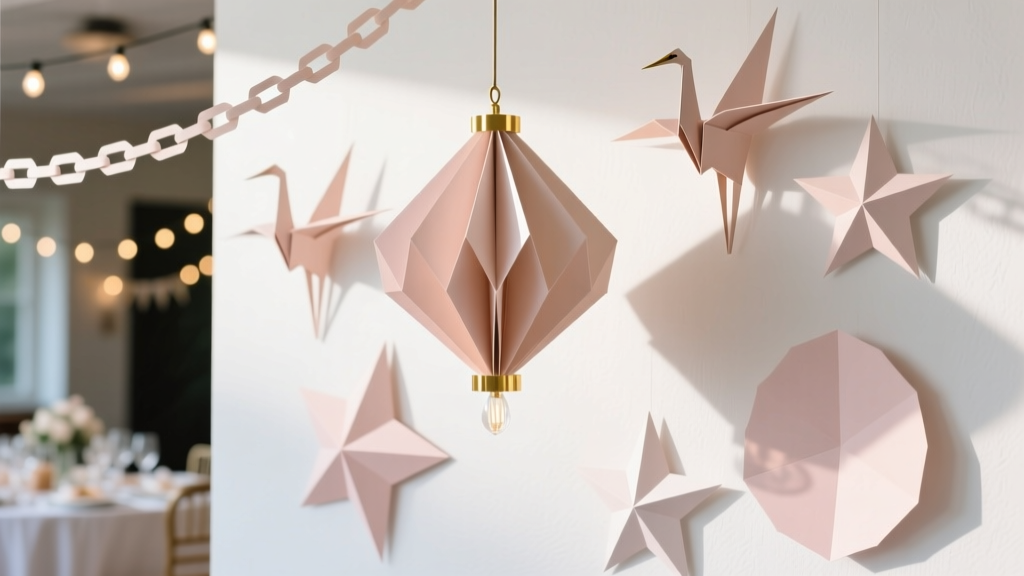
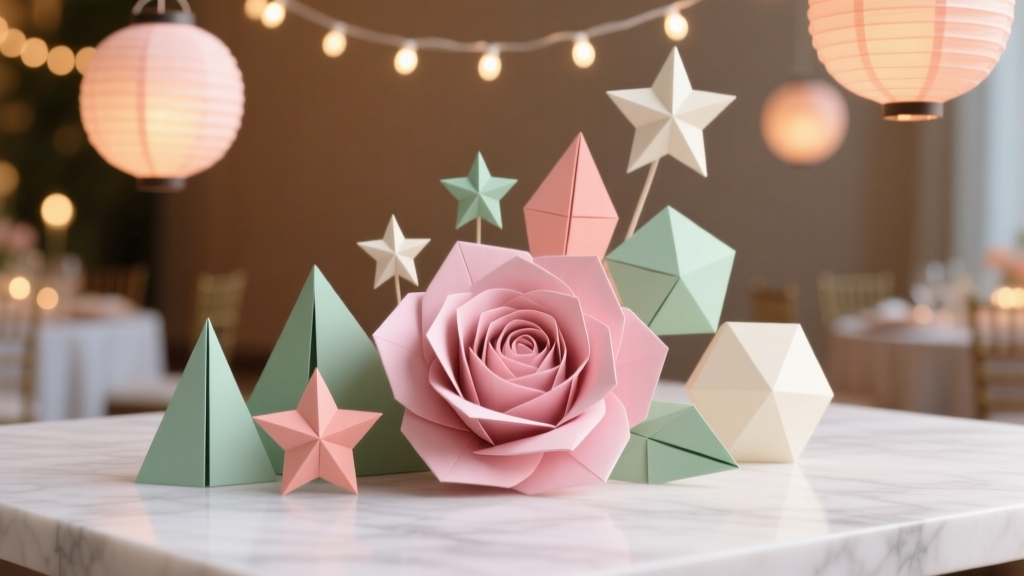
Paper Craft Wall Art Ideas
Paper craft wall art is one of those rare DIY projects that feels instantly rewarding: you can start with a flat sheet and end with a statement piece that transforms a party space. Whether you’re decorating for a birthday, baby shower, graduation, wedding, or holiday gathering, handmade paper decorations bring color, texture, and a personal touch that store-bought signs just can’t match.
Even better, paper is budget-friendly and forgiving. If you cut a shape slightly uneven or choose a color that doesn’t pop, you can tweak it fast—no waiting for paint to dry for hours or buying expensive supplies. Most of these paper craft wall art ideas also pack flat, so they’re perfect if you prep party decorations ahead of time or need to transport decor to a venue.
Below you’ll find several party-ready wall art projects with step-by-step instructions, measurements, time estimates, and beginner-to-advanced variations. Pick one hero piece for a photo wall or mix a few into a layered display for a seriously “wow” backdrop.
Quick Pick: Choose Your Project
- Skill Level: Beginner to Advanced (each project labeled)
- Great for: photo backdrops, dessert tables, gift tables, welcome walls
- Best paper types: cardstock (structure), crepe paper (texture), tissue paper (volume), scrapbook paper (patterns)
Materials & Tools (With Estimated Costs)
These are the most useful supplies for DIY paper wall art and party decorations. You won’t need every item for every project, but having a “core kit” makes everything easier.
Paper (choose based on project)
- 12x12 scrapbook paper pad (patterned) – $8–$18
- Cardstock 8.5x11 (65–110 lb) – $6–$15 per pack
- Poster board (22x28) – $2–$6 each (great for large shapes)
- Crepe paper rolls – $1–$6 per roll (premium crepe costs more but stretches beautifully)
- Tissue paper sheets – $2–$10 per pack (perfect for pom-poms and soft flowers)
Adhesives & Hanging Supplies
- Hot glue gun + glue sticks – $10–$25 + $5–$10
- Double-sided tape (strong) – $4–$10
- Glue dots (mini + large) – $4–$12
- Painter’s tape (for temporary positioning) – $4–$8
- Removable mounting putty – $4–$8 (venue-friendly)
- Command strips (poster or picture-hanging) – $6–$15
- Clear fishing line or white cotton string – $3–$8
Tools (recommended)
- Scissors: 8” sharp craft scissors – $8–$18
- Craft knife (X-Acto-style) + extra blades – $6–$15
- Self-healing cutting mat (12x18) – $10–$25
- Metal ruler (18”) – $6–$12
- Pencil + eraser – $1–$3
- Bone folder (optional but great for crisp folds) – $5–$10
- Circle punch set or paper trimmer (optional) – $10–$30
Core Measurements You’ll Use Often
- Standard frame sizes: 8x10, 11x14, 16x20 inches
- Backdrop panels: foam board 20x30 inches
- Common paper sizes: 8.5x11 and 12x12 inches
Idea #1: Layered Paper Cutout Wall Art (Framed or Unframed)
Skill level: Beginner to Intermediate
Time: 45–90 minutes
Best for: dessert table focal point, party welcome wall, themed events (stars, hearts, florals, balloons)
What You’ll Make
A dimensional art piece made from layered shapes (like hearts, stars, butterflies, or a themed silhouette) mounted in a frame or on foam board.
Materials
- Cardstock (at least 4 colors), 8.5x11 or 12x12
- Foam board (optional), 11x14 or 16x20
- Frame (optional), 11x14 or 16x20
- Glue dots or foam adhesive squares (for dimension)
- Craft knife + cutting mat (or scissors for simpler shapes)
Step-by-Step
- Pick a size. For a party display, 16x20 inches reads well from a distance. For a small vignette, 11x14 works beautifully.
- Choose a theme and palette. Try:
- Birthday: confetti shapes + bright colors
- Baby shower: moons, clouds, stars in pastels
- Wedding: layered florals in whites/greens
- Graduation: caps, stars, school colors
- Create a template. Lightly sketch a large central shape (example: a heart that’s 10–12 inches wide for a 16x20 board). Then sketch 2–4 slightly smaller versions for layering.
- Cut your layers. Cut the largest shape first. Stack your cardstock and cut one layer at a time for clean edges.
- Add dimension. Use foam squares behind each layer, placing them near the edges and center. For a crisp “shadow box” look, aim for 2–4 layers.
- Mount. Center the biggest layer on your backing. Build upward with smaller layers. If framing, insert into the frame once glue is set.
- Hang. Use Command strips on the frame/foam board, or prop on an easel for a party table.
Pro Tips & Variations
- Beginner-friendly: Use simple shapes (circles, stars) and scissors only.
- Advanced: Add intricate cut details with a craft knife (filigree, lace edges, monograms).
- Extra party pop: Add a metallic top layer (gold/silver cardstock) or sprinkle a few glued sequins.
Troubleshooting
- Paper buckling: Use glue dots or small amounts of hot glue rather than wet glue.
- Layers look crooked: Lightly mark center points on backing and shapes before sticking.
Idea #2: Giant Paper Flowers Wall (Statement Backdrop)
Skill level: Beginner to Intermediate
Time: 1–2 hours for 3–5 large flowers
Best for: photo backdrop, bridal shower, baby shower, birthday party wall
What You’ll Make
A cluster of oversized paper flowers that fills a section of wall and looks amazing in photos.
Materials
- Cardstock or poster board (recommended: 65–110 lb cardstock for petals)
- Hot glue gun
- Scissors
- Small bowl/circle template (for flower base)
- Command strips or removable mounting putty
Suggested Measurements (Per Large Flower)
- Petals: 8–12 petals, each about 6 inches wide x 9 inches tall
- Base circle: 5–6 inches diameter
- Center: 1–2 strips of paper, 2 inches wide x 12 inches long (fringed)
Step-by-Step
- Cut petals. Make a simple teardrop shape. For realism, vary sizes: 4 large petals (9”) + 4 medium (8”) + 4 small (7”).
- Shape the petals. Snip a 1.5-inch slit at the base of each petal. Overlap the cut edges and glue to create a cupped curve.
- Create the base. Cut a circle (5–6 inches). This is your “hub” for attaching petals.
- Attach petals in layers. Glue the largest petals around the edge of the circle, slightly overlapping. Add the next layer inside, then the smallest layer.
- Make the center. Fringe a 2” x 12” strip (cut slits every 1/8–1/4 inch, stopping 1/2 inch from the edge). Roll tightly and glue. Add a second strip if you want a fuller center.
- Mount on the wall. Use Command strips on the base circle. For rental venues, test a small area first and avoid heavy flowers on delicate paint.
Pro Tips & Variations
- Beginner-friendly: Make 3 large flowers + a few simple leaves to fill space.
- Advanced: Add veined leaves (score lines with a bone folder) or create ombré petals by blending two paper shades.
- Party styling: Arrange flowers from largest to smallest like a cascade, starting at about 5–6 feet high for photo-friendly framing.
Troubleshooting
- Petals won’t hold shape: Use heavier cardstock (80–110 lb) or reduce petal size slightly.
- Flowers fall off the wall: Use two Command strips per flower base, or mount flowers to a foam board panel first.
Idea #3: 3D Paper Fan Rosettes (Fast, Classic Party Wall Decor)
Skill level: Beginner
Time: 10–20 minutes per rosette
Best for: birthdays, holidays, graduation, baby showers, classroom parties
Materials
- Scrapbook paper (12x12) or cardstock
- Stapler
- Glue stick or hot glue
- String/fishing line or removable tape for hanging
Suggested Measurements
- Large rosette: 2 sheets of 12x12 paper
- Medium rosette: 2 sheets cut to 6x12 inches
- Center circles: 2–3 inches diameter (contrast color)
Step-by-Step
- Accordion fold. Fold each sheet back and forth in 1/2-inch folds. Sharper folds = cleaner rosette.
- Fold in half. Fold the accordion strip in half and crease.
- Staple the center. Staple through the folded center to secure.
- Join two halves. Make two identical halves, then glue or staple the ends together to form a circle.
- Add center circles. Glue a circle to the front (and back if you’ll hang it where both sides show).
- Hang or mount. Use tape loops or Command strips. Layer multiple sizes for a full party backdrop.
Pro Tips & Variations
- Extra dimension: Use foam dots behind the center circle.
- Theme match: Add cutout numbers (age), letters, or tiny paper tassels hanging from the bottom.
Idea #4: Paper Quilling Monogram or Party Phrase Art
Skill level: Intermediate to Advanced
Time: 2–4 hours (depending on size/detail)
Best for: personalized party decor, weddings, anniversaries, milestone birthdays
Materials
- Quilling paper strips (3mm or 5mm width) or cut your own from cardstock
- Quilling tool (slotted tool recommended)
- Liquid glue with fine tip
- Printed letter template (8x10 or 11x14)
- Backing board + frame
Step-by-Step
- Print your template. Choose a bold letter style. For 11x14 art, make the letter about 9–10 inches tall.
- Outline the letter. Glue strips standing on edge along the outline to create a “wall.” Work in 1–2 inch segments.
- Fill with coils. Roll tight coils and loose coils, pinch into teardrops, marquises, and scrolls. Glue inside the outline like a mosaic.
- Let dry. Give it 30–60 minutes before moving.
- Frame it. Mount to backing, frame, and display near the gift table or entryway.
Pro Tips & Variations
- Beginner-friendly adaptation: Fill the letter with simple loose coils only.
- Advanced: Add gradients (light-to-dark) or incorporate tiny paper flowers inside the letter.
How to Style Paper Wall Art for Parties (Layout Guide)
- Rule of 3: Group decor in threes (one large focal, two supporting pieces).
- Photo wall height: Keep the main focal area between 4 and 6 feet from the floor.
- Color balance: Use 60% main color, 30% secondary, 10% accent (metallics count as accents).
- Backdrop hack: Mount paper elements to 20x30 foam boards first, then hang the boards. Faster setup, easier transport.
Common Crafting Mistakes to Avoid
- Using thin paper for structural pieces: Regular printer paper often droops. Choose cardstock for flowers, rosettes, and layered art.
- Over-gluing: Too much liquid glue warps paper. Use glue dots, small hot glue dots, or thin-line glue.
- Skipping test mounting: Walls vary. Test your tape/strips on a hidden area before committing.
- Not prepping assembly-line style: Cut all petals/shapes first, then glue. It saves time and looks more consistent.
- Hanging without planning: Lightly mark placement with painter’s tape “outlines” before sticking anything permanent.
Extra Pro Tips: Clean Cuts, Fast Builds, Sturdy Hanging
- Crisper folds: Use a bone folder or the back of a butter knife (gently) on a ruler edge.
- Faster cutting: Use a paper trimmer for straight strips and repeat cuts.
- Safer hot glue: Low-temp glue guns reduce burns and still hold well for paper crafts.
- Venue-friendly hanging: Removable mounting putty is excellent for lightweight rosettes and cutouts.
- Humidity warning: Tissue and crepe paper can relax in humid rooms—use cardstock for anything that must stay crisp all day.
FAQ: Paper Craft Wall Art for Parties
1) What paper is best for DIY wall art and party decorations?
For most paper wall decor, 65–110 lb cardstock is the go-to because it holds shape. Use scrapbook paper for patterns, crepe paper for textured flowers, and tissue paper for soft, lightweight volume.
2) How do I hang paper wall art without damaging the wall?
For parties and rentals, use Command strips, removable mounting putty, or painter’s tape as a barrier (stick painter’s tape to the wall, then attach a stronger tape to the painter’s tape). Always test first.
3) How far in advance can I make paper party decorations?
Most paper craft wall art can be made 1–4 weeks ahead. Store finished pieces flat in a box with tissue paper between layers. Keep them dry and out of direct sunlight to prevent curling or fading.
4) What’s the easiest project for beginners?
Paper fan rosettes are the easiest and fastest. They use simple folds, minimal cutting, and look great in clusters.
5) How do I keep large paper flowers from falling?
Use heavier cardstock, reinforce the base circle, and apply two Command strips per flower (or mount flowers to a foam board panel first). If the wall is textured, mounting to a panel is usually the most reliable.
6) Can I match my paper wall art to a party theme?
Yes—this is where handmade decorations shine. Use themed shapes (stars, seashells, pumpkins), party colors, lettered phrases, and patterned paper that echoes your invites, tableware, or balloon garland.
Ready to Make Your Own Paper Craft Wall Art?
Pick one idea that fits your time and comfort level, then build from there. A few layered cutouts or a cluster of giant paper flowers can completely transform a room into a party-ready space—without blowing your budget. Start simple, keep your palette tight, and enjoy the process of making something that feels truly personal.
Want more DIY crafts and party decoration ideas? Explore more creative projects and smart party-prep tips on smartpartyprep.com.
More Articles
 No-Sew Masks Tutorial
 How to Hang Streamers for a Party Without Tape Mess, Sagging, or Last-Minute Panic: 7 Foolproof Methods That Actually Stick (Tested on 32 Parties)
 No-Sew Origami Decorations Tutorial
 Rustic Table Runners Ideas (DIY Projects for Parties, Showers, and Cozy Gatherings)
 DIY Cake Toppers in An Afternoon
 30 Creative Invitations Ideas
 Easy Origami Decorations for Beginners
 DIY Cupcake Wrappers Using Cricut
 How to Make Paper Party Hats in Under 12 Minutes (No Glue Gun, No Scissors Required!) — 5 Foolproof Methods That Actually Hold Their Shape All Night
 How to Unblock 3rd Party Session Cookies on Mac: A Step-by-Step Safari & Chrome Fix That Actually Works (No Extensions Needed)