
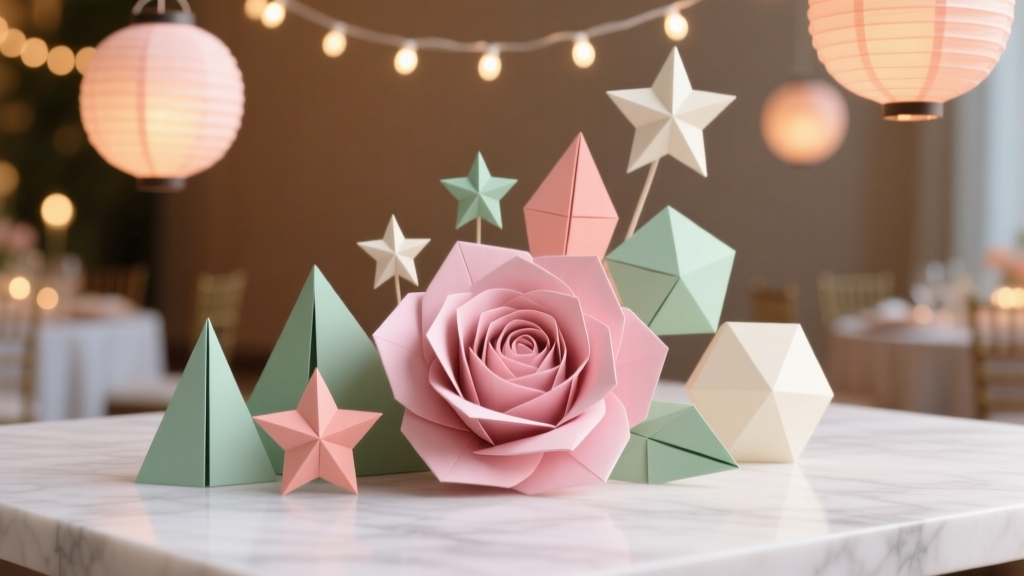
Easy Origami Decorations for Beginners
Origami is one of those rare DIY crafts that feels almost magical: you start with a flat square of paper and, a few folds later, you’ve created a party-worthy decoration. No mess, no drying time, no fancy equipment—just simple, satisfying handmade projects you can complete in an afternoon.
If you’re planning a birthday, baby shower, graduation, holiday dinner, or even a cozy get-together, origami decorations add instant charm. They’re lightweight, affordable, and easy to customize to your color palette. Better still, many beginner-friendly folds look impressively detailed once you string them into garlands, cluster them into table centerpieces, or hang them as backdrops.
This guide focuses on easy origami for beginners—step-by-step, practical, and party-ready. You’ll find clear measurements, tool recommendations, time estimates, and ideas for both first-timers and crafters who want to level up.
Quick Overview: Skill Levels & Time Estimates
- Skill level: Beginner (with optional intermediate upgrades)
- Project time: 10–20 minutes per decoration type (plus assembly time)
- Best for: DIY party decorations, handmade centerpieces, photo backdrops, garlands, place settings
- Kid-friendly: Yes, with supervision and pre-cut paper
Materials & Tools (With Estimated Costs)
One of the best things about origami decorations is how budget-friendly they are. Here’s a practical shopping list with common product types and typical price ranges.
Paper (Pick 1–3 Types)
- Origami paper pack (6 inch x 6 inch, double-sided optional): $5–$12 for 100–200 sheets
- Scrapbook paper (12 inch x 12 inch, cut into squares): $0.75–$2 per sheet or $10–$25 per pad
- Kraft paper squares: $6–$15 per pack (great for rustic party themes)
- Metallic or foil origami paper: $6–$15 (best for stars and accents)
Paper weight tip: For beginners, aim for lightweight paper (around 60–80 gsm). Thick cardstock is harder to fold crisply.
Tools & Assembly Supplies
- Paper trimmer or sharp scissors: $8–$25
- Ruler (12 inch): $2–$8
- Bone folder (optional but helpful for crisp folds): $6–$12
- Glue options:
- Glue stick: $2–$5
- Double-sided tape: $3–$8
- Low-temp hot glue gun + sticks (for garlands/assembly): $10–$25
- Stringing supplies:
- Baker’s twine: $3–$8
- Clear fishing line (nearly invisible): $3–$7
- Small clothespins or mini clips: $4–$10
- Hanging supplies: Removable adhesive hooks or painter’s tape: $4–$10
Optional Finishing Touches
- Mini LED fairy lights: $8–$20 (wrap around garlands or hang behind cranes)
- Small beads or sequins: $3–$10 (great for lucky stars)
- Marker or metallic pen: $2–$8 (write names on hearts for place cards)
Prep for Success: Cutting Perfect Squares
Most origami decorations start with a perfect square. If you’re using 12 inch x 12 inch scrapbook paper, you’re ready. If you’re cutting from rectangular paper (like letter-sized), here’s an easy method:
- Start with a rectangle (example: 8.5 inch x 11 inch).
- Fold one corner down to meet the opposite edge, forming a triangle.
- Trim the extra rectangular strip.
- Unfold—you now have a square.
Recommended beginner sizes: 6 inch x 6 inch for small decor, 8 inch x 8 inch for easier folding, 10 inch x 10 inch for large statement pieces.
Decoration #1: Origami Balloon Garland Pieces (Beginner)
Use it for: DIY party decorations, garlands, backdrops, table scatters
Time: 3–6 minutes each
Paper size: 6 inch x 6 inch (or 8 inch x 8 inch for easier handling)
Step-by-Step Instructions
- Start color-side down (if using double-sided paper).
- Fold in half diagonally to make a triangle. Crease well and unfold.
- Fold the other diagonal and unfold. You should see an “X” crease.
- Fold in half horizontally (top to bottom), crease, unfold.
- Fold in half vertically (left to right), crease, unfold.
- Collapse into a waterbomb base: Hold the paper and gently push the left and right sides inward so the paper collapses into a triangle with flaps.
- Inflate: Locate the small opening at one point of the triangle and blow gently (or use a straw). The model puffs into a balloon shape.
- Seal (optional): Add a tiny piece of double-sided tape inside the opening if you want it to stay inflated longer.
Party Styling Ideas
- String inflated balloons onto fishing line using a small tape loop on each balloon.
- Create a “floating” table runner by scattering balloons down the center of the table.
- Add mini balloons to a photo backdrop, mixing paper colors and sizes.
Decoration #2: Origami Hearts (Perfect for Place Cards)
Use it for: Valentine’s parties, bridal showers, anniversaries, sweet table decor
Time: 4–8 minutes each
Paper size: 6 inch x 6 inch (cute and compact) or 8 inch x 8 inch (easier)
Step-by-Step Instructions
- Start with the paper color-side down.
- Fold in half top to bottom, then unfold.
- Fold the top edge down to the center crease line.
- Flip the paper over.
- Fold the bottom point up so it reaches about 1/3 of the height (adjust depending on how tall you want the heart).
- Fold the left and right corners inward at an angle to form the heart’s curves.
- Fold small triangles at the top edges and side corners to soften the shape (this makes it look more “heart-like”).
- Flip over to reveal your heart.
Beginner-Friendly Adaptations
- Use slightly larger paper (8 inch x 8 inch) so folds are easier to control.
- Press creases with a ruler edge or bone folder for cleaner symmetry.
Advanced Variations
- Write guest names with a metallic marker and use the hearts as place cards.
- Make mini hearts (3 inch x 3 inch) and glue them onto cupcake toppers or favor tags.
Decoration #3: Lucky Origami Stars (Tiny, Charming, and Addictive)
Use it for: party favor jars, table confetti (larger stars), gift toppers
Time: 2–5 minutes each (faster after a few tries)
Paper size: 1 cm x 20 cm to 1.5 cm x 30 cm strips (pre-cut star paper makes it easiest)
Step-by-Step Instructions
- Start with a long paper strip. If cutting your own, aim for 1 cm x 20 cm for petite stars.
- Tie a loose knot near one end to form a pentagon shape. Pull gently to tighten and flatten.
- Fold the short tail neatly around the pentagon’s edge. If there’s extra, tuck it inside.
- Wrap the long tail around the pentagon, keeping edges aligned. Continue until you have a small tail left.
- Tuck the final tail into a pocket on the pentagon to secure it.
- Puff the star: Pinch each of the five sides gently to create the star points.
Party Styling Ideas
- Fill clear favor bags or mini jars with stars in your party colors.
- Mix stars with confetti for a handmade table scatter (use slightly larger strips like 1.5 cm x 30 cm).
- Add a tag that says “Make a wish” for birthdays and New Year’s parties.
Decoration #4: Classic Origami Cranes (Backdrop-Ready)
Use it for: hanging mobiles, photo backdrops, baby showers, weddings, graduation parties
Skill level: Confident beginner to intermediate
Time: 8–15 minutes each
Paper size: 6 inch x 6 inch minimum; 8 inch x 8 inch is easier to learn
Step-by-Step Instructions
- Start with a square paper color-side down.
- Fold diagonally both ways and unfold to form an “X” crease.
- Fold in half horizontally and vertically and unfold (you’ll have a grid of creases).
- Collapse into a square base: Bring the left and right sides inward and flatten into a smaller square (open end facing you).
- Kite folds: Fold the left and right edges of the top layer to the center line, forming a kite shape. Fold the top triangle down over them. Unfold these three folds.
- Inside reverse (petal) fold: Lift the top layer at the bottom point and fold upward, using the creases you made. Flatten into a long diamond. Flip and repeat on the other side.
- Form neck and tail: Fold the left and right edges inward again to slim the shape. Flip and repeat.
- Create head: Choose one side for the neck. Make an inside reverse fold near the tip to form the beak/head.
- Fold down wings: Pull the wings down so they sit horizontally.
- Finish shaping: Gently pull tail and neck apart and curve wings slightly for a lifelike look.
Backdrop Assembly (Simple and Secure)
- Use a needle and thread or clear fishing line to string cranes through the body (center).
- Space cranes 4–6 inches apart for a light, floating look.
- Hang strands from a curtain rod or removable hooks for a photo area.
Pro Tips, Variations, and Troubleshooting
Pro Tips for Crisp, Clean Folds
- Crease firmly: Run a bone folder (or the back of a spoon) along every fold.
- Align corners first: Before creasing, match corners/edges, then pinch in the center, then crease outward.
- Work on a hard surface: A table gives you sharper folds than a couch or carpet.
- Choose forgiving paper: Lightweight origami paper is easier than thick cardstock for beginners.
Color & Theme Variations (Party-Ready)
- Kids’ birthday: bright solids + a few patterned accents (polka dots, stripes)
- Baby shower: soft pastels; mix cranes and hearts for a sweet mobile
- Holiday party: metallic stars + deep reds/greens; add fairy lights
- Graduation: school colors; string cranes as a backdrop with a banner
Troubleshooting Quick Fixes
- My folds don’t line up: Start with a perfect square and slow down on the first 2–3 folds—small errors multiply.
- Paper keeps popping open: Use a tiny piece of double-sided tape inside hidden flaps (especially for balloons and complex folds).
- Creases look messy: Use thinner paper and crease once with confidence instead of re-creasing repeatedly.
- Cranes feel too hard: Practice the square base and petal fold on scrap paper first, then switch to your “pretty” paper.
Common Origami Crafting Mistakes to Avoid
- Using paper that’s too thick: Cardstock cracks and won’t collapse neatly. Save it for flat shapes or cutout banners.
- Skipping precise cutting: A slightly rectangular “square” makes hearts lopsided and cranes crooked.
- Rushing early folds: The first creases are your roadmap. Take an extra 20 seconds to align perfectly.
- Overhandling delicate models: Foil paper and very thin paper can tear if you rework folds too much.
- Heavy glue everywhere: Origami usually holds by folds. Use tape/glue sparingly and hidden.
- Not planning hanging points: If you’re making a garland or backdrop, decide where string/tape will attach before you fold 30 pieces.
FAQ: Easy Origami Decorations for Parties
What’s the best origami paper size for beginners?
8 inch x 8 inch is a sweet spot for learning because it’s easier to grip and align. Once you’re comfortable, move down to 6 inch x 6 inch for smaller party decorations.
Can I use regular printer paper for origami decorations?
Yes—especially for practice. Printer paper is thicker, so crisp models like cranes may feel bulky. If you do use it, cut perfect squares and crease firmly with a ruler edge or bone folder.
How do I attach origami to a garland without ruining it?
Use small rolled tape loops on the back of each piece, or clip items with mini clothespins. For cranes, string them through the body with thread or fishing line.
How many pieces do I need for a party backdrop?
A simple backdrop can be made with 8–12 hanging strands, each strand holding 6–10 cranes spaced 4–6 inches apart. For a smaller accent area (like a cake table), try 4–6 strands.
How far in advance can I make origami decorations?
Most origami party decorations can be made 1–3 weeks ahead. Store them flat in a shallow box or bakery box with tissue paper so they don’t get crushed.
Are these handmade decorations kid-friendly?
Lucky stars and balloons are very kid-friendly (with pre-cut paper). Cranes are better for older kids/teens or as a group activity with an adult guiding the tricky folds.
Wrap-Up: Your Party Decor Just Got More Handmade
Origami decorations are an easy win for DIY party planning: low cost, high impact, and endlessly customizable. Start with balloons or hearts, make a pile of lucky stars for favor jars, then try cranes when you’re ready for a wow-worthy backdrop. Each fold builds your confidence, and your party space gets a little more personal with every piece you make.
Want more beginner-friendly DIY crafts, party decorations, and handmade project ideas? Explore more creative inspiration on smartpartyprep.com.
More Articles
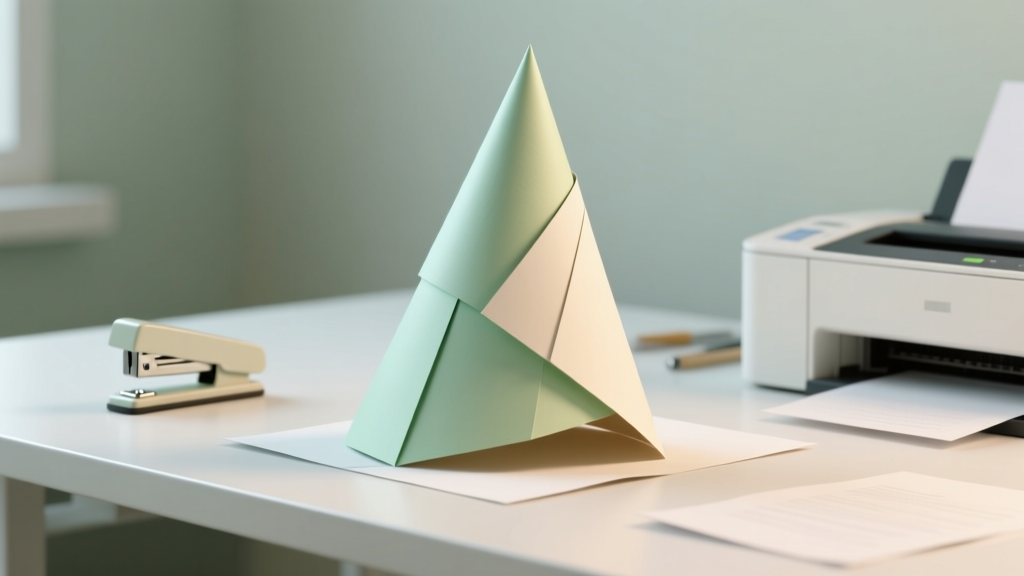
 No-Sew Origami Decorations Tutorial
 How to Make a Paper Party Hat in Under 12 Minutes (No Glue Gun, No Scissors Required — Just Printer Paper & a Stapler)
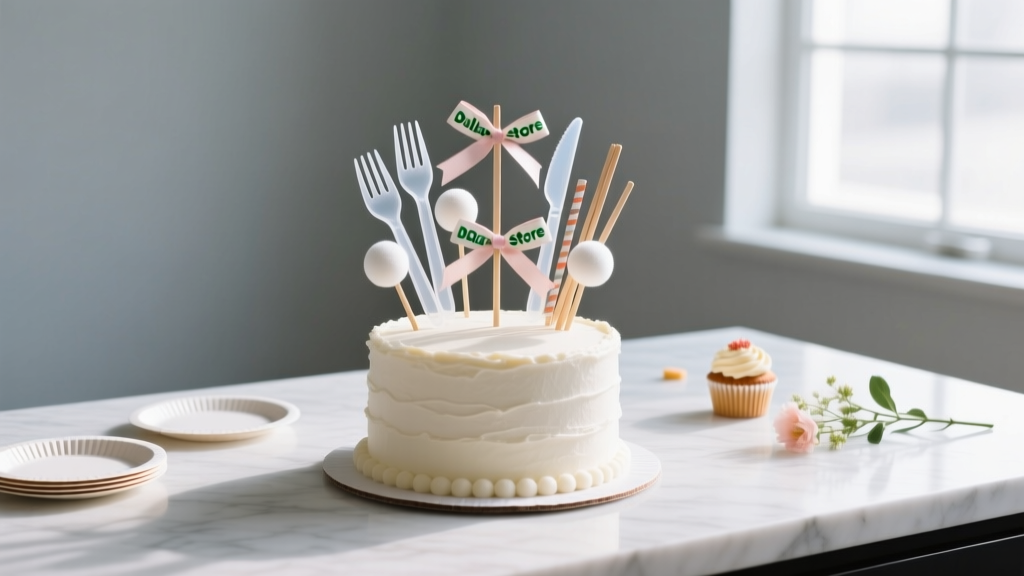 DIY Cake Toppers with Dollar Store Supplies
 20 Creative Scrapbook Pages Ideas
 How to Unblock 3rd Party Session Cookies in 2024: The Only 5-Step Guide You’ll Need (No Extensions, No Coding, Works on Chrome, Safari & Edge)
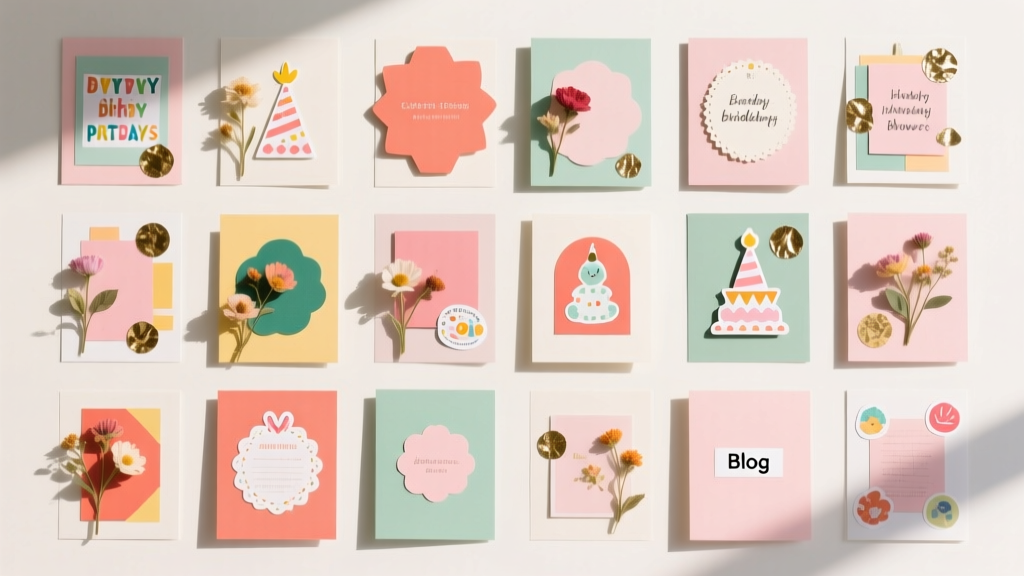
 DIY Greeting Cards Party Favors
 How to Install 3rd Party Apps on Toshiba Smart TV: The Only Step-by-Step Guide That Actually Works in 2024 (No Rooting, No Jailbreak, No Guesswork)
 DIY Confetti in 30 Minutes
 Advanced Coasters for Crafters
 Advanced Slime for Crafters