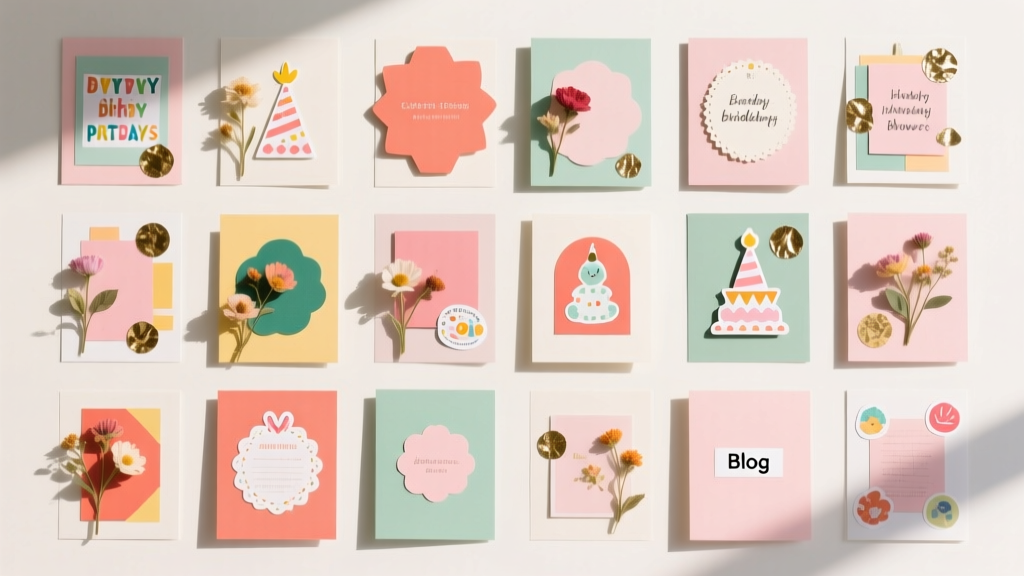
20 Creative Scrapbook Pages Ideas
Scrapbooking is one of those DIY crafts that feels instantly rewarding: you get to relive your favorite moments while making something beautiful you can flip through anytime. If you love hosting, celebrating, and crafting, scrapbook pages are also a practical way to keep party memories organized—photos, invites, confetti, and all.
Even better, scrapbook pages can double as handmade party decorations. Frame a finished page for a birthday photo table, display a series of pages as a “memory wall” at an anniversary party, or turn party pics into a guest book alternative. Whether you’re a beginner with a few photos and tape or an advanced crafter with a die-cutting machine, these page ideas are designed to be fun, flexible, and totally customizable.
This guide shares 20 creative scrapbook page ideas (many party-themed), plus supplies, costs, step-by-step instructions, pro tips, troubleshooting, and common mistakes to avoid—so you can create pages you’ll be proud to display.
Materials List (Product Types + Estimated Costs)
These are the most useful basics for DIY scrapbook pages. Mix and match based on your style and budget.
Core Supplies
- Scrapbook album (12x12 inch D-ring or post-bound): $15–$35
- Cardstock (12x12 inch, assorted colors, 50–100 sheets): $10–$25
- Patterned paper pad (12x12 inch, party themes/florals/geometrics): $8–$20
- Photo prints (4x6 inch or 5x7 inch): about $0.15–$0.50 each (varies by print service)
- Adhesive runner (acid-free): $6–$12
- Foam tape (3D dimension): $4–$8
- Double-sided tape (strong): $4–$10
- Photo-safe glue (liquid, optional): $4–$8
Tools (Worth Having)
- Paper trimmer (guillotine or slide): $12–$30
- Precision scissors (craft scissors): $5–$15
- Corner rounder punch (optional, beginner-friendly): $6–$12
- Hole punch (standard): $2–$8
- Ruler (12 inch metal recommended): $3–$10
- Pencil + eraser (for light layout marks): $1–$3
Embellishments (Choose Your Favorites)
- Alphabet stickers (black/white/gold): $4–$12
- Washi tape set (party colors): $6–$15
- Stickers (balloons, cakes, stars, confetti): $3–$10
- Die-cuts or ephemera packs (journaling cards, tags): $5–$15
- Ribbon or twine (1/8 inch–3/8 inch): $3–$8
- Stamp set + ink (date stamps, party icons): $8–$25
- Metallic gel pens (gold/silver/white): $5–$12
Estimated cost per page: $2–$8 depending on embellishments (photos not included).
Before You Start: Page Size, Skill Level, and Time
- Standard size: 12x12 inches (most common for albums and layouts)
- Alternate size: 8.5x11 inches (easier to print backgrounds at home)
- Skill levels:
- Beginner: simple layering + stickers
- Intermediate: mixed media, interactive flaps
- Advanced: shaker elements, stitching, complex cut files
- Time estimates:
- Quick layout: 20–30 minutes
- Average layout: 45–90 minutes
- Interactive/advanced: 90–150 minutes
Step-by-Step: The Basic Scrapbook Page Formula (Works for Any Theme)
Use this repeatable method for any of the 20 ideas below.
- Pick a theme + color palette. Choose 2–3 main colors and 1 metallic/neutral (example: blush + gold + white).
- Select photos. A great sweet spot is 3 photos (two 4x6 and one 3x4) for a balanced page.
- Choose a background. Use solid cardstock for bold embellishments, or light patterned paper for a soft, playful look.
- Plan a simple layout. Lightly pencil a 1/4 inch border around the page to keep everything framed.
- Mat your photos (optional but polished). Cut cardstock mats that are 1/8 inch larger on all sides than each photo (so the mat adds 1/4 inch total width and height).
- Build layers. Add 2–4 paper layers behind photos using rectangles like 3x5 inches, 2x4 inches, or torn strips 1 inch wide.
- Add a title. Place it near the focal photo. Try 1–5 words (example: “Birthday Magic”).
- Journal or caption. Write 1–3 sentences or use bullet points: date, location, funny moment, favorite detail.
- Embellish with intention. Add clusters in 3 points (top left, near title, bottom right) to guide the eye.
- Secure + flatten. Press firmly, trim any overhang, and avoid bulky items if your album doesn’t allow dimension.
20 Creative Scrapbook Page Ideas (Party-Ready and Display-Worthy)
Each idea includes a theme, what to use, and a quick build plan. Mix these into a party album, baby book, graduation keepsake, or holiday memory binder.
1) Birthday Confetti Explosion (Beginner | 45 min)
- Use: Bright cardstock, confetti stickers, washi tape
- How: Cut 20–30 circles (1/2 inch) from scraps and “burst” them from one corner toward the center. Add a 4x6 photo and a bold title.
2) Photo Booth Strip Page (Beginner | 30–60 min)
- Use: Photo booth prints or 2x6 inch photo strips, black cardstock
- How: Mount strips on black mats (add 1/8 inch border). Add speech bubble stickers with quotes.
3) Party Invitation Pocket (Intermediate | 60–90 min)
- Use: Envelope, journaling card, invite, RSVP
- How: Create a pocket from patterned paper: cut 6x8 inches, fold up 2.5 inches, tape sides. Slide in invite + notes.
4) Cake Topper Showcase (Beginner | 45 min)
- Use: Photos of cake + topper, glitter paper accents
- How: Make a “banner” across the top with triangles 1.5 inches wide. Add cake details as journaling.
5) Balloon Bouquet Cluster (Beginner | 30–45 min)
- Use: Balloon die-cuts, twine, foam tape
- How: Create 5–9 balloon shapes; pop 2–3 with foam tape. Tie twine strings and tuck behind the photo.
6) “Party Timeline” Grid (Beginner | 60 min)
- Use: 6 small photos (2x2 or 2x3 inches), labels
- How: Arrange in a 2x3 grid with 1/4 inch spacing. Caption each: “Set-up,” “Games,” “Cake,” etc.
7) Confetti Shaker Window (Advanced | 90–120 min)
- Use: Acetate sheet, foam tape, sequins
- How: Cut a window 3x4 inches from the page layer, back with acetate, build foam tape walls, add confetti, seal with cardstock.
8) Party Menu + Recipe Highlight (Intermediate | 60–90 min)
- Use: Printed menu, recipe card, food photos
- How: Mount the menu as a focal panel (4x6 inches), add a handwritten recipe for the crowd favorite.
9) Milestone Age Number Page (Beginner | 45–60 min)
- Use: Large chipboard number (example: “5”), patterned paper
- How: Wrap the number in patterned paper, outline with a gel pen, and layer photos around it.
10) “Best Day Ever” Polaroid Frames (Beginner | 45 min)
- Use: White cardstock frames (cut 3.5x4.25 with a 2.5x2.5 window)
- How: Create 3 frames, angle them slightly, and tuck small embellishments under corners.
11) Party Games Scorecard Page (Intermediate | 60 min)
- Use: Mini scorecards, tickets, game photos
- How: Add a scoreboard section with lines (1/4 inch apart) and fill in winners and funny moments.
12) Baby Shower Wishes Page (Intermediate | 75–120 min)
- Use: Advice cards, pastel paper, tiny hearts
- How: Add a pocket for wishes; feature 1–2 favorite cards on the front with a baby photo (if available).
13) Graduation “Cap Toss” Layout (Beginner | 45–75 min)
- Use: Black + gold cardstock, star stickers
- How: Create a diagonal band (cut 3 inches wide) with stars “flying” across; add date and school name.
14) Wedding/Engagement Party Elegant Minimal (Beginner | 30–45 min)
- Use: White cardstock, vellum, gold alphabet
- How: One large 5x7 photo centered, vellum strip 2 inches tall for title, tiny floral cluster in one corner.
15) Holiday Party Sweater Pattern Background (Beginner | 60 min)
- Use: Patterned paper, red/green accents
- How: Use sweater-knit patterned paper as the base; add 3 photos and journaling in a tag shape (2x4 inches).
16) New Year’s “Sparkle & Shine” Fireworks (Intermediate | 75 min)
- Use: Metallic cardstock, string, sequins
- How: Cut fireworks bursts (or use stickers) radiating from the bottom edge; add your midnight photo and a “2026” title.
17) Sleepover Party Checklist Page (Beginner | 45–60 min)
- Use: Checklist stamps/stickers, pastel paper
- How: List activities with checkboxes: “Popcorn,” “Movies,” “Face masks,” “Truth or dare.” Add goofy selfies.
18) Pool Party Watercolor Splash (Advanced | 90–120 min)
- Use: Watercolor or distress ink, waterproof pen
- How: Paint light blue splashes around the edges, let dry fully, then mount photos with strong tape. Add “splash” word art.
19) Party Favor Tag Collage (Intermediate | 60–90 min)
- Use: Actual favor tags, ribbon, mini photos
- How: Arrange 6–10 tags like a cascade; staple or glue ribbon bows (keep it flat for albums).
20) “Before & After” Party Setup Transformation (Beginner | 45–75 min)
- Use: One “before” photo + one “after” photo, arrows, labels
- How: Place photos side-by-side with a 1 inch arrow between them. Journal what you DIYed (backdrop, balloons, centerpieces).
Pro Tips, Variations, and Troubleshooting
Pro Tips for Clean, Professional Pages
- Use the “visual triangle” rule: place embellishment clusters in three spots to balance the page.
- Stick to odd numbers: 3 or 5 embellishments in a cluster usually looks more natural.
- Ink the edges: Light brown or matching ink along paper edges adds depth (great for vintage party themes).
- Print photos with a border: A thin white border gives instant polish and helps photos stand out.
Beginner-Friendly Adaptations
- Use pre-made layout templates or sketch a simple grid.
- Swap cutting and layering for stickers + washi tape.
- Journal on a card and glue it down—no fancy lettering required.
Advanced Variations
- Add interactive flaps: hinge with washi tape; keep flap size around 3x4 inches.
- Try hand stitching around a photo mat using embroidery floss and a needle (poke holes every 1/4 inch).
- Create a mini banner using brads (pre-poke holes to avoid tearing).
Troubleshooting
- Problem: Paper is warping (especially with paint/glue).
Fix: Use less liquid adhesive, let paint dry fully, and place under a heavy book for 30 minutes. - Problem: Photos won’t stick well.
Fix: Use photo-safe double-sided tape or an adhesive runner; avoid cheap glue sticks for glossy prints. - Problem: Layout feels “busy.”
Fix: Remove one patterned layer, switch to solid mats, and limit to 1–2 embellishment styles. - Problem: Title looks crooked.
Fix: Lightly pencil a guideline using a ruler; erase afterward.
Common Scrapbooking Mistakes to Avoid
- Using non-archival adhesives on photos: choose acid-free and photo-safe to prevent yellowing over time.
- Overloading bulky embellishments (thick buttons, chunky bows) in a tight album: your pages won’t lay flat.
- Skipping a focal point: every page needs one main photo or title area that grabs attention first.
- Mixing too many fonts (stickers + handwriting + stamps): stick to 2 styles for a cleaner look.
- Cutting without measuring: even a quick pencil mark can save a whole sheet of patterned paper.
- Forgetting the story: add the date, ages, or a funny detail—those are the lines you’ll love rereading later.
FAQ: Scrapbook Pages for Parties, DIY Crafts, and Handmade Keepsakes
1) What’s the easiest scrapbook page size for beginners?
12x12 inches is the most common, but 8.5x11 inches is easier if you want to print backgrounds at home and store pages in regular binders.
2) How do I keep scrapbook pages from getting too bulky?
Limit foam tape to one focal area, skip thick objects, and use flat embellishments (washi, stickers, die-cuts). If you love dimension, use a D-ring album with wider capacity.
3) Can I include real party items like confetti or invitations?
Yes—just keep it flat and secure. Use pockets for loose items and avoid anything oily or food-stained. For confetti, consider sealing it in a shaker window or small plastic sleeve.
4) What adhesive is best for photos?
A photo-safe adhesive runner or acid-free double-sided tape works best for glossy prints. Liquid glue can wrinkle photos if applied too heavily.
5) How many photos should I use on one page?
For a clean look, try 1–3 photos. For storytelling (like party games or setup), go with a 6-photo grid and keep embellishments minimal.
6) How can I turn scrapbook pages into party decorations?
Slip finished pages into 12x12 frames for a party display, clip pages to a string with mini clothespins for a memory garland, or create a “year of celebrations” wall for birthdays and holidays.
Wrap-Up: Your Next Page Can Be Your Favorite Yet
Scrapbook pages are the perfect mix of creative play and meaningful memory-keeping—and they fit right into party planning, DIY decorations, and handmade projects. Pick one idea from this list, gather a few photos, and use the basic page formula to get it done in one crafting session. Your future self (and your guests) will love seeing these moments saved so beautifully.
Ready for more party-ready DIY crafts, handmade decorations, and creative project ideas? Explore more inspiration on smartpartyprep.com.
More Articles
 Are Create Creatine Gummies Third Party Tested? Here’s Exactly How to Verify Lab Certification (Without Paying for a Full Batch You Can’t Trust)
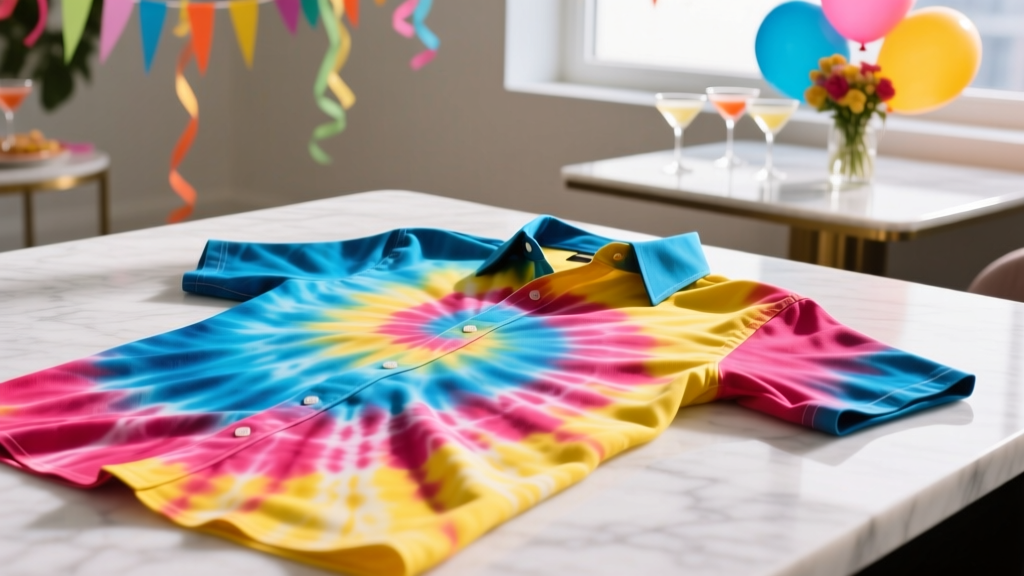 How to Make Tie-Dye Shirts at Home
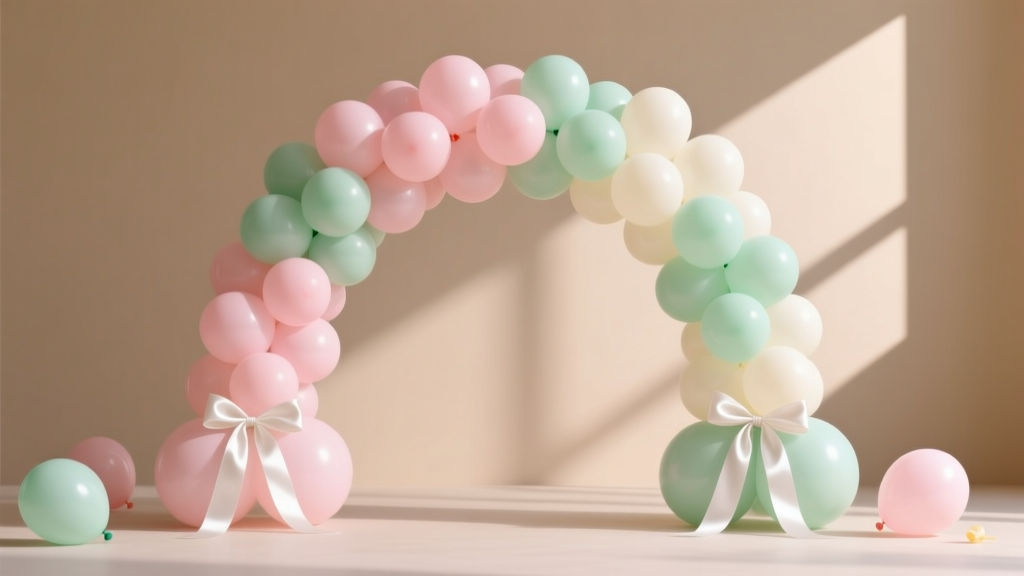 Easy Balloon Arches for Beginners
 25 Creative Slime Ideas
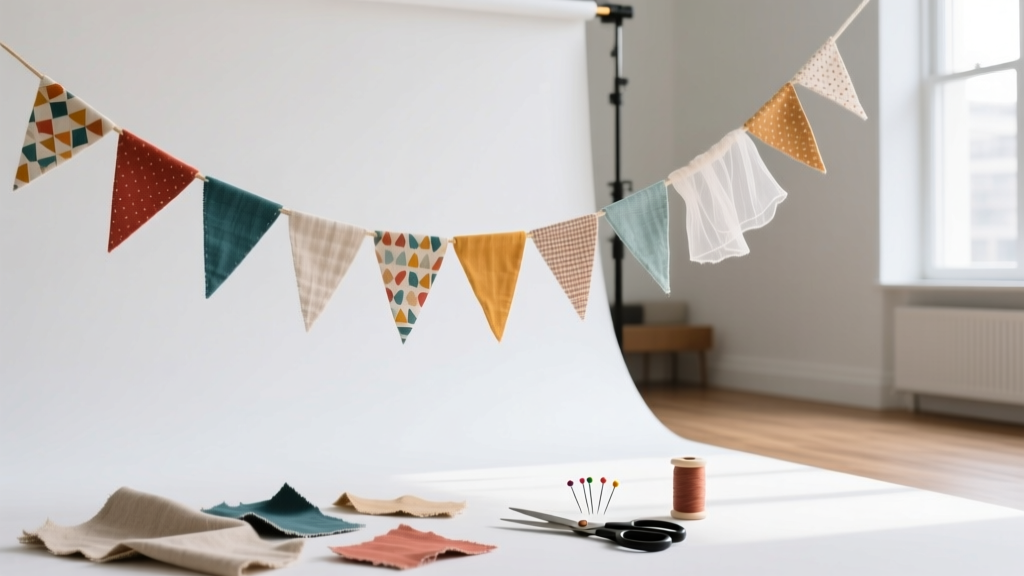 DIY Fabric Bunting for Birthdays
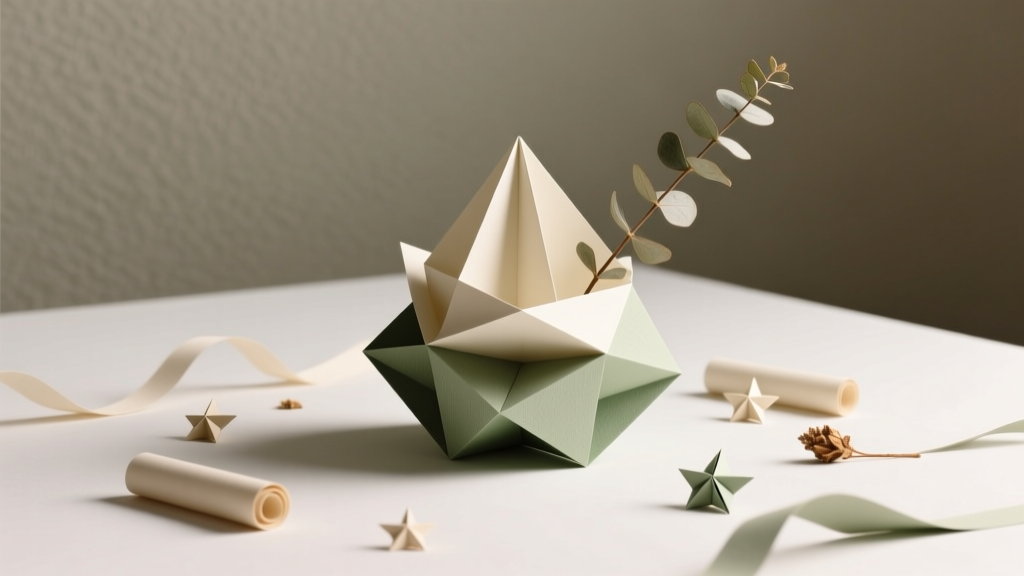 Paper Craft Centerpieces Ideas
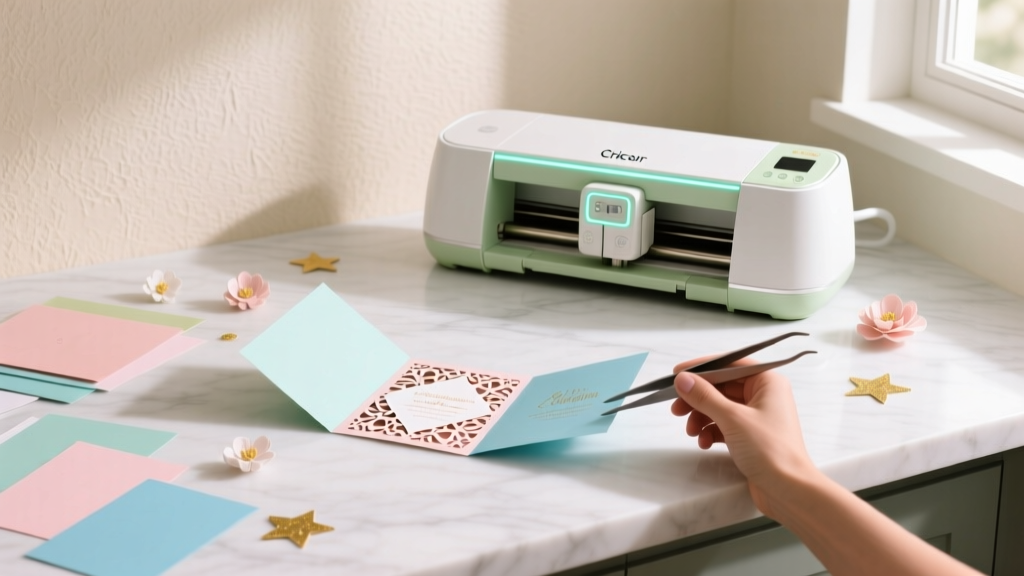 DIY Invitations Using Cricut
 How to Enable Third Party Cookies on iPhone in 2024: The Real Truth (Spoiler: You Can’t — But Here’s What Actually Works Instead)
 Easy Tie-Dye Shirts for Beginners
 Upcycled Wall Art from Recycled Materials