
Easy Tie-Dye Shirts for Beginners
Tie-dye shirts are one of those DIY crafts that feel like a party all by themselves—bright colors, simple steps, and that moment of surprise when you unfold the fabric and reveal the pattern. If you’re planning a birthday, summer BBQ, family reunion, bachelorette weekend, or kids’ craft table, beginner tie-dye is a hands-on activity that doubles as a wearable party favor.
Even better: tie-dye is forgiving. Small “mistakes” often turn into cool effects, and you don’t need fancy tools to get bold results. With a few basic supplies and a little prep, you can create handmade projects that look intentional, photo-ready, and totally unique.
This guide walks you through easy tie-dye shirts for beginners with practical measurements, time estimates, and troubleshooting—plus creative variations for themed party decorations and coordinated group looks.
Project Overview (Skill Level, Time, and Best Uses)
- Skill level: Beginner (kid-friendly with supervision)
- Total time: 30–45 minutes hands-on + 6–24 hours batch/set time + rinse/wash time
- Best for: DIY party activities, handmade party favors, team shirts, family reunion shirts, camp crafts, birthday sleepovers, festival outfits
- Great group size: 4–20 people (set up in stations)
Materials List (with Product Types + Estimated Costs)
Costs vary by brand and quantity, but this list gives realistic ranges for a beginner-friendly setup.
Core Supplies
- 100% cotton white T-shirts (best for vibrant color)
- Type: cotton crewneck tees, 5–6 oz fabric weight
- Estimated cost: $3–$8 each (bulk packs often cheaper)
- Quantity: 1 per person + 1 extra for practice
- Fiber-reactive tie-dye kit (includes dye powders or premixed bottles)
- Type: beginner tie-dye kit with squeeze bottles
- Estimated cost: $15–$35 (typically dyes 6–15 shirts depending on saturation)
- Soda ash (fixer) (if your kit doesn’t include it)
- Type: sodium carbonate / soda ash
- Estimated cost: $5–$12
- Amount: about 1 cup (250 g) per gallon of water for soak
- Rubber bands
- Type: medium and large assorted bands
- Estimated cost: $3–$8 per bag
- Plastic table cover or painter’s plastic
- Type: disposable party tablecloths or 2–4 mil painter’s plastic
- Estimated cost: $2–$10
Helpful Tools (Highly Recommended)
- Nitrile or latex gloves (one pair per person)
- Estimated cost: $8–$15 per box
- Aprons or old button-up shirts (dye can stain permanently)
- Wire rack + tray (keeps shirts from sitting in puddles)
- Estimated cost: $8–$20 if you don’t have one
- Zip-top bags or plastic wrap (for batching)
- Estimated cost: $3–$8
- Measuring cup + bucket (for soda ash soak)
- Size: 1-gallon bucket or large bowl
- Spray bottle with water (helps keep fabric evenly damp)
Optional Add-Ons for Party-Perfect Results
- Fabric-safe marker (add names or dates after washing): $3–$8
- Iron-on vinyl or patches (for team/family labels): $5–$20
- Glow-in-the-dark or neon dye colors (great for blacklight parties): varies by kit
Prep Steps (Don’t Skip These for Bright, Even Color)
1) Pre-wash the shirts
Many new shirts contain sizing that resists dye. Wash shirts in warm water with a small amount of detergent. Skip fabric softener.
- Time: 5 minutes to start + wash cycle
- Tip: Dye works best on slightly damp fabric, not dripping wet.
2) Soda ash soak (if using fiber-reactive dye)
This step boosts color vibrancy and wash-fastness.
- Fill a bucket with 1 gallon (3.8 L) warm water.
- Add 1 cup (about 250 g) soda ash. Stir until mostly dissolved.
- Soak shirts for 15–30 minutes.
- Wring out until damp (wear gloves—soda ash can be drying on skin).
3) Set up a tie-dye “craft station”
For parties, a good setup keeps things fun and low-mess.
- Cover the table fully with plastic.
- Place dye bottles in a shallow tray.
- Set out rubber bands, gloves, and paper towels.
- Create a “dry zone” (clean area for folding/tie instructions).
- Create a “wet zone” (dying area with rack/tray).
Easy Tie-Dye Patterns for Beginners (Pick One to Start)
Pattern A: Classic Spiral (Most Popular)
- Difficulty: Beginner
- Look: Iconic swirl, great for group shirts
- Lay the damp shirt flat.
- Pinch the fabric at the center (chest area for a centered spiral).
- Twist in one direction until the shirt forms a tight “cinnamon roll” shape.
- Secure with 3–4 rubber bands crossing over the circle to create wedge sections.
Pattern B: Bullseye (Fast and Bold)
- Difficulty: Beginner
- Look: Target rings from center point
- Pinch the shirt at the center point you want the bullseye (middle, shoulder, or hem).
- Pull upward into a fabric cone.
- Add rubber bands every 1.5–2 inches (4–5 cm) down the cone.
Pattern C: Crumple (Easiest “No-Pressure” Option)
- Difficulty: Beginner (perfect for kids)
- Look: Organic, confetti-like bursts
- Crumple the damp shirt into a loose ball.
- Tuck in sleeves so the bundle is compact.
- Wrap 4–6 rubber bands around the bundle to hold the shape.
Step-by-Step: How to Dye the Shirt (Beginner-Friendly Method)
Step 1: Mix or prep your dyes
- If your kit has premixed bottles, shake well.
- If you’re mixing powder dye, follow the kit instructions carefully.
- Tool recommendation: Use squeeze bottles with narrow tips for clean lines and less mess.
Step 2: Apply dye with a simple color plan
For beginners, pick 2–3 colors that blend nicely (example: blue + purple + pink) instead of many colors that can turn muddy.
- Put on gloves.
- Place the tied shirt on a rack or on plastic.
- Apply dye to each section:
- Spiral: Color each wedge section; alternate colors for a strong swirl.
- Bullseye: Dye each banded ring a different color.
- Crumple: Dab or squiggle dye across the top, then flip and repeat.
- Flip the shirt and dye the back to prevent white patches.
How much dye is enough? The fabric should look saturated but not swimming. If you see dry “white cotton” deep in folds, add a bit more dye.
Step 3: Wrap and let the dye set (“batching”)
- Place the dyed shirt in a zip-top bag or wrap tightly in plastic wrap.
- Let it sit in a warm spot for 6–24 hours.
- Best results: 12–24 hours for deeper color.
- If you’re short on time: 6–8 hours can work, especially in warm rooms (around 70–80°F / 21–27°C).
Step 4: Rinse, wash, and dry
- Rinse the shirt cold while it’s still tied until water runs less dark.
- Remove rubber bands.
- Rinse again, gradually moving to cool to warm water until mostly clear.
- Wash the shirt alone (or with other tie-dye items) in warm water with detergent.
- Dry in the dryer or air-dry.
Party planning tip: If you’re making these at an event, send guests home with their wrapped shirts and a printed care card (rinsing/washing instructions). It turns the activity into a take-home handmade party favor.
Pro Tips for Bright Colors and Clean Patterns
- Choose the right fabric: 100% cotton gives the most vibrant tie-dye results. Cotton/poly blends may look more pastel.
- Keep fabric damp: If the shirt starts drying while you work, mist lightly with water for smoother blending.
- Use a “color triangle”: Colors next to each other on the color wheel blend nicely (blue-purple-pink, yellow-orange-red).
- Leave a little white space on purpose: A few lighter areas help the pattern pop and look more intentional.
- Work over a rack: This reduces muddy pooling and helps colors stay crisp.
Creative Variations (Party Themes + Advanced Options)
Beginner-Friendly Party Themes
- Rainbow birthday: Spiral with 3–5 bright colors; keep wedges consistent for a bold swirl.
- Beach party: Bullseye with teal + aqua + sandy yellow for “ocean-to-shore” vibes.
- Team or family reunion: Use 2 colors (team colors) in a spiral; add names later with fabric marker.
- Boho brunch: Crumple with blush + lavender + a touch of tan for a soft, modern look.
Advanced Variations (When You’re Ready)
- Ice dye: Place ice over a folded shirt and sprinkle dye powder on top for watercolor effects (messier but stunning).
- Geode tie-dye: Use sinew or tight bands to create crystalline lines, then layer jewel tones.
- Reverse tie-dye: Start with a dark shirt and use bleach gel to remove color, then overdye (requires extra safety and ventilation).
Troubleshooting (Fix Common Tie-Dye Problems)
- Colors look dull after washing:
- Likely cause: skipped soda ash or used too much polyester.
- Fix: try 100% cotton and soak in soda ash next time; batch longer (12–24 hours).
- Too many white patches:
- Likely cause: dye didn’t reach inner folds.
- Fix: apply dye more slowly and flip the shirt; gently open folds and reapply.
- Colors turned brown/muddy:
- Likely cause: mixing complementary colors (like red + green) or over-saturating.
- Fix: limit to 2–3 colors that blend well; leave a bit of space between strong opposites.
- Dye bled everywhere and lost the pattern:
- Likely cause: shirt too wet or pooling underneath.
- Fix: wring to damp (not dripping), use a rack, and avoid flooding sections with dye.
- Stiff or crunchy shirt:
- Likely cause: excess dye or soda ash residue.
- Fix: extra rinse + an additional wash cycle.
Common Crafting Mistakes to Avoid
- Skipping the pre-wash: Sizing can block dye and create uneven color.
- Using fabric softener: It leaves a coating that resists dye absorption.
- Not protecting your workspace: Dye can stain tables, decks, and grout—cover more area than you think you need.
- Overcomplicating the color palette: Beginners get better results with fewer colors and a simple plan.
- Unwrapping too early: The dye needs time to react; short batching often leads to faded results.
- Washing tie-dye with other laundry right away: Run at least one solo wash first to avoid color transfer.
FAQ: Easy Tie-Dye Shirts for Beginners
1) Do I have to use 100% cotton shirts?
You’ll get the brightest results on 100% cotton, which is why it’s the go-to for DIY crafts and handmade projects. Cotton blends still work, but colors may come out lighter and more vintage-looking.
2) How many shirts can one tie-dye kit make?
It depends on the kit size and how saturated you dye. Many beginner kits handle 6–15 adult shirts. If you’re making bold, heavily saturated designs, plan on the lower end.
3) How long should I let tie-dye sit before rinsing?
For strong color, aim for 12–24 hours. If you’re prepping for a party and need faster results, 6–8 hours can work, especially in a warm room.
4) Can kids do this as a party activity?
Yes—tie-dye is a favorite for birthday parties and summer gatherings. Use the crumple method for the easiest approach, provide gloves and aprons, and have an adult handle the soda ash soak and rinse steps.
5) How do I keep the mess under control?
Use disposable tablecloths, set up a “wet zone,” and place shirts on a rack over a tray. Having a roll of paper towels and a trash bag right on the table makes cleanup much easier.
6) Can tie-dye be used as party decorations too?
Absolutely. Use the same dye technique on cotton bandanas, tote bags, table runners, or napkins to create coordinated DIY party decorations. They also make memorable handmade party favors.
Wrap-Up: Your First Tie-Dye Shirts Are Going to Look Awesome
When you keep it simple—good cotton shirts, a beginner-friendly dye kit, a clear pattern choice, and enough time for the dye to set—you’ll get bright, wearable results that feel custom-made for your celebration. Make one as a test, then set up a craft station and let everyone create their own design. The mix of creativity and instant gratification is exactly what makes tie-dye such a hit for DIY party projects.
Ready for more fun DIY crafts, party decorations, and handmade project ideas? Explore more creative inspiration at smartpartyprep.com.
More Articles
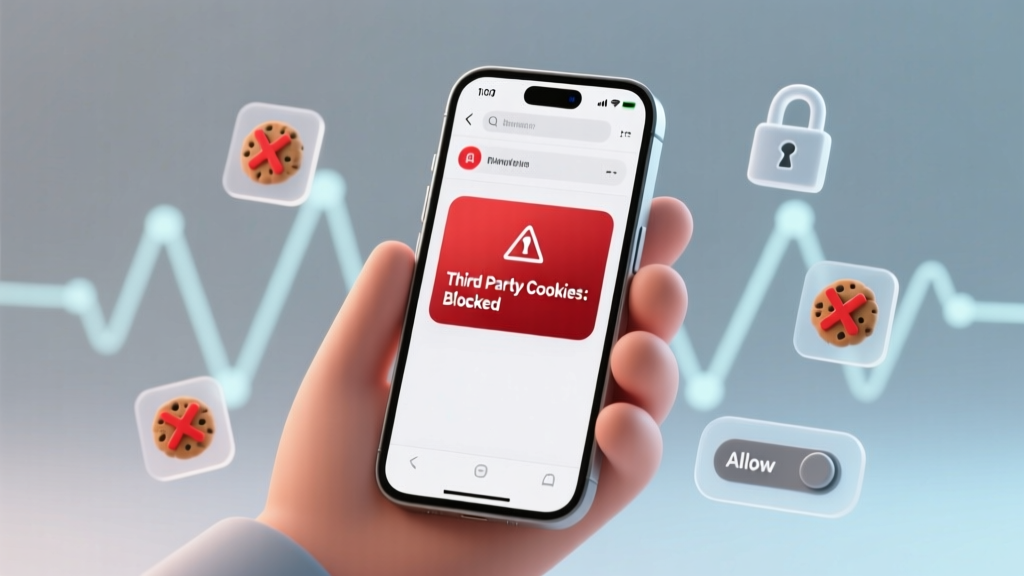 How to Enable Third Party Cookies on iPhone in 2024: The Real Truth (Spoiler: You Can’t — But Here’s What Actually Works Instead)
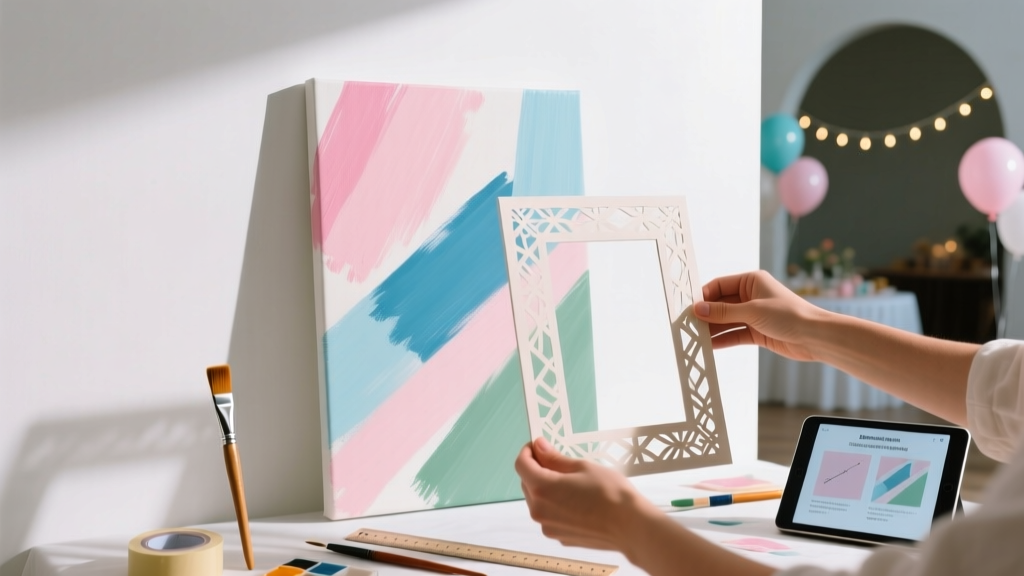 Step-by-Step Wall Art Tutorial (Perfect for Party Backdrops & Handmade Decor)
 How to Discharge Debt as a Secured Party Creditor: The Truth Behind the Viral Loophole (Spoiler: It Doesn’t Work — Here’s What Actually Does)
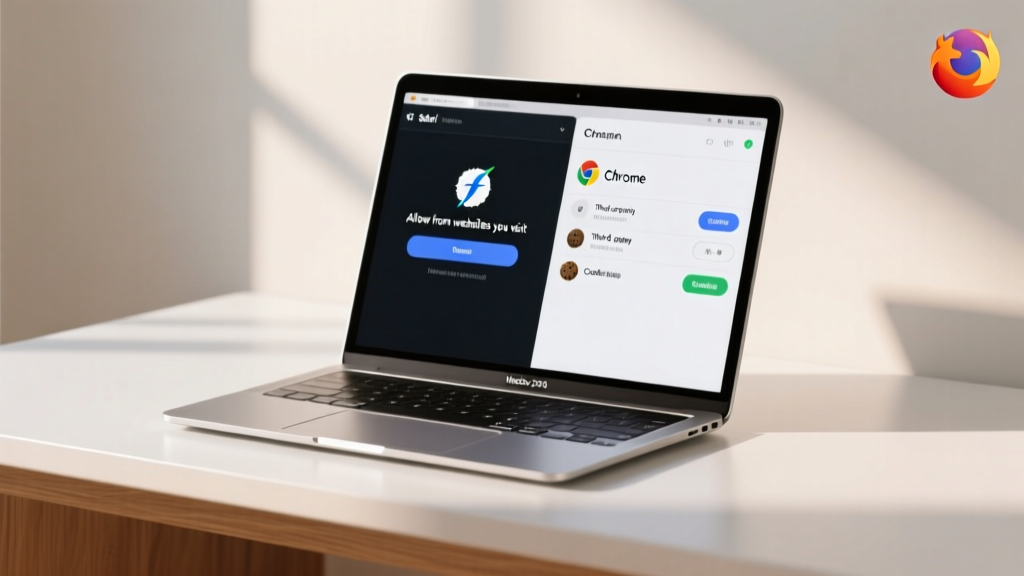
 How to Enable Third Party Cookies in My Browser (2024 Guide): Step-by-Step Fixes for Chrome, Safari, Firefox & Edge — Because Yes, You *Can* Still Do It (Without Compromising Security)
 Advanced Resin Jewelry for Crafters
 How to Enable Third Party Cookies on MacBook Air (2020–2024): A Step-by-Step Fix for Safari, Chrome & Firefox — Because Yes, It’s Still Possible (and Here’s Exactly How)
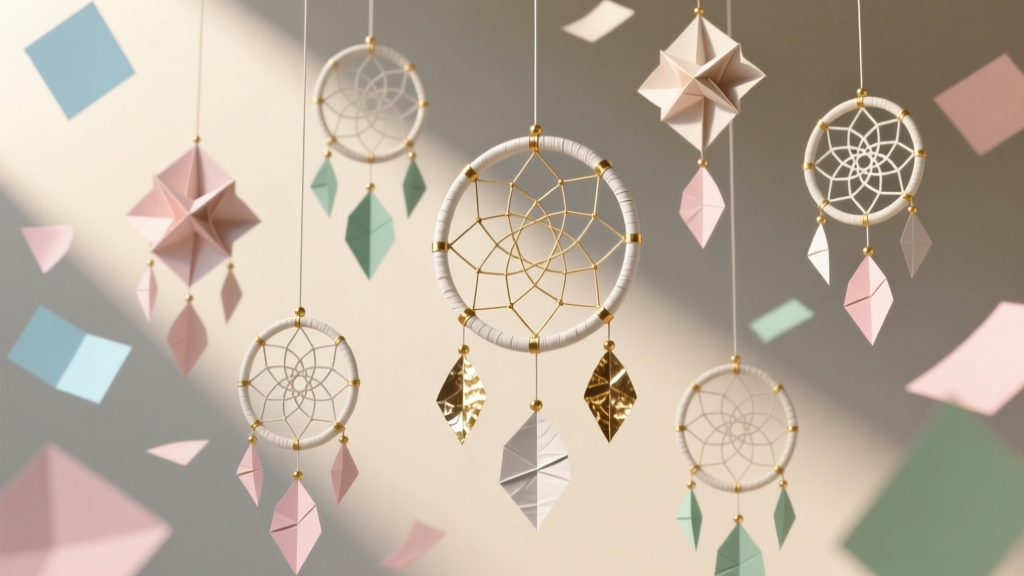 Paper Craft Dream Catchers Ideas
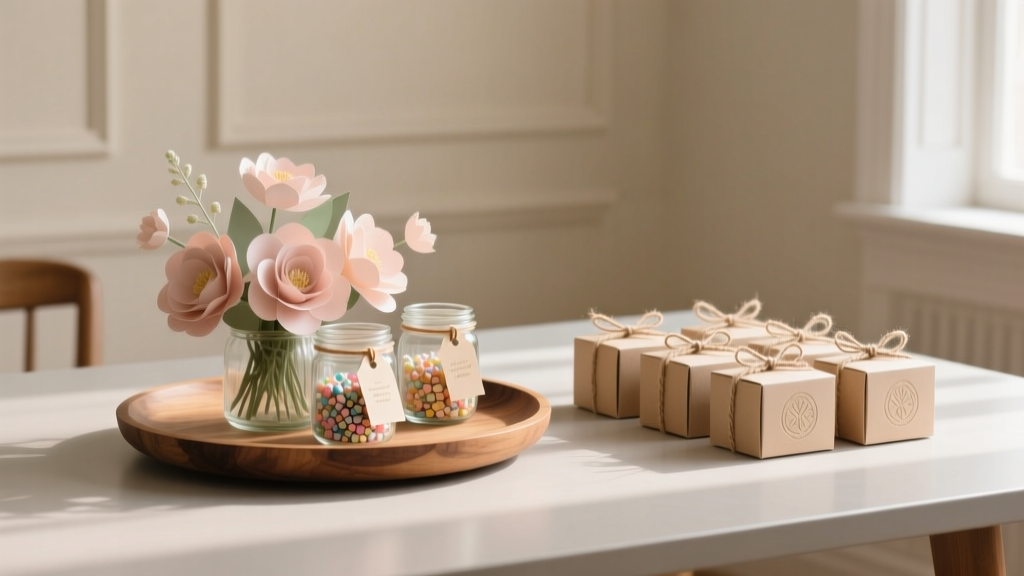 DIY Centerpieces Party Favors
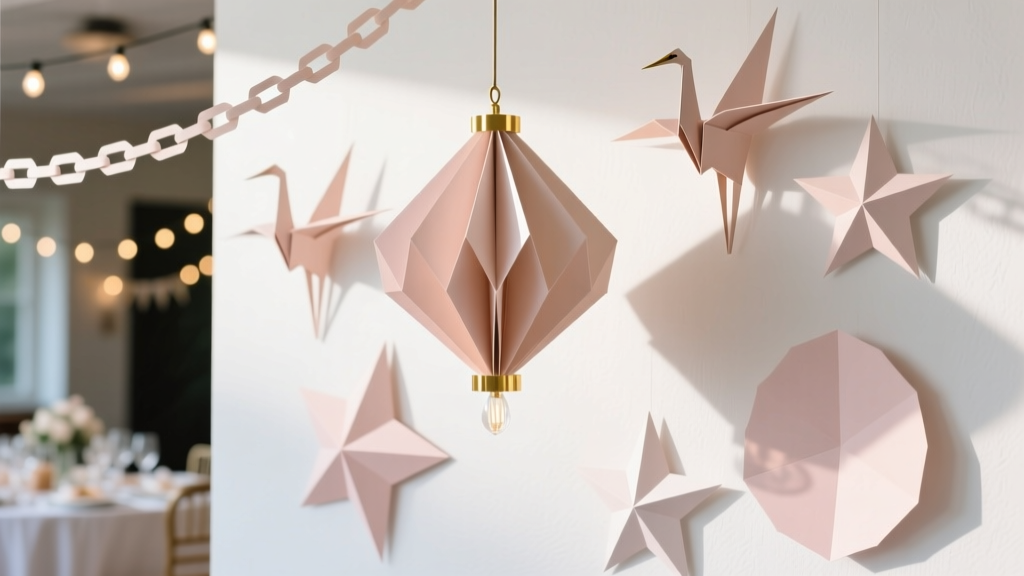 Paper Craft Wall Art Ideas
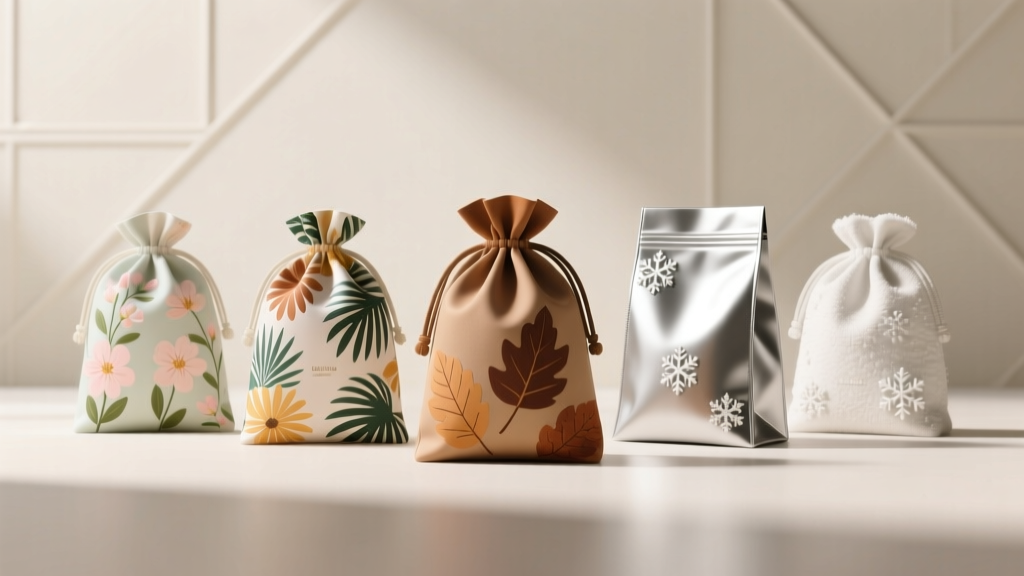 Seasonal Favor Bags Ideas