Step-by-Step Wall Art Tutorial (Perfect for Party Backdrops & Handmade Decor)
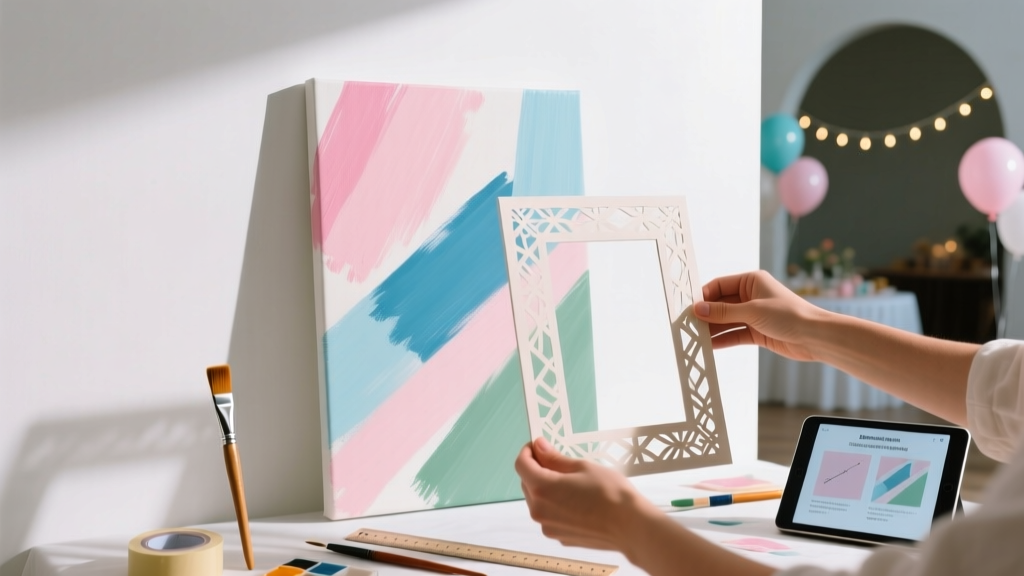
Nothing transforms a party space faster than bold, handmade wall art. Whether you’re hosting a birthday bash, baby shower, graduation party, or a cozy holiday gathering, a large statement piece behind the dessert table or gift station instantly makes the room feel styled and intentional.
This tutorial walks you through creating a modern, textured “confetti burst” wall art panel—bright, dimensional, and party-ready. It’s beginner-friendly, budget-conscious, and easy to customize to match any theme (think pastel for baby showers, metallic for New Year’s, or school colors for graduation).
Best of all: you’ll use approachable supplies (foam board, paint, craft paper, and a few basic tools) to make something that looks boutique-level. Let’s build a piece that photographs beautifully, packs away easily, and can even be reused for future celebrations.
Project Overview
- Skill level: Beginner to Intermediate (Advanced variations included)
- Total time: 1.5–3 hours (plus optional drying time)
- Estimated cost: $18–$55 depending on materials you already own
- Finished size (recommended): 24" x 36" wall art panel
- Best use cases: Party backdrop accent, dessert table decor, entryway welcome sign companion, photo booth wall styling
Materials & Tools (With Estimated Costs)
Base & Structure
- Foam board, 24" x 36" (3/16" or 1/2" thick) – $6–$12
- Look for: smooth, white foam board or black if you want a dark background
- Optional upgrade: 1/4" plywood panel, 24" x 36" – $12–$25
- Better for long-term reuse and heavier embellishments
- Painter’s tape (1" width) – $4–$8
Color & Texture
- Acrylic craft paint (2–4 colors, 2 oz bottles) – $1–$2 each (total $4–$10)
- Metallic acrylic paint (gold/silver/rose gold, optional) – $2–$6
- Cardstock or craft paper (12" x 12" packs or assorted sheets) – $5–$15
- Choose party-friendly shades: blush, sage, cobalt, rainbow brights, or neutrals with metallics
- Foam adhesive dots or foam mounting squares (3D effect) – $4–$8
Adhesives & Tools
- Hot glue gun + glue sticks – $8–$20 (or use what you have)
- PVA glue (school glue) or tacky glue – $2–$5
- Craft knife (X-Acto style) + extra blades – $4–$10
- Metal ruler (18"–24") – $6–$12
- Scissors – $3–$12
- Pencil + eraser – $1–$3
- Cutting mat (recommended) – $10–$20
- Paintbrushes (1" flat + small round) – $3–$10
Optional Party-Friendly Add-Ons
- Letter stickers or vinyl lettering (for a name, age, or phrase) – $3–$15
- Mini tassels, pom-poms, or ribbon – $3–$10
- Clear sealer spray (matte or satin) – $6–$12
Design Plan: “Confetti Burst” Layout
This piece features a painted background with layered paper “confetti” shapes arranged in a burst pattern. The 3D foam dots give it depth, which looks amazing in party photos and under string lights.
Recommended Measurements
- Border margin: 1.5" around all edges (keeps it crisp and frame-like)
- Burst center point: slightly above center (about 16" down from the top on a 36" tall board)
- Confetti shapes:
- Circles: 1" and 1.5" diameter
- Rectangles: 0.5" x 1.5"
- Triangles: 1" sides
- Streamers: 0.25" x 6" strips (curl with scissors if desired)
Step-by-Step Wall Art Tutorial
Step 1: Prep Your Work Area (5–10 minutes)
- Protect your surface with kraft paper, an old tablecloth, or a trash bag topped with paper.
- Plug in your hot glue gun and set it on a silicone mat or ceramic dish.
- If using a craft knife, place a cutting mat underneath for clean cuts.
Step 2: Tape Off a Clean Border (5 minutes)
- Measure and mark a 1.5" border around the foam board with light pencil dots.
- Apply painter’s tape along the pencil marks to create a crisp frame edge.
- Press the tape down firmly, especially at corners.
Step 3: Paint the Background (20–40 minutes + drying)
Choose one of these beginner-friendly background options:
- Solid color: Fastest and cleanest (white, blush, navy, black, or mint).
- Color block: Two colors split diagonally or horizontally for extra pop.
- Soft gradient: Blend two shades with a damp brush for an airy look.
- Paint within the taped area using a 1" flat brush.
- Apply 2 thin coats rather than one thick coat to avoid streaks.
- Let dry until not tacky (typically 20–30 minutes for thin coats).
Step 4: Mark Your Burst Center & Guide Lines (5 minutes)
- Lightly mark a center point: 12" from left edge and 16" from top (for a 24" x 36" board).
- With a pencil and ruler, draw 6–10 faint rays extending outward 8"–16" long.
- Keep lines light—these are only placement guides.
Step 5: Cut Confetti Shapes (25–45 minutes)
For a full 24" x 36" panel, aim for:
- 60–90 small pieces (1" circles/triangles/rectangles)
- 20–30 medium pieces (1.5" circles and larger rectangles)
- 8–12 streamers (0.25" x 6" strips)
- Cut cardstock into a few strips first (example: 1.5" wide strips for rectangles).
- Use scissors for quick shapes; use a craft knife and ruler for crisp rectangles.
- If you want perfect circles, trace coins (quarter for ~1", bottle cap for ~1.5").
Step 6: Arrange Before You Glue (10–15 minutes)
- Place your biggest pieces nearest the center point.
- Fan pieces outward along the guide rays, spacing them about 1"–2" apart.
- Mix colors evenly so one shade doesn’t clump in one area.
- Step back and check balance—this is where it starts looking “designed.”
Step 7: Add Dimension With Foam Dots (20–35 minutes)
- Start gluing from the center outward so you don’t smudge or bump finished areas.
- Use foam adhesive dots for about 70% of your confetti pieces to create depth.
- For streamers or curled strips, add a tiny dab of hot glue at one end only so they lift naturally.
- Press each piece down for 3–5 seconds to ensure it sticks.
Step 8: Peel Tape & Clean Edges (5 minutes)
- When paint is fully dry, peel painter’s tape back at a 45-degree angle.
- If the edge looks rough, touch up lightly with a small brush.
Step 9: Add Optional Party Personalization (10–20 minutes)
- Name or phrase: Add vinyl text like “Happy Birthday,” “Baby [Name],” or “Cheers!”
- Age/Year: Use large numbers (4"–6" tall) at one corner.
- Theme icons: Add tiny stars, hearts, disco balls, or florals in the same paper style.
Step 10: Mount or Display (5–10 minutes)
Fast display options for parties:
- On an easel: Great next to the welcome table.
- Command strips: Use 4–6 strips for a 24" x 36" foam board (follow package weight guidelines).
- Backdrop stand: Clip it to a stand with large binder clips, then hide clips with ribbon.
Pro Tips for a Polished, Photo-Ready Finish
- Use a limited palette: 3 main colors + 1 metallic reads clean and modern.
- Repeat shapes: Repetition makes it look intentional. Try mostly circles with a few rectangles for variety.
- Keep the center tight: Denser confetti at the center point creates a strong “burst” effect.
- Prevent warping: If painting foam board, use thin coats and let each coat dry fully.
- Lighting check: Test under your party lighting. Metallic pieces sparkle under string lights and flash photos.
Creative Variations (Beginner-Friendly to Advanced)
Beginner Variations
- Monochrome texture: All white pieces on a white painted base—subtle and chic for bridal showers.
- Simple rainbow sweep: Arrange confetti in a diagonal band from top-left to bottom-right.
- No paint version: Use a colored foam board and skip drying time.
Advanced Variations
- 3D paper sculpt: Add folded fan rosettes (4"–8" wide) at the burst center.
- Mixed media: Layer tulle, mesh ribbon, or iridescent cellophane under confetti for shimmer.
- LED accent: Wrap micro fairy lights behind the board and peek lights through small cut holes (best with a plywood base).
- Hand-lettered overlay: Paint a phrase in the center using a paint pen after everything dries.
Troubleshooting: Quick Fixes That Work
- My foam board is bending. Use lighter paint coats, paint both sides (thinly) to balance tension, or switch to plywood next time.
- Pieces keep popping off. Clean dust off the base, press foam dots firmly, and reinforce heavier pieces with a tiny dot of hot glue.
- Glue strings are everywhere. Let hot glue cool for a few seconds, then remove strings with tweezers or a quick blast of cool air.
- The design looks messy. Pull back 10–15 pieces and regroup them by color/shape; add more negative space near the edges.
- Paint bled under the tape. Seal tape edges with a thin coat of the base color first, then paint your main background color.
Common Crafting Mistakes to Avoid
- Skipping the layout step: Gluing as you go without arranging often leads to awkward spacing.
- Using too many colors: More than 4–5 colors can look chaotic, especially in photos.
- Heavy embellishments on foam board: Large wood pieces or thick resin accents can cause sagging—use plywood if going heavy.
- Overloading hot glue: Too much glue makes bumps and can melt foam board. Use small dabs.
- Placing dimension too evenly: If everything is equally raised, nothing stands out. Mix flat and 3D pieces.
- Forgetting transport: If you’re taking it to a venue, keep streamers shorter and avoid delicate overhangs.
FAQ: Wall Art for Parties & Handmade Decorations
1) Can I make this wall art the night before a party?
Yes. Choose a colored foam board (no paint) or paint early and let it dry fully. Assembly is usually 60–90 minutes once your pieces are cut.
2) What’s the best size for a party backdrop accent?
A 24" x 36" panel is a sweet spot—large enough to read in photos but easy to carry. For bigger backdrops, make two panels and hang them side by side.
3) Will this damage my walls?
Use removable hanging strips (like Command-style) and follow the weight limits. If your surface is textured, an easel or backdrop stand is the safest option.
4) How do I match this to a party theme?
Pick colors from your tableware or balloon garland, then repeat them in the confetti. Add theme wording (name, age, “Baby Shower,” “Congrats,” “Let’s Party”) using vinyl or letter stickers.
5) Can kids help with this project?
Yes—with supervision. Kids can paint the background and cut simple shapes with scissors. Adults should handle the craft knife and hot glue gun.
6) How do I store it for reuse?
Store flat in a closet or under a bed. If you added 3D streamers, place it in a shallow box (or between two large pieces of cardboard) so nothing gets crushed.
Wrap-Up: Your Party Space Just Got a Handmade Upgrade
This DIY wall art is one of those handmade projects that pays off immediately—big visual impact, easy customization, and a fun process that feels like you’re building the party vibe before guests even arrive. Make it bold for birthdays, soft for showers, or glam with metallic confetti for milestone celebrations.
If you try this tutorial, tweak the colors, add a name, and make it your own—your walls (and your photos) will thank you. Keep exploring more DIY crafts, party decorations, and handmade project ideas on smartpartyprep.com.
More Articles
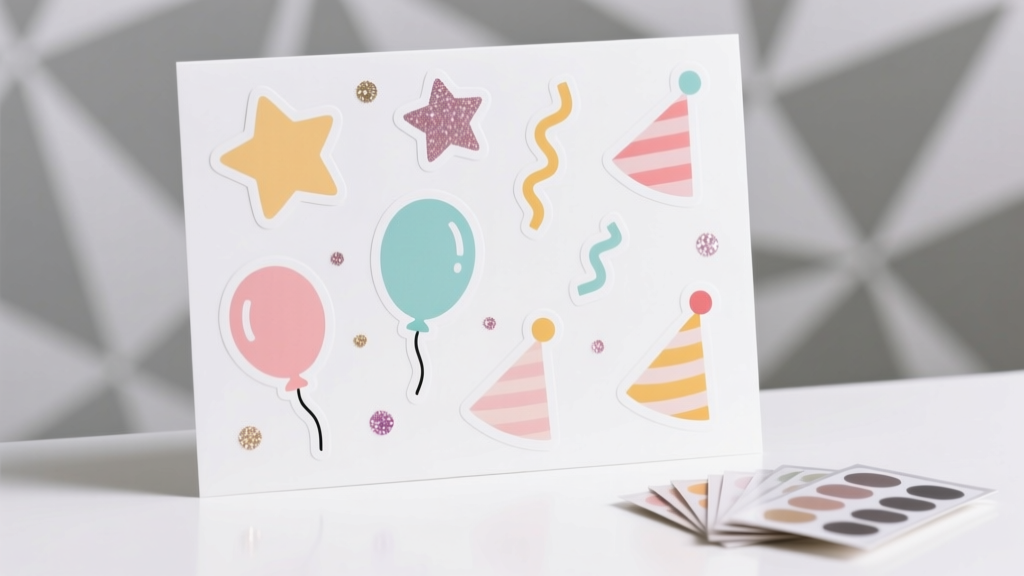 Easy Custom Stickers for Beginners
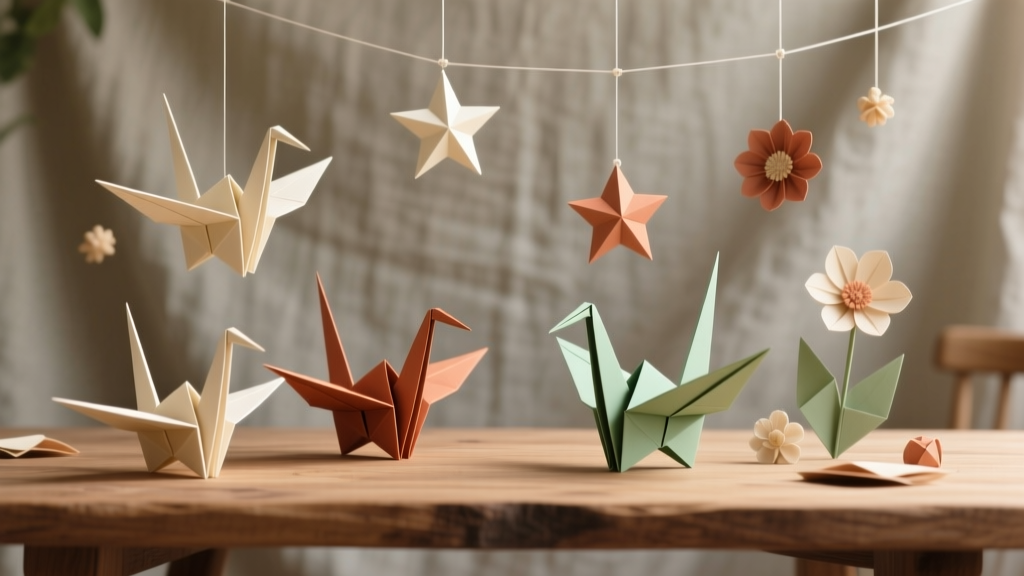 Rustic Origami Decorations Ideas
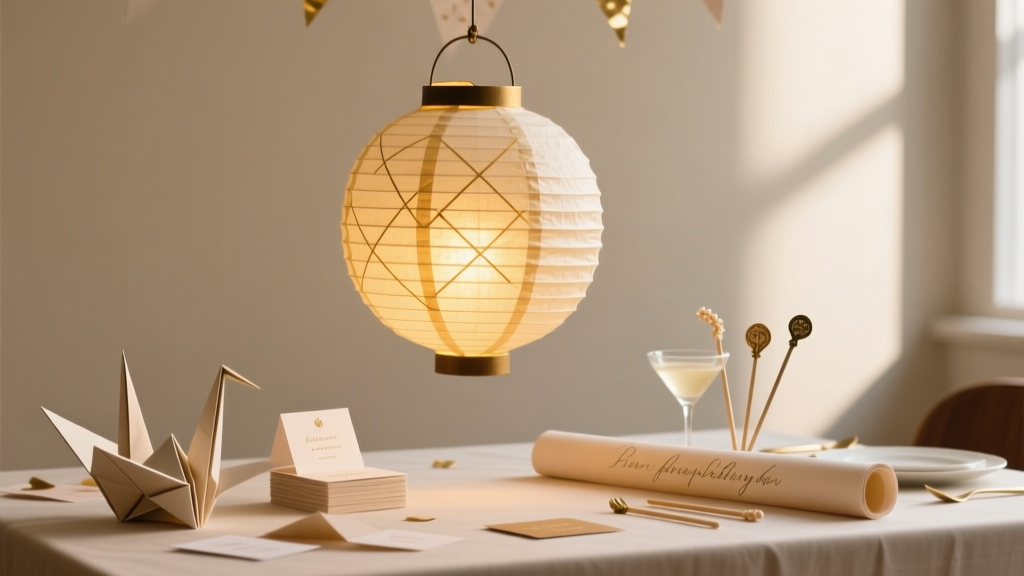 How to Make Paper Lanterns at Home
 How to Make Balloon Arches at Home
 Upcycled Wall Art from Recycled Materials
 Kids' Craft: Beaded Bracelets
 How to Remove a Pokemon from Your Party in Cobblemon: The 3-Step Method That Actually Works (No Crashes, No Lost Data, and Zero Mod Conflicts)
 12 Do It Yourself Birthday Party Decorations That Take Under 30 Minutes Each (No Craft Store Runs, No Glue Gun Stress, Just Real Results You’ll Actually Use)
 Seasonal Paper Flowers Ideas
 DIY Invitations Using Cricut