Seasonal Paper Flowers Ideas
Paper flowers are one of those magical DIY crafts that look high-end, photograph beautifully, and can be made on a kitchen table with simple supplies. Whether you’re decorating a birthday brunch, setting up a baby shower backdrop, styling a wedding welcome sign, or adding a handmade touch to holiday gatherings, seasonal paper flowers bring instant color and personality to your party decorations.
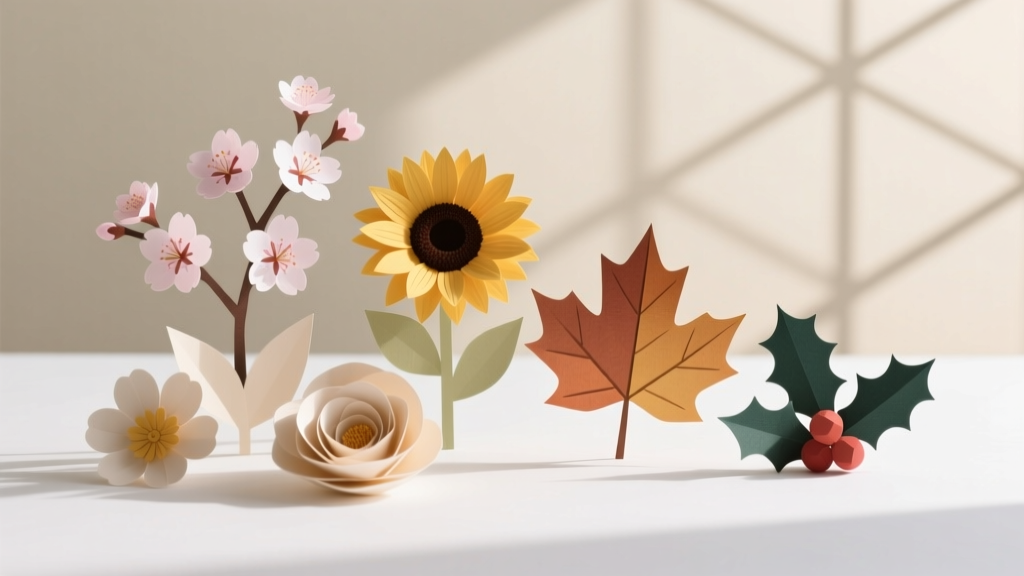
Even better: you can tailor them to any theme. Think pastel cherry blossoms for spring, bright sunflowers for summer, rust-and-gold dahlias for fall, and frosty white poinsettias for winter. This guide shares seasonal paper flower ideas you can actually make—plus measurements, time estimates, skill levels, and troubleshooting tips so your handmade projects feel fun instead of frustrating.
Grab your scissors and let’s turn paper into petals your guests will rave about.
Quick Project Overview
- Skill level: Beginner to Intermediate (advanced variations included)
- Time estimate: 15–30 minutes per flower (giant flowers: 45–75 minutes)
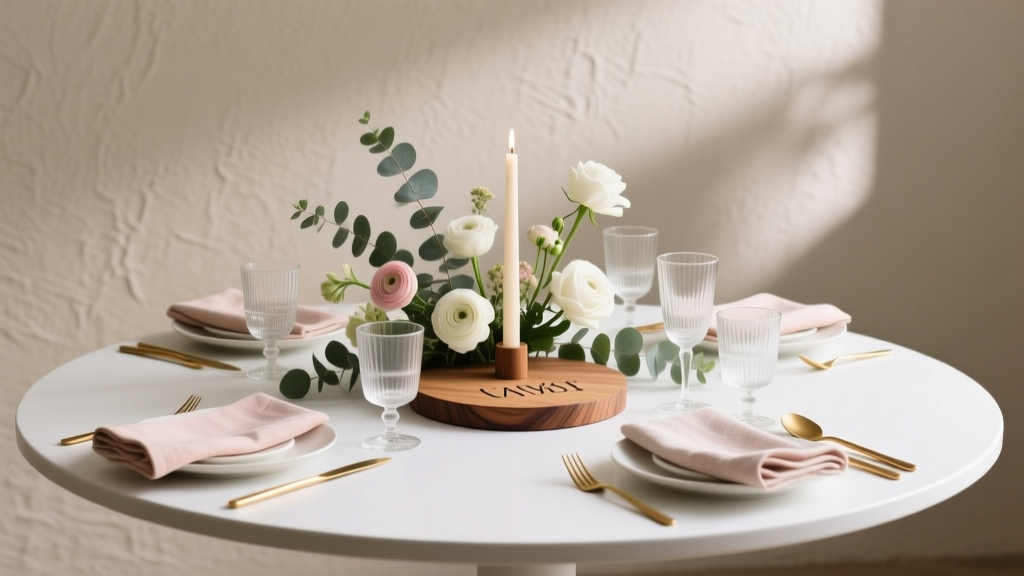
- Best uses: Party backdrops, dessert tables, balloon garlands, centerpieces, photo booth walls, gift toppers, chair decor
- Budget: Approximately $10–$35 depending on paper type and tool upgrades
Materials List (With Product Types + Estimated Costs)
You can make beautiful DIY paper flowers with basic supplies, but the right paper and adhesives make everything easier and sturdier for party setup.
Paper (choose one or mix)
- Cardstock (65–80 lb, 8.5" x 11" or 12" x 12") – best for crisp petals and giant flowers. $8–$15 per 50–100 sheets
- Crepe paper (doublette or heavy crepe, 90–180 gsm) – best for realistic ruffles and stretch shaping. $10–$20 for assorted pack
- Tissue paper (bulk packs) – best for pom-style blooms and budget-friendly decor. $5–$12 for 20–100 sheets
- Metallic or glitter cardstock (optional accents) – great for centers and holiday sparkle. $6–$12 per pack
Adhesives
- Hot glue gun (high-temp for speed, low-temp for safety) + glue sticks – $10–$25
- Tacky craft glue (slower but precise) – $3–$6
- Double-sided tape (strong) – $4–$8
Tools (recommended)
- Sharp scissors (8" craft scissors) – $8–$15
- Craft knife + cutting mat (for clean petal edges) – $10–$20
- Ruler (12") and pencil – $2–$8
- Bone folder or an old gift card (for curling petals) – $0–$8
- Floral wire (18–22 gauge) + floral tape (for stems) – $6–$12
- Stapler (helpful for tissue blooms) – $5–$12
Optional party-display supplies
- Command strips (damage-free wall mounting) – $6–$12
- Foam board (backdrop base) – $5–$10
- Bamboo skewers or dowels (flower picks) – $2–$6
Seasonal Color Palettes + Flower Ideas
Use these as a quick “design recipe” for matching your party theme. A cohesive palette makes even simple flowers look professionally styled.
Spring Paper Flowers (fresh, airy, pastel)
- Color palette: blush pink, lilac, butter yellow, mint, cream
- Ideas: cherry blossoms, tulips, peonies, daisies
- Best party uses: bridal shower backdrop, Easter table runner, garden party cake table
Summer Paper Flowers (bright, bold, tropical)
- Color palette: coral, hot pink, sunflower yellow, teal, leafy green
- Ideas: sunflowers, hibiscus, giant tropical leaves, zinnias
- Best party uses: pool party decor, luau photo wall, birthday balloon garlands
Fall Paper Flowers (warm, cozy, rustic)
- Color palette: rust, mustard, burgundy, olive, kraft brown
- Ideas: dahlias, mums, maple leaves, wheat sprigs
- Best party uses: Friendsgiving centerpiece, autumn baby shower, harvest-themed dessert table
Winter Paper Flowers (elegant, icy, festive)
- Color palette: white, silver, deep red, pine green, icy blue
- Ideas: poinsettias, paper roses, snowflake blooms, holly accents
- Best party uses: holiday mantel decor, New Year’s photo booth, winter wedding welcome sign
Core Technique: How to Make a Layered Cardstock Bloom (Works for Any Season)
This is the most versatile method for DIY party decorations. Change the petal shape and color, and you can make peonies, dahlias, mums, and fantasy flowers.
Measurements (one medium flower, about 6–7" wide)
- Petal size A (large): 6 pieces, 2.25" wide x 4" tall
- Petal size B (medium): 6 pieces, 2" wide x 3.5" tall
- Petal size C (small): 6 pieces, 1.5" wide x 3" tall
- Base circle: 1 piece, 2.5" diameter (cardstock)
- Center fringe strip: 1 piece, 1" x 8" (cut fringe every 1/8")
Step-by-step instructions
- Cut petals. Stack 2–3 sheets of cardstock and cut petals together to save time. Round the top for a soft peony look, or point it for a dahlia vibe.
- Shape each petal.
- Gently curl the top edge by pulling it over a bone folder or the edge of a ruler.
- For extra dimension, snip a small slit (about 1/2") at the bottom center of each petal.
- Form the petal cup. Overlap the slit edges by about 1/4" and secure with a dab of hot glue. This gives the petal a natural “cupped” shape.
- Create the center. Fringe your 1" x 8" strip, roll it tightly from one end, and glue as you roll. Fluff the fringe outward.
- Build the first layer. Glue the center onto the base circle. Add the small petals (size C) around the center, slightly overlapping each one.
- Add fullness. Add size B petals in the next ring, staggering them between the gaps of the first layer.
- Finish with drama. Add size A petals on the outer ring. Tilt a few outward for a “blooming” look—perfect for photo backdrops.
- Mount for parties.
- For wall decor: glue a loop of ribbon to the back and use Command strips.
- For centerpieces: hot glue the flower onto a dowel or skewer and place in a vase with filler.
Beginner-friendly adaptation
- Skip the slit-and-cup step and simply curl petals. Your flower will still look great—especially from a few feet away on a party backdrop.
- Use fewer petals: 4 large, 4 medium, 4 small for a faster version (about 15 minutes).
Advanced variation
- Ink the petal edges with a coordinating stamp pad for a realistic ombré look (great for fall and winter florals).
- Mix paper types: cardstock petals with a crepe-paper center for extra texture.
Seasonal Project Ideas (Step-by-Step Mini Tutorials)
Spring: Tissue Paper Cherry Blossom Clusters (Perfect for Party Branches)
- Skill level: Beginner
- Time: 10 minutes for a cluster of 8–10 blossoms
- You’ll need: light pink tissue paper, yellow cardstock scraps, floral wire or twist ties, scissors, hot glue or tacky glue
- Cut tissue into 2.5" x 2.5" squares (stack 6–8 sheets and cut at once).
- Pinch the center of one square, twist slightly, and flatten the base.
- Repeat for 4–5 petals, gluing the bases together into a tiny bloom.
- Add a small yellow dot or tiny fringed piece in the center.
- Glue blossoms along a branch or wire stem in clusters for a full spring look.
Summer: Sunflower Cardstock Bloom (Bright Dessert Table Statement)
- Skill level: Beginner to Intermediate
- Time: 25–40 minutes per flower
- You’ll need: yellow cardstock, brown cardstock, optional kraft cardstock, hot glue
- Cut 20–24 petals: 1.25" wide x 4.5" tall, with pointed ends.
- Cut a 3" base circle from brown cardstock.
- Create the center: cut a brown strip 1.5" x 10", fringe it every 1/8", roll and glue.
- Glue petals around the base circle in two rings, staggering the second ring between the first.
- Glue the center in place and gently bend petals upward for that classic sunflower “cup.”
Party styling tip: Make 3 sunflowers in different sizes (5", 8", 11") and cluster them on a balloon garland for a summer party decoration that fills a wall fast.
Fall: Dahlia-Inspired Paper Flowers (Rust + Gold Wow Factor)
- Skill level: Intermediate
- Time: 45–60 minutes
- You’ll need: cardstock in rust/mustard/burgundy, hot glue, scissors
- Cut 35–45 petals in 3 sizes. Suggested measurements:
- Small: 1" x 2.5" (15 petals)
- Medium: 1.25" x 3" (15 petals)
- Large: 1.5" x 3.5" (10–15 petals)
- For a dahlia look, cut petals with a slightly pointed tip and a subtle notch at the top (like a tiny heart shape).
- Curl the tips inward using a bone folder.
- Start from the center and build outward in tight rings, keeping petals close together for a lush, layered bloom.
- Add a metallic gold center (small fringed strip) for fall glam.
Winter: Poinsettia Paper Flowers (Holiday Party Classic)
- Skill level: Beginner
- Time: 20–35 minutes
- You’ll need: red cardstock (or crepe paper), green cardstock for leaves, yellow paper for center
- Cut 12 red petals: 2" x 4" with pointed tips (6 for bottom layer, 6 for top layer).
- Score a light line down the center of each petal (use the back of a butter knife or bone folder) and fold slightly to create a vein.
- Glue 6 petals to a 2.5" base circle in a star shape.
- Glue the second layer on top, offset between the first layer petals.
- Create center “berries” by crumpling tiny yellow paper balls (about 1/4") and gluing 3–5 in the center.
- Add 2–3 green leaves (about 2" x 5") behind for a fuller holiday look.
Pro Tips for Party-Ready Paper Flowers
- Batch cut for speed: Fold cardstock in half and cut two petals at a time, or stack 3 sheets for consistent shapes.
- Use a “petal template”: Cut one perfect petal, trace it, then cut multiples. This makes your handmade decorations look polished.
- Mix sizes for impact: For backdrops, create at least 3 sizes: small (4–5"), medium (7–9"), giant (12–16").
- Secure for travel: If you’re transporting to a venue, mount flowers on foam board panels and tape the panel edges with painter’s tape.
- Photogenic trick: Add darker shades toward the center and lighter petals outside for instant depth on camera.
Troubleshooting: Fix Common Paper Flower Problems
- My petals look flat. Curl the top edges more aggressively, and add the slit-and-overlap “cup” at the base. Also try adding more petals in each ring.
- My flower is lopsided. Mark 4 guide points on the base circle (like a clock at 12/3/6/9) and place petals symmetrically as you build.
- Hot glue strings are everywhere. Use slightly cooler glue, pause 2–3 seconds before lifting, and keep a scrap of paper nearby to “wipe” the glue tip.
- Petals won’t stick. Cardstock can resist glue if dusty. Apply glue to the petal base and press for a full 5 seconds. High-temp glue bonds faster to thick cardstock.
- Edges look rough. Swap to sharper scissors or a craft knife and mat. Dull blades chew paper fibers, especially with glitter cardstock.
Common Crafting Mistakes to Avoid
- Using flimsy paper for giant flowers. Tissue paper is great for pom blooms, but giant layered flowers hold shape best with 65–80 lb cardstock.
- Skipping shaping. Curling and cupping petals is what takes DIY paper flowers from “cutouts” to realistic party decor.
- Over-gluing. Too much hot glue creates bulky bumps and can warp paper. Use small dots—about the size of a pea—for most joins.
- Building without a plan. Decide your palette and flower sizes first. For party decorations, consistency matters more than making each bloom different.
- Mounting as an afterthought. If it’s for a photo backdrop, add a hanger loop or flat mounting surface while you build—not after the flower is finished.
Fun Variations for Any Season
- Confetti centers: Add party confetti or mini pom-poms to the center for birthdays and kid parties.
- Frosted edges (winter): Lightly brush glue on petal tips and sprinkle fine glitter for snowy sparkle.
- Ombre petals: Blend 2–3 shades (example: blush to cream) for a boutique-style effect.
- Leafy fillers: Cut simple leaves (2" x 5") with a center score line to tuck between blooms on garlands and backdrops.
- Giant statement flower: Scale all measurements up by 150–200% and use a base circle of 6–7" for large wall flowers.
FAQ: Seasonal Paper Flowers Ideas
What’s the best paper for beginners making party decorations?
Cardstock (65–80 lb) is the easiest to control and holds shape well for wall flowers and backdrops. Tissue paper is great for quick, fluffy blooms, but it tears more easily while learning.
How do I attach paper flowers to a wall without damage?
Use Command strips on the back of the base circle or attach flowers to a foam board panel first. If your flower is heavy, use two strips and press firmly for 30 seconds.
How far in advance can I make paper flowers for a party?
You can make them 2–6 weeks ahead. Store them in a large box (not a bag) so petals don’t get crushed, and keep them away from humidity.
How many flowers do I need for a photo backdrop?
For a 4 ft x 6 ft backdrop corner cluster, plan on:
- 2–3 giant flowers (12–16")
- 4–6 medium flowers (7–9")
- 6–10 small flowers (4–5")
- Plus leaves or paper fans to fill gaps
Can I make these without a hot glue gun?
Yes. Use tacky glue or strong double-sided tape. Tacky glue takes longer to set, so work in small sections and hold pieces in place for 10–20 seconds.
How do I make paper flowers look more realistic?
Add gentle petal curves, vary petal sizes, and use two close shades of the same color (darker inside, lighter outside). Crepe paper centers also add a realistic texture for handmade flower decor.
Wrap-Up: Make One Season, Then Make Them All
Seasonal paper flowers are a creative, budget-friendly way to level up your DIY party decorations—whether you’re styling a spring brunch, a summer birthday, a fall gathering, or a winter holiday celebration. Start with one simple layered bloom, then experiment with new petal shapes and colors as you build your collection. A few handmade flowers can transform an ordinary table or wall into a “where did you buy that?” moment.
Want more party-ready DIY crafts, handmade decoration ideas, and step-by-step creative projects? Explore more inspiration on smartpartyprep.com.
More Articles
 How to Turn Off 3rd Party Cookies in 2024: A Step-by-Step Guide That Actually Works (No Tech Jargon, Just Real Browser Instructions)
 How to Allow 3rd Party Cookies on iPad in 2024: A Step-by-Step Fix for Logins, Shopping, and Tracking That *Actually Works* (No Safari Tricks Needed)
 Personalized Centerpieces Gifts
 How to Enable Third Party Cookies on MacBook Air (2020–2024): A Step-by-Step Fix for Safari, Chrome & Firefox — Because Yes, It’s Still Possible (and Here’s Exactly How)
 Seasonal Painted Rocks Ideas
 Easy Masks for Beginners
 How to Allow Third-Party Cookies on Chrome iPad in 2024: The Only 4-Step Guide That Actually Works (No More ‘Settings Not Found’ Errors)
 How Do I Block Third Party Cookies in 2024? The Real-World Guide That Actually Works (No Tech Degree Required)
 Step-by-Step T-Shirts Tutorial
 DIY Greeting Cards Party Favors