Personalized Centerpieces Gifts
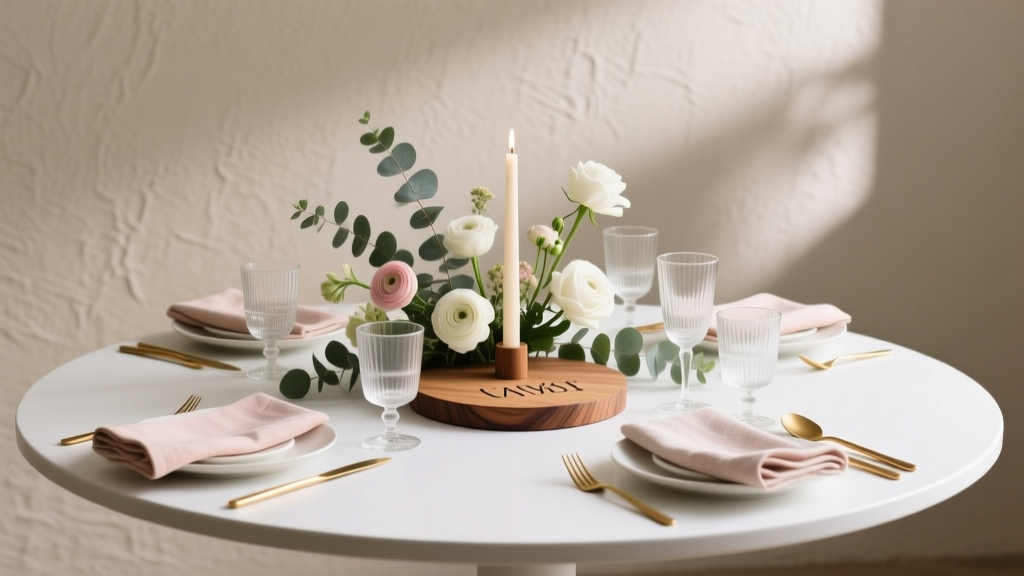
Party centerpieces don’t have to be “one-and-done.” One of the most satisfying DIY party decorations you can make is a centerpiece that doubles as a take-home gift—something guests can admire on the table and then bring home as a sweet reminder of your celebration.
These personalized centerpiece gifts are fun because they’re creative, budget-friendly, and endlessly customizable. You can match colors to your party theme, add names or initials, and choose fillers (treats, mini florals, keepsakes) that make sense for birthdays, baby showers, bridal showers, graduations, holiday dinners, and more.
Best of all: you can make a small batch in an afternoon, or scale up for a larger event with an assembly-line approach. Whether you’re a beginner DIYer or a seasoned crafter, you’ll end up with a handmade decoration that feels thoughtful and looks professionally styled.
Project Overview
- Project: Personalized centerpiece gifts (keepsake containers with name tags + themed filler)
- Skill level: Beginner to Intermediate (Advanced upgrades included)
- Time estimate: 30–45 minutes per centerpiece (15–20 minutes once you’re in a rhythm)
- Typical size: 8–14 in tall, 5–8 in wide (adjustable)
- Best for: DIY party decor, table centerpieces, handmade party favors, hostess gifts
Choosing Your Centerpiece Gift Style
The easiest way to make a centerpiece that becomes a gift is to start with a “container” that guests can reuse. Here are three reliable bases that look great on a party table:
Option A: Personalized Jar Arrangement (Most versatile)
- Mason jar, apothecary jar, or lidded treat jar
- Fill with candy, cocoa kits, bath salts, confetti, or mini florals
- Add a custom name tag and ribbon
Option B: Mini Crate or Basket (Best for rustic themes)
- Small wood crate or woven basket
- Fill with wrapped snacks, mini candles, or small plants
- Add a monogram plaque or tag on the front
Option C: Floral Foam + Keepsake Mug (Great for brunches and showers)
- New mug or tumbler as the “vase”
- Foam inside to hold faux florals or dried stems
- Personalize with permanent vinyl or paint pen
This tutorial focuses on the Personalized Jar Centerpiece Gift, then shares variations for other styles.
Materials & Tools (With Estimated Costs)
Costs vary by season and where you shop, but this will help you plan your DIY party decor budget.
Core Materials (per centerpiece)
- Glass jar (32 oz / 1 quart wide-mouth Mason jar) – $2.00–$4.00
- Alternative: 16 oz jar for smaller tables – $1.50–$3.00
- Filler (choose one theme): $2.50–$8.00
- Wrapped candy (15–20 pieces) or mini chocolates
- Hot cocoa kit items (mini marshmallows, cocoa packets)
- Bath salt blend (about 2 cups) + dried petals
- Mini party favors (stickers, keychains, lip balm)
- Tissue paper or shredded crinkle paper (about 1 cup) – $0.25–$0.75
- Ribbon (3/8 in to 1 in wide; 36–48 in length) – $0.50–$1.50
- Personalized name tag (cardstock or acrylic) – $0.20–$2.00
- Decor pick/topper (mini faux florals, glitter pick, themed cutout) – $0.50–$3.00
Adhesives & Finishing Supplies
- Hot glue gun (mini or full-size) + glue sticks – $5–$15 (glue sticks $3–$6)
- Double-sided tape (great for tags) – $3–$6
- Optional: Clear vinyl transfer tape + permanent adhesive vinyl (for jar personalization) – $8–$20
Tool Recommendations
- Scissors (sharp craft scissors for ribbon) – $5–$12
- Paper trimmer (clean tag cuts) – $12–$25
- Hole punch (single hole or 1/8 in) – $5–$10
- Weeding tool (if using vinyl) – $5–$10
- Ruler or measuring tape – $2–$6
Estimated Total Cost
- Budget-friendly version: $4–$7 per centerpiece
- Giftable “wow” version: $8–$15 per centerpiece
Step-by-Step: Personalized Jar Centerpiece Gift
Step 1: Pick a Theme + Color Palette (5 minutes)
Choose two main colors plus one accent. This keeps your DIY party decorations looking cohesive.
- Birthday: bright + metallic accent
- Baby shower: soft pastel + white
- Graduation: school colors + gold
- Holiday: red/green, silver/blue, or neutral kraft + evergreen
Step 2: Prep the Jar (5–10 minutes)
- Remove labels by soaking the jar in warm soapy water for 10 minutes. Rub off residue.
- Dry completely (important if you’re applying vinyl or paint).
- Optional personalization: Add a name or monogram to the jar front using permanent vinyl (2–3 in wide lettering is easy to read from across the table).
Measurement tip: For a 32 oz jar, center your name about 2.5–3 in up from the bottom so it doesn’t get visually crowded by filler.
Step 3: Add the Base Layer (2 minutes)
- Add 1/2 in of crinkle paper or tissue at the bottom to hide gaps and stabilize items.
- If using candy or small favors, add a second thin layer (about 1/4 in) mid-jar to keep things looking full.
Step 4: Fill the Jar Neatly (5–10 minutes)
Think “store display” rather than “dump and go.” Arrange the nicest pieces facing outward.
- For wrapped candy: Stand a few taller pieces around the edge, then fill the center.
- For cocoa kits: Place packets vertically at the back, marshmallows in the center, then tuck in candy canes or stir sticks.
- For bath salts: Pour in with a funnel; add a small scoop or wooden spoon tied to the ribbon as a functional detail.
Fullness guide: Stop filling about 1 in below the rim so the topper and ribbon don’t feel cramped.
Step 5: Create the Personalized Tag (10 minutes)
Tags are where the “gift” part really shines. Keep the message short and readable.
- Tag size: 2 in x 3.5 in (classic favor tag size) or a 2.5 in circle
- Cardstock weight: 80–110 lb for a sturdy feel
- Wording ideas:
- “Take one home, [Name]!”
- “Thank you for celebrating!”
- “Table [#] – please enjoy”
- Guest name + date (great for weddings/showers)
- Cut tag to size with a paper trimmer.
- Punch a hole at the top center, about 3/8 in down from the edge.
- If desired, layer a slightly larger backing piece (about 1/8 in larger on all sides) for a framed look.
Step 6: Tie Ribbon + Attach Tag (5 minutes)
- Cut 36–48 in of ribbon.
- Wrap around the jar neck (or just below the lid ring) and tie a double knot.
- Thread the tag onto the ribbon tails or attach with a small piece of double-sided tape.
- Trim ribbon ends into a neat V-cut or angled cut.
Step 7: Add a Topper Pick (5–8 minutes)
A topper turns a simple jar into a true centerpiece. Keep height proportional.
- Ideal topper height: 6–10 in above the jar lid
- Easy toppers: faux eucalyptus sprig, mini balloon pick, paper flower, glitter star, themed cutout
- Use a bamboo skewer (8–12 in) or floral wire as the stem.
- Hot glue the topper (paper cutout or floral bundle) to the stem.
- Insert topper behind the ribbon or under the jar ring so it stays upright.
Step 8: Final Styling Check (2 minutes)
- Wipe fingerprints off the jar with a microfiber cloth.
- Rotate the jar so the prettiest side faces outward.
- Make sure names are readable from 2–3 feet away.
Pro Tips for Party-Perfect Results
- Batch your steps: Prep all jars first, then all tags, then all ribbons. This saves tons of time for large parties.
- Keep centerpieces conversation-friendly: If guests sit across from each other, aim for under 14 in total height so sightlines aren’t blocked.
- Make it stable: If your topper wobbles, tape the skewer to the inside of the jar ring or nestle it into a thicker filler layer.
- Use consistent fonts/colors: Matching tags across tables makes your DIY party decor look coordinated, even if fillers vary.
- Transport smart: Place finished jars in a box with towels between them. Add toppers on-site if they’re tall.
Variations (Beginner-Friendly to Advanced)
Beginner Variations (No special machines)
- Paint pen personalization: Write names directly on the jar. Let dry 10 minutes.
- Printable tags: Use a template in a word processor and print on cardstock.
- Simple topper: One faux stem tied into the ribbon knot (no skewer needed).
Intermediate Variations (Extra polish)
- Layered tags: Add a vellum overlay or metallic backing.
- Wax seal detail: Add a faux wax seal sticker to the tag for a luxe vibe.
- Coordinated table numbers: Print table numbers on one side and guest message on the other.
Advanced Variations (Showstopper centerpieces)
- Vinyl decals + frosted glass effect: Spray frosted glass paint (follow label directions) and add vinyl names once dry.
- LED fairy lights: Add a short micro LED strand inside the jar (battery pack hidden behind filler). Great for evening parties.
- Multi-tier centerpiece: Place the jar on a 6–8 in cake stand or wood slice, then surround it with coordinating mini favors.
Troubleshooting: Quick Fixes
- My vinyl won’t stick: Clean the jar with rubbing alcohol and let dry. Avoid touching the area with fingers before applying.
- Ribbon keeps slipping: Add a tiny dot of hot glue under the ribbon at the back of the jar (hide it behind the tag).
- Topper leans: Use a thicker skewer or double-skewer method (glue two skewers side-by-side). Or anchor the stem with a small wad of tissue inside the jar ring.
- Filler looks messy: Turn wrappers outward and fill in gaps with crinkle paper. For jars with mixed items, group similar pieces together.
- Tags curl: Use heavier cardstock (110 lb) or laminate with clear packing tape on the back for stiffness.
Common Crafting Mistakes to Avoid
- Overfilling the jar: When the jar is packed to the rim, the ribbon and topper look squeezed. Leave that 1 in breathing room.
- Too many colors/patterns: Three tones max usually looks best. Let the filler be the star and keep ribbon/tag colors coordinated.
- Centerpieces that block views: Tall toppers look fun, but for sit-down dinners keep height in check or use lower florals.
- Weak adhesives for heavy items: Hot glue is great for lightweight toppers, but for heavier décor picks, wrap with floral wire first, then glue.
- Forgetting the “gift” moment: Add a clear “Please take one” note or make sure the host announces guests can bring them home.
FAQ: Personalized Centerpieces Gifts
How far in advance can I make these centerpieces?
Most versions can be made 3–7 days ahead. If you’re using fresh items (like baked goods), assemble closer to the event. Faux florals, wrapped candy, and sealed bath salts hold up beautifully.
What’s the best jar size for a standard guest table?
A 32 oz (quart) jar is a great centerpiece size for 6–8 person tables. For smaller cocktail tables, use a 16 oz jar or keep the topper shorter.
How do I make these look “professional” without spending a lot?
Use a consistent palette, pick one “feature” element (like metallic ribbon or a crisp printed tag), and keep spacing tidy. Even budget materials look upscale when alignment is clean and tags are centered.
Can I make these kid-friendly for a birthday party?
Yes—skip glass if you want worry-free tables. Use clear plastic jars or sturdy cups with lids, then add name tags and fun toppers (mini pennants, character silhouettes, paper flowers).
What are good non-candy fillers for adult parties?
Try mini candles, bath salts, coffee sachets, tea packets, seed packets, tiny notebooks, or small hand creams. These work especially well for bridal showers, baby showers, and hostess gifts.
How can I personalize without a cutting machine?
Use printable labels, paint pens, alphabet stickers, or pre-made letter decals. A neat handwritten name on a high-contrast tag can look just as charming as vinyl.
Wrap-Up: Make Centerpieces That Guests Actually Want to Keep
Personalized centerpiece gifts bring the best of both worlds: eye-catching DIY party decorations that do double duty as thoughtful handmade favors. With a simple jar base, a coordinated ribbon and tag, and a themed filler, you can create something that looks styled, feels personal, and fits your party budget.
Try making one test centerpiece first, then replicate it assembly-line style for the rest of your tables. Once you see how quickly they come together, you’ll start dreaming up versions for every season and celebration.
Want more party-ready DIY crafts, handmade decorations, and creative project ideas? Explore more inspiration and tutorials on smartpartyprep.com.
More Articles
 Seasonal Painted Rocks Ideas
 Personalized Custom Stickers Gifts
 Budget DIY Masks Under $5
 Is Nature's Way Third Party Tested? We Investigated Every Batch Report, Lab Certificate, and FDA Compliance Gap So You Don’t Have to Waste Time—or Risk Your Craft Projects on Unverified Supplements.
 How to Install 3rd Party Apps on Firestick in 2024: The Only Step-by-Step Guide You’ll Ever Need (No Tech Degree Required)
 Paper Craft Cake Toppers Ideas
 Seasonal Photo Frames Ideas
 DIY Crowns in An Afternoon
 How to Update Settings to Allow 3rd Party Cookies in 2024: A Step-by-Step Fix for Chrome, Safari, Edge & Firefox (No Tech Degree Required)
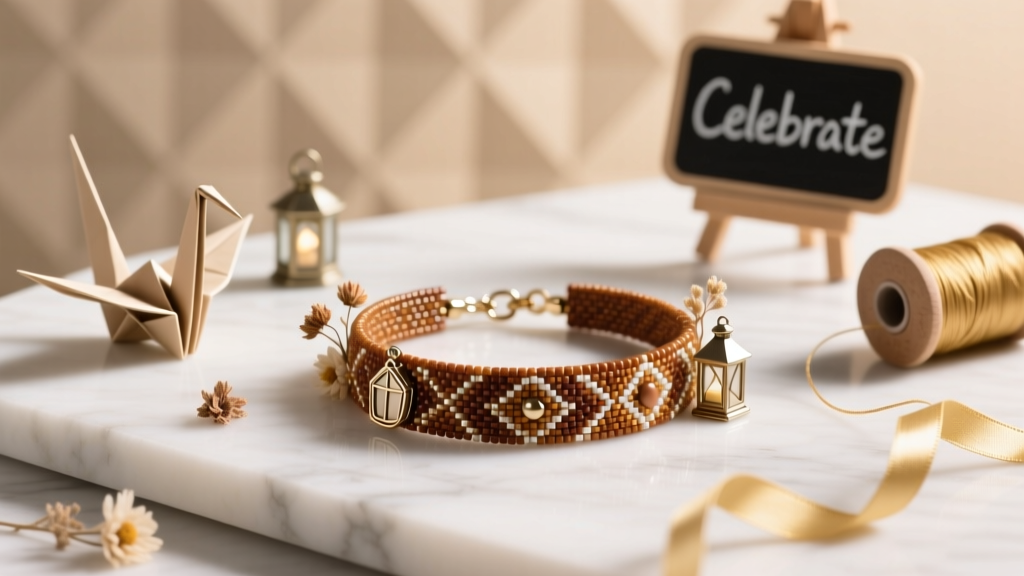 DIY Beaded Bracelets for Home Decor