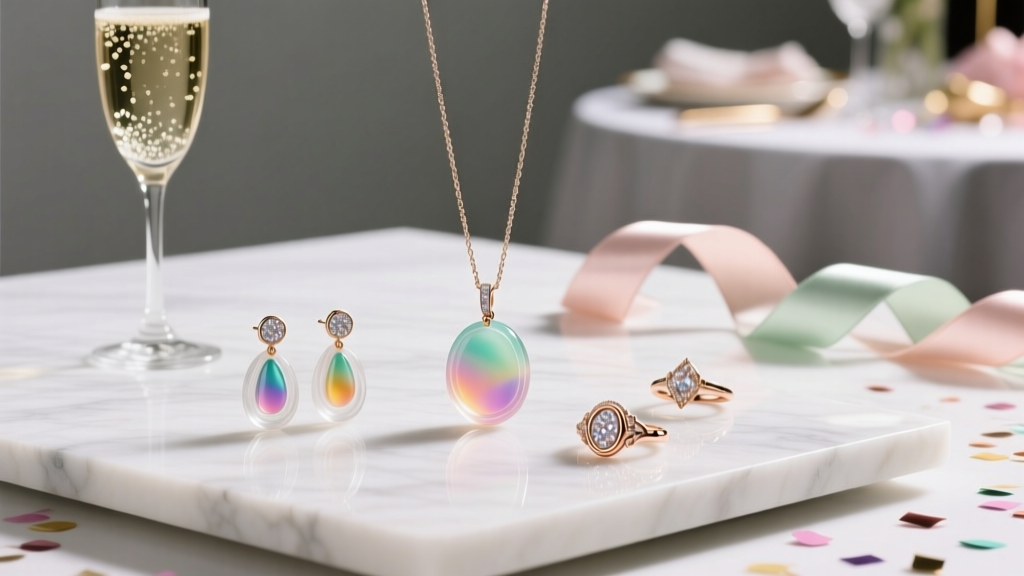
Advanced Resin Jewelry for Crafters
Resin jewelry hits the sweet spot for party-loving DIYers: it’s shiny, customizable, and ridiculously fun to make. With the right molds and a few smart techniques, you can create statement earrings, charms for party favor bags, photo-pendant keepsakes, or even matching accessories for a themed celebration. The best part? Every piece can be tailored to your event colors—think glittery confetti for birthdays, botanical inclusions for garden parties, or elegant pearl swirls for bridal showers.
This guide is for crafters who already know the basics (or beginners who want a clear path to “wow” results). You’ll learn advanced resin jewelry methods like layering, embedding, creating crisp color lines, bezel work, and achieving a glassy finish—without the sticky surprises. Expect step-by-step instructions, practical tool recommendations, and party-ready project ideas that look boutique-level but come from your own craft table.
Skill level: Confident beginner to advanced (beginner-friendly adaptations included)
Total time: 2–4 hours active + 12–24 hours cure time (varies by resin)
Best for: DIY crafts, party decorations, handmade party favors, and personalized accessories
Project Ideas: Party-Ready Resin Jewelry That Guests Will Notice
- Color-coordinated statement earrings for the host or bridal party
- Confetti shaker charms as party favor add-ons (great for birthday parties)
- Mini initial pendants for place settings at a dinner party
- Botanical keepsake necklaces using dried flowers from the event
- Glow-in-the-dark bracelet charms for nighttime celebrations
Materials and Tools (With Recommended Types + Estimated Costs)
Prices vary by brand and region, but these estimates help you plan a realistic DIY budget.
Resin + Colorants
- 2-part epoxy resin (low-odor, jewelry-grade), 16–32 oz kit: $25–$55
- UV resin (optional, for quick doming/small fixes), 60–200g: $12–$25
- Resin pigment paste (opaque), set: $10–$20
- Alcohol inks (transparent), set: $12–$30
- Mica powder (metallic/pearl), set: $8–$18
- Glitter (fine + chunky): $5–$12
Molds + Findings
- Silicone jewelry molds (earrings, pendants, studs): $8–$20
- Open bezels (gold/silver tones), pack: $8–$16
- Earring hooks/posts + jump rings, assorted kit: $10–$18
- Necklace chains (18–24 in / 46–61 cm), pack: $10–$18
- Mini screw eye pins (for charms), pack: $5–$10
Inclusions (Party-Themed Favorites)
- Dried flowers (pressed or silica-dried): $6–$15
- Foil flakes (gold/silver/iridescent): $6–$12
- Confetti / micro beads (lightweight): $4–$10
- Letter stickers or vinyl (for initials): $5–$12
- Small photos printed on matte paper (DIY cost): $1–$5
Tools That Make a Big Difference
- Digital scale (0.1g precision): $10–$20 (recommended even for “1:1” resins)
- Silicone mixing cups + stir sticks: $8–$15
- Heat tool (mini heat gun) or kitchen torch: $15–$30
- Fine-tip tweezers: $5–$10
- Pin vise / micro drill (1–2 mm bits): $8–$20
- Jewelry pliers set (round/chain/flush cutters): $12–$25
- Sandpaper (400, 600, 1000, 2000 grit) + micro-mesh optional: $6–$15
- Respirator with organic vapor cartridges + nitrile gloves: $25–$45
Safety + Workspace Setup (Fast and Practical)
- Work on a level surface covered with a silicone mat or freezer paper.
- Wear nitrile gloves (not latex) and protect sleeves.
- Use ventilation (open window + fan pulling air out). If you’re sensitive to odors, use a respirator.
- Keep resin away from food areas and out of reach of kids/pets.
- Ideal room temp: 72–78°F (22–26°C) to reduce bubbles and improve curing.
Step-by-Step: Advanced Resin Jewelry Techniques (Party-Perfect Results)
Step 1: Plan Your Party Palette and Shape Set
Before mixing resin, decide on a small “collection” so your pieces look coordinated for party décor and accessories.
- Pick 2–3 colors that match your party decorations (balloons, table runners, invitations).
- Choose 1–2 focal effects (foil + shimmer, confetti + clear, floral + pearl swirl).
- Set aside all inclusions so you can place them quickly while resin is workable.
Step 2: Measure and Mix Resin (No Guessing)
Time: 8–12 minutes
- Check your resin’s mix ratio (common: 1:1 by volume or 2:1 by volume). When possible, use a digital scale for accuracy.
- Pour Part A and Part B into a mixing cup. Example for small batches: 30 ml total (15 ml + 15 ml) or per your resin instructions.
- Stir slowly for 3 minutes, scraping sides and bottom.
- Pour into a second clean cup (“double-cup method”) and stir another 1 minute. This helps prevent sticky spots.
Beginner-friendly adaptation: Start with a single-color pour into simple molds before trying layers and bezels.
Step 3: Create Crisp Layers (The Secret is Timing)
Best for: modern color-block earrings, candy-stripe party themes, clean confetti layers
- Pour your first layer to about 1/3–1/2 of the mold depth.
- Pop surface bubbles with a heat tool held 6–8 inches (15–20 cm) away for 1–2 quick passes.
- Wait until the layer reaches a “gel” stage: it should be tacky like tape, not liquid. Depending on resin, this can be 30–90 minutes.
- Add your second color layer gently over the back of a stir stick to avoid punching through.
Advanced variation: Add a thin “divider” line using metallic mica mixed into a tiny amount of resin, then pour the next layer for a sleek, professional striping effect.
Step 4: Embed Inclusions Without Floating or Clouding
Best for: floral jewelry, confetti charms, glitter party pieces
- Dry your inclusions fully. For flowers: press and dry, or use silica gel. Moisture causes cloudiness and curing issues.
- Pour a thin base layer (about 2–3 mm) and let it gel slightly.
- Place inclusions with tweezers. For flat florals, press them down so they sit below the surface.
- Top off with clear resin to the mold’s fill line.
Pro move: “Wet” delicate inclusions first by brushing on a tiny bit of resin with a disposable brush, then place them. This reduces trapped air.
Step 5: Swirls, Petri Effects, and Shimmer Gradients
- Pearl swirl: Mix mica into one portion of resin. Pour clear first, then add pearly resin and swirl with a toothpick (2–3 gentle figure-eights).
- Gradient glitter: Pour clear resin, then tap fine glitter along one edge and tilt mold slightly. Add a second sprinkle if needed.
- Petri-style drop: Use clear resin + alcohol ink drops. Add 1 drop white “sink” ink to pull color downward (works best in deeper pieces).
Step 6: Bezel Jewelry (Clean Edges That Look Store-Bought)
Best for: pendants, keychain charms, party-favor tags
- Place open bezels on packing tape (sticky side up) on a flat tile to seal the bottom.
- Pour a thin resin layer into the bezel, then place your inclusion (initial sticker, tiny photo, foil).
- Fill to the top edge, slightly underfilled to avoid overflow.
- Cure flat and covered (a plastic bin works well to keep dust off).
Beginner-friendly adaptation: Use premade bezel blanks with deeper walls—they’re less likely to overflow.
Step 7: Demold, Sand, and Finish for a Glassy Shine
Time: 30–60 minutes active (depending on batch size)
- Demold after full cure (often 12–24 hours). If it bends easily, give it more time.
- Trim overflow (“flash”) with small scissors or a craft knife.
- Sand edges in stages: 400 → 600 → 1000 → 2000 grit. Wet-sanding helps reduce dust and scratches.
- For a glossy top: apply a thin doming layer (epoxy or UV resin). Use a toothpick to guide resin to edges.
- Let pieces cure under a dust cover.
Step 8: Drill and Assemble Findings
- Use a pin vise or micro drill with a 1–1.5 mm bit for jump rings.
- Drill slowly, about 2–3 mm from the edge to prevent cracking.
- Open jump rings by twisting sideways (never pulling apart), attach charms/ear hooks, then twist closed tightly.
Pro Tips for Cleaner Resin Jewelry (Less Stress, Better Results)
- Warm your resin bottles in a sealed bag placed in warm water for 5–10 minutes to reduce bubbles.
- Mix slowly to avoid whipping in air.
- Use a dust cover every time—lint is the fastest way to ruin a glossy finish.
- Keep batches small (20–40 ml) if you’re doing multiple colors. Resin heats up and thickens faster in large volumes.
- Test color strength on a scrap pour. Pigments deepen as resin cures.
Variations: Make It Party-Themed
- Birthday confetti set: Clear base + rainbow micro confetti + a thin glitter top layer.
- Bridal shower pearls: White pearl mica swirls with tiny gold foil flakes.
- Garden party botanicals: Pressed petals, fern bits, and soft green-tinted resin.
- New Year’s sparkle: Black-tinted resin with holographic glitter and silver foil bursts.
- Kids’ party “shaker” charms (advanced): Create a hollow dome, add sequins, then seal with a clear back layer.
Troubleshooting: Fix Common Resin Jewelry Issues
- Sticky/tacky pieces after curing: Usually incorrect measuring or under-mixing. Let it cure longer in a warm area; if still tacky, consider sealing with a thin UV resin topcoat for display-only pieces.
- Bubbles trapped around flowers or letters: Add a thin base layer first and place inclusions at gel stage; “paint” inclusions with resin before embedding.
- Cloudy resin: Moisture in inclusions, cold workspace, or over-heating with a torch. Dry inclusions fully and keep room temp stable.
- Overflow in bezels/molds: Fill in stages; use a pipette for control; level your surface.
- Soft or bendy pieces: Not fully cured or wrong ratio. Give it another 24 hours; next time measure more carefully.
Common Crafting Mistakes to Avoid
- Skipping the double-cup mix: Unmixed resin clinging to cup sides leads to sticky patches.
- Using too much colorant: Overloading with alcohol ink or pigment can weaken curing. Start small (1–2 drops) and build gradually.
- Demolding too early: Pieces can warp or fingerprint easily. Wait for full cure.
- Torches too close: Scorching causes ripples or yellowing. Quick passes only, keep distance.
- Not sanding progressively: Jumping from rough grit to polish leaves visible scratches.
- Poor jump ring technique: Pulling rings apart creates gaps and weak connections—twist open/closed for secure jewelry.
FAQ: Advanced Resin Jewelry for Parties and DIY Crafts
1) What resin is best for jewelry: epoxy or UV?
Epoxy resin is best for most jewelry molds, layers, and deeper pours because it cures evenly and stays clear. UV resin is fantastic for small projects, quick doming, and fast fixes, but it can be trickier in thick pieces because light may not reach every area.
2) How do I keep glitter and confetti from sinking?
Wait until your resin thickens to a honey-like stage (often 10–25 minutes after mixing, depending on brand), then stir in glitter. For confetti, pour a thin base layer, let it gel slightly, place confetti, then top with clear resin.
3) Can I use fresh flowers from a party in resin?
Fresh flowers contain moisture and will brown or cloud the resin. Dry them first (pressing or silica gel). For a sweet party keepsake, dry a small bloom from a bouquet, then embed it in a pendant.
4) How long should resin jewelry cure before wearing?
Many epoxies feel hard after 12–24 hours but reach full hardness in 48–72 hours. If you’re making earrings for an event, aim to finish them 3–5 days ahead so they’re fully cured, odor-free, and durable.
5) What’s the easiest way to make resin jewelry look professional?
Three things: use coordinated colors (like a mini party palette), sand edges properly (400 to 2000 grit), and dome the top for a glass-like shine under a dust cover.
6) Is resin jewelry a good handmade party favor?
Yes—especially small charms, mini initial pendants, or simple studs in party colors. Keep designs lightweight, cure fully, and package them in small gift boxes or organza bags to match your party decorations.
Wrap-Up: Make a Mini Collection for Your Next Celebration
Advanced resin jewelry is one of those DIY crafts that rewards you quickly: a few smart techniques turn simple pours into polished, party-ready accessories and handmade projects you’ll be proud to gift. Start with clean layers and one inclusion style, then build up to bezels, swirls, and domed finishes as your confidence grows.
When you’re ready, create a matching set—earrings plus a pendant or charm—for the perfect handmade touch at birthdays, bridal showers, and themed gatherings. Keep your palette tight, your cure time generous, and your finishing steps consistent, and you’ll get results that look like they came from a boutique.
Want more party-perfect DIY crafts, handmade decorations, and creative project ideas? Visit smartpartyprep.com and keep your next celebration full of handmade sparkle.
More Articles
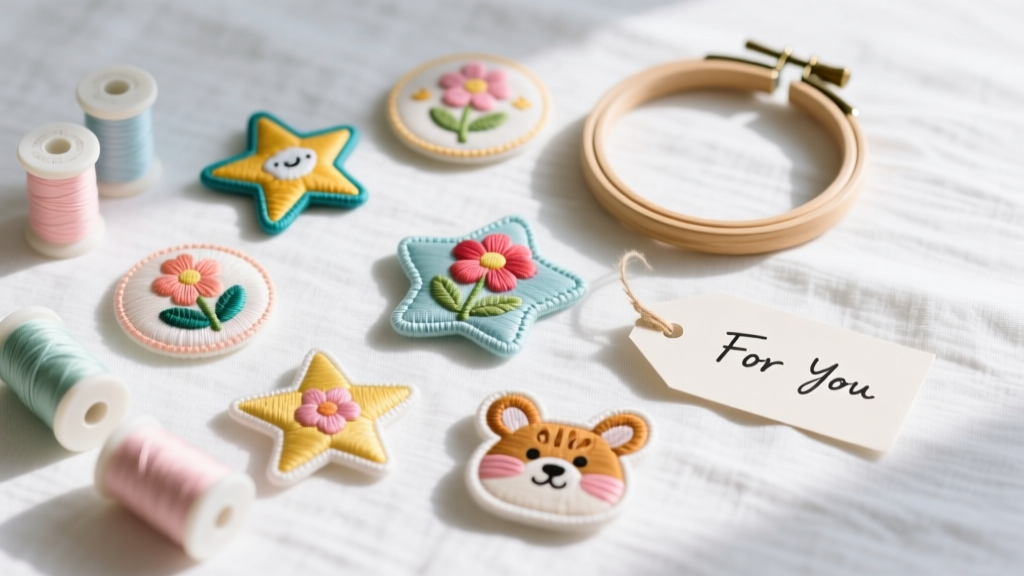 DIY Embroidered Patches Party Favors
 Which Political Party Supported Slavery? Quizlet Won’t Tell You the Full Truth — Here’s What Textbooks Omit About Whig, Democratic, and Republican Roles in Slavery (1820–1865)
 How to Enable Third Party Cookies in 2024: A Step-by-Step Browser Guide (Chrome, Safari, Firefox, Edge) — Because Yes, Some Sites Still Need Them (and Here’s Exactly How to Do It Safely)
 Personalized Centerpieces Gifts
 Is Nature's Way Third Party Tested? We Investigated Every Batch Report, Lab Certificate, and FDA Compliance Gap So You Don’t Have to Waste Time—or Risk Your Craft Projects on Unverified Supplements.
 Budget DIY Painted Rocks Under $15
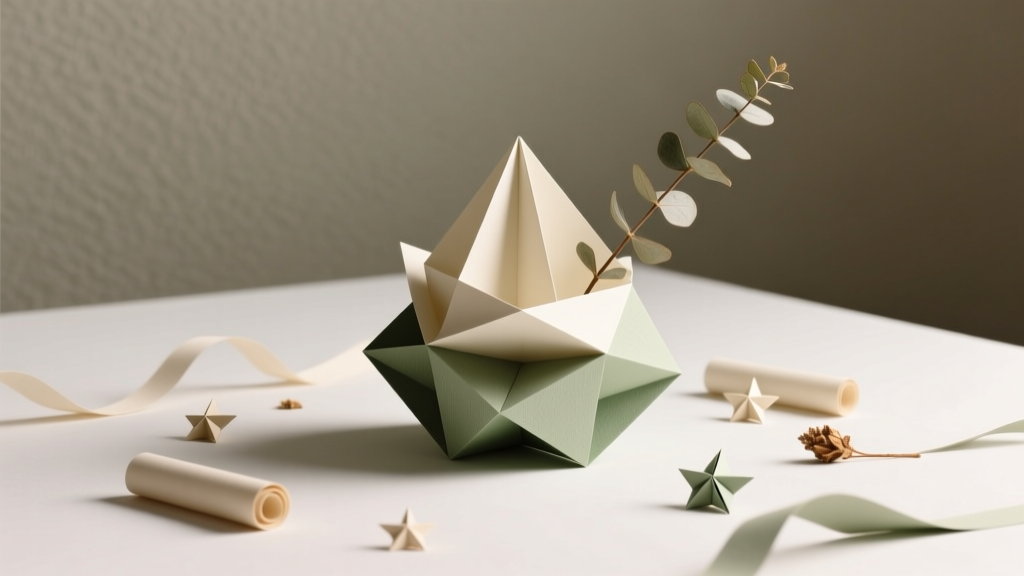
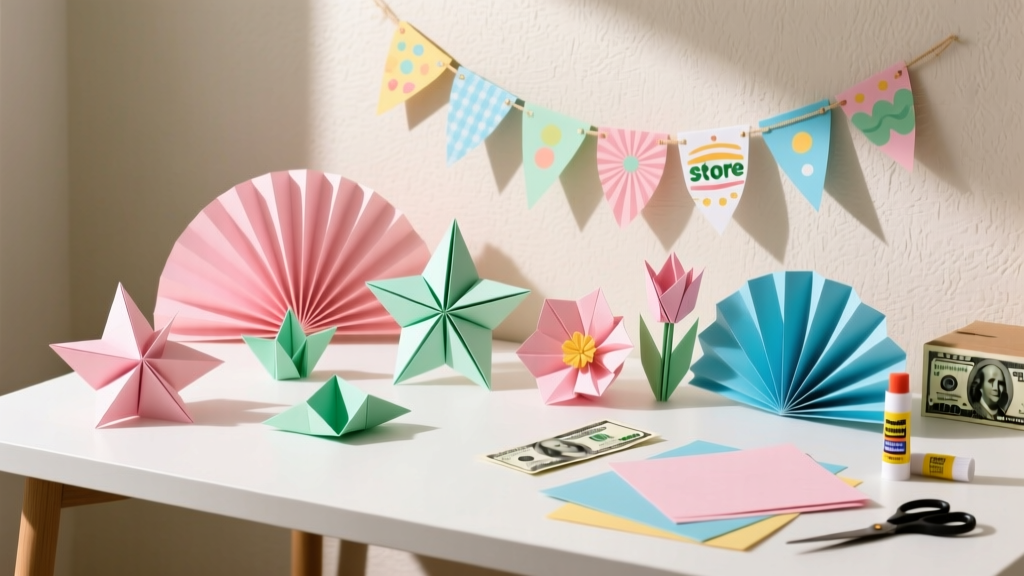 DIY Origami Decorations with Dollar Store Supplies
 Paper Craft Centerpieces Ideas
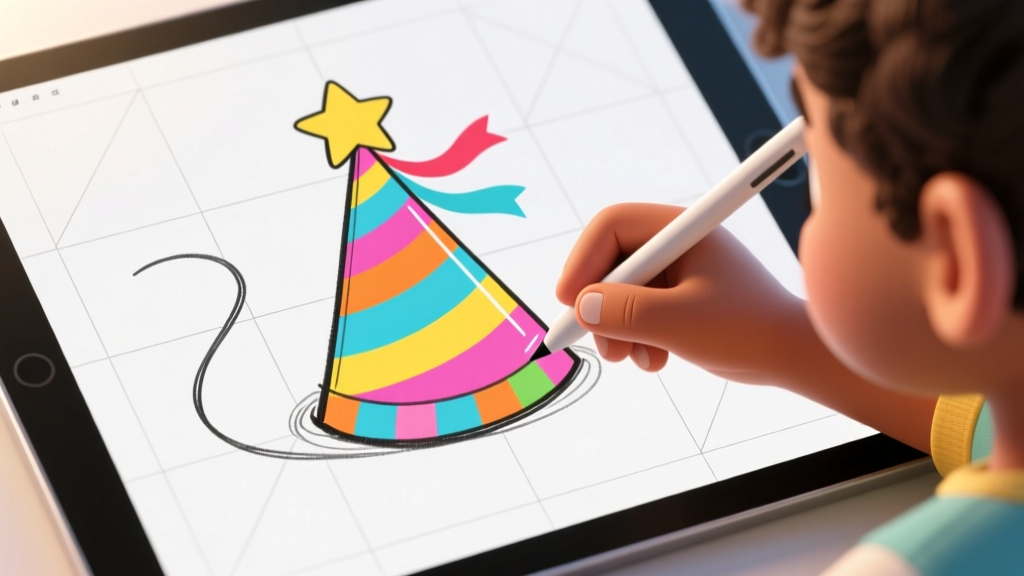 How to Draw Party Hat in 5 Minutes (Even If You Can’t Draw): A Foolproof Step-by-Step Guide for Kids, Teachers & DIY Crafters Who Hate Frustrating Tutorials
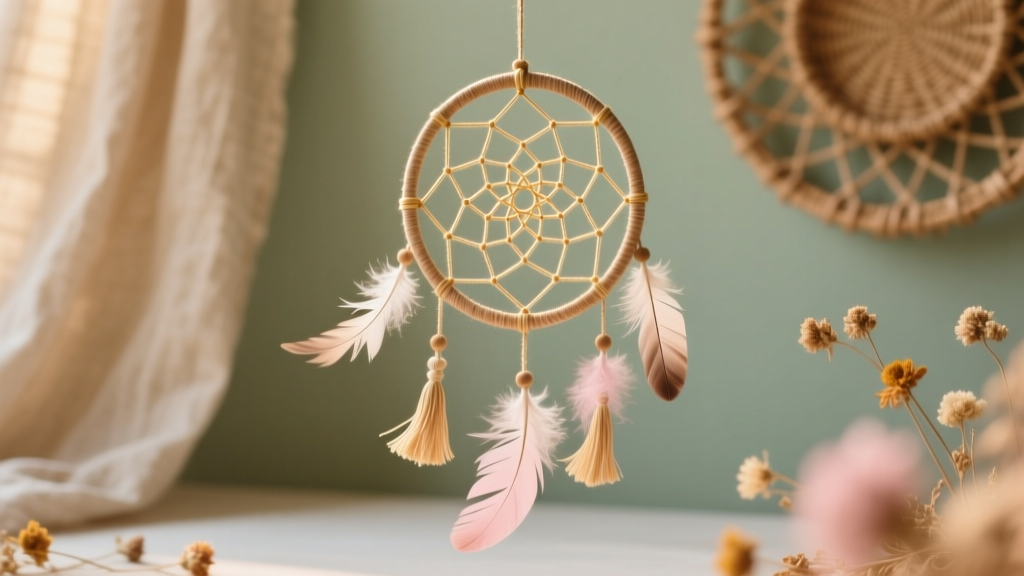 How to Make Dream Catchers at Home