DIY Embroidered Patches Party Favors
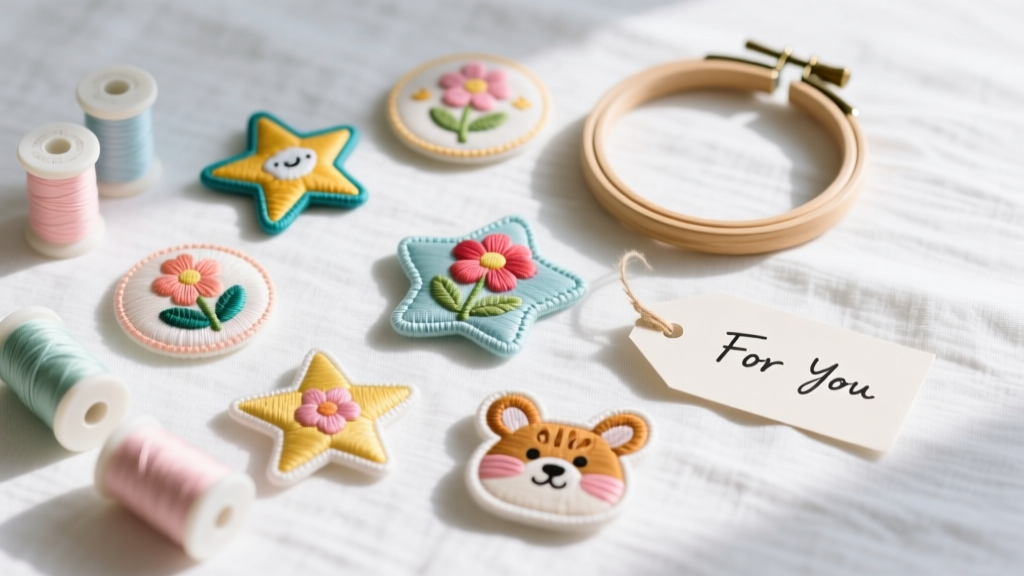
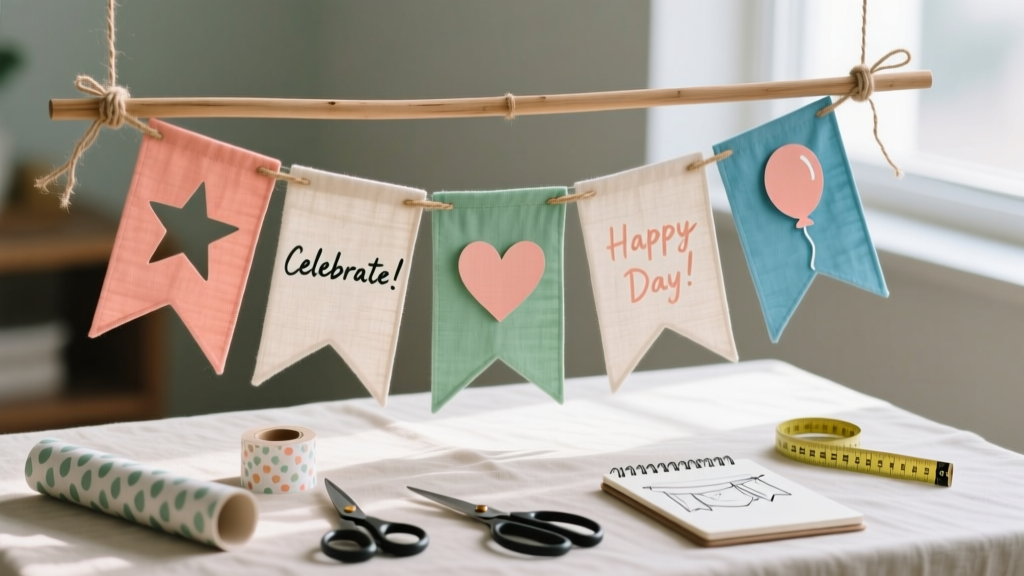
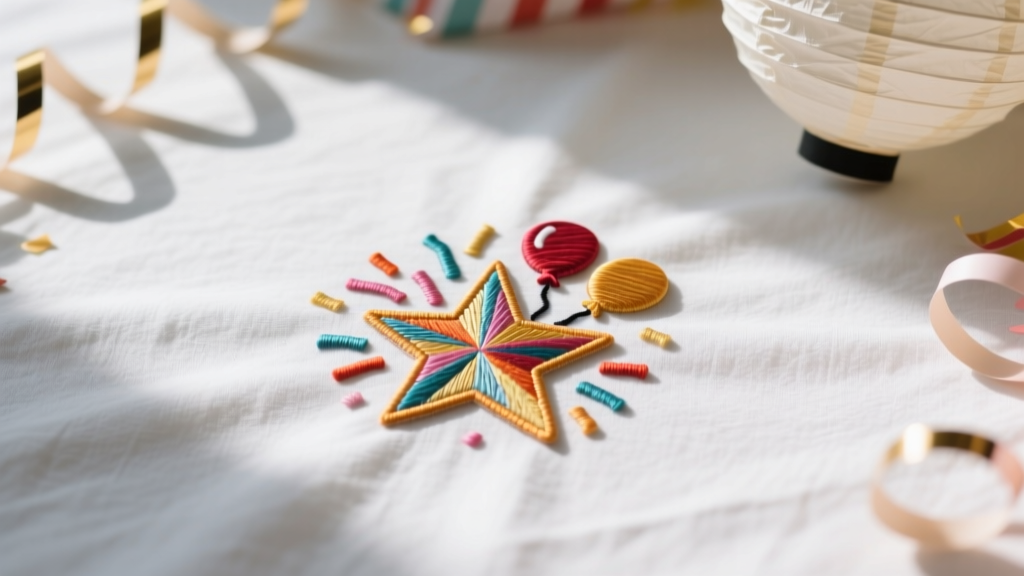
Party favors are at their best when guests actually want to keep them—and that’s exactly what makes DIY embroidered patches such a win. They’re small, affordable, endlessly customizable, and surprisingly quick once you get the hang of a few basic stitches. Plus, they double as party decorations while you’re making them: imagine a table scattered with colorful thread spools, mini hoops, and patch designs that match your theme.
Whether you’re hosting a birthday party, baby shower, graduation, or a craft night with friends, embroidered patches feel personal in a way store-bought favors don’t. Each guest can take home a wearable reminder of the celebration, and you can tailor the design to names, inside jokes, or party motifs—stars, hearts, fruit, animals, initials, or tiny icons that match your invitations.
Best of all, this DIY party craft scales beautifully. Make a stack of matching patches as handmade party favors, or set up a “patch bar” station so guests can choose their own design and colors. Beginner-friendly? Absolutely. And if you’re more experienced, there are advanced variations that look boutique-level—without boutique-level prices.
Project Overview (Skill Level, Time, and What You’ll Make)
- Skill level: Beginner to intermediate (advanced options included)
- Time per patch:
- Simple design (1–2 colors): 20–35 minutes
- Medium design (3–5 colors): 40–60 minutes
- Advanced (shading, lettering, dense fill): 60–120 minutes
- Finished patch size: Most party-favor patches look best at 2 in–3 in (5–7.5 cm) wide
- Great for: DIY party favors, handmade party decorations, craft party activities, personalized gifts
Materials and Estimated Costs
Costs vary by brand and what you already have. The list below focuses on specific product types that work well for durable embroidered patches.
Core Supplies
- Embroidery floss (cotton, 6-strand) – 10–20 colors for a party palette
Estimated cost: $0.60–$1.00 per skein; $10–$20 total - Embroidery needles (sizes 7–9 for floss; assorted pack is easiest)
Estimated cost: $3–$6 - Fabric for patches (choose one):
- Sturdy cotton canvas (8–12 oz)
- Denim (upcycled jeans work great)
- Felt (easy for beginners; no fraying)
- Stabilizer (recommended for crisp stitching):
- Tear-away stabilizer for woven fabrics
- Stick-and-stitch water-soluble stabilizer for easy transfers
- Patch backing (choose one):
- Iron-on adhesive sheets (heat-activated)
- Fusible interfacing (adds stiffness)
- Heavy felt backing (soft, no-iron option)
- Embroidery hoop (4 in or 5 in is most versatile)
Estimated cost: $3–$8
Tools That Make It Easier
- Sharp fabric scissors (small detail scissors help around curves)
Estimated cost: $8–$18 - Heat tool: household iron (no steam) or mini craft iron
Estimated cost: $0 if you already own one; $15–$30 for a mini iron - Transfer tools (choose one):
- Water-soluble fabric pen
- Heat-erase fabric pen
- Tracing paper + pencil (for thicker fabrics)
- Optional but helpful: Fray-check liquid (for woven edges), fabric glue, tweezers, thimble
Estimated cost: $4–$12 each (as needed)
Party Favor Finishing (Pick Your “Giveaway” Style)
- Backing cards (3 in x 5 in index cards or cardstock cut to 4 in x 6 in)
Estimated cost: $3–$8 - Clear cellophane bags (4 in x 6 in) + stickers or ribbon ties
Estimated cost: $5–$10 for 50 bags - Safety pins, brooch pins, or keyring hardware (if you want wearable/clip-on favors)
Estimated cost: $6–$12
Design Planning: Pick a Patch Style That Matches Your Party
Keep party favor patches bold and readable from a few feet away. Simple shapes and thick outlines look polished and photograph well.
Easy Theme Ideas (Great for Beginners)
- Initial letters (1–2 in tall)
- Hearts, stars, smiley faces
- Mini balloons, candles, party hats
- Fruit icons (cherries, lemon slices)
- Simple animals (cat head, bunny, dinosaur silhouette)
Advanced Theme Ideas (If You Love Detail)
- Short names or nicknames (block letters)
- Florals with shading (long-and-short stitch)
- Gradient backgrounds (split stitch fill)
- Mini “badge” patches with borders and icons
Step-by-Step: How to Make DIY Embroidered Patches
Step 1: Cut Your Fabric and Stabilize It
- Cut a fabric piece at least 4 in x 4 in (10 cm x 10 cm) so it fits comfortably in a hoop.
- If using woven fabric (canvas/denim), place tear-away stabilizer behind it. For super easy design transfer, use stick-and-stitch on the front.
- Hoop the fabric so it’s drum-tight. If it’s slack, your stitches can ripple.
Step 2: Transfer Your Design (Keep It 2–3 Inches)
- Draw or trace a design that fits within a 2 in–3 in circle or rectangle.
- Use a water-soluble or heat-erase pen for clean lines.
- If you’re doing text, choose block letters at least 1/4 in (6 mm) thick so they stitch cleanly.
Step 3: Stitch the Outline First
Outlines give patches a crisp “finished” look. These stitches are patch-friendly:
- Backstitch: clean, classic outline (best for beginners)
- Split stitch: slightly thicker, rope-like outline
- Chain stitch: decorative outline for bold designs
- Separate floss to 2–3 strands for detail, or use 4–6 strands for thick borders.
- Stitch the outline slowly, keeping stitch length consistent: aim for 1/8 in–3/16 in (3–5 mm).
Step 4: Fill Areas with Simple, Durable Stitches
- Satin stitch: smooth fill for small shapes (best under 1 inch wide)
- Long-and-short stitch: great for shading and petals
- Split stitch fill: very durable, textured fill for patches
- For satin stitch, keep stitches parallel and snug—but don’t pull so tight that fabric puckers.
- For larger areas, consider split stitch fill; it holds up better on a backpack or jacket.
- Add small details (dots, highlights) last so you don’t accidentally cover them.
Step 5: Add a Bold Border (Makes It Look Like a Real Patch)
A border hides minor wobbles and gives your patch that “store-bought” structure.
- Stitch a border line around your design, leaving at least 1/8 in–1/4 in (3–6 mm) margin.
- Use split stitch or tight blanket stitch for the edge area you plan to cut.
- If you plan to cut very close to stitches, build a thicker border using 4–6 strands.
Step 6: Seal the Back and Cut Out the Patch
- Remove from hoop and gently tear away stabilizer. If using water-soluble stabilizer, rinse lightly and let dry flat.
- Iron the piece flat on low heat (no steam) with a pressing cloth.
- Apply fusible interfacing to the back (follow package settings) to stiffen the patch.
- Cut out the patch, leaving a 1/8 in (3 mm) margin beyond your border stitching.
Step 7: Finish the Edge (Choose One Method)
Option A: Blanket Stitch Edge (No Special Tools)
- Thread needle with 4–6 strands of floss.
- Work a tight blanket stitch around the edge, spacing stitches about 1/8 in (3 mm) apart.
- Keep tension even so the patch stays flat.
Option B: Fray-Check + Stitch (Fast for Woven Fabrics)
- Lightly dab fray-check along the cut edge (use sparingly).
- Let dry fully, then add a simple whip stitch around the edge for a clean finish.
Option C: Felt Backing (Best Beginner Shortcut)
- Cut a felt piece the same shape as your patch.
- Glue or stitch it to the back, then blanket stitch through both layers.
Step 8: Turn It Into a Party Favor
- Iron-on patch: Apply iron-on adhesive to the back; include simple instructions on the favor tag.
- Pin-back patch: Glue a brooch pin to the back for instant wear at the party.
- Keychain charm: Stitch patch onto felt, add a ribbon loop, and attach a keyring.
Packaging idea: Mount each patch to a 4 in x 6 in cardstock card with two small slits. Slide the patch on and add a label like “Thanks for celebrating!” for a polished party decoration + favor moment.
Pro Tips for Clean, Durable Embroidered Patches
- Use short lengths of floss: About 18 in (45 cm) reduces tangles and fraying.
- Condition your thread (optional): A swipe of beeswax or thread conditioner makes stitches smoother.
- Keep outlines bold: Even simple designs look professional with a thicker border.
- Test iron settings: Always test on a scrap of the same fabric before fusing adhesives.
- Batch your workflow: Transfer all designs first, then stitch outlines, then fills. This speeds up party favor production.
Variations for Different Party Styles
Beginner-Friendly Adaptations
- Felt-only patches: Skip stabilizer and fray worries—felt is forgiving and fast.
- One-color line art: A cute icon in a single color can be finished in under 30 minutes.
- Mini patches: Try 1.5 in (4 cm) designs for quicker party favors.
Advanced Variations
- 3D texture: Add French knots for confetti dots or raised centers on flowers.
- Layered patches: Stitch on fabric, then appliqué onto felt for a thick, badge-style finish.
- Metallic accents: Use metallic embroidery floss sparingly for stars, crowns, or outlines.
- Personalization: Stitch initials + party year (example: “M + 12” or “Grad ’26”).
Troubleshooting: Quick Fixes for Common Patch Problems
- Patch is puckering: Loosen tension slightly, use stabilizer, and avoid pulling stitches too tight.
- Edges are fraying: Switch to felt backing, add fray-check, or cut with sharper scissors.
- Stitches look uneven: Use fewer strands (2–3) for detail, and keep stitch length consistent.
- Iron-on backing won’t stick: Use higher heat (as directed), press longer (usually 20–30 seconds), and apply firm pressure with no steam.
- Design transfer lines show: Use water-soluble pen and rinse; or stitch slightly outside the line and keep outlines bold.
Common Crafting Mistakes to Avoid
- Making the design too detailed: Tiny details get lost at 2–3 inches. Simplify shapes and thicken lines.
- Skipping stabilizer on woven fabric: This often leads to ripples and distortion—especially with satin stitch.
- Cutting too close too soon: Finish backing and edge stitching before trimming tight margins.
- Using dull scissors: Dull blades chew fabric and cause fraying. Detail scissors make curves clean.
- Overloading the patch with long satin stitches: Very long stitches snag. Break large fills into smaller sections or use split stitch fill.
- Not testing adhesive: Iron-on products vary—always test on scrap fabric first.
FAQ: DIY Embroidered Patches for Party Favors
Can I make embroidered patches without an embroidery hoop?
You can, but a 4 in hoop makes stitching dramatically easier and cleaner. If you don’t have one, keep your fabric pulled taut with binder clips on a firm surface, and choose simpler stitches like backstitch and small satin areas.
What’s the best fabric for beginner patch-making?
Felt is the easiest because it doesn’t fray and holds stitches well. If you prefer a woven look, use canvas + stabilizer for a sturdy, forgiving base.
How many patches should I plan per hour for party favors?
For simple designs, many crafters can finish 1–2 patches per hour once the design is chosen and transferred. If you batch steps (transfer all, outline all, fill all), you’ll speed up production.
How do I attach patches to party favor items?
- Iron-on: Great for denim jackets, tote bags, and backpacks
- Sew-on: Most durable for clothing that will be washed
- Pin-back: Perfect for guests to wear during the party
- Fabric glue: Works for light use items (not ideal for frequent washing)
Can this be a party activity instead of a pre-made favor?
Yes—turn it into a craft party station. Pre-cut fabric squares, provide 2–3 simple templates, limit floss colors to your party palette, and offer beginner stitches only (backstitch + satin stitch). Guests can take home their handmade patch as a personalized party favor.
How do I wash something with an embroidered patch on it?
If it’s sewn on, wash inside-out on gentle and air dry when possible. If it’s iron-on only, avoid high heat drying and consider adding a few stitches around the edge for extra security.
Wrap-Up: A Party Favor Guests Will Actually Use
DIY embroidered patches hit the sweet spot for handmade party favors: they’re creative, practical, customizable, and easy to match with your party decorations and theme. Start with a simple icon or initial, keep the size around 2–3 inches, and focus on a bold outline—your patches will look polished even if you’re brand-new to embroidery.
Make a small batch for your next celebration, or set up a patch-making table for the ultimate craft party vibe. When you’re ready for more DIY crafts, party decoration ideas, and handmade projects, explore more creative inspiration on smartpartyprep.com.
More Articles
 Budget DIY Custom Stickers Under $25
 Modern Custom Stickers Designs
 Modern Table Runners Designs
 Budget DIY Party Banners Under $25
 30 Creative Backdrops Ideas (DIY-Friendly for Parties, Photos & Celebrations)
 Budget DIY Resin Jewelry Under $15
 Is Primal Queen Third Party Tested? The Truth About Lab Verification, What ‘Certified’ Really Means, and How to Spot Genuinely Transparent Brands (Not Just Marketing Claims)
 Personalized Origami Decorations Gifts
 DIY Confetti in 30 Minutes
 How to Make Embroidered Patches at Home