How to Make Embroidered Patches at Home
Embroidered patches are one of those DIY crafts that feel instantly rewarding: you start with a simple piece of fabric and end up with a bold, textured design you can wear, gift, or use as party décor. They’re small enough to finish in an evening, but creative enough to keep you experimenting with colors, stitches, and themes.
For party prep, handmade patches are surprisingly useful. Add a set of matching patches to denim jackets for a birthday squad, stitch name patches for a craft-night place setting, or make themed icons (stars, hearts, ghosts, daisies) as party favors. They’re also perfect “saveable” decorations—use them year after year on banners, tote bags, costume sashes, or fabric backdrops.
Whether you’re brand-new to embroidery or you already have a hoop collection, this step-by-step guide will help you make embroidered patches at home with clean edges, sturdy backing, and party-ready personality.
Project Overview
- Skill level: Beginner (basic hand stitches) to Intermediate (neater edges and layering)
- Time estimate: 45–90 minutes per patch (simple design); 2–3 hours (detailed design)
- Patch size: 2–3 inches (5–7.5 cm) is ideal for party favors and jacket accents
- Best for: DIY party decorations, handmade gifts, team/squad accessories, costumes, kids’ craft nights (with supervision)
Materials & Tools (with Estimated Costs)
These are the most practical supplies for embroidered patches at home. Costs vary by brand and location, so treat these as typical ranges.
Core Materials
- Embroidery floss (cotton, 6-strand) – $1–$2 per skein (choose 3–8 colors to start)
- Base fabric:
- Felt sheets (stiff craft felt or wool-blend felt) – $0.50–$2 each (great for beginners)
- Cotton twill or canvas scraps – $5–$10 per yard (very durable)
- Stabilizer (recommended):
- Iron-on tear-away stabilizer – $6–$12 per pack
- Stick-and-stitch water-soluble stabilizer – $10–$18 (excellent for clean designs)
- Patch backing (choose one):
- Iron-on adhesive sheets (heat-activated) – $8–$15
- Fusible web (double-sided) – $5–$10
- Fabric glue (permanent) – $4–$8
- Self-adhesive Velcro dots/squares (for removable party décor) – $5–$12
Tools You’ll Actually Use
- Embroidery needles (size 7–9 for floss) – $2–$6
- Small embroidery hoop (4–6 inch / 10–15 cm) – $3–$10 (optional for felt, helpful for fabric)
- Sharp scissors (small detail scissors recommended) – $6–$20
- Tracing tool: water-soluble fabric pen or pencil – $4–$10
- Iron (for stabilizer/backing) – household iron is fine
- Pressing cloth (thin cotton scrap) – free
- Optional: pinking shears (for fabric patches), fray check, and a seam ripper for quick fixes
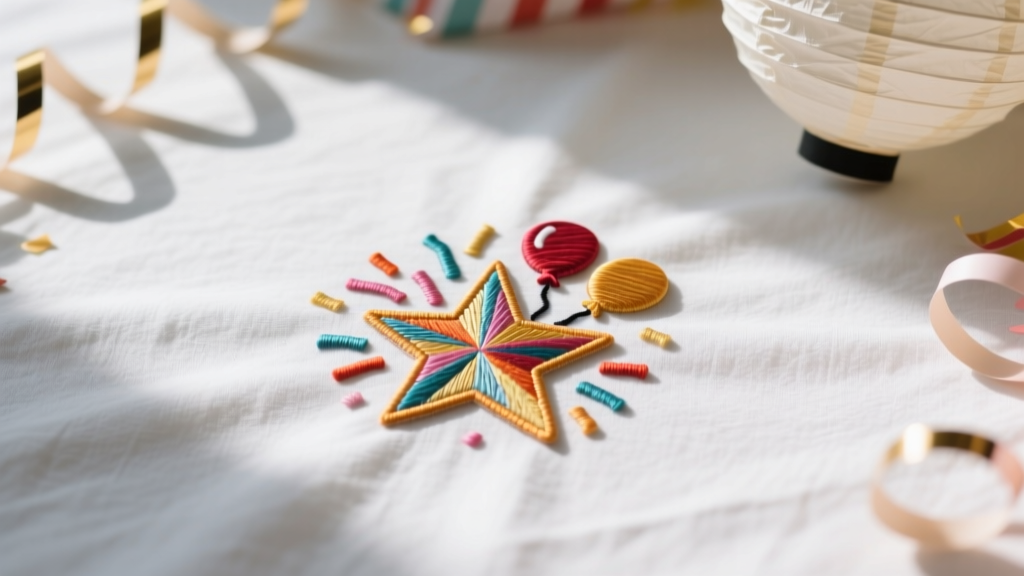
Choose a Patch Style (Party-Friendly Options)
Pick a style based on what you want the patch to do: decorate outfits, label party items, or act as a reusable embellishment.
Beginner-Friendly Designs
- Simple icons: stars, hearts, cherries, smiley faces
- Numbers (great for ages and anniversaries): “5”, “16”, “30”
- Name or initials (block letters are easiest)
- Mini party motifs: balloons, confetti dots, party hats
Advanced Variations
- Layered designs (outline + fill + highlights)
- Shading with 1–2 strands of floss
- 3D texture (French knots, padded satin stitch)
- Mixed media: tiny beads or sequins for “sparkle” party patches
Step-by-Step: How to Make Embroidered Patches at Home
Step 1: Plan Your Patch Size and Shape
For most DIY party decorations and wearable accents, a 2.5 inch (6.5 cm) patch hits the sweet spot: big enough to see in photos, small enough to stitch quickly.
- Circle: easiest edge finish
- Shield or pennant: great for “team party” vibes
- Rectangle: best for names and short phrases (keep it under 3.5 inches wide for quick stitching)
Step 2: Prep the Fabric (Stabilize for Cleaner Stitches)
- Cut a working piece of fabric at least 4 x 4 inches (10 x 10 cm) so you have room to hold it.
- If using cotton, twill, or canvas: apply iron-on tear-away stabilizer to the back following the package directions.
- If using felt: stabilizer is optional, but it can help if your felt is soft and stretchy.
- Place fabric in an embroidery hoop (optional but recommended for woven fabrics). Keep it taut like a drum, not stretched out of shape.
Step 3: Transfer the Design
- Draw your design directly onto the fabric with a water-soluble fabric pen.
- Keep lines simple and bold—tiny details can disappear once stitched.
- For text: use block letters at least 1/4 inch (6 mm) tall for clarity.
Step 4: Stitch the Design (Best Stitches for Patches)
Use 2–3 strands of embroidery floss for most patch designs. Use fewer strands for detail and more strands for bold coverage.
- Backstitch (outlines, letters): clean and beginner-friendly
- Satin stitch (solid fills): classic patch look
- Split stitch (smooth outlines and curves): great for icons
- French knots (confetti dots, flower centers): perfect for party themes
- Start by stitching the outline so your design stays crisp.
- Fill in larger areas with satin stitch or long-and-short stitch.
- Add small details last (sparkles, highlights, dots).
- On the back, keep thread tails short and secure with small knots or woven ends to reduce bulk.
Step 5: Create a Clean Patch Border
This step makes your embroidered patch look “finished,” especially for DIY party crafts you’ll gift or photograph.
Option A: Felt Border (Easiest)
- Remove the fabric from the hoop.
- Rough-cut around your embroidery, leaving about 1/4 inch (6 mm) extra fabric.
- Cut a matching piece of felt slightly larger than your final patch shape.
- Place embroidered piece on top of felt and trim felt so it extends about 1/8 inch (3 mm) beyond the embroidery edge.
- Stitch around the edge with blanket stitch using 3 strands of floss for a bold border.
Option B: Thread-Wrapped Edge (Classic “Patch” Look)
- Cut the patch shape leaving 1/8–3/16 inch (3–5 mm) seam allowance.
- Apply a thin line of fray check around the edge (for woven fabrics), let dry.
- Use tight blanket stitch or dense whip stitch all around the perimeter to wrap the edge.
Step 6: Add Backing (Iron-On, Sew-On, or Velcro)
Iron-On Backing (Best for quick party prep)
- Cut heat-activated adhesive to match the patch shape.
- Place adhesive on the back of the patch. Use a pressing cloth.
- Press with an iron for 10–15 seconds, lift and press again if needed.
- Let cool completely before peeling any protective layer (if your product has one).
Sew-On Backing (Most secure for clothing)
- Skip adhesive and keep the back soft.
- Stitch patch onto clothing or fabric banners with small whip stitches around the border.
Velcro Backing (Perfect for reusable party decorations)
- Glue or stitch the rough Velcro to the patch back.
- Add the soft Velcro to a party banner, photo backdrop, or tote bag so guests can swap patches during the event.
Pro Tips for Crisp, Party-Ready Patches
- Use a limited color palette (3–5 colors) for a cohesive party theme—matching napkins, balloons, and handmade patches looks amazing in photos.
- Outline first, fill second: it keeps shapes readable, especially small icons.
- Shorter stitches look smoother: aim for satin stitch lengths under 1/4 inch (6 mm).
- Choose the right strands:
- 2 strands: fine details and lettering
- 3 strands: bold outlines and most fills
- 4–6 strands: chunky texture (best on felt)
- Press gently from the back with a pressing cloth to flatten stitches without squishing texture.
Fun Variations for Parties and Handmade Decorations
- Party favor patch sets: Make 6–12 mini patches (2 inches / 5 cm) and attach them to cardstock “badge” cards as take-home favors.
- DIY patch bar: Pre-stitch simple outlines, then let guests add French knots, initials, or accent stitches during the party.
- Glow-themed patches: Use glow-in-the-dark embroidery floss for sleepovers or Halloween parties.
- Photo booth props: Attach patches to fabric sashes or bandanas for a coordinated “crew” look.
- Holiday party icons: snowflakes, ornaments, fireworks, shamrocks, hearts—same steps, new theme.
Troubleshooting: Fixes for Common Patch Problems
- My fabric is puckering.
- Use a hoop and stabilizer, and avoid pulling stitches too tight.
- Try shorter stitches and keep tension even.
- My edges look messy or frayed.
- Switch to felt-backed patches or add fray check before edge stitching.
- Make the border thicker using 3–4 strands of floss.
- My design looks uneven.
- Outline with backstitch first; it “cleans up” wobbly edges.
- Use fewer strands for details so stitches sit flatter.
- Iron-on backing won’t stick.
- Increase press time slightly and use firm pressure.
- Check that your iron is dry (no steam) unless the adhesive instructions say otherwise.
- Some materials (waterproof fabrics, very textured knits) need sew-on instead.
Common Crafting Mistakes to Avoid
- Starting with a tiny, detailed design: go larger and simpler for your first patch (2.5–3 inches / 6.5–7.5 cm).
- Skipping stabilizer on woven fabric: it’s the easiest way to avoid puckering and keep your DIY patch looking professional.
- Using long satin stitches: they snag easily and look lumpy—keep them short and consistent.
- Cutting too close too soon: always rough-cut first, then finish the edge after your border plan is set.
- Overloading with glue: too much glue seeps into stitches and hardens the patch—use a thin layer or choose fusible web.
- Not testing heat: do a quick test press on a scrap, especially for glitter felt, synthetic fabrics, or delicate party outfits.
FAQ: Embroidered Patches at Home
Do I need an embroidery machine to make patches?
No. Hand embroidery works beautifully for DIY patches, especially for party-themed icons and lettering. You’ll trade speed for customization—and the handmade texture is part of the charm.
What fabric is best for beginner patches?
Felt is the easiest because it doesn’t fray and holds stitches well. If you want a more traditional look, use cotton twill with stabilizer.
How do I make my patch washable?
Use strong stitches, secure thread ends well, and choose sew-on attachment for clothing that will be washed often. Iron-on adhesive can loosen over time in frequent washes, especially on stretchy fabrics.
Can kids make embroidered patches?
Yes, with supervision and age-appropriate tools. For kids’ parties, prep the patch shape and pre-draw designs. Use plastic embroidery needles on felt and keep designs simple (stars, hearts, initials).
How do I attach patches to party decorations?
For banners, backdrops, and reusable décor, Velcro is fantastic. For one-time decorations, fabric glue or fusible web works well on fabric-based items like tote bags, table runners, or chair sashes.
What size patch looks best in photos?
For group shots and party pictures, patches around 2.5–3.5 inches (6.5–9 cm) read clearly without overwhelming an outfit or accessory.
Wrap-Up: Make a Few, Then Make a Whole Set
Once you finish your first embroidered patch, it’s hard to stop—especially when you realize how easily they can match a party theme. Start with a simple icon, nail the border, then build a small collection for jackets, party favors, banners, and photo-worthy accessories.
Ready for more DIY crafts, party decorations, and handmade projects? Keep exploring creative ideas on smartpartyprep.com and turn your next celebration into something personal and unforgettable.
More Articles
 Paper Craft Tote Bags Ideas
 Kids' Craft: Confetti
 Paper Craft Photo Frames Ideas
 Personalized Origami Decorations Gifts
 Modern Table Runners Designs
 How to Make a Partiful: The 7-Step No-Stress Guide That Turns Craft Panic Into Confident Creativity (Even If You’ve Never Glued Sequins Before)
 Is Nature's Way Third Party Tested? We Investigated Every Batch Report, Lab Certificate, and FDA Compliance Gap So You Don’t Have to Waste Time—or Risk Your Craft Projects on Unverified Supplements.
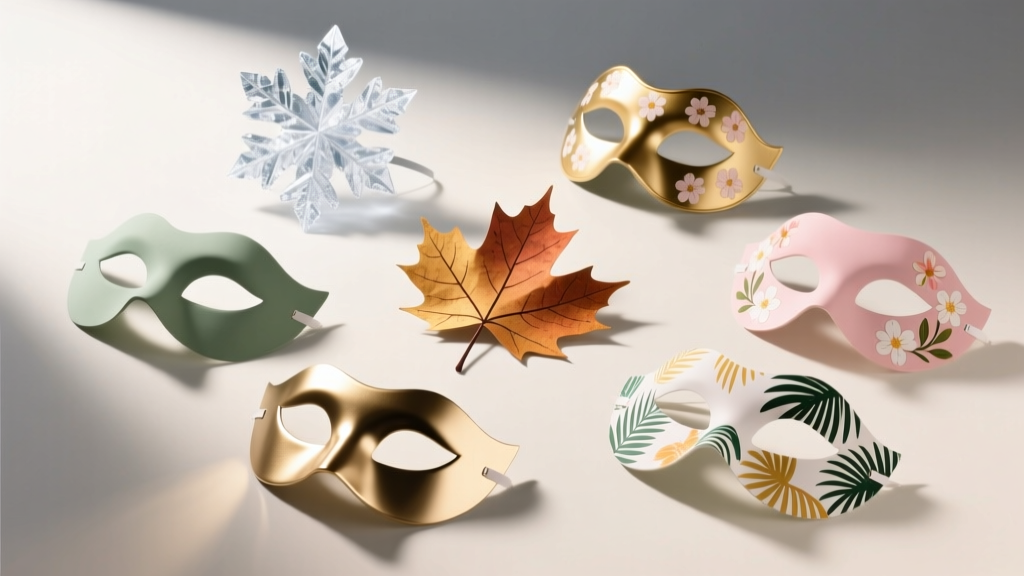 Seasonal Masks Ideas
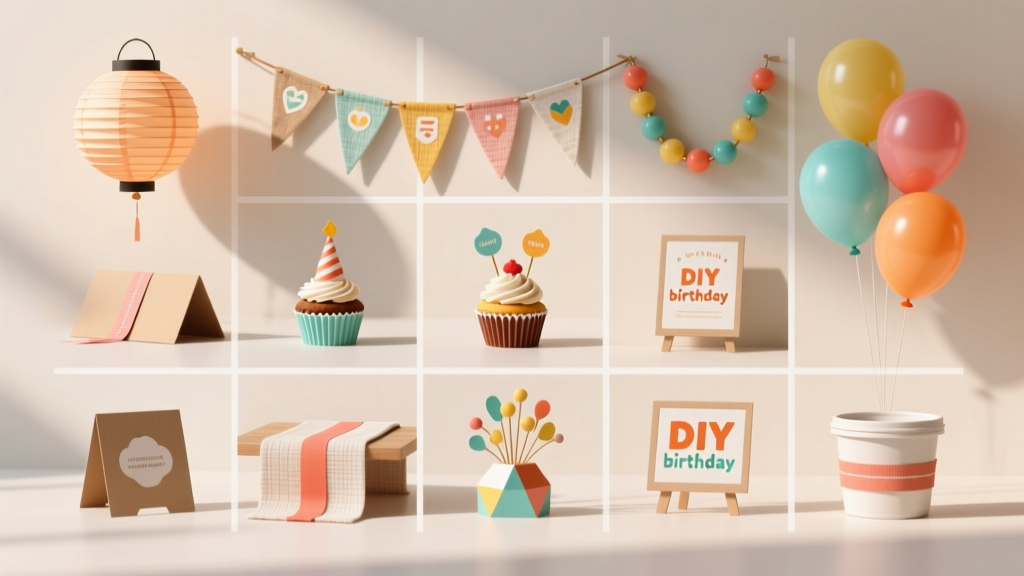 12 Do It Yourself Birthday Party Decorations That Take Under 30 Minutes Each (No Craft Store Runs, No Glue Gun Stress, Just Real Results You’ll Actually Use)
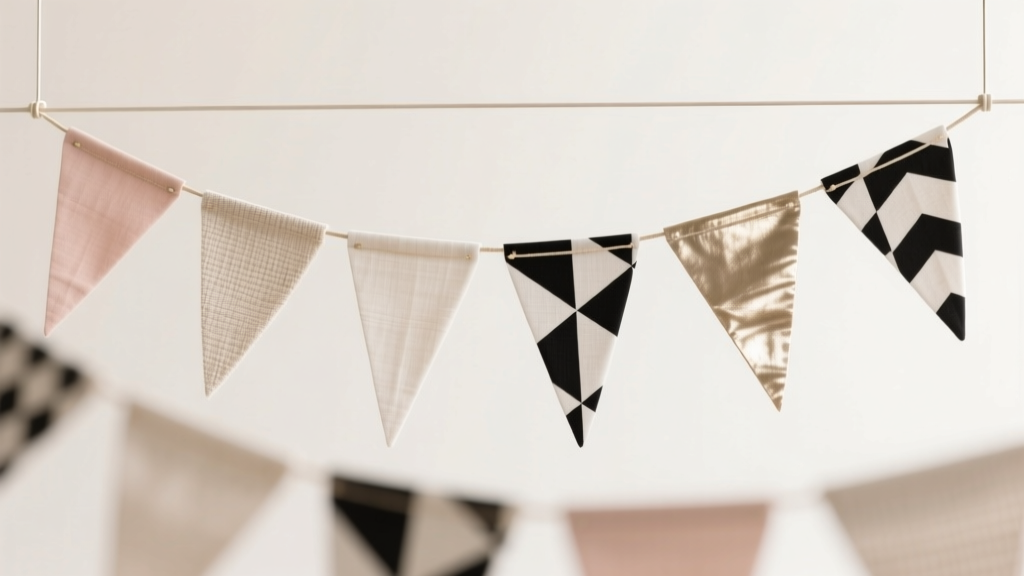 Modern Fabric Bunting Designs