Modern Table Runners Designs
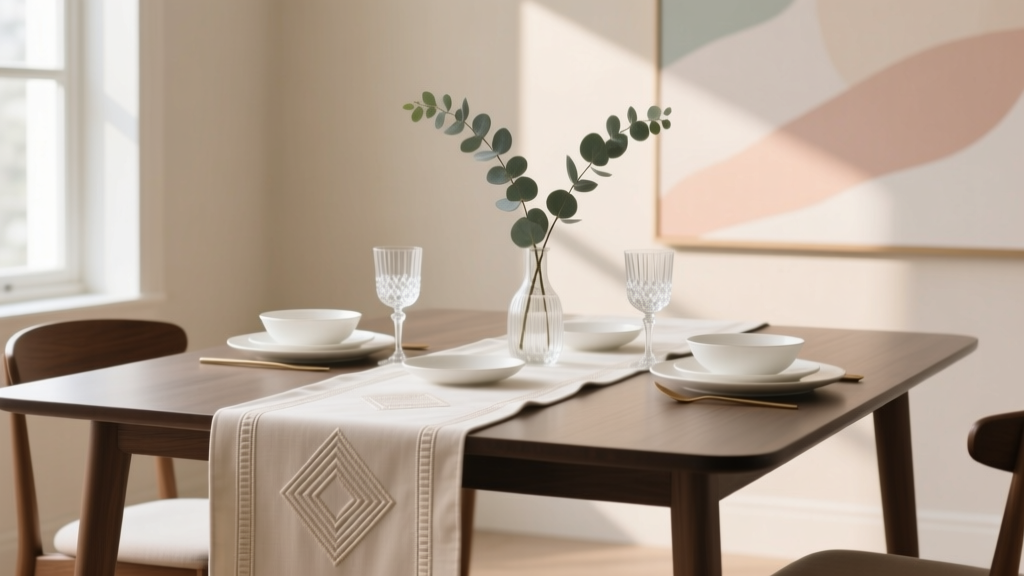
A table runner is one of those party decorations that quietly does a lot of heavy lifting. It frames your centerpiece, ties your color palette together, and makes even a simple folding table look styled and intentional. The best part? You can DIY a modern table runner in an evening—often with affordable materials and beginner-friendly techniques.
Modern designs are especially fun because they’re clean, graphic, and flexible. You can keep it minimalist for a chic dinner party, go bold for a birthday, or add texture for a cozy bridal shower. This guide walks you through several modern table runner designs with step-by-step instructions, measurements, and options for both beginners and advanced crafters—so you can create a handmade decoration that fits your event perfectly.
Choosing a Modern Table Runner Style (and the Right Size)
Modern design traits to aim for
- Simple shapes: color blocks, stripes, arches, geometric lines
- Clean edges: crisp hems, straight topstitching, sealed cuts
- Intentional texture: linen, cotton canvas, faux leather, felt, rattan accents
- Limited palette: 2–4 coordinated colors (great for party tables)
Recommended runner measurements
These measurements work for most dining and party tables. Adjust as needed for your space and the look you want.
- Runner width: 12–16 in (30–41 cm) is a modern sweet spot
- Runner length: table length + 16–24 in (41–61 cm) total overhang (8–12 in per end)
- No-overhang option (very modern): runner length = table length for a tailored look
Skill levels & time estimates
- No-sew (beginner): 30–75 minutes
- Basic sewing (beginner/intermediate): 60–120 minutes
- Painted/printed designs (beginner): 60–90 minutes + drying time
- Advanced details (intermediate/advanced): 2–4 hours
Materials List (Product Types + Estimated Costs)
Base materials (choose one)
- Cotton canvas (10–12 oz): durable, crisp, modern; 1.5–2 yards ($10–$24)
- Linen or linen-blend: upscale texture; 1.5–2 yards ($18–$45)
- Felt (craft weight): clean no-fray edges; 18x72 in piece or yardage ($8–$20)
- Faux leather/vinyl: ultra-modern; 18x72 in roll or yardage ($12–$35)
- Neutral tablecloth as a base: budget-friendly repurpose ($0–$15)
Design supplies (pick based on the project below)
- Fabric paint (matte acrylic or textile paint): $6–$18
- Fabric medium (if mixing acrylic paint): $6–$10
- Painter’s tape (1 in and 2 in widths): $6–$12
- Heat-transfer vinyl (HTV) + weeding tool: $10–$20
- Iron-on hemming tape (no-sew hems): $4–$8
- Fusible interfacing (medium weight, optional for crispness): $5–$12
- Fray check (optional): $4–$7
Tool recommendations
- Measuring tape + clear quilting ruler (6x24 in is ideal): $10–$25
- Fabric scissors or rotary cutter + cutting mat: $12–$60
- Iron + ironing board or heat-safe mat: already owned or $15–$40
- Clips/pins and fabric marker/chalk: $5–$12
- Sewing machine (optional): any basic straight-stitch machine works
- Paint roller or foam brush (for smooth modern paint): $3–$10
Estimated total cost per runner: $15–$45 depending on fabric choice and whether you already own tools.
Project 1: Minimalist Hemmed Linen Runner (Clean + Modern)
Best for: baby showers, bridal showers, birthdays, dinner parties
Skill level: Beginner (sewing) or Beginner (no-sew)
Time: 60–120 minutes
Measurements to cut
Example for a 72 in table with a modern 8 in overhang per end:
- Finished size: 14 in wide x 88 in long
- Cut size (for 1/2 in double-fold hems): 16 in wide x 90 in long
Step-by-step (sewn version)
- Cut your fabric: Use a ruler + rotary cutter for crisp edges. Cut to your planned cut size.
- Press hems: On all four sides, press 1/2 in to the wrong side. Then fold another 1/2 in and press again (double-fold hem).
- Pin or clip: Secure the hem folds, especially at corners.
- Stitch: Sew close to the inner folded edge (about 1/8 in). Use a slightly longer stitch length (around 3.0) for a modern look.
- Press again: A final press makes it look store-bought.
Step-by-step (no-sew version)
- Cut fabric: Choose linen-blend or canvas (easier to press than very thin fabrics).
- Press 1/2 in + 1/2 in double folds: Same as above.
- Add hemming tape: Insert iron-on hemming tape inside the final fold.
- Iron to bond: Follow package timing; work in 8–10 in sections. Let cool fully before moving.
Project 2: Color-Block Modern Runner (Bold Party Statement)
Best for: birthdays, graduation parties, modern holiday tables
Skill level: Beginner
Time: 75–90 minutes + drying time
Design options
- End blocks: two solid rectangles at each end (very clean)
- Center block: one wide band across the middle (great under a centerpiece)
- Asymmetrical blocks: modern and artsy, still easy with tape
What you’ll need
- Finished runner (from Project 1) or a pre-made neutral runner
- Painter’s tape (1 in or 2 in)
- Fabric paint (matte looks most modern)
- Foam roller or dense foam brush
Step-by-step
- Plan the layout: Mark light pencil lines on the underside or with washable fabric chalk. Example: 10 in color block on each end of an 88 in runner.
- Tape the edges: Apply painter’s tape where you want crisp boundaries. Burnish the tape edge with a plastic card for sharp lines.
- Paint thin layers: Use a foam roller for smooth coverage. Apply 2 thin coats rather than 1 heavy coat to prevent bleeding.
- Peel tape at the right time: Remove tape when paint is mostly dry but not fully hard (usually 10–20 minutes). Pull back on itself at a 45° angle.
- Cure and set: Allow to dry fully. If your paint requires heat setting, press with an iron (use a pressing cloth).
Project 3: Geometric Tape-Resist Runner (Crisp Lines, Big Impact)
Best for: engagement parties, New Year’s, modern weddings, themed events
Skill level: Beginner/Intermediate
Time: 90 minutes + drying time
Modern geometric patterns that read well on a table
- Offset stripes: varying stripe widths
- Triangles: repeated along the edge for a “border” feel
- Arch/scallop modern: simple half-circles in a row (use a template)
Step-by-step
- Pre-press the runner: Wrinkles can distort your pattern lines.
- Create a center guideline: Measure and mark lightly down the length to keep symmetry (optional but helpful).
- Apply tape pattern: Build your shapes using painter’s tape. Overlap tape pieces and trim with scissors for clean corners.
- Seal the tape edge (optional but excellent): Paint a thin coat of the base color over the tape edges first. Let it dry 5–10 minutes. This helps prevent bleed.
- Add your feature color: Roll on paint in thin layers.
- Remove tape carefully: Peel slowly at 45°.
- Heat set if needed: Follow your paint’s instructions.
Project 4: No-Sew Faux Leather Runner (Ultra-Modern + Wipeable)
Best for: cocktail parties, adult birthdays, modern holiday tables, messy menus
Skill level: Beginner
Time: 30–60 minutes
What you’ll need
- Faux leather/vinyl: cut to 14–16 in wide and your desired length
- Clear quilting ruler + rotary cutter (best for straight edges)
- Double-sided leather tape or strong fabric tape (optional)
Step-by-step
- Measure and cut: Example finished size: 14 in x 88 in.
- Square the ends: Use a ruler to ensure 90° corners (this makes it look sleek and intentional).
- Add optional corner detail: Trim corners on a 1 in diagonal for a modern chamfered look.
- Optional backing: If sliding is an issue, apply small strips of grippy shelf liner underneath at each end (hidden) or add a few dots of fabric tape.
Pro Tips, Variations, and Troubleshooting
Pro tips for a crisp, modern finish
- Press early and often: Ironing is the difference between “DIY” and “designer.”
- Use a longer stitch length: For topstitching, a 3.0 length looks clean and contemporary.
- Keep the palette tight: Two neutrals + one accent color photographs beautifully for party tablescapes.
- Scale patterns for distance: Large shapes read better across a table than tiny details.
Beginner-friendly adaptations
- Start with a pre-made plain runner and add tape + paint designs.
- Use felt for a no-fray, no-hem runner—just cut and decorate.
- Choose end color blocks instead of all-over patterns (faster and forgiving).
Advanced variations (for experienced crafters)
- Quilted modern runner: Piece together neutral solids in geometric panels, then quilt with straight lines.
- Reversible runner: Sew two coordinating fabrics right sides together, turn, press, and topstitch.
- Metallic detail: Add a thin gold/silver stripe with fabric paint + a fine foam brush (keep it minimal).
- HTV names or dates: Great for weddings, anniversaries, milestone birthdays, and graduation parties.
Troubleshooting quick fixes
- Paint bled under tape: Let it dry fully, then tidy edges with a small angled brush and base color. Next time, burnish tape and use thin coats.
- Runner curls at edges: Press with steam and consider interfacing on lightweight fabric.
- Uneven hems: Measure from the edge using a seam gauge; press before stitching. If needed, re-press and re-stitch—modern styles love precision.
- Vinyl won’t lay flat: Warm it gently (sunlight or low heat at a distance) and flatten under books with parchment paper in between.
Common Crafting Mistakes to Avoid
- Skipping pre-wash for fabric runners: Cotton/linen can shrink later and warp your design. Pre-wash and dry first (unless using vinyl/felt).
- Using too much paint: Thick paint is the #1 reason for bleeding and cracking. Two thin coats wins.
- Not measuring your table: Guessing often leads to a runner that’s too short or too narrow for the look you want.
- Forgetting centerpiece space: If you’ll use tall décor, leave a calmer pattern zone in the center so the table doesn’t feel busy.
- Cutting without squaring fabric: If the grain is off, your runner may twist. Square the ends with a ruler before hemming.
FAQ: Modern DIY Table Runners
How long should a table runner be for a party table?
A great rule is table length + 16–24 inches, which gives you about 8–12 inches of overhang per end. For a very modern look, make it the exact table length (no overhang).
What fabric looks most modern and photographs well?
Linen and cotton canvas photograph beautifully because they have subtle texture and hold shape. If you want wipeable and sleek, go with faux leather/vinyl.
Can I make a no-sew runner that still looks polished?
Yes. Use felt (no fray) or faux leather (no hem needed), or finish fabric edges with iron-on hemming tape. Pressing neatly is the key to a clean result.
What’s the best way to keep a runner from sliding during a party?
Add small, hidden pieces of grip shelf liner under the ends, or use a few dots of removable fabric tape beneath the runner corners. If you’re layering on a tablecloth, a slightly textured cloth also helps.
How do I match my runner to my party theme without it looking too busy?
Use the theme color as an accent (one stripe, end blocks, or a thin border) and keep the base neutral. This keeps your party decorations cohesive while leaving room for plates, florals, and handmade centerpieces to shine.
Wrap-Up: Your Table, Instantly More Modern
Modern table runners are a satisfying DIY craft because they’re quick to make, affordable, and they upgrade your party table faster than almost any other handmade decoration. Start simple with a hemmed linen runner, then level up with color blocks or geometric patterns once you see how much impact a clean design makes.
Try one of the designs above for your next celebration—then tweak the colors and dimensions to fit birthdays, showers, holiday gatherings, and everything in between. When you’re ready for more DIY party decorations, centerpieces, and handmade projects, explore more creative ideas on smartpartyprep.com.
More Articles
 How Do You Enable 3rd Party Cookies in 2024? (Spoiler: It’s Not Just One Click — Here’s Exactly What Changes in Chrome, Safari, Edge & Firefox)
 How to Enable Third Party Cookies on MacBook: A Step-by-Step Safari & Chrome Fix (2024 Verified — No More 'Blocked' Errors or Broken Logins)
 Advanced Coasters for Crafters
 Personalized Custom Stickers Gifts
 Seasonal Wooden Signs Ideas
 Stop Wasting $47 on Boring Party Favors: 12 Stunning, Low-Effort DIY Party Favors for Adults That Guests Actually Keep (Not Toss!) — No Glue Gun Required
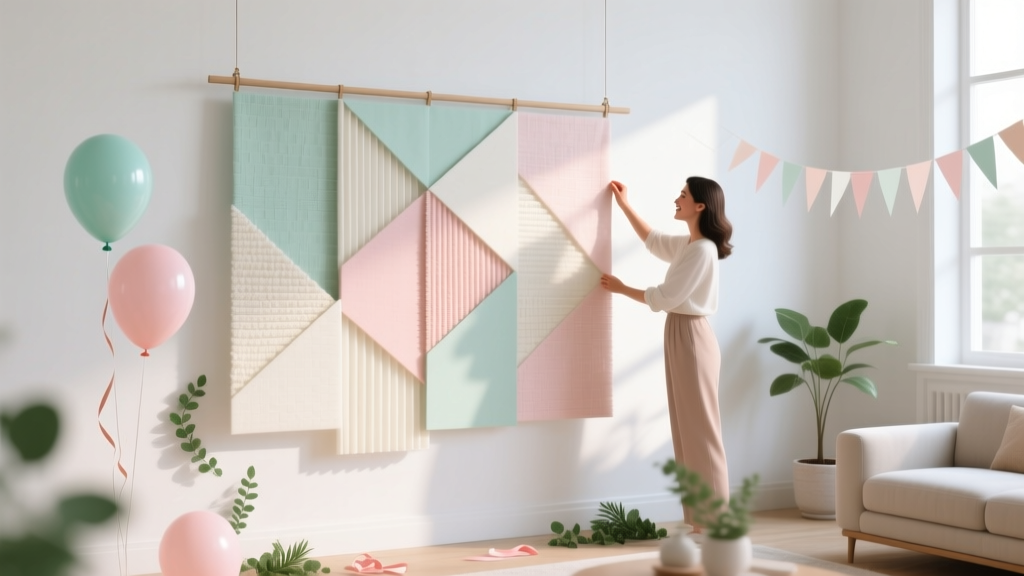 DIY Backdrops for Home Decor
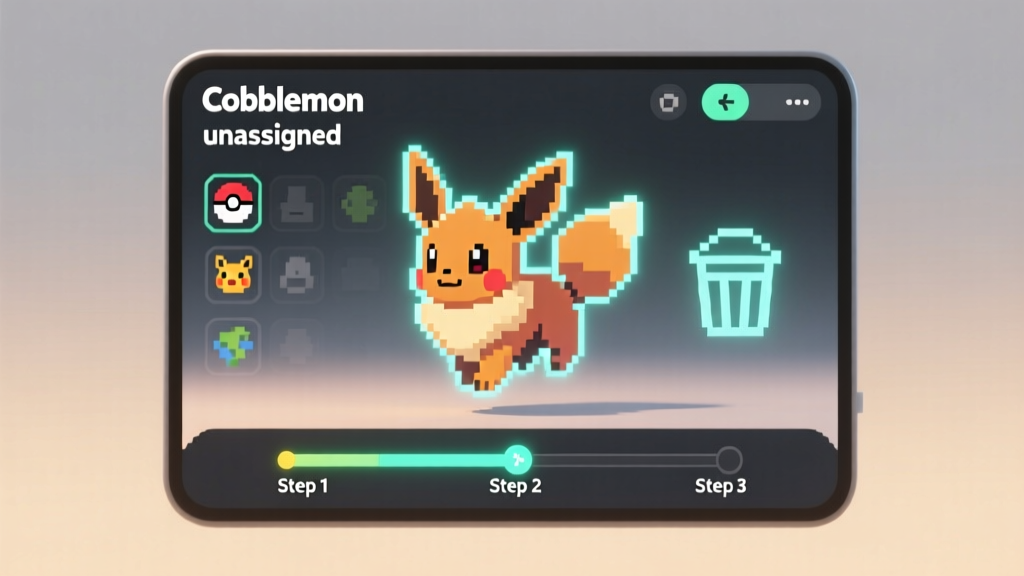 How to Remove a Pokemon from Your Party in Cobblemon: The 3-Step Method That Actually Works (No Crashes, No Lost Data, and Zero Mod Conflicts)
 Is Organic India Third Party Tested? We Investigated Lab Reports, Certifications & Hidden Gaps—Here’s What Independent Testing *Actually* Reveals About Their Turmeric, Ashwagandha & Triphala
 Advanced Beaded Bracelets for Crafters