
Seasonal Wooden Signs Ideas
Seasonal wooden signs are one of those DIY crafts that feel instantly rewarding: you start with a plain board and end with a party-ready decoration that looks custom, cozy, and totally you. Whether you’re prepping for a birthday brunch, a baby shower, a backyard BBQ, or a holiday open house, a handmade wooden sign helps set the mood and makes your event feel thoughtfully styled—without buying new décor every time.
The best part? You can build a “base sign” once and swap out seasonal elements all year long. Add a pumpkin for fall, snowflakes for winter, florals for spring, and bright citrus for summer. This project works for beginners who want a straightforward paint-and-stencil sign, and it can also go full “advanced crafter” with raised lettering, layered cutouts, and interchangeable pieces.
Grab your favorite paint colors, clear a little work space, and let’s make party decorations that get compliments every single season.
Project Overview: Skill Level, Time, and What You’ll Make
- Skill level: Beginner to Intermediate (advanced options included)
- Total time: 2–4 hours active time + drying/curing (overnight recommended)
- Finished sign size (recommended): 9" x 24" (great for entry tables and party drink stations)
- Alternate sizes: 12" x 12" (mini sign), 12" x 36" (porch leaner-style)
- Primary techniques: sanding, painting, stenciling or vinyl lettering, optional distressing
Materials List (With Product Types + Estimated Costs)
Wood + Surface Prep
- Wood board: 1x10 pine board cut to 24" length (actual size approx. 3/4" x 9 1/4" x 24") — $8–$15
- Optional frame boards: 1x2 pine (two 24" pieces + two 9 1/4" pieces) — $6–$12
- Sandpaper: 120-grit + 220-grit sheets or sanding sponge — $3–$7
- Tack cloth or lint-free rag — $2–$6
- Wood filler (if needed for knots/cracks) — $4–$8
Paint + Finish
- Primer: water-based stain-blocking primer (great for knotty pine) — $10–$18
- Acrylic craft paint (2–4 colors) — $1–$3 per bottle
- Latex paint sample pot (optional for larger coverage) — $5–$8
- Clear sealer: water-based polyurethane or acrylic clear coat (matte or satin) — $10–$18
- Optional stain: water-based stain for farmhouse looks — $8–$15
Lettering + Design Tools
- Adhesive stencil (seasonal phrases) or reusable stencil — $5–$15
- Vinyl (optional): permanent adhesive vinyl for crisp lettering — $5–$12
- Transfer tape (if using vinyl) — $4–$10
- Foam pouncer brushes or stencil brush — $3–$8
- Painter’s tape — $4–$8
- Ruler/tape measure + pencil — $2–$10
Adhesives + Hanging Hardware
- Wood glue (for frame) — $4–$7
- Hot glue gun + glue sticks (for embellishments) — $10–$20
- Sawtooth hanger or D-ring hangers + picture wire — $3–$8
- Command strips (renter-friendly option) — $6–$12
Tool Recommendations
- Cutting: miter saw, circular saw, or have the store cut your board for you
- Sanding: orbital sander (nice but optional)
- Painting: 2" foam roller (smooth base coats), angled brush for edges
- Optional advanced: brad nailer for frames, Cricut/Silhouette cutting machine for custom vinyl
Estimated total cost: $25–$60 depending on tools you already own and whether you add a frame or interchangeable pieces.
Seasonal Wooden Sign Ideas (Party-Friendly Themes)
Spring Sign Ideas (Fresh, Light, and Brunch-Ready)
- “Hello Spring” with painted daisies (great for garden parties)
- “Baby in Bloom” for baby showers with soft florals
- “Easter Brunch” with a bunny silhouette and pastel stripes
Summer Sign Ideas (Bright and Backyard-Party Perfect)
- “Welcome to the BBQ” with red/white check accents
- “Sip, Sip, Hooray!” for drink stations and pool parties
- “Happy 4th” with stars and a distressed flag palette
Fall Sign Ideas (Cozy, Rustic, and Photo-Backdrop Worthy)
- “Pumpkin Patch” with layered pumpkin cutouts
- “Gather” for Friendsgiving and dinner parties
- “Trick or Treat” for candy tables and entryways
Winter Sign Ideas (Holiday Parties and Warm Welcomes)
- “Let It Snow” with snowflake stencils
- “Hot Cocoa Bar” for dessert stations
- “Merry & Bright” with metallic accents
Step-by-Step: Make a Seasonal Wooden Sign (Base + Seasonal Design)
Step 1: Cut and Plan Your Sign (10–20 minutes)
- Choose your size: 9" x 24" is a versatile “party sign” that fits on a table, shelf, or mantle.
- Mark your board: If cutting at home, measure and mark 24" length on a 1x10 board.
- Cut straight: Use a miter saw or circular saw. If you’re a beginner, ask your hardware store for one cut—many will do it for free or low cost.
Beginner-friendly adaptation: Buy a pre-cut craft wood plaque (roughly 10" x 20") to skip sawing.
Step 2: Sand Smooth (10–15 minutes)
- Sand the front, edges, and corners with 120-grit to remove rough spots.
- Finish with 220-grit for a smooth paint-ready surface.
- Wipe away dust using a tack cloth or slightly damp lint-free rag.
Step 3 (Optional): Add a Simple Frame (20–30 minutes)
A frame instantly gives your sign a finished, boutique look—great for party decorations that need to photograph well.
- Cut 1x2 boards to fit around your sign: two pieces at 24" and two pieces at 9 1/4" (or match your board’s actual width).
- Apply wood glue along the edges.
- Clamp if you have clamps, or use painter’s tape tightly while it dries.
- For a sturdier build, add brad nails (advanced option).
Step 4: Prime and Base Coat (30–45 minutes + dry time)
- Prime: Apply a thin coat of stain-blocking primer if your wood has knots or you want a crisp white base.
- Dry: Let it dry per the label (usually 30–60 minutes).
- Paint base color: Use a 2" foam roller for smooth coverage. Popular backgrounds:
- Warm white (classic farmhouse)
- Soft sage (spring/summer)
- Charcoal or navy (modern party décor)
- Natural stained wood (rustic fall/winter)
- Let dry and add a second coat if needed.
Step 5: Layout Your Design (10–15 minutes)
- Lightly mark the center of your board (width and height).
- Use a ruler to keep text level.
- Do a quick “mock placement” of your stencil or vinyl before sticking anything down.
Party styling tip: If the sign will sit behind food or drinks, place your main word higher so it stays visible in photos.
Step 6A: Stencil the Lettering (Beginner-Friendly) (20–30 minutes)
- Apply the stencil flat and press edges firmly, especially inside letters.
- Use a foam pouncer or stencil brush with very little paint (dab excess onto a paper towel).
- Apply paint with a gentle up-and-down motion. Two light coats beat one heavy coat.
- Remove the stencil slowly while paint is slightly wet for crisp lines.
Step 6B: Apply Vinyl Lettering (Crisp + Fast) (15–25 minutes)
- Cut or purchase your phrase in permanent vinyl (mirror-check before cutting).
- Use transfer tape to lift the vinyl.
- Align on the sign using your pencil center marks.
- Burnish with a scraper or old gift card, then peel transfer tape back slowly.
Step 7: Add Seasonal Icons and Embellishments (10–30 minutes)
This is where your sign becomes a true handmade project. Choose one:
- Painted icons: pumpkins, florals, stars, snowflakes (simple and flat)
- 3D wood cutouts: glue on layered shapes for depth
- Ribbon/bow: staple or hot-glue a bow at the top corner
- Mini wreath: attach with removable hook-and-loop dots for seasonal swaps
Step 8: Seal for Durability (10 minutes + cure time)
- Use a water-based clear sealer in matte (rustic) or satin (easy-clean finish).
- Apply thin coats with a foam brush to avoid bubbles.
- Let cure overnight before heavy handling—especially if it’ll be used at a party.
Step 9: Add Hanging Hardware (5–10 minutes)
- Sawtooth hanger: easiest for smaller signs
- D-rings + wire: more secure for larger signs
- No holes option: Command strips for indoor party décor
Pro Tips, Creative Variations, and Troubleshooting
Pro Tips for Professional-Looking Results
- Use less paint than you think for stenciling to prevent bleeding.
- Lightly sand between coats (220-grit) for an ultra-smooth finish.
- Test colors together on a scrap piece—especially if you’re matching party themes.
- Photograph check: Black, white, navy, and warm wood tones read best in party photos.
Beginner Variations
- Skip the frame and keep it simple: one background color + one stencil phrase.
- Use a pre-made stencil set with seasonal words (“Welcome,” “Gather,” “Cheers”).
- Try a 12" x 12" sign—easier to handle and faster to paint.
Advanced Variations (Extra “Wow”)
- Interchangeable season tiles: attach 4" x 4" mini plaques with hook-and-loop dots so you can swap icons (pumpkin/snowflake/lemon/flower).
- Raised lettering: cut thin wood letters or use layered cardstock sealed with Mod Podge + clear coat.
- Shiplap effect: add thin strips (paint stir sticks) across the board for texture.
- Two-tone stain + paint: stained background with white painted lettering (high-end rustic look).
Troubleshooting (Quick Fixes)
- Stencil bleed happened: Let it dry, then touch up with a small angled brush using the base color. For next time, seal stencil edges with a thin coat of base color before the lettering color.
- Paint looks streaky: Add a second coat and use a foam roller for the background.
- Vinyl won’t stick: Make sure the surface is fully cured and not dusty. Wipe with rubbing alcohol and let dry, then reapply.
- Wood knots are showing through: Spot-prime with stain-blocking primer and repaint.
- Clear coat feels tacky: Humidity can slow curing. Move it to a warmer, drier area and give it more time.
Common Crafting Mistakes to Avoid
- Skipping sanding: Rough wood makes paint look uneven and can snag stencils.
- Using too much stencil paint: This is the #1 reason for messy lettering.
- Not letting layers dry: Rushing leads to smudges, fingerprints, and lifted paint.
- Measuring only once: Always check center marks and level lines—crooked text is hard to unsee.
- Sealing too soon: If paint is still soft, clear coat can cloud or pull color.
- Over-distressing: A little distressing looks charming; too much can make words harder to read (especially in party photos).
FAQ: Seasonal Wooden Signs for DIY Party Decorations
What type of wood is best for DIY wooden signs?
Pine boards (like a 1x10) are budget-friendly and easy to find. For a smoother surface with fewer knots, choose select pine or poplar. If you want a super-straight, paint-perfect surface, a pre-cut MDF craft board also works (best for indoor use).
Do I need a Cricut or cutting machine to make a wooden sign?
No. Adhesive stencils or reusable stencils are beginner-friendly and give great results. A cutting machine is helpful for custom fonts, names, and party-specific phrases, but it’s optional.
How do I make my sign reusable for multiple seasons?
Create a neutral base sign (like “Welcome” or “Cheers”) and add seasonal icons with hook-and-loop dots, small magnets (advanced), or removable adhesive strips. You can also make mini seasonal plaques that hang from twine on tiny hooks.
What’s the best sealer for indoor party décor?
A water-based polyurethane or acrylic clear coat in matte or satin is easy to apply and low odor. Matte hides brush marks; satin is easier to wipe clean after parties.
How can I make my wooden sign look rustic or farmhouse-style?
Try a stained background, dry brushing white paint over the top, and lightly sanding edges. A frame in a darker tone (walnut or black) also adds that classic farmhouse contrast.
Can I use these signs outdoors on a porch?
Yes, with extra protection: use exterior paint, exterior-grade clear sealer, and keep the sign under cover (like a porch roof). Fully outdoor exposure (rain/sun) will wear finishes faster.
Wrap-Up: Your Seasonal Sign, Your Party Style
Seasonal wooden signs are the kind of DIY project that keeps paying you back—one craft session can give you year-round party decorations, photo-worthy backdrops, and a warm welcome for every gathering. Start simple with paint and a stencil, then level up with frames, layered icons, and interchangeable pieces as you go.
If you make one, pick a seasonal phrase that matches your next event (hello, “Hot Cocoa Bar” or “Welcome to the BBQ”) and let your colors tie into your party theme. You’ll end up with a handmade decoration that feels personal, festive, and totally custom.
Ready for more DIY crafts, party decorations, and handmade projects? Explore more creative ideas on smartpartyprep.com and keep your celebrations looking beautifully homemade.
More Articles
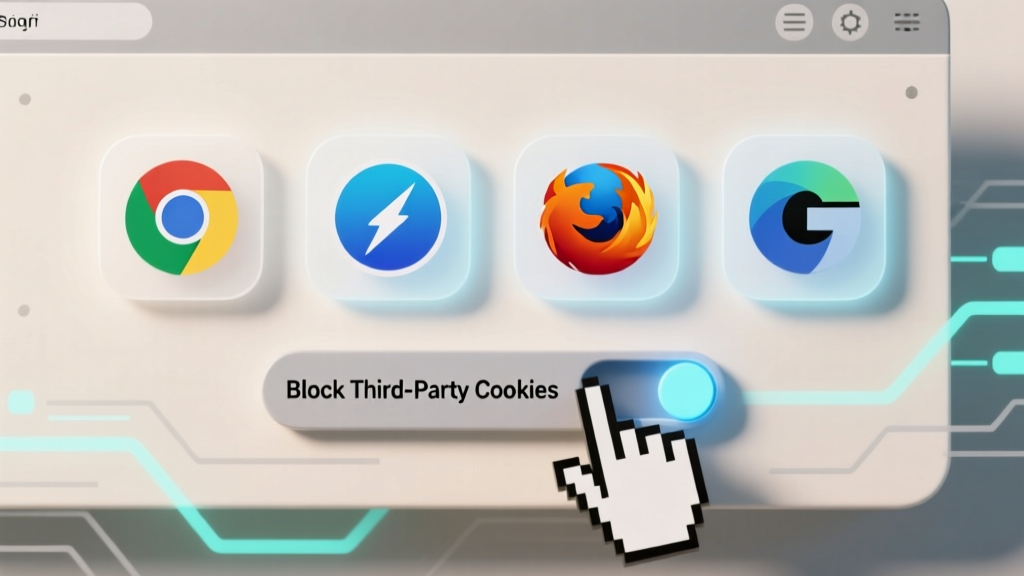 How to Disable 3rd Party Cookies in 2024: A Step-by-Step Guide for Chrome, Safari, Firefox & Edge (No Tech Skills Needed)
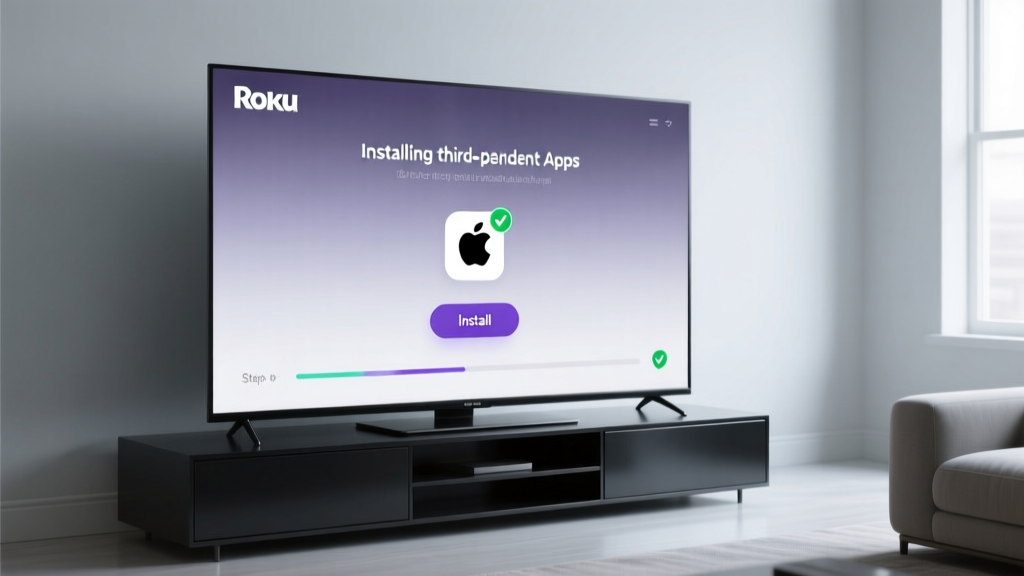 How to Install 3rd Party Apps on Roku TV (Without Jailbreaking): The Only Legal, Step-by-Step Method That Actually Works in 2024 — No Developer Mode Confusion, No Failed Sideloading, Just Real Results
 Is Mary Ruth’s Third Party Tested? We Investigated Every Certificate, Lab Report, and FDA Warning Letter So You Don’t Have To — Here’s What’s Verified, What’s Missing, and How to Spot Legit Supplements in 2024
 Step-by-Step Wall Art Tutorial (Perfect for Party Backdrops & Handmade Decor)
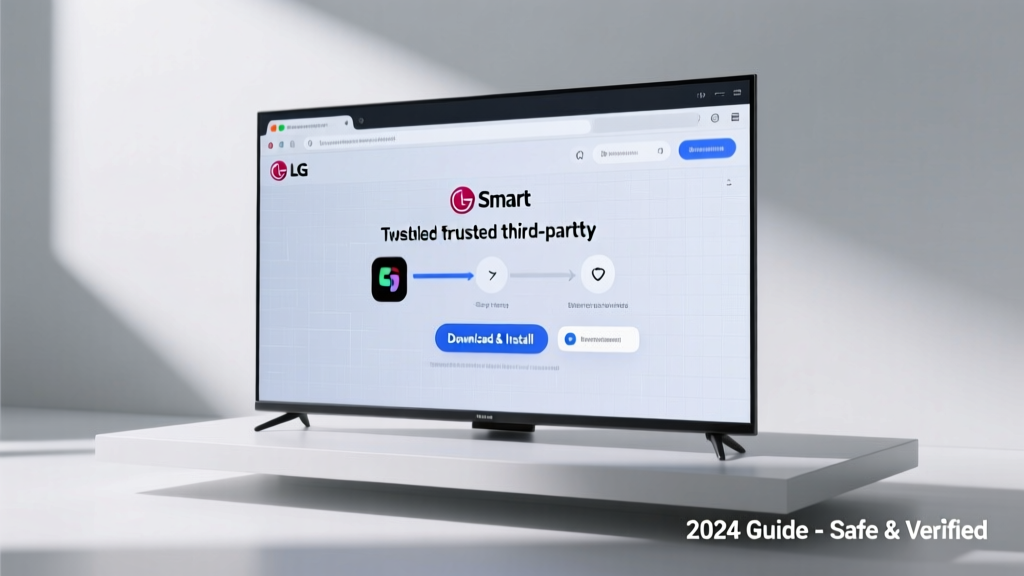 How to Install 3rd Party Apps on LG Smart TV (2024): The Only Safe, Step-by-Step Method That Actually Works — No Hacks, No Bricking, No Developer Mode Confusion
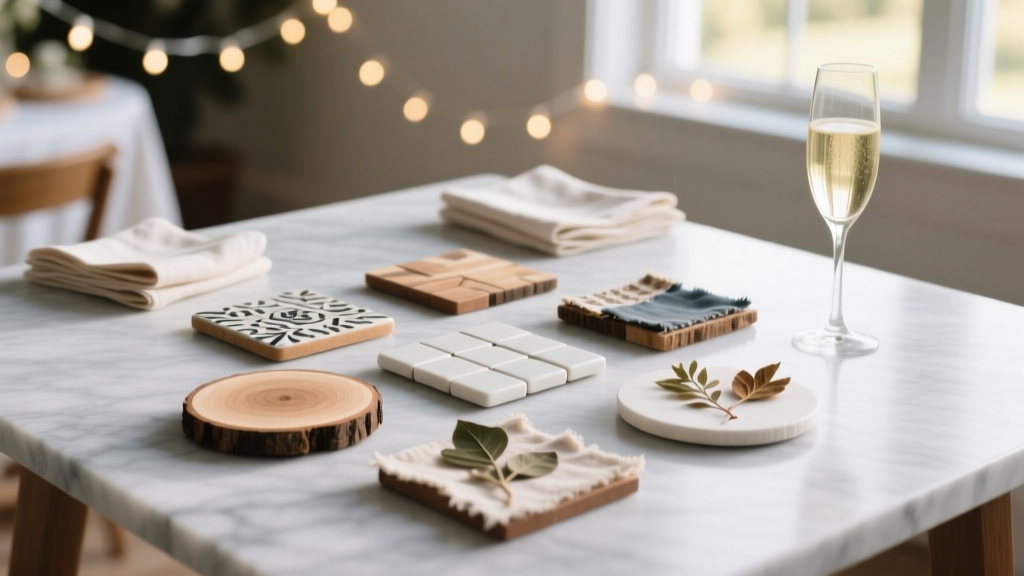 Budget DIY Coasters Under $50
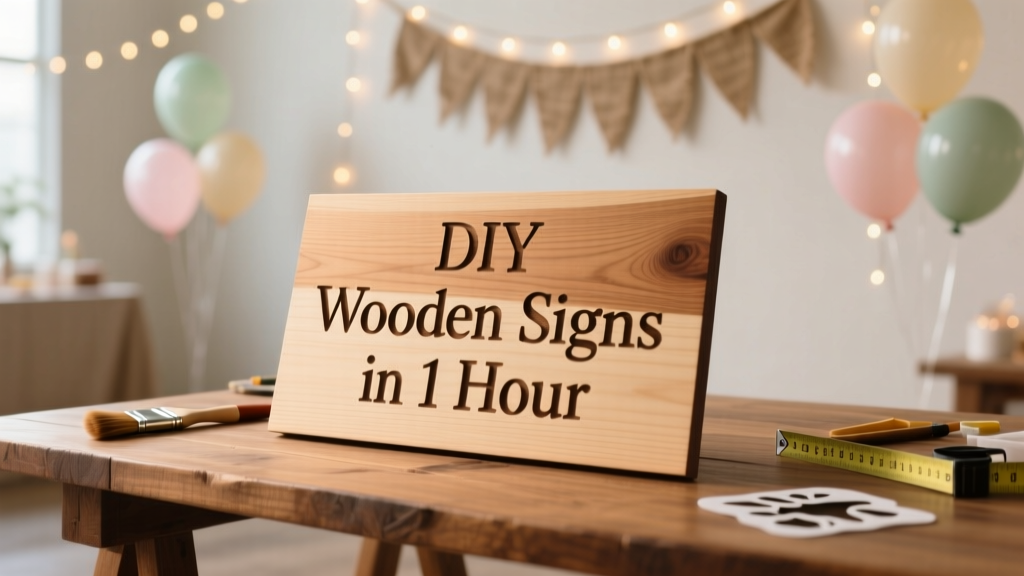 DIY Wooden Signs in 1 Hour
 How to Update Settings to Allow 3rd Party Cookies in 2024: A Step-by-Step Fix for Chrome, Safari, Edge & Firefox (No Tech Degree Required)
 How to Hang Streamers for a Party Without Tape Mess, Sagging, or Last-Minute Panic: 7 Foolproof Methods That Actually Stick (Tested on 32 Parties)
 How to Unblock 3rd Party Cookies on Mac: A Step-by-Step Safari & Chrome Guide (No Tech Degree Required — Just 90 Seconds & Your Settings App)