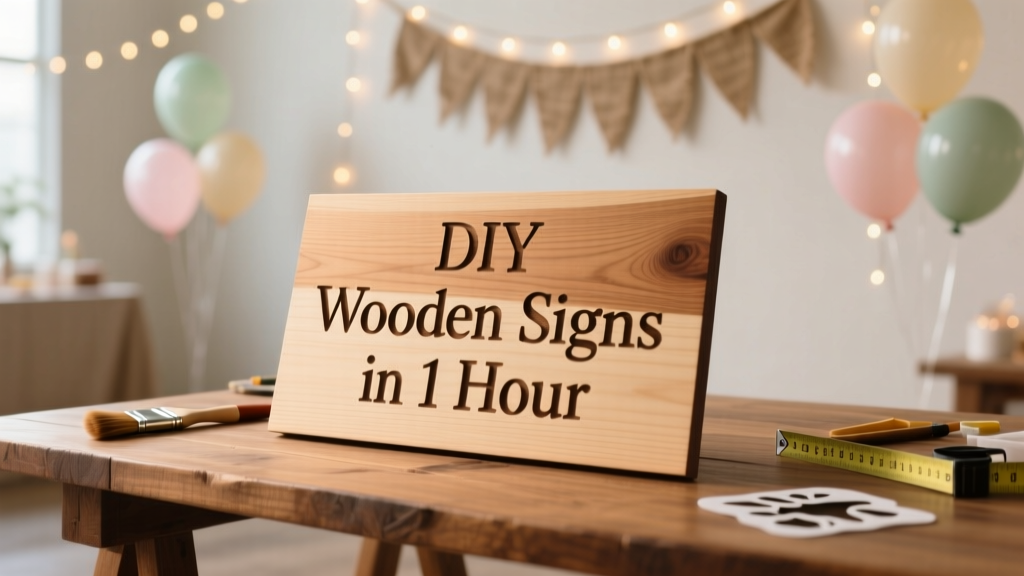
DIY Wooden Signs in 1 Hour
Nothing says “welcome to the party” like a handmade wooden sign—especially one you made yourself in under an hour. DIY wooden signs are the kind of craft that looks high-end, photographs beautifully, and instantly pulls a party theme together. Whether you’re hosting a birthday, baby shower, graduation, engagement party, or a cozy holiday gathering, a custom sign adds personality in a way store-bought décor just can’t match.
This project is also wonderfully flexible. You can go rustic farmhouse, modern minimalist, boho, spooky Halloween, bright and kid-friendly, or elegant wedding-style. The steps are simple and repeatable, so once you make one sign, you’ll want to make a whole set: “Welcome,” “Gifts,” “Dessert Bar,” “Cards,” “Photo Booth,” or even fun quote signs that guests love snapping pics with.
Best of all, this is a beginner-friendly DIY craft. With a few basic tools and quick-dry paint, you can create a party-ready wooden sign in about 60 minutes—plus optional drying time if you add extra layers or sealant.
Project Overview
- Skill level: Beginner (with optional advanced upgrades)
- Total time: ~60 minutes hands-on (plus optional dry time for extra coats/sealer)
- Finished size (recommended): 12 in x 16 in (great for tabletops and easels)
- Budget: $10–$35 depending on what you already own
- Perfect for: Party signs, event décor, photo booth props, welcome signs, dessert table labels
Materials & Tools (with Estimated Costs)
Wood Options (Choose One)
- Pine board: 1 piece, 1/2 in thick x 12 in x 16 in ($6–$12). Smooth pine is easy to paint.
- Pre-cut wood plaque (craft store): 12 in x 16 in or 11 in x 14 in ($8–$18). Often already sanded.
- Wood rounds (rustic look): 10–14 in diameter ($10–$25). Great for weddings and woodland themes.
Paint & Finishing Supplies
- Acrylic craft paint (matte or satin): 2–3 colors ($1–$3 each)
- Water-based wood stain (optional): small can ($8–$12)
- Paintbrushes: 1 flat 1 in brush + 1 small detail brush ($5–$10 total)
- Foam brush (optional, for smooth base coats): ($1–$3)
- Painter’s tape (optional for crisp stripes): ($4–$8)
- Clear sealer (optional but recommended): water-based polyurethane or acrylic spray sealer ($8–$14)
Lettering & Design Tools
- Vinyl stencil (store-bought or cut at home): ($3–$10)
- Printable stencil paper or regular printer paper + scissors: ($0–$5)
- Carbon transfer paper (for tracing letters): ($5–$10)
- Permanent marker or paint pen (great for quick lettering): ($3–$8)
Basic Prep Tools
- Sandpaper: 120 grit + 220 grit ($3–$6)
- Tack cloth or lint-free rag (for dust): ($2–$5)
- Hair dryer or small fan (optional, speeds drying): (use what you have)
Optional Display Hardware (Party-Friendly)
- Mini tabletop easel or full-size floor easel: ($6–$25)
- Sawtooth hanger + small nails (if hanging): ($3–$6)
- Command strips (for temporary hanging): ($5–$10)
Pick Your Sign Style (Fast Options That Look Amazing)
Option A: Painted Background + Stenciled Text (Best for Beginners)
This is the fastest path to clean lettering and professional results—perfect for party welcome signs or table stations like “Gifts” and “Desserts.”
Option B: Stained Wood + White Paint Marker Lettering (Rustic & Quick)
Stain gives instant warmth. Paint markers are ideal if you don’t want to fuss with brushes.
Option C: Two-Tone Modern Sign with Tape Lines (Crisp & Trendy)
Painter’s tape helps you create sharp geometric blocks or stripes that photograph beautifully at events.
Step-by-Step: DIY Wooden Sign in 1 Hour
Step 1: Cut (or Choose) Your Wood Base (5 minutes)
- Recommended size: 12 in x 16 in for a tabletop sign, or 18 in x 24 in for a larger welcome sign.
- If you’re buying wood, ask the store to cut it to size.
- If cutting at home, a circular saw, miter saw, or jigsaw works well.
Beginner shortcut: Grab a pre-cut wood plaque so you can start crafting right away.
Step 2: Sand Smooth (8 minutes)
- Sand the front and edges with 120 grit to remove rough spots.
- Finish with 220 grit for a smooth, paint-ready surface.
- Wipe off dust with a tack cloth or slightly damp lint-free rag.
Time-saver: If your plaque is pre-sanded, do a quick 220 grit pass just on the edges.
Step 3: Paint or Stain the Background (15–20 minutes)
For paint:
- Apply a thin base coat with a foam brush or 1 in flat brush.
- Dry 5–10 minutes (use a fan or hair dryer on cool/low to speed it up).
- Add a second thin coat if needed for full coverage.
For stain (optional rustic look):
- Brush or wipe stain on with a rag.
- Wait 1–3 minutes, then wipe excess off.
- Let it dry while you prep your lettering (dry time varies by product).
Party décor tip: Choose colors that match your theme—pastels for baby showers, black/white for modern parties, gold accents for milestone birthdays, or orange/black for Halloween.
Step 4: Plan Your Layout (5 minutes)
- Measure and lightly mark center points with pencil.
- Keep main words big and readable from 6–10 feet away.
- Suggested text sizes:
- 12 x 16 in sign: main word ~3–5 in tall letters
- 18 x 24 in sign: main word ~5–8 in tall letters
Quick layout formula: Top line small (event/date), middle line large (WELCOME), bottom line medium (name or direction like “Please Sign Our Guest Book”).
Step 5: Add Lettering (15–20 minutes)
Method 1: Vinyl Stencil (Cleanest Results)
- Position stencil and press firmly, especially around edges of letters.
- Use a small amount of paint on a sponge/brush (too much paint causes bleeding).
- Dab straight up and down—avoid brushing side to side.
- Peel stencil off slowly while paint is still slightly wet.
Method 2: Trace and Paint (Great if You Don’t Have Stencils)
- Print your design to size (use bold fonts for easy painting).
- Tape it in place and slide carbon transfer paper underneath.
- Trace letters with a pencil, then paint with a detail brush.
Method 3: Paint Marker (Fastest)
- Use a white or black paint pen for high contrast.
- Write slowly, keeping pressure consistent.
- Do a second pass once dry for extra opacity.
Step 6: Optional Distressing or Accent Details (5 minutes)
- Distress edges: Lightly sand corners to show wood underneath.
- Add a border: Tape a 1/2 in frame and paint it in a contrasting color.
- Sprinkles/glitter accents: Use sparingly for party sparkle (great for birthdays).
Step 7: Seal and Display (5–10 minutes)
- For party signs used indoors, a quick coat of acrylic spray sealer is usually enough.
- For outdoor use (porch welcome signs), use a water-based polyurethane and plan extra dry time.
- Display on an easel near the entrance, gift table, dessert bar, or photo booth backdrop.
Pro Tips for a Professional-Looking Finish
- Thin coats win: Two thin coats dry faster and look smoother than one thick coat.
- Prevent stencil bleed: Use minimal paint and dab vertically. You can also “seal” stencil edges with the background color first.
- Speed drying: Use a fan or hair dryer on cool/low held 8–12 in away.
- High contrast reads best: Light letters on dark backgrounds (or vice versa) look sharp in party photos.
- Keep it legible: Script fonts are pretty but can be hard to read from across the room—pair script with a simple block font.
Fun Variations (Beginner-Friendly to Advanced)
Beginner Variations
- Mini signs set: Make three 5 in x 7 in signs for “Cards,” “Gifts,” and “Treats.”
- Chalkboard style: Paint with chalkboard paint, then write messages for different parties.
- One-word signs: “YAY,” “CHEERS,” “WELCOME,” “PARTY” for easy lettering.
Advanced Variations
- 3D letters: Add thin wood letters or foam letters and paint them for dimension.
- Raised frame: Build a simple 1x2 frame around the sign (wood glue + brad nails) for a polished look.
- Layered paint effects: Try a dry-brush technique or subtle ombré background.
- Outdoor upgrade: Use exterior paint and an exterior-rated sealer for durability.
Troubleshooting: Quick Fixes for Common Issues
- Paint looks streaky: Use a foam brush for the base coat, and apply one more thin coat after the first dries.
- Stencil bled under the edges: Let it dry, then clean up with a tiny flat brush and background paint. For next time, use less paint and dab instead of brushing.
- Letters look uneven: Outline with a paint marker to sharpen edges, or add a thin shadow line for a stylized fix.
- Wood grain shows through paint: Embrace it for a rustic look, or add a quick primer layer next time.
- Smudged marker/paint pen: Wait longer between coats. Seal only after the lettering is fully dry to the touch.
Common Crafting Mistakes to Avoid
- Skipping sanding: Rough edges catch paint and make the sign look unfinished. Even 2–3 minutes helps.
- Using too much paint on stencils: Heavy paint almost guarantees bleeding. Light dabs are the secret.
- Rushing the layout: A perfectly painted sign can still look “off” if the text isn’t centered. Measure quickly before committing.
- Choosing a hard-to-read font: Party guests should understand it instantly—especially signs like “Gifts” and “Dessert Bar.”
- Sealing too soon: If you seal before the paint cures, you can trap moisture and cause cloudiness or smearing.
FAQ: DIY Wooden Party Signs
1) What type of wood is best for a quick DIY wooden sign?
Smooth pine boards or pre-cut craft store plaques are easiest for a 1-hour project. They sand quickly and take paint well.
2) Can I make this without power tools?
Yes. Buy a pre-cut plaque or have the store cut a pine board to size. After that, you only need sandpaper, paint, and a stencil or marker.
3) How do I keep my stencil from peeling up paint?
Make sure the base coat is dry, then press the stencil down firmly. Peel the stencil off slowly while the lettering paint is still slightly wet. If your paint is prone to lifting, use a gentler adhesive stencil or reduce tack by pressing it onto fabric first.
4) What’s the fastest way to letter a sign neatly?
A paint marker is the quickest for clean lines. If you want the most professional look with minimal effort, use a vinyl stencil and dab paint lightly.
5) Do I need to seal the sign?
For indoor party decorations, sealing is optional but helpful for durability (especially if guests might touch it). For outdoor use, sealing is strongly recommended.
6) How far in advance can I make party signs?
You can make them days or weeks ahead. Store them flat in a dry room. If stacking, place parchment paper or a soft cloth between signs to prevent sticking or scratches.
Make One Sign… Then Make a Matching Set
DIY wooden signs are one of those handmade projects that deliver big results fast. In about an hour, you can create a party decoration that sets the mood, guides guests, and makes your event feel thoughtfully styled. Start with one simple “Welcome” sign, then build your collection for the dessert table, gift station, and photo booth—your future self will thank you.
Ready for your next handmade party project? Explore more easy DIY crafts, party decorations, and creative prep ideas right here on smartpartyprep.com.
More Articles
 How to Make Party Hats for Stuffed Animals in Under 15 Minutes (No Sewing Required!) — 7 Adorable, Budget-Friendly Designs That Actually Stay On
 Upcycled Backdrops from Recycled Materials
 How to Record Xbox Party Chat in 2024: The Only Step-by-Step Guide That Actually Works (No Capture Card Required)
 Advanced Custom Stickers for Crafters
 DIY Garlands for Home Decor
 How to Turn On 3rd Party Cookies in 2024: A Step-by-Step Guide for Chrome, Safari, Firefox & Edge (Without Breaking Your Privacy or Site Functionality)
 How Do I Block Third Party Cookies in 2024? The Real-World Guide That Actually Works (No Tech Degree Required)
 DIY Fabric Bunting for Home Decor
 DIY Greeting Cards Party Favors
 How to Allow Third Party Cookies in Safari (2024): The Only Step-by-Step Guide You’ll Need — No More 'Blocked' Warnings, Login Failures, or Broken Tools