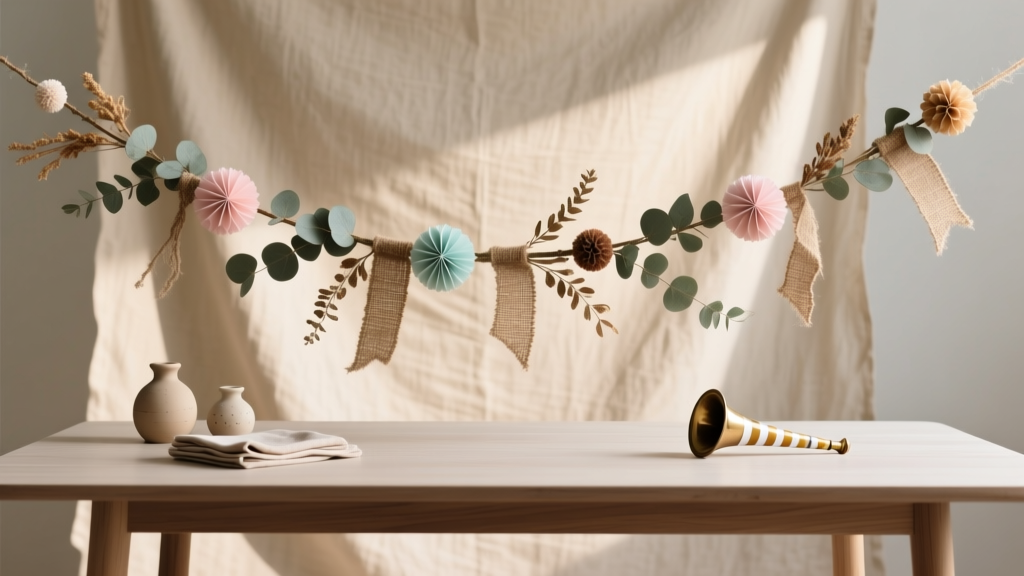
DIY Garlands for Home Decor
Few handmade decorations are as instantly cheerful as a DIY garland. You can hang one over a mantel, along a staircase, across a window, or as a party backdrop—and it takes surprisingly little time to make something that looks polished and festive. Whether you’re decorating for a birthday, baby shower, holiday, or just want to brighten up a corner of your home, garlands are a practical, budget-friendly win.
Another reason garlands are such a fun DIY craft: they’re incredibly customizable. You can match your party theme colors, use materials you already have, and scale the length for any space. Plus, garlands are forgiving—if you’re new to crafting, you can start simple and still get a “wow” result. If you’re more experienced, you can layer textures, add lighting, and create designer-level party decorations.
Below you’ll find several beginner-friendly garland styles with step-by-step instructions, estimated costs, tool recommendations, and plenty of pro tips. Pick one project or mix-and-match techniques to create your own signature handmade decoration.
Quick Overview: Skill Level, Time, and Best Uses
- Skill level: Beginner to Intermediate (advanced variations included)
- Time estimates:
- Paper circle garland: 30–60 minutes
- Tassel garland: 45–90 minutes
- Fabric scrap garland: 30–75 minutes
- Balloon + accent garland: 60–120 minutes
- Best for: Party backdrops, mantel decor, dessert tables, nursery decor, photo booths, seasonal decorating
Materials & Tools List (with Estimated Costs)
Core Supplies (choose based on your garland type)
- Twine or cord (25–50 ft): jute twine, cotton string, or 1/8" satin ribbon ($3–$10)
- Craft paper or cardstock (8.5" x 11" sheets): solid colors, metallic, or patterned scrapbook paper ($5–$12 per pack)
- Tissue paper: 20" x 26" sheets (great for tassels/flowers) ($3–$8)
- Fabric scraps or fat quarters: quilting cotton, linen blends, or jersey ($0–$12 depending on what you have)
- Mini clothespins (optional): 1" decorative pins ($3–$6)
- Glue options: glue stick, tacky glue, or hot glue sticks ($2–$10)
- Balloon garland supplies (optional):
- Balloon decorating strip (16 ft): $5–$9
- Assorted latex balloons (25–60 count): $8–$18
- Balloon pump (hand pump): $7–$12
- Balloon glue dots: $4–$7
- Optional add-ons: faux greenery stems, dried orange slices, felt shapes, glitter letters, mini pom-poms, LED fairy lights ($5–$20)
Tool Recommendations
- Scissors: 8" craft scissors + small detail scissors
- Hole punch: standard 1/4" single-hole punch (highly recommended for paper garlands)
- Ruler or measuring tape: at least 36"
- Optional cutting tools: rotary cutter + self-healing mat (great for fabric strips)
- Hot glue gun: low-temp for safety and delicate materials
Before You Start: Measure Your Space
Measuring first saves so much frustration and helps your garland look intentional.
- Decide placement: mantel, doorway, photo wall, dessert table, window frame.
- Measure the span: example: mantel width 60".
- Add drape allowance: add 20–40% for a nice swag. For a 60" mantel, aim for 72–84" of garland length.
- Add tying room: add 12"–18" extra cord on each end for knots or hooks.
DIY Garland #1: Paper Circle Garland (Classic, Fast, and Colorful)
Skill level: Beginner
Time: 30–60 minutes for 6–8 feet
Materials
- Cardstock or scrapbook paper (8–12 sheets)
- Hole punch or sewing machine (choose one method)
- Twine/string (8–10 ft)
- Ruler + pencil
Measurements
- Circle size: 2"–3" diameter (2.5" is a great all-purpose size)
- Spacing: 1/2"–1" between circles (or overlap slightly for a fuller look)
Step-by-Step (No Sewing Method)
- Cut circles: Use a circle punch (2") or trace a cup for ~2.5" circles. Cut 80–120 circles for an 8 ft garland depending on spacing.
- Punch holes: Punch two holes near the top edge of each circle, about 1/4" in from the sides.
- Thread the cord: Weave the twine through the two holes like you’re lacing. This helps circles lay flat.
- Adjust spacing: Slide circles along the cord until the density looks right.
- Secure ends: Tie loops at the ends for hanging on hooks, nails, or removable wall strips.
Step-by-Step (Sewing Machine Method for Speed)
- Set stitch: Straight stitch, medium length (around 3.0).
- Chain sew: Feed circles one after another under the presser foot, sewing down the center.
- Create spacing: Pause 1–2 seconds between circles or gently lift and slide for a small gap.
- Hang carefully: Paper is strong but can tear if yanked—support the garland as you hang it.
DIY Garland #2: Tissue Paper Tassel Garland (Party-Perfect and Fluffy)
Skill level: Beginner/Intermediate
Time: 45–90 minutes for 8–10 tassels
Materials
- Tissue paper sheets (20" x 26")
- Scissors
- Twine or satin ribbon (10–12 ft)
- Clear tape or glue dots
Measurements
- One tassel sheet size: 10" x 20" (cut a full sheet in half for two tassels)
- Fringe depth: cut 7"–8" fringe, leaving 2"–3" uncut at the top
Step-by-Step
- Cut tissue: Cut a sheet to 10" x 20".
- Create fringe: Fold in half lengthwise. Cut fringe strips 1/2" wide, stopping 2"–3" from the top fold.
- Open and roll: Unfold. Roll the tissue tightly from one long edge to the other into a tube.
- Twist the center: Find the midpoint and twist to create a loop area.
- Form the tassel: Fold the twisted center so the tassel hangs evenly.
- Attach to cord: Wrap the twisted loop around the twine and secure with clear tape or a glue dot.
- Repeat: Space tassels about 4"–6" apart for a full party garland.
DIY Garland #3: Fabric Scrap Tie Garland (Cozy, Reusable, Great for Home Decor)
Skill level: Beginner
Time: 30–75 minutes depending on length
Materials
- Fabric scraps (cotton, flannel, linen, or jersey)
- Twine/rope or sturdy ribbon
- Rotary cutter + mat (optional) or sharp scissors
Measurements
- Fabric strip size: 1" x 10" (for a dainty garland) or 1.5" x 12" (for fuller knots)
- Strips needed: about 60–90 strips for a 6 ft garland (depends on thickness and spacing)
Step-by-Step
- Cut strips: Cut fabric into consistent strips. Jersey can be gently stretched so edges curl for a soft look.
- Prep the cord: Cut cord to your target length plus extra for tying (usually +24"–36" total).
- Tie strips: Fold a strip in half, place under the cord, pull ends through the loop (a lark’s head knot). Tighten evenly.
- Pack for fullness: Push knots together for a dense garland, or space them 1/2" apart for a lighter look.
- Trim for shape (optional): Trim the bottom edge into a soft curve or pointed pennant shape.
DIY Garland #4: Mini Balloon + Accent Garland (Statement Party Backdrop)
Skill level: Intermediate
Time: 60–120 minutes
Best for: birthdays, graduations, baby showers, engagement parties
Materials
- Balloon decorating strip (16 ft)
- Latex balloons: 5", 10", and 12" sizes (a mix looks pro)
- Balloon pump
- Glue dots
- Optional accents: faux eucalyptus, paper flowers, ribbon tails
Measurements
- Finished length: 4–8 ft for most home setups
- Balloon sizes: inflate 10" balloons to about 8"–9" for a tight, full look
Step-by-Step
- Choose a palette: Pick 2–4 colors (example: blush, cream, gold, sage).
- Inflate balloons: Inflate a batch in mixed sizes. Slightly under-inflate for flexibility and fewer pops.
- Build on the strip: Insert balloon knots into the holes of the decorating strip, alternating sizes and colors.
- Fill gaps: Add 5" balloons using glue dots to tuck into open spots.
- Add accents: Glue-dot faux greenery or paper flowers in clusters for a styled look.
- Hang securely: Use removable hooks, strong tape, or command-style outdoor hooks. Anchor both ends, then add a middle support point for longer garlands.
Pro Tips for Professional-Looking Handmade Garlands
- Plan color balance: Lay materials out first. Spread accent colors evenly so they don’t clump.
- Create “moments”: Add small clusters (3–5 elements together) along the garland for a designer feel.
- Use a backing cord that matches: White cord for light palettes, natural jute for rustic themes, metallic ribbon for glam party decorations.
- Make it photo-friendly: For party backdrops, aim for higher density and layered textures (tassels + paper circles + greenery).
- Transport smart: Wind finished garlands onto a piece of cardboard (like a ribbon spool) to prevent tangles.
Variations (Beginner-Friendly and Advanced Options)
Easy Upgrades for Beginners
- Clip-on shapes: Use mini clothespins to attach stars, hearts, or letters so you can swap themes.
- Add a focal center: Put a larger element in the middle (a paper rosette, name sign, or big bow).
- Mix textures: Combine paper circles with a few tassels every 12" for extra dimension.
Advanced Variations for Experienced Crafters
- Double-layer garland: Hang two strands at different lengths (example: one at 72", one at 84") for a fuller look.
- Sewn fabric pennants: Stitch triangle flags (6" wide x 7" tall) and topstitch onto bias tape for durability.
- Lighted garland: Weave micro-LED fairy lights through fabric or greenery (battery pack hidden behind a frame or shelf).
- Ombré paper pattern: Arrange paper pieces from dark to light across the span for a gradient effect.
Troubleshooting: Fixes for Common Garland Issues
- Garland keeps twisting: Use the two-hole weave method for paper circles, or add a second support line for long spans.
- Paper tearing at holes: Punch holes farther from the edge (at least 3/8") or reinforce with small tape rings.
- Tassels look flat: Fluff by gently separating fringe layers; use two tissue colors stacked together before cutting fringe.
- Fabric knots sliding: Switch to a slightly thicker cord (like 3–4 mm cotton rope) and tighten each knot evenly.
- Balloon garland gaps: Add 5" balloons with glue dots, or rotate the garland to hide thinner areas.
Common Crafting Mistakes to Avoid
- Skipping measurements: Eyeballing length often leads to a garland that’s too short once it swags.
- Using weak hanging methods: A beautiful garland won’t stay up with flimsy tape. Use removable hooks, strong adhesive strips, or small nails (where appropriate).
- Overloading delicate string: Heavy elements (like lots of balloons or thick fabric) need sturdier cord or multiple anchor points.
- Cutting inconsistent pieces: Slight variation is fine, but extreme differences can look messy. Use a template for circles/flags.
- Waiting until the last minute: For party decorations, make garlands 1–3 days ahead so you can tweak spacing and fix any weak points.
FAQ: DIY Garlands for Home Decor
How long should a garland be for a mantel or doorway?
A good rule is to measure the width and add 20–40% for drape. For a 60" mantel, aim for 72–84" of finished garland, plus extra cord to tie on each end.
What’s the easiest garland for total beginners?
A fabric scrap tie garland is the most forgiving—no glue, no punching holes, and it’s easy to adjust. Paper circles with a hole punch are also very beginner-friendly.
How do I hang garlands without damaging walls?
Use removable adhesive hooks or strips rated for the garland’s weight. For heavier balloon garlands, use multiple hooks (both ends + one center support) to reduce strain.
Can I reuse garlands for multiple parties?
Yes! Fabric garlands and sturdy paper garlands can be reused if stored properly. Wind them on cardboard or store them in a shallow box so they don’t crease or tangle.
How do I make a garland look fuller without doubling the cost?
Layer two thin strands, reduce spacing between elements, or add inexpensive fillers like tissue tassels, small paper leaves, or a few clusters of mini pom-poms.
What’s a good DIY garland color palette for any season?
Try neutrals (cream + kraft + black), or soft modern tones (sage + blush + warm white). You can swap in seasonal accents—like metallics for New Year’s or orange/rust for fall—without remaking the whole garland.
Make One This Week (Your Space Will Thank You)
DIY garlands are one of those handmade projects that deliver big impact with simple supplies. Choose a style that fits your time and skill level, measure your space, and give yourself room to play with color and texture. Once you make your first garland, you’ll start spotting places to hang them everywhere—party backdrops, shelves, entryways, and cozy corners that need a little extra charm.
Want more party-ready DIY crafts, handmade decorations, and creative project ideas? Explore more tutorials and inspiration on smartpartyprep.com.
More Articles
 How to Make Party Photo Booth in Under $40 (No Tech Skills Needed): A Foolproof 5-Step Guide That Guests Actually Love — Plus Free Printable Props & Backdrop Templates
 DIY Dream Catchers with Dollar Store Supplies
 DIY Mugs Party Favors
 Is Primal Queen Third Party Tested? The Truth About Lab Verification, What ‘Certified’ Really Means, and How to Spot Genuinely Transparent Brands (Not Just Marketing Claims)
 How to Install 3rd Party Apps on Vizio Smart TV (Without Jailbreaking): A Step-by-Step Guide That Actually Works in 2024 — No Developer Mode Myths, No App Store Limits, Just Real Methods That Unlock Netflix Alternatives, Plex, and More
 How to Make a Party Hat in Under 12 Minutes (No Glue Gun, No Sewing, No Stress) — 7 Foolproof Methods That Actually Hold Their Shape
 How to Make a Paper Party Hat in Under 12 Minutes (No Glue Gun, No Scissors Required — Just Printer Paper & a Stapler)
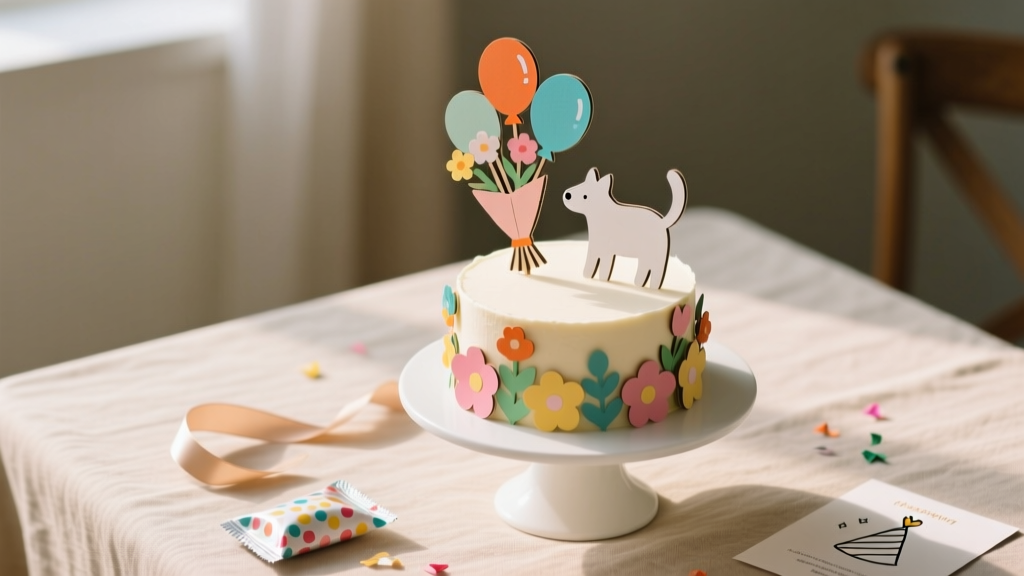 DIY Cake Toppers in An Afternoon
 How to Enable 3rd Party Cookies on iPad (2024): The Real Reason Safari Blocks Them & Exactly What You Lose If You Don’t Fix It in Under 90 Seconds
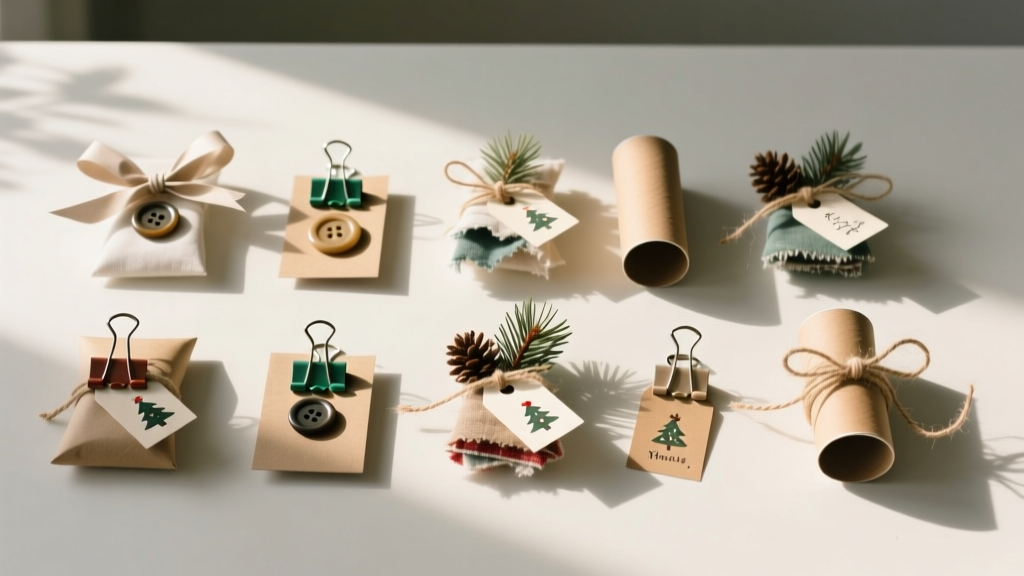 12 Do It Yourself Christmas Party Favors That Actually Impress Guests (No Craft Store Run Required — Just What’s in Your Junk Drawer + 20 Minutes)