
DIY Dream Catchers with Dollar Store Supplies
Dream catchers are one of those feel-good DIY crafts that instantly make a space feel styled and personal—without needing expensive materials or complicated tools. They’re lightweight, customizable, and surprisingly fast to make, which makes them perfect for party decorations, photo backdrops, and handmade gifts.
Even better: you can create a whole set using dollar store supplies. Whether you’re planning a boho birthday, a slumber party, a baby shower, or a cozy backyard celebration, DIY dream catchers work as wall décor, chair-back accents, or even whimsical party favors.
This step-by-step guide will walk you through a beginner-friendly version (simple web + ribbons) and give you upgrades for a more detailed, “Pinterest-level” look (beads, feathers, layered hoops). You’ll end up with handmade party decorations that look boutique—on a budget.
Project Overview (Skill Level, Time, and Finished Size)
- Skill level: Beginner (with easy upgrades for intermediate/advanced crafters)
- Estimated time: 30–60 minutes per dream catcher (depending on detail)
- Typical finished size: 6–10 in hoop diameter; 18–30 in total hanging length
- Best uses: Party backdrop filler, boho party décor, nursery-style centerpieces, photo booth props, handmade gifts, sleepover party crafts
Materials List (Dollar Store Finds + Estimated Costs)
Prices vary by store, but these are common dollar-store categories. Many items make multiple dream catchers, so your cost per piece often ends up around $2–$5.
Core Supplies
- Hoop (6–10 inch): metal floral hoop, embroidery hoop, or wire wreath ring ($1.25–$3)
- Wrapping material: satin ribbon (3/8 in or 5/8 in wide) or faux suede lace ($1.25)
- Web/string: cotton twine, crochet thread, or embroidery floss ($1.25)
- Hanging strands: ribbon spools, yarn, lace trim, or tulle strips ($1.25–$3)
- Embellishments: craft feathers, pony beads, pearl beads, faux flowers, charm packs ($1.25–$3)
Tools (Recommended)
- Scissors: sharp craft scissors (or fabric scissors for ribbon)
- Measuring tool: measuring tape or ruler
- Hot glue gun + glue sticks: mini glue gun works great ($5–$10 if you don’t have one)
- Optional: large-eye needle or plastic yarn needle (helps with threading beads)
- Optional: small clothespins or binder clips (to hold ribbon ends while wrapping)
Suggested Color Themes for Party Decorations
- Boho birthday: cream + blush + tan + gold
- Slumber party: pastel rainbow + fluffy yarn + star charms
- Baby shower: white + sage + eucalyptus accents
- Halloween party: black hoop wrap + orange ribbons + tiny spider charms
- Holiday party: red/green ribbons + jingle bells + pine sprig faux picks
Step-by-Step: How to Make a Dollar Store Dream Catcher
Step 1: Choose Your Hoop and Plan the Size
Pick a hoop based on where it will hang:
- Backdrop filler: 8–10 in hoop
- Chair décor or party favor: 4–6 in hoop
- Statement wall piece: 10–12 in hoop (use sturdier wrapping and web thread)
Quick planning tip: Aim for hanging strands that are about 2–3x the hoop diameter. For an 8-inch hoop, cut most ribbons to 16–24 inches.
Step 2: Wrap the Hoop with Ribbon or Suede Lace
- Cut a ribbon length about 6–8 feet for an 8–10 inch hoop (more if you overlap heavily).
- Secure one end to the hoop with a small dot of hot glue or a tight knot.
- Wrap at a slight diagonal, overlapping each pass by about 1/8 inch so the hoop doesn’t show through.
- When you reach the starting point, trim the ribbon and secure the end with hot glue on the back.
Beginner-friendly option: If you’re using an embroidery hoop, you can skip wrapping and paint it instead—but wrapped hoops look softer and more “finished” for party decorations.
Step 3: Create the Classic Dream Catcher Web (Simple Loop Method)
This method is easy to learn and looks beautiful even with basic twine.
- Cut a piece of twine about 6–8 times the hoop diameter. For an 8-inch hoop, start with 50–65 inches.
- Tie the twine to the hoop with a tight double knot at the top (where your hanger will be). Leave a 3-inch tail to trim later.
- Move about 1.5 inches along the hoop. Loop the twine around the hoop and pass the working end through the loop to form a hitch-style knot.
- Repeat the loop around the hoop, spacing knots evenly. Try for 10–14 loops on an 8-inch hoop.
- For the second round: instead of looping around the hoop, loop into the center of each “gap” from the previous round. This begins pulling the web inward.
- Continue rounds until the opening in the center is about 1–1.5 inches.
- Finish by threading the twine through the center a couple of times and tying a secure knot. Trim excess.
Optional center detail: Before your final knot, thread on a large bead, a faux pearl, or a small charm and position it in the center of the web.
Step 4: Add a Hanging Loop (So It’s Party-Ready)
- Cut a ribbon or twine piece 10–14 inches long.
- Tie both ends to the top of the hoop to create a hanger.
- Add a dab of hot glue on the knots if this will hang outdoors or in a busy party space.
Step 5: Cut and Attach Ribbon Strands, Lace, and Yarn
This is where your dream catcher becomes a standout handmade decoration.
- Cut 8–14 strands of mixed materials (ribbon, lace, yarn). Suggested lengths:
- Main strands: 20–26 inches
- Accent strands: 14–18 inches
- Fold each strand in half and attach to the bottom of the hoop with a lark’s head knot (loop under the hoop, pull tails through the loop).
- Arrange colors from center outward for a “balanced” look (great for party décor photos).
- Trim the ends into a soft V-shape or staggered lengths for movement.
Step 6: Add Feathers, Beads, and Charms
- Feathers: Glue feathers to the ends of a few strands or tie them on with thread for a cleaner look.
- Beads: Use a large-eye needle to thread beads onto ribbon or twine; knot below each bead to keep it in place.
- Charms: Attach with jump rings if you have them, or tie on with thin thread and seal with a tiny dab of glue.
Party tip: Keep embellishments lightweight if the dream catcher will hang from removable hooks or a balloon garland frame.
Pro Tips for a Polished, Store-Bought Look
- Use 2 textures minimum: satin ribbon + lace, or yarn + tulle, so it looks layered in photos.
- Hide glue dots: place glue on the back side of the hoop or under ribbon overlaps.
- Keep web tension consistent: snug loops prevent sagging and make the web symmetrical.
- Pre-plan your palette: choose 3 main colors + 1 metallic/neutral for cohesive party decorations.
- Cut ribbons longer than you think: you can always trim, but short strands make the piece look skimpy.
- Make multiples assembly-line style: wrap all hoops first, then web all hoops, then add ribbons. Perfect for party prep.
Beginner-Friendly Adaptations (Fast and Foolproof)
- No-web version: Skip the woven center and glue a faux floral pick or a mini pom-pom wreath inside the hoop.
- Simple crisscross web: Wrap twine across the hoop like a wagon wheel (top-bottom, left-right, diagonals) and knot in the center.
- Pre-tied bundles: Tie ribbon bundles first, then attach each bundle to the hoop—less fiddly for kids’ crafts.
Advanced Variations (For Extra “Wow” Party Décor)
- Double hoop dream catcher: Attach a 4–6 inch hoop inside an 8–10 inch hoop using 3–4 short ribbon “bridges.” Web both hoops.
- Layered fringe: Add a second row of shorter ribbons behind the first row for depth.
- Beaded web accents: String tiny beads onto the web thread every few loops for sparkle.
- Paint + wrap combo: Spray paint the hoop gold/white first, then wrap partially for a modern look.
- Glow party version: Use glow bracelets or glow cord woven into the web for nighttime celebrations.
Troubleshooting: Fixes for Common Issues
- My web looks uneven: Count your first-round loops (10–14 is ideal) and keep spacing consistent. If one gap is huge, redo the first round—it affects everything after.
- The web keeps sliding: Wrap the hoop first (ribbon adds grip) and pull each knot snug before moving on.
- Ribbon ends fray: Use clear nail polish, Fray Check (if you have it), or lightly melt synthetic ribbon ends (carefully) and press flat.
- Everything twists when hanging: Balance ribbon weight on both sides and avoid heavy charms on one side only.
- Hot glue strings everywhere: Let glue cool for a second before pressing, and keep a scrap of cardboard nearby to wipe the nozzle.
Common Crafting Mistakes to Avoid
- Using thread that’s too thin for the hoop size: Very thin sewing thread can cut into ribbon and snap. Choose crochet thread, embroidery floss, or sturdy twine.
- Not securing starting/ending knots: A loose knot can unravel the whole web. Double-knot and add a tiny glue dot on the back.
- Overloading with heavy embellishments: Too many beads/charms can pull the hoop out of shape and make hanging difficult.
- Cutting all ribbons the same length: Perfectly even ends can look stiff. Stagger lengths or cut a gentle V for movement.
- Skipping a layout check: Before gluing anything permanent, lay strands in your intended order and step back for a quick visual check.
How to Use Dream Catchers as Party Decorations
- Photo backdrop: Hang multiple sizes from a curtain rod or string line behind a dessert table.
- Chair décor: Tie a small dream catcher to the guest of honor’s chair or use mini ones down a table row.
- Party favors: Make 4–6 inch versions and attach name tags for place settings.
- Balloon garland add-on: Clip lightweight dream catchers into a balloon garland frame for a boho vibe.
- Outdoor parties: Hang from tree branches with extra-long ribbon for a whimsical, breezy look.
FAQ: DIY Dream Catchers with Dollar Store Supplies
1) What’s the best string to use for the web?
Cotton twine, crochet thread, or embroidery floss are the easiest to control and less likely to snap. If you’re making a larger hoop (10–12 inches), choose a slightly thicker twine for better tension.
2) Can kids make these as a party craft?
Yes—with a simplified web. Use the crisscross “wagon wheel” method, pre-cut ribbon strands, and skip hot glue by tying everything with knots. For younger kids, an adult should handle any glue gun steps.
3) How do I keep ribbon from fraying?
For synthetic ribbon, carefully heat-seal the ends (quick pass near a flame, then pinch flat—adult-only). For any ribbon type, clear nail polish on the cut edge works well and is easy to find.
4) What can I use if my dollar store doesn’t have hoops?
Use a wire coat hanger bent into a circle, a plastic bangle bracelet, or even a sturdy cardboard ring (cut from a cereal box and wrapped fully with ribbon for strength).
5) How many dream catchers do I need for a party backdrop?
For a standard 6-foot-wide backdrop area, plan on 7–12 dream catchers in mixed sizes. Mixing 4–6 inch and 8–10 inch hoops gives a fuller, styled look without making extras feel repetitive.
6) Can I make these ahead of time?
Absolutely. Make them 1–2 weeks early, store them flat in a large box, and layer tissue paper between pieces to prevent tangling. If ribbons wrinkle, a quick steam from a distance helps.
Wrap-Up: Make Your Own Dream Catchers and Personalize the Party
DIY dream catchers are a satisfying, budget-friendly handmade project that fits almost any celebration style. With a few dollar store supplies and a little creative mixing of textures, you can create party decorations that look thoughtful, cohesive, and totally custom.
Pick your color palette, start with one hoop, and you’ll be surprised how quickly you want to make a whole matching set. When you’re ready for your next party-ready DIY craft, explore more creative ideas and tutorials on smartpartyprep.com.
More Articles
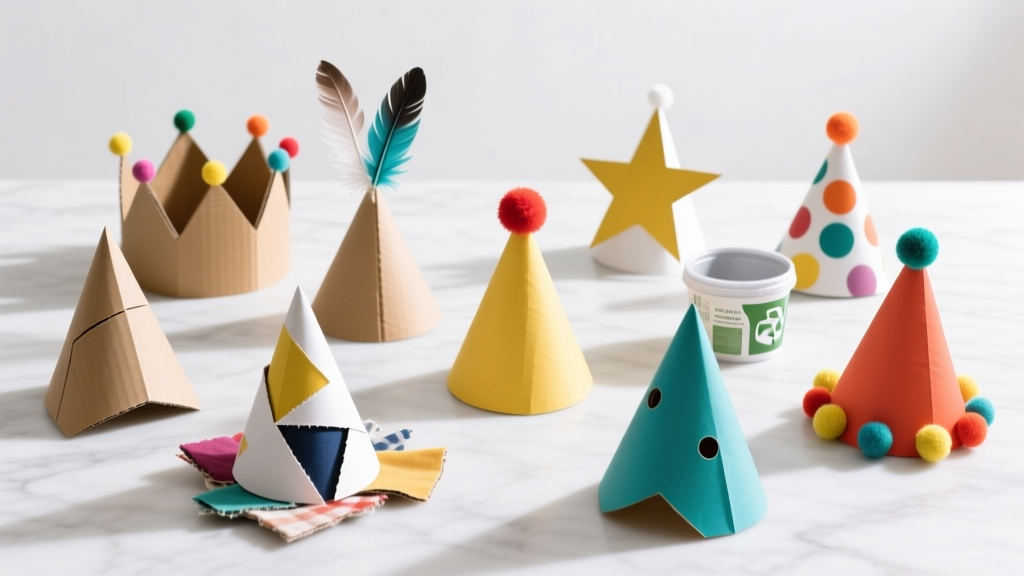 12 Do It Yourself Party Hats You Can Make in Under 30 Minutes (No Sewing, No Glue Gun, and Zero Craft Store Runs Needed)
 Budget DIY Painted Rocks Under $15
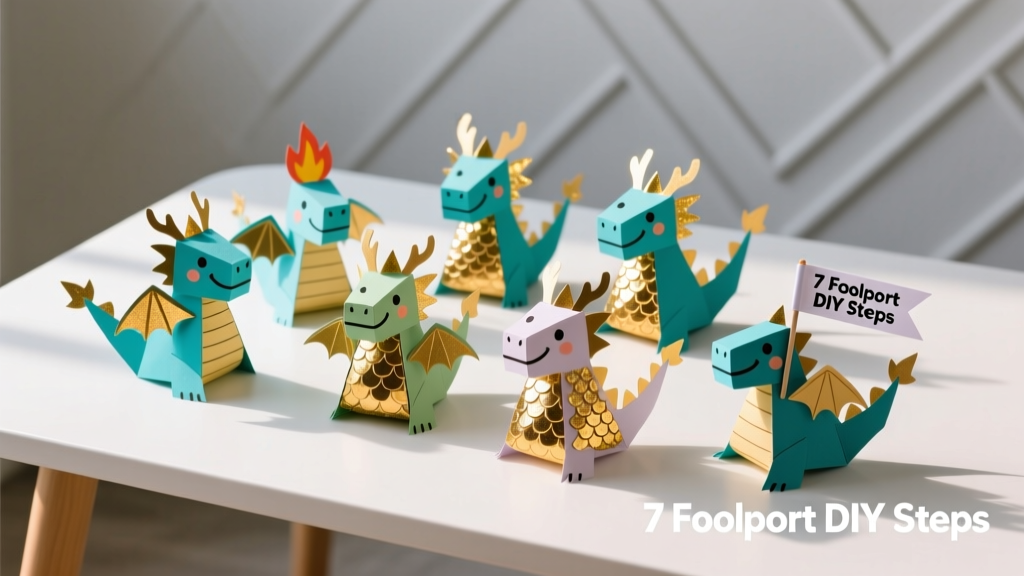 How to Train a Dragon Party Favors: 7 Foolproof DIY Steps (No Fire Breathing Required!) — Easy, Kid-Safe, & Instagram-Worthy in Under 90 Minutes
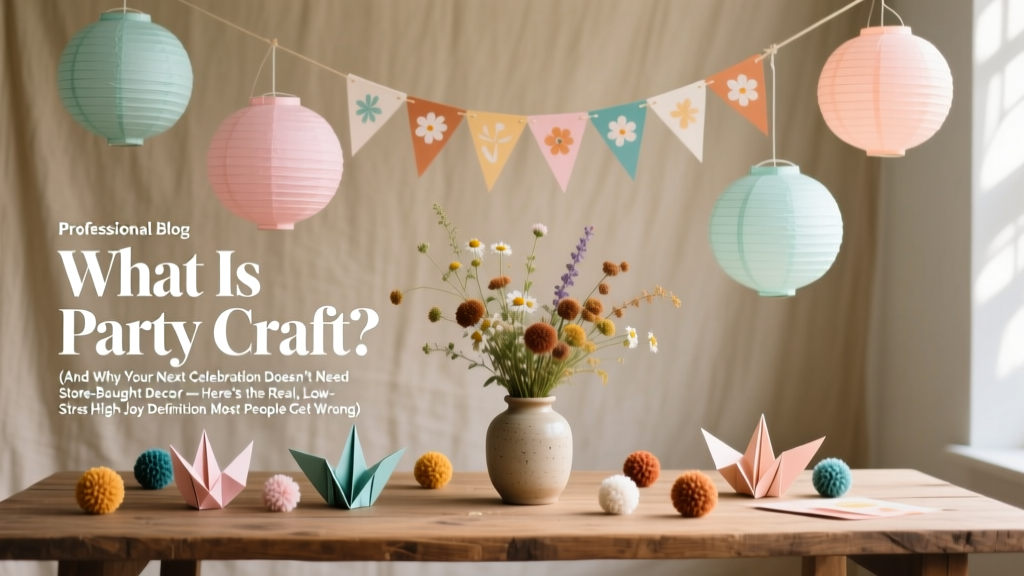 What Is Party Craft? (And Why Your Next Celebration Doesn’t Need Store-Bought Decor — Here’s the Real, Low-Stress, High-Joy Definition Most People Get Wrong)
 How to Unblock Third Party Cookies on MacBook: A Step-by-Step Guide That Actually Works in 2024 (No Tech Degree Required)
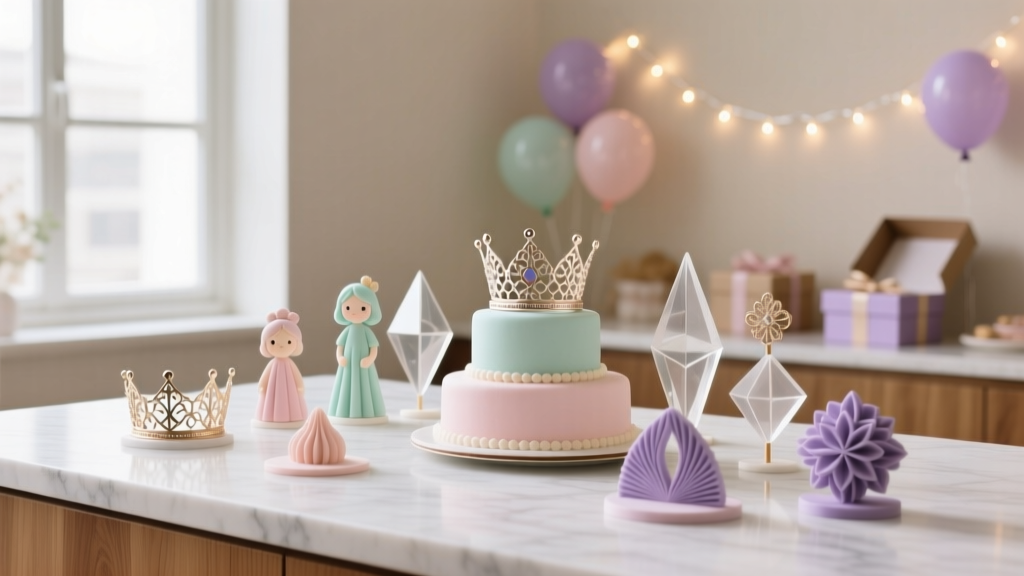 Advanced Cake Toppers for Crafters
 DIY Balloon Arches in 30 Minutes
 Personalized Invitations Gifts
 Paper Craft Fabric Bunting Ideas
 DIY Memory Books for Anniversaries