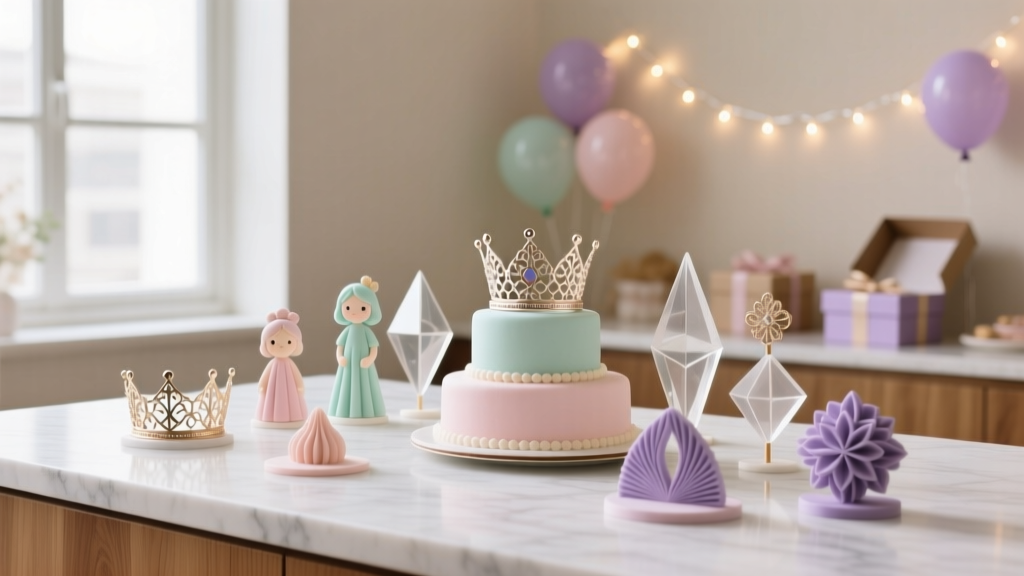
Advanced Cake Toppers for Crafters
Handmade cake toppers are the little “wow” moment that turns a simple dessert into a centerpiece. If you already enjoy DIY crafts and party decorations, stepping into advanced cake toppers is especially satisfying because you’ll be combining design, precision cutting, layering, and a few pro finishing techniques—all on a small, manageable scale.
These toppers are also incredibly useful. You can match a party theme perfectly (think: boho rainbows, retro groovy letters, elegant weddings, gamer birthdays, baby showers), personalize names and ages, and even coordinate with DIY banners, cupcake wrappers, and table decor. Plus, once you learn the methods, you’ll be able to batch-make toppers for multiple events or even build a small side hustle from your handmade party decorations.
This guide focuses on advanced results with step-by-step practicality: layered cardstock designs, acrylic-style looks, 3D elements, and food-safe assembly. You’ll also get beginner-friendly adaptations so you can grow into the techniques without getting stuck.
Project Overview: What You’ll Make
- Skill level: Intermediate to Advanced (with beginner options included)
- Time estimate:
- Design + cut + assemble one topper: 45–90 minutes
- Batch of 6 toppers (same design): 2–3 hours
- Finished size (recommended): 5–7 in wide x 4–6 in tall (plus sticks)
- Best for: Birthdays, weddings, baby showers, graduations, themed parties, holiday desserts
Materials & Tools (With Estimated Costs)
Core Materials
- Heavy cardstock (80–110 lb / 216–300 gsm) – for structure and layering (pack of 50 sheets): $8–$15
- Glitter cardstock (non-shed preferred) – for sparkle accents (10–20 sheets): $6–$12
- Mirror or metallic cardstock – for premium shine (10 sheets): $6–$10
- Acetate sheets (0.007–0.010 in / ~175–250 microns) – for shaker windows or “acrylic” effect (10 sheets): $5–$10
- Foam adhesive (1–2 mm thickness) – sheets or tape for dimension: $4–$8
- Hot glue sticks – mini or full size: $3–$7
- PVA craft glue or precision liquid glue – fine tip recommended: $4–$10
- Wooden skewers (12 in) or food-safe acrylic sticks (6–8 in): $3–$10
- Food-safe barrier: cellophane treat bags or parchment strips to wrap sticks: $3–$8
Optional “Advanced Finish” Materials
- Heat transfer foil + adhesive pen/tape – for luxe metallic lines: $10–$25
- Embossing powder + embossing ink pad + heat tool: $15–$35 (if you don’t already own a heat tool)
- UV resin (or 2-part epoxy) + silicone mat – glossy domed accents (not food-contact): $15–$30
- Mini brads, tiny pearls, rhinestones: $3–$10
Tool Recommendations
- Cutting machine (Cricut/Silhouette/etc.) for detailed layers (optional but recommended for advanced designs)
- Precision craft knife (with #11 blades) + self-healing cutting mat
- Fine-tip tweezers – for small cutouts
- Bone folder or scoring tool – crisp folds
- Small scissors – fussy cutting
- Ruler (metal preferred)
- Clips or mini clothespins – hold layers while drying
Design Planning: Measurements That Make Toppers Look Professional
Recommended Layer Sizes
- Main name/phrase: 4.5–6.5 in wide (depending on cake size)
- Backing shadow layer: add 0.08–0.12 in offset around the text for a clean outline
- Stick placement: two sticks spaced 2.5–4 in apart for stability on wider toppers
- Stick insertion depth: plan 2–3 in of stick into the cake
Beginner-Friendly Adaptation
If intricate scripts feel fussy, choose a bold sans-serif font or chunky bubble letters. You’ll still get a layered “advanced” look without delicate bridges that tear during cutting.
Step-by-Step: Layered “Floating Name” Cake Topper (Signature Advanced Style)
This is the go-to technique for a clean, modern topper with dimension—perfect for DIY party decorations that look store-bought (but better).
Step 1: Choose a Design + Set Your Size
- Pick a short phrase: “Happy Birthday”, a name, “Mr & Mrs”, “ONE”, or “Baby”.
- Set the topper width to 6 in for a standard 8–9 in cake. For a 6 in cake, aim for 5 in wide.
- Create three layers:
- Top layer: glitter/metallic cardstock text
- Middle layer: solid cardstock offset “shadow”
- Backer layer: solid cardstock silhouette for structure
Step 2: Cut Your Pieces
- Cut the top text from glitter cardstock (glitter side up).
- Cut the shadow layer from a contrasting solid color.
- Cut the backer from heavy cardstock (match shadow or use white/black for strength).
Tool tip: If you’re using a cutting machine, use a “heavy cardstock” setting and do a test cut. For craft-knife cutting, print templates at 100% scale and cut slowly with fresh blades.
Step 3: Reinforce Delicate Areas
- Flip the top text face-down.
- Add small strips of cardstock like “bandages” behind thin connections (such as the center of an “a” or swashes on script fonts).
- Let glue set for 3–5 minutes before handling.
Step 4: Assemble the Layers (No Warping Method)
- Apply precision liquid glue in tiny dots—especially around thin strokes.
- Place the top layer onto the shadow layer. Use tweezers to align.
- Press under a book or flat acrylic block for 2–3 minutes (with scrap paper on top to protect glitter).
- Attach this combined piece to the backer layer.
Pro tip: Too much wet glue causes rippling. If you tend to over-glue, switch to a micro-tip glue bottle or use a combination: a few dots of liquid glue + small pieces of double-sided tape for instant hold.
Step 5: Add Dimension with Foam (Advanced “Floating” Look)
- Cut foam adhesive into thin strips (0.25 in wide) and tiny squares for small areas.
- Place foam behind the top text layer only (or behind select words) to create a raised effect.
- Keep foam 1/8 in away from edges so it doesn’t peek out.
Step 6: Attach Sticks Cleanly + Food-Safe
- Position two skewers or acrylic sticks vertically, about 3 in apart.
- Glue sticks to the backer with hot glue in a thin bead.
- Add a cardstock “stick cover” strip (about 1 in x 4 in) over each stick area to sandwich and strengthen.
- Wrap the portion that will touch cake with parchment or slide the stick into a cellophane sleeve.
Safety note: Paper and glue shouldn’t contact cake directly. Always use a barrier on the inserted portion of the topper sticks.
Advanced Variations (Pick One to Level Up)
1) Shaker Cake Topper (Confetti Window)
- Add: acetate window + foam tape “wall” + sequins/glitter confetti
- Best for: Kids’ birthdays, New Year’s, fun themes
- Create a frame layer (like a hollow outline) using cardstock.
- Glue acetate behind the frame.
- Build a foam tape perimeter to form the shaker pocket.
- Add sequins (use 1/2 teaspoon max for a 5–6 in topper—too much stops movement).
- Seal with a backer layer, then attach your text on top.
2) “Acrylic Look” Topper (Without Real Acrylic Cutting)
- Add: clear acetate backer + vinyl letters or cardstock letters
- Best for: Weddings, modern minimalist parties
- Cut your topper shape from acetate (simple arch/circle recommended).
- Apply letters (adhesive vinyl works best) or glue cardstock letters sparingly.
- Edge-finish with a thin outline (metallic marker or foiled strip).
3) 3D Paper Flower Cluster Topper
- Add: rolled roses, layered daisies, leaves, pearl centers
- Best for: Baby showers, bridal showers, garden themes
- Create 3–5 small flowers (1–1.5 in each).
- Assemble flowers with hot glue on a cardstock base behind the text.
- Balance the cluster so it doesn’t tip the topper forward (keep heavier elements centered).
Pro Tips for Clean, Professional Results
- Prevent cardstock fuzz: Use a fresh blade and slow cut speed for intricate scripts.
- Make glitter behave: Choose “non-shed” glitter cardstock; seal edges with a tiny swipe of clear-drying glue if needed.
- Keep layers crisp: Use a brayer, acrylic block, or book press between steps.
- Hide stick mechanics: Always sandwich sticks between two cardstock layers (backer + cover strips).
- Match party decor: Repeat one element from your party decorations—like the same metallic or color from a DIY banner or table confetti.
Troubleshooting: Fixes for Common Topper Problems
My cardstock is warping
- Use less liquid glue; switch to dot application.
- Press flat while drying for 5–10 minutes.
- Choose heavier cardstock (100–110 lb) for backer layers.
Small letters keep tearing
- Use a bolder font or increase letter thickness by 10–20%.
- Cut on a “more pressure” setting with a sharp blade.
- Add a hidden backer strip behind thin connectors.
The topper leans or wobbles
- Use two sticks instead of one.
- Space sticks wider (up to 4 in apart) on wide toppers.
- Add a second backer layer for stiffness.
Foam tape shows from the side
- Trim foam smaller and keep it 1/8 in away from edges.
- Color the foam edge with a marker that matches your cardstock.
Common Crafting Mistakes to Avoid
- Skipping a backer layer: Single-layer toppers bend easily, especially with tall letters.
- Over-gluing: Excess glue causes warping, seepage, and messy shine spots on cardstock.
- Using one skinny stick on a wide topper: It twists in the cake and can snap at the glue point.
- Forgetting a food-safe barrier: Keep paper and adhesives away from direct cake contact.
- Too much shaker fill: Overfilled shakers don’t “shake.” Keep it light.
- Not testing scale: Always print or cut a plain-paper draft first, especially for names.
FAQ: Advanced DIY Cake Toppers
1) What cardstock weight is best for sturdy cake toppers?
Use 80–110 lb (216–300 gsm) cardstock. For large toppers (7 in wide or tall scripts), a double backer layer makes a big difference.
2) Can I make these without a cutting machine?
Yes. Choose simpler shapes (arches, circles, block letters) and cut with a craft knife + metal ruler. For names, print a template at 100% scale and cut slowly with a fresh blade.
3) How do I make toppers food-safe?
The topper itself shouldn’t touch the cake. Wrap the inserted part of the sticks with parchment or slide them into cellophane sleeves. Avoid letting glue or paper contact frosting directly.
4) How far in advance can I make handmade cake toppers?
Usually 1–4 weeks ahead. Store flat in a dry box, out of sunlight, with parchment between layers. Avoid humid areas to prevent warping.
5) What’s the easiest “advanced” technique that looks impressive?
A layered offset shadow with foam dimension is high impact and low stress. One glitter text layer + one shadow layer + one sturdy backer can look incredibly polished.
6) How do I match my topper to other DIY party decorations?
Repeat two elements across items: your main color and one accent finish (mirror gold, glitter silver, matte black, etc.). This ties the cake topper to banners, cupcake picks, and table decor for a cohesive party setup.
Ready to Make Your Own?
Advanced cake toppers are a sweet spot for DIY crafts: small enough to finish in an evening, detailed enough to show off your skills, and practical enough to use at nearly every celebration. Start with the layered “floating name” topper, then try a shaker window or acetate “acrylic look” when you’re ready for an extra challenge.
When you make one topper that looks clean, sturdy, and personalized, it’s hard to stop—your craft stash will suddenly feel like a party decoration studio.
Want more handmade party decoration ideas? Keep exploring creative DIY projects, printable-inspired crafts, and celebration prep tips at smartpartyprep.com.
More Articles
 How to Draw Party Scenes in 7 Minutes (Even If You Can’t Draw a Stick Figure): A Step-by-Step Guide That Turns Doodles Into Delightful Decorations for Birthdays, Graduations & More
 20 Creative Scrapbook Pages Ideas
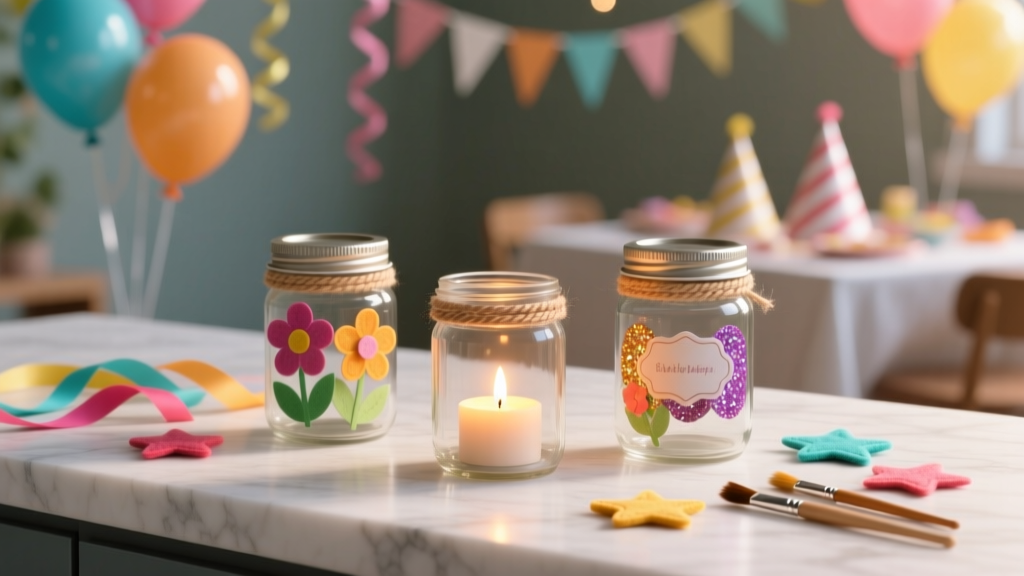 Kids' Craft: Mason Jar Crafts
 How to Enable Third Party Cookies on iPhone in 2024: The Real Truth (Spoiler: You Can’t — But Here’s What Actually Works Instead)
 How to Make Party Hats Out of Construction Paper in Under 12 Minutes (No Glue Gun, No Scissors Required for Kids!) — 7 Foolproof Designs That Actually Stay On Heads
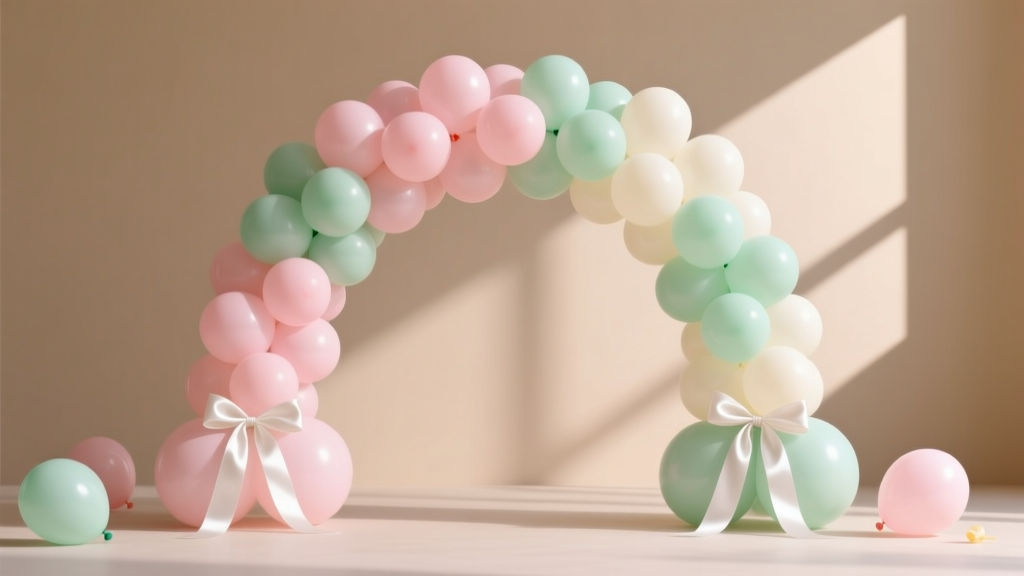 Easy Balloon Arches for Beginners
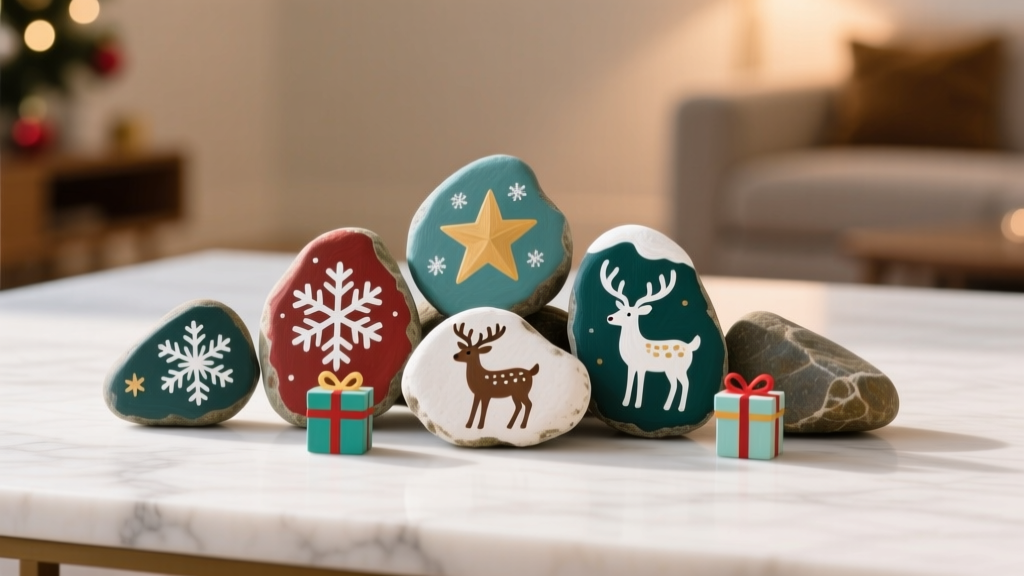 DIY Painted Rocks for Holidays
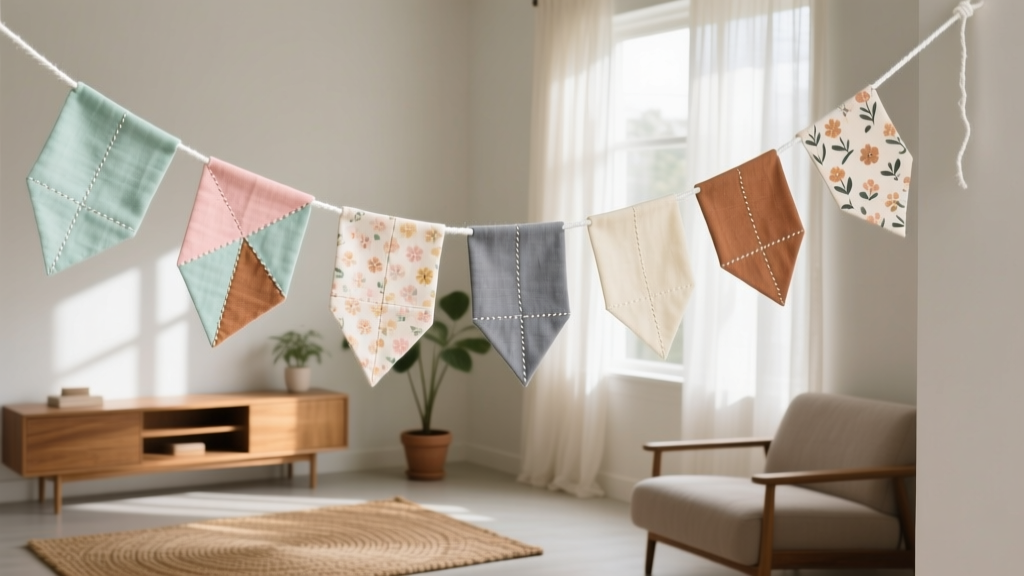 DIY Fabric Bunting for Home Decor
 How to Enable Third Party Cookies in 2024: A Step-by-Step Browser Guide (Chrome, Safari, Firefox, Edge) — Because Yes, Some Sites Still Need Them (and Here’s Exactly How to Do It Safely)
 How to Make a Photo Booth for a Party in Under 90 Minutes (No Pro Gear Needed): 7 Foolproof Steps That Actually Work — Even If You’ve Never Built One Before