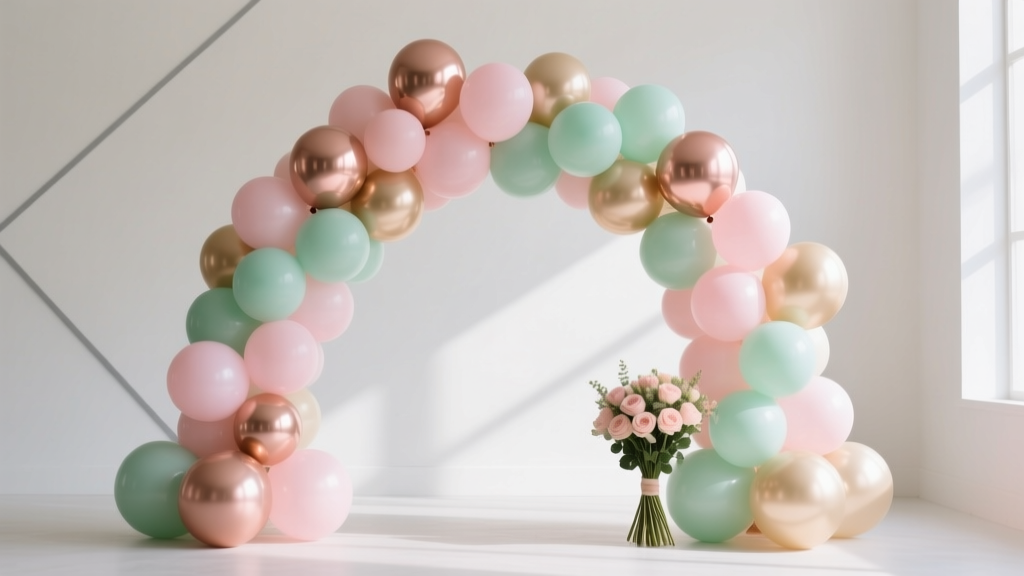
DIY Balloon Arches in 30 Minutes
Nothing transforms a room faster than a balloon arch. It’s bold, colorful, and instantly says “party,” whether you’re celebrating a birthday, baby shower, graduation, engagement, or hosting a backyard BBQ. The best part? You don’t need a balloon artist—or hours of crafting time—to create a handmade balloon arch that looks professionally styled.
This is one of those DIY party decorations that feels almost like magic: you start with a pile of balloons and end with a photo-worthy backdrop in about 30 minutes. It’s creative, budget-friendly, and flexible enough to match any theme, from minimalist neutrals to bright rainbow chaos.
Below you’ll find a practical, step-by-step balloon arch tutorial designed for crafters and DIY enthusiasts. It includes a materials list with estimated costs, measurements you can follow, beginner-friendly shortcuts, advanced upgrades, troubleshooting tips, and the most common mistakes to avoid—so your balloon arch turns out sturdy, full, and party-ready.
Project Snapshot: Skill Level, Time, and Size
- Skill level: Beginner (with optional intermediate/advanced variations)
- Total time: About 30 minutes (prep + assembly); add 10–20 minutes for special add-ons
- Best for: Indoor parties, outdoor events (with extra anchoring), photo backdrops, dessert tables
- Finished size (recommended): 8–10 ft garland for a standard doorway or 6-ft table backdrop
Materials List (with Specific Product Types + Estimated Costs)
These supplies are easy to find online or at craft/party stores. Prices vary by brand and location, but the ranges below help you budget for a DIY balloon arch.
Core Balloon Arch Supplies
- Balloon arch tape/strip (plastic strip with holes, 16 ft): $4–$10
- Latex balloons (assorted sizes):
- 5-inch balloons (for filling gaps): 20–40 count, $4–$10
- 10–12 inch balloons (main body): 50–100 count, $10–$25
- Optional 18-inch balloons (statement accents): 2–6 count, $4–$18
- Balloon hand pump (or electric balloon pump): hand $6–$12, electric $20–$45
- Glue dots (double-sided balloon glue dots, 100+): $4–$8
- Strong mounting options (choose one):
- Command hooks (medium/large): $6–$12
- Removable wall hooks + fishing line: $5–$12
- Zip ties (8-inch) for quick securing: $3–$6
- Scissors (for trimming strip and line): $0–$8
- Optional balloon decorating string (thin curling ribbon or fishing line): $2–$6
Optional Upgrades (for Extra “Wow”)
- Balloon sizing tool (balloon sizer box/circle): $6–$15
- Hi-Float balloon treatment (for longer-lasting latex balloons): $12–$25
- Greenery garland (faux eucalyptus or vine, 6 ft): $10–$25
- Fresh florals (event pricing varies): $15–$60+
- Backdrop stand (if you don’t want wall mounting): $25–$80
How Many Balloons Do You Need? (Quick Measuring Guide)
Balloon arches look best when they’re generously filled. Under-buying is the #1 reason arches look sparse. Use this quick guide for a full organic balloon garland style.
- 6 ft balloon garland: ~60–90 balloons (mostly 10–12 inch + a few 5-inch)
- 8 ft balloon garland: ~80–120 balloons
- 10 ft balloon garland: ~100–140 balloons
Color planning tip: For a balanced look, choose 3–5 colors total (example: 1 main color, 2 supporting colors, 1 accent metallic, 1 neutral).
Step-by-Step: DIY Balloon Arches in 30 Minutes
Step 1: Pick Your Arch Shape and Location (3 minutes)
Decide where the balloon arch will live and how it will frame your party space.
- Doorway arch: Great for entrances and photo moments
- Dessert table frame: A swoop or half-arch behind a 4–6 ft table
- Corner garland: Easy and forgiving—perfect for beginners
Measurement tip: Measure the area you want to cover (width/height). For a standard doorway (about 80 inches tall), an 8–10 ft garland draped into a curve looks lush.
Step 2: Inflate Balloons in Mixed Sizes (12–15 minutes)
This is where speed matters. An electric balloon pump can cut your time in half, but a hand pump still works if you stay organized.
- Sort balloons by color into small piles so you can grab quickly.
- Inflate 10–12 inch balloons to slightly different sizes for an “organic” look.
- Target sizes: 8–11 inches (variety is the goal)
- Leave a 4–6 inch tail when tying for easier handling
- Inflate a handful of 5-inch balloons (don’t do all yet—save some for gap filling later).
- If using 18-inch balloons, inflate them last and slightly under-inflate for a softer, more professional shape.
Beginner-friendly shortcut: Skip perfect sizing. Just aim for “small, medium, large” variations. Your arch will still look great once it’s packed together.
Step 3: Create Balloon Clusters (5 minutes)
Balloon arches come together faster when you work in clusters.
- Make pairs: Tie two balloons together (a “duplet”).
- Make quads: Twist two duplets together to form a cluster of four.
- Repeat: Build a pile of quads in mixed color combos.
Color pattern tip: Don’t overthink it. Aim for a “sprinkled” look—avoid placing the same color repeatedly in the same spot.
Step 4: Attach Clusters to Balloon Arch Tape (5–7 minutes)
The balloon strip is the secret weapon for a fast DIY balloon arch.
- Lay the arch tape on the floor and identify the end holes.
- Insert balloon knots into the holes, alternating cluster angles so balloons face different directions.
- Work in sections: Fill about 2–3 ft at a time, then lift and shake gently to check fullness.
- Build to your target length: For a standard setup, aim for 8–10 ft of filled strip.
Time saver: Attach single balloons between clusters if you’re short on time—then refine with 5-inch balloons at the end.
Step 5: Hang and Shape the Garland (3–5 minutes)
This is where your balloon arch turns from “pile of balloons” into “party centerpiece.”
- For wall mounting:
- Place 2–3 hooks in your planned curve (left/top/right points).
- Use fishing line or the end of the balloon strip to hang the garland.
- Adjust the curve by shifting where the strip catches on hooks.
- For a backdrop stand:
- Zip-tie the garland to the stand in 3–5 points.
- Rotate clusters so the fullest side faces forward.
Shaping trick: Step back 6–8 feet and rotate any “flat” sections forward. A simple twist often fixes awkward gaps.
Step 6: Fill Gaps and Add Details (3–5 minutes)
This final step is what makes an organic balloon garland look professionally styled.
- Use 5-inch balloons to fill empty pockets. Attach them with glue dots or tuck the knot into the strip.
- Add accents: Place 1–3 larger balloons (18-inch) where you want visual emphasis (usually near the top or one side).
- Optional greenery: Tuck faux eucalyptus or vines between balloons using glue dots or floral wire (only on a stand—avoid wiring to painted walls).
Pro Tips for Fast, Full, Photo-Ready Results
- Use an electric balloon pump if you’re making anything over 6 ft. Your hands will thank you.
- Under-inflate slightly to reduce popping and create a smoother, high-end look.
- Mix matte and metallic balloons in the same color family for depth.
- Make it asymmetrical on purpose: An organic arch looks best when one side is a little heavier.
- For outdoor parties: Add extra anchor points and avoid direct sun (heat expands air and increases popping).
- Transport tip: If assembling off-site, build the garland, then transport it in a large plastic bag (contractor bags work well) to protect it from snags.
Easy Variations (Beginner-Friendly) + Advanced Upgrades
Beginner-Friendly Balloon Arch Adaptations
- Mini garland (3–4 ft): Perfect for a high chair banner or small dessert display.
- One-color arch: Fast and chic—use mixed sizes to keep it interesting.
- Half-arch “swoop”: Anchor one end high and the other low for a dramatic curve with fewer balloons.
Advanced Balloon Decoration Variations
- Double-stuffed balloons: Layer one balloon inside another for custom оттенки (richer, designer colors). Adds time but looks amazing.
- Chrome balloon accents: Use sparingly (5–10%) to avoid overpowering the palette.
- Themed add-ons: Add paper fans, tassels, character cutouts, or LED fairy lights woven through (battery pack hidden behind balloons).
- Balloon arch + backdrop wall combo: Pair with a fringe curtain, fabric drape, or shimmer wall for a full DIY party backdrop.
Troubleshooting: Quick Fixes for Common Balloon Arch Problems
- Problem: My balloon arch looks patchy.
Fix: Add more 5-inch balloons with glue dots. Focus on dark “holes” where you can see the wall or stand. - Problem: Balloons keep popping while I tie them.
Fix: Under-inflate slightly, stretch balloons before inflating, and avoid over-tight knots. - Problem: The garland won’t hold its curve.
Fix: Add a third anchor point (top/middle), or use fishing line to “pull” the garland into shape. - Problem: Colors look uneven or clumpy.
Fix: Rotate clusters and swap a few balloons around. Add small balloons of your accent color to distribute it. - Problem: Balloons are deflating too fast.
Fix: Use higher-quality latex, inflate closer to party time, and consider Hi-Float for longer events.
Common Crafting Mistakes to Avoid
- Buying only one balloon size: Mixed sizes (especially 5-inch + 10/12-inch) create that full “organic” look.
- Over-inflating: Overfilled balloons pop more easily and look more angular than round.
- Not buying extras: Plan for 10–15% balloon loss from popping, defects, or last-minute color balancing.
- Hanging with weak tape: Use proper hooks, fishing line, or a stand. Regular clear tape often fails mid-party.
- Forgetting the photo angle: Build the fullest part facing the camera side. What’s behind the arch matters less.
- Placing it in direct sun or near heat vents: Heat expands air—outdoor balloon arches need shade and extra anchoring.
FAQ: DIY Balloon Arches
How far in advance can I make a balloon arch?
For the best look, assemble it the same day or 12–24 hours before the event. Latex balloons slowly oxidize (they can look more matte over time). If you need it to last longer, store it indoors and consider using Hi-Float.
Do I need helium for a balloon arch?
No—most balloon arches and organic balloon garlands use air-filled latex balloons. Air lasts longer, costs less, and is easier to control for shaping.
What size balloon arch tape should I buy?
A 16 ft balloon decorating strip is the most versatile. You can cut it down for a smaller garland or build a fuller arch with extra balloons.
How do I make a balloon arch look more “professional”?
Use mixed balloon sizes, slightly under-inflate for smoothness, add 5-inch balloons to fill gaps, and keep your palette to 3–5 colors with one metallic or accent shade.
Can I make a balloon arch without a stand or wall hooks?
Yes. You can attach the garland to a stair railing, curtain rod supports, a sturdy shelving unit, or even a large piece of furniture using fishing line and removable ties—just be sure it’s secure and won’t tip.
What’s the fastest way to make this in 30 minutes?
Use an electric balloon pump, inflate mostly 10–12 inch balloons with a small batch of 5-inch for finishing, attach balloons directly to the strip (single balloons are fine), then refine the shape once it’s hung.
Try It Tonight: Your 30-Minute Party Upgrade
A DIY balloon arch is one of the most satisfying handmade party decorations because it looks impressive without being complicated. Once you’ve made one, you’ll start seeing ways to customize it for every celebration—different colors, different shapes, different backdrops, and little themed details that make it yours.
Grab your balloons, set a timer for 30 minutes, and give it a try. Your future party photos are going to look amazing.
Want more creative DIY crafts and party decoration ideas? Explore more tutorials, styling tips, and smart celebration prep on smartpartyprep.com.
More Articles
 How to Make Paper Party Hats in Under 12 Minutes (No Glue Gun, No Scissors Required!) — 5 Foolproof Methods That Actually Hold Their Shape All Night
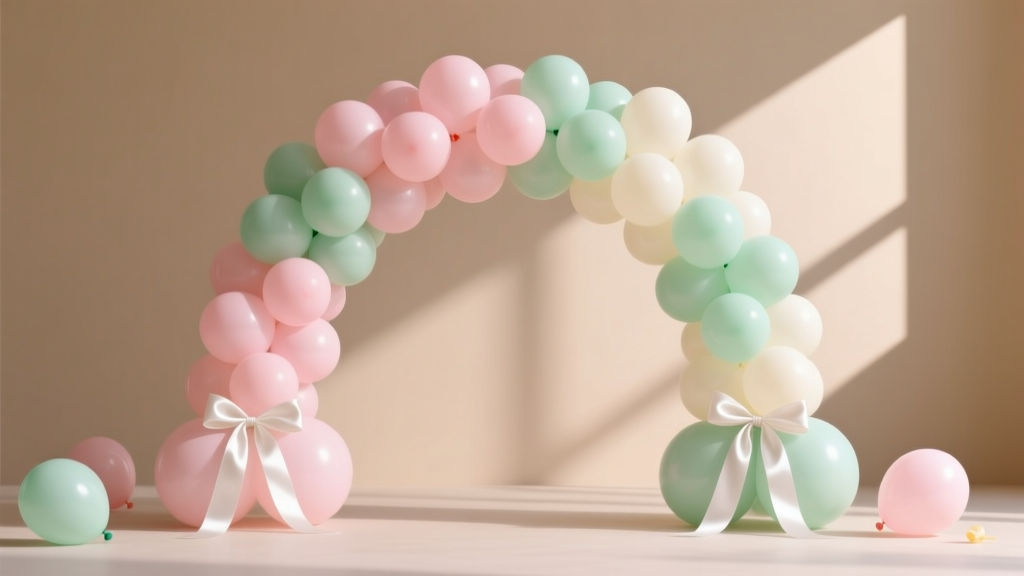 Easy Balloon Arches for Beginners
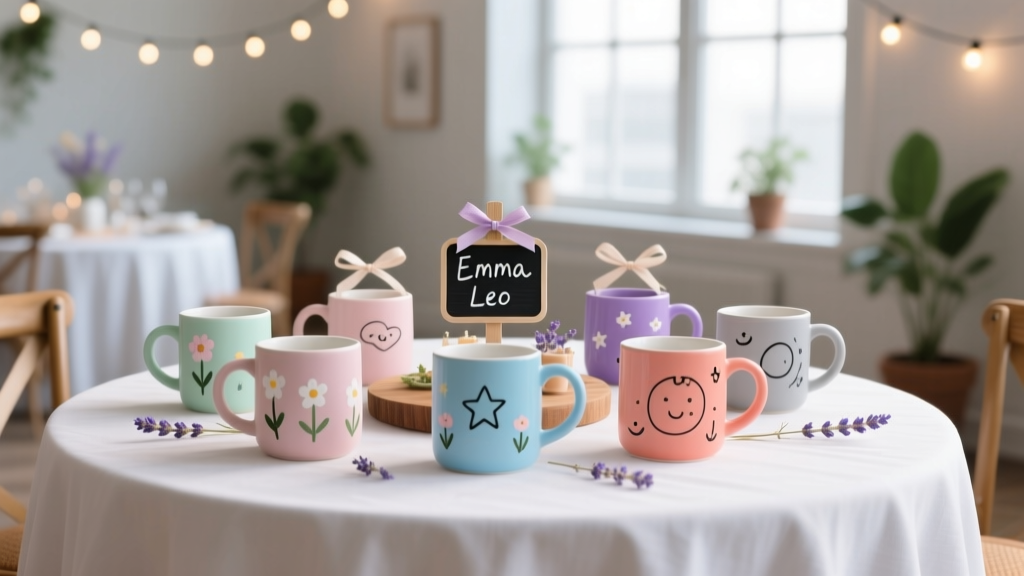 DIY Mugs Party Favors
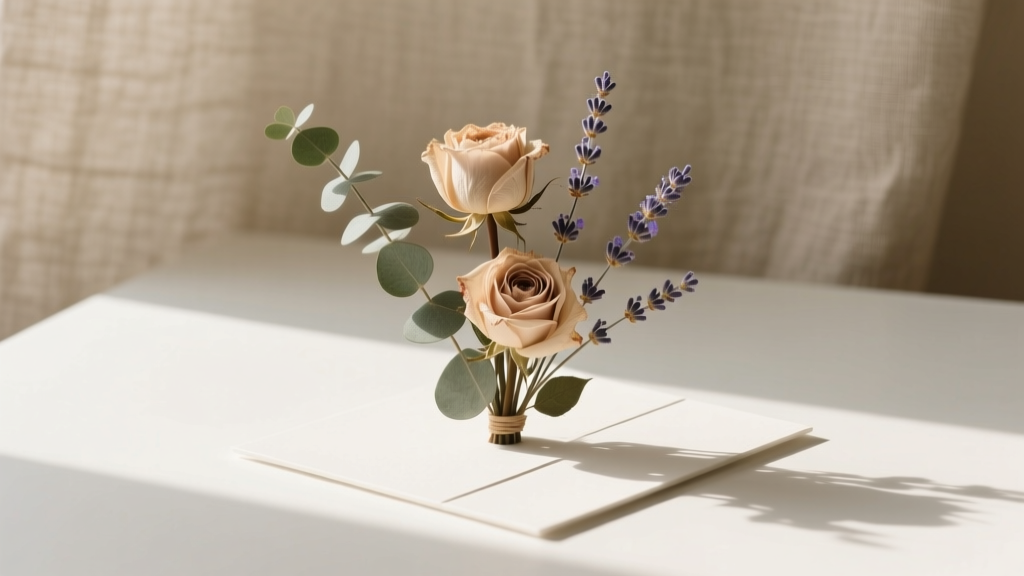 Step-by-Step Pressed Flower Art Tutorial
 Seasonal Favor Bags Ideas
 Advanced Beaded Bracelets for Crafters
 Easy Photo Frames for Beginners
 How to Enable Third Party Cookies on Mac in 2024: A Step-by-Step Safari & Chrome Guide (Plus Why You Might Not Want To)
 Advanced Backdrops for Crafters
 How to Turn Off 3rd Party Cookies in 2024: A Step-by-Step Guide That Actually Works (No Tech Jargon, Just Real Browser Instructions)