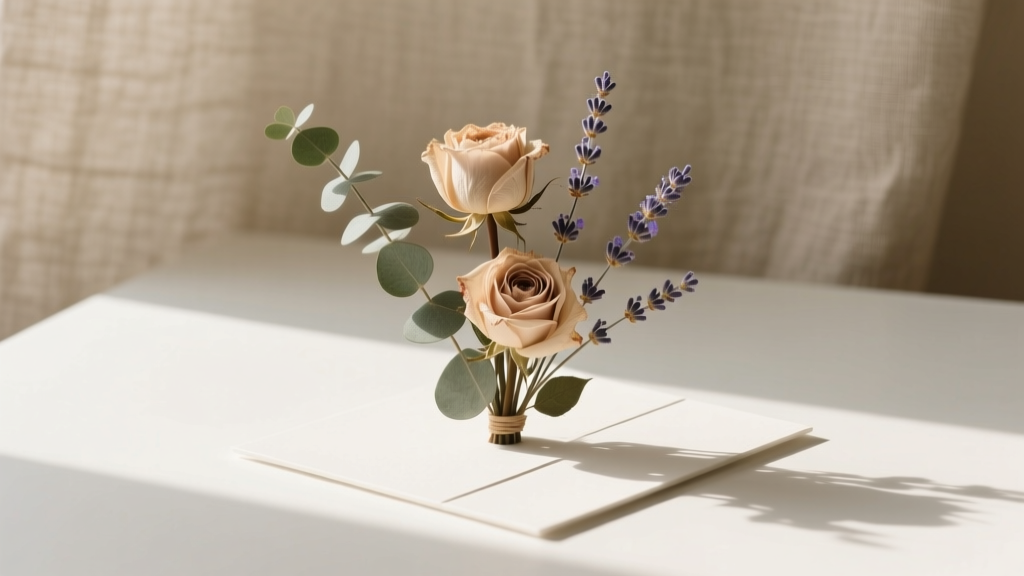
Step-by-Step Pressed Flower Art Tutorial
Pressed flower art is one of those DIY crafts that feels a little magical: you get to preserve real blooms, play with color and shape, and turn something delicate into a lasting piece of handmade decor. It’s relaxing enough for a quiet afternoon craft session, but it also makes a big impact when you use it for party decorations—think welcome table signage, framed centerpieces, or custom place cards that guests can take home.
This project is especially fun for celebrations because it’s easy to personalize. Match flowers to your party theme (pastels for a baby shower, bold florals for a summer birthday, whites and greenery for weddings), add names or dates, and create a cohesive set of DIY party decor that looks professionally styled. Plus, pressed flower art is budget-friendly: a few frames and some blooms can become a whole “decor moment.”
Whether you’re brand-new to crafting or you already love handmade projects, this tutorial walks you through the full process—from pressing flowers to sealing them neatly. You’ll also find beginner-friendly shortcuts, advanced variations, and troubleshooting tips so your finished pieces look crisp, clean, and party-ready.
Project Overview: Skill Level, Time & Best Uses
- Skill level: Beginner (with optional advanced upgrades)
- Total time:
- Pressing flowers: 3–14 days (depending on method and flower thickness)
- Design + assembly per frame: 30–60 minutes
- Dry/curing time for adhesive or sealant: 30 minutes–24 hours (varies)
- Best party uses:
- Framed welcome sign accents (pressed flowers around text)
- Table numbers and place cards (mini frames)
- Bridal shower or baby shower centerpiece frames
- Wedding memory table decor
- Party favors (small framed florals or laminated bookmarks)
Materials & Tools (with Estimated Costs)
Prices vary by store and brand, but these estimates help you plan your DIY craft budget.
Pressed Flower Supplies
- Fresh flowers and greenery (garden, grocery bouquet, or florist stems): $0–$20
- Great choices: pansies, daisies, cosmos, baby’s breath, ferns, small leaves
- Avoid for beginners: very thick flowers (large roses), super juicy petals (some lilies)
- Flower press (wood + bolts, 6x8 in or 8x10 in): $15–$35
- Alternative: heavy books + parchment paper (free–$8)
- Blotting paper or uncoated printer paper: $5–$12
- Parchment paper (for protecting pages and reducing sticking): $4–$7
Art & Assembly Supplies
- Frames:
- Standard 8x10 in frames for wall decor: $8–$20 each
- Mini 4x6 in or 5x7 in frames for table decor: $3–$12 each
- Floating glass frames (two panes): $10–$25 each
- Background paper (cardstock or watercolor paper):
- 8.5x11 in cardstock (65–110 lb): $5–$10 per pack
- Watercolor paper (cold press, 140 lb) for a textured look: $8–$15
- Adhesive (choose one):
- Acid-free glue pen or precision craft glue (best control): $4–$10
- Acid-free double-sided tape (for sturdier leaves): $4–$8
- Clear-drying PVA glue (use sparingly): $4–$8
- Tweezers (fine-tip craft tweezers recommended): $5–$12
- Small scissors or detail snips: $6–$15
- Soft paintbrush (for dusting and gentle placement): $3–$8
- Optional sealant:
- Clear matte spray sealer (archival if possible): $8–$15
Hand Lettering (Optional but Great for Parties)
- Fine-tip waterproof pen (0.3–0.5 mm) for names/dates: $2–$6
- Printable templates (table numbers, quotes, monograms): $0–$5
Step 1: Choose Flowers That Press Beautifully
If you’re making DIY party decorations, pick blooms that match your palette and press flat without turning bulky.
- Easy, beginner-friendly flowers: pansies, violas, daisies, cosmos, delphinium florets, baby’s breath
- Great greenery: fern fronds, small eucalyptus leaves, clover, delicate vines
- Color tip: purples, blues, and whites often hold color well; some reds and pinks may deepen as they dry
Measurement guideline: For an 8x10 in frame, plan on 7–15 flower pieces (a mix of full blooms + small accents). For a 5x7 in frame, 4–8 pieces is usually plenty.
Step 2: Press the Flowers (Two Reliable Methods)
Method A: Using a Flower Press (Best Results)
- Prep your press layers. Add a sheet of blotting paper, then parchment paper on top.
- Arrange your flowers face-down. Space them at least 1/2 inch apart so petals don’t overlap and trap moisture.
- Cover and stack. Add parchment, then blotting paper. Repeat layers if your press allows.
- Tighten evenly. Tighten bolts until snug. Don’t crush thicker blooms too aggressively.
- Wait. Check at day 3–4 for thin flowers; most are ready in 7–10 days. Thicker petals may take up to 14 days.
Method B: Heavy Book Pressing (Best Budget Option)
- Line the book. Place parchment paper inside a large, heavy book.
- Position flowers. Arrange flowers flat. Add another parchment sheet on top.
- Add weight. Stack 2–3 more heavy books on top (aim for at least 10–15 lb total).
- Wait. Leave undisturbed for 7–14 days, depending on thickness.
Quick check: Flowers are ready when they feel papery and fully dry—not cool or flexible.
Step 3: Plan Your Design (Before You Glue)
This is where your pressed flower art starts looking like intentional decor instead of “random pretty petals.” Planning is especially helpful when you’re making matching party decorations like a set of table numbers or mini frames for a dessert table.
Simple Layout Ideas
- Corner cluster: Flowers tucked in one or two corners (clean and modern)
- Wreath frame: Greenery and small blooms in a circle (perfect for monograms)
- Border: A thin floral edge along the bottom or side
- Scattered “meadow”: Lightly scattered small blooms (whimsical garden-party look)
Measuring for a Balanced Layout
- Leave a 1/2–1 inch margin from the edge of the paper so it doesn’t look cramped.
- If adding text (names/date/table number), reserve a clear area at least 3x5 inches on an 8x10 background.
Tip: Take a quick phone photo of your layout before gluing. It’s an easy way to see if the design looks balanced.
Step 4: Assemble the Pressed Flower Artwork
Step-by-Step Assembly
- Clean your workspace. Dust and tiny fibers can show under glass. Wipe the frame glass with a microfiber cloth.
- Cut your background to size. For an 8x10 in frame, trim your paper to exactly 8x10 inches (or slightly smaller if your frame runs tight, like 7 15/16 x 9 15/16 in).
- Dry-fit your arrangement. Place flowers on the background using tweezers. Adjust until it looks the way you want.
- Glue in sections. Lift one piece at a time and add tiny dots of acid-free glue:
- For thin petals: 1–3 micro-dots is enough
- For leaves: a thin line along the stem + one dot at the tip
- Press gently. Use the flat side of tweezers or a clean fingertip to secure. Avoid rubbing, which can tear petals.
- Let it dry. Wait 15–30 minutes before framing (longer if glue is wet or thick).
- Frame it. Assemble your frame with the clean glass facing inward. Check for dust one last time.
Optional: Add Lettering for Party-Perfect Personalization
- Write directly on the background with a fine-tip waterproof pen (best for minimal designs).
- Print names/table numbers in your chosen font and mount them on the background before adding flowers.
- For a polished look, keep text centered and place flowers around it like a soft frame.
Pro Tips for Professional-Looking Results
- Use tweezers for everything. Pressed petals crease easily; tweezers keep things neat.
- Less glue = better. Too much adhesive can darken petals or create shiny spots.
- Work from large to small. Place bigger blooms first, then tuck tiny florets and greenery into gaps.
- Make sets assembly-line style. For party decor, prep all backgrounds and layouts first, then glue one by one.
- Choose glass frames for floating designs. Floating frames make flowers look airy—great for weddings and showers.
Creative Variations (Beginner-Friendly to Advanced)
Beginner Adaptations
- Mini frame place cards: Use 2x3 in or 4x6 in frames and add a single pressed flower + guest name.
- Simple corner cluster: One bloom + 2 leaves is enough to look intentional and elegant.
- Pre-pressed flowers: Buy pressed flower packs online to skip pressing time (great for last-minute party prep).
Advanced Variations
- Layered botanical collage: Overlap translucent petals and fern pieces for depth (use very minimal glue).
- Gold accents: Add a thin metallic paint stroke (1/16–1/8 in thick) behind the flowers on watercolor paper.
- Monogram wreath: Create a 5–6 inch diameter wreath around a printed initial for bridal showers or engagement parties.
- Matching party set: Design a suite: welcome sign, table numbers, bar sign, and favor tags using the same flower palette.
Troubleshooting: Fixes for Common Issues
- Flowers turned brown:
- Cause: too much moisture or slow drying
- Fix: choose thinner flowers; change blotting paper every 2–3 days; press in a warm, dry place
- Petals curled while pressing:
- Cause: petals folded or overlapped
- Fix: flatten carefully before pressing; use tweezers to spread petals
- Glue marks show:
- Cause: too much adhesive or wrong type
- Fix: switch to an acid-free glue pen; apply micro-dots; test on a “practice petal” first
- Condensation inside the frame:
- Cause: flowers not fully dry
- Fix: remove and air-dry flowers longer; reframe when completely crisp
- Dust trapped under glass:
- Cause: static and workspace lint
- Fix: wipe glass with microfiber; use a soft brush or compressed air (lightly) before sealing the frame
Common Crafting Mistakes to Avoid
- Rushing the pressing stage. If flowers aren’t fully dry, they can mold or fog the glass later.
- Using wax paper instead of parchment. Wax paper can transfer residue and stick to petals.
- Over-handling pressed pieces. Oils from fingers can darken delicate petals; use tweezers.
- Skipping a layout test. Once glued, repositioning often tears petals—always dry-fit first.
- Framing without cleaning the glass. One stray fiber can stand out in a finished piece.
- Mixing too many flower styles. For party decorations, a limited palette (2–4 flower types) looks more cohesive.
FAQ: Pressed Flower Art for DIY Party Decorations
How long do pressed flowers last in a frame?
When fully dried and kept out of direct sunlight and humidity, pressed flowers can look beautiful for years. Bright sunlight may fade colors over time, so display them indoors away from windows for the longest-lasting handmade decor.
Do I need to seal pressed flowers?
Sealing is optional. If you’re framing behind glass, that already offers protection. A light coat of archival matte spray sealer can help reduce flaking and preserve color, but always test first—some delicate petals darken slightly with sealant.
Can I use pressed flower art as table numbers or place cards?
Yes—pressed flower art is ideal for party table decor. Use 4x6 in or 5x7 in frames for table numbers, or tiny frames for place cards. Keep designs simple so numbers and names stay easy to read from a distance.
What are the best flowers for beginners to press?
Pansies, violas, daisies, cosmos, and baby’s breath are beginner-friendly because they press flat and dry fairly evenly. Ferns and small leaves are also very forgiving.
How do I keep flowers from sticking to the paper while pressing?
Use parchment paper layers around your flowers. If you’re using a book press method, avoid glossy pages and choose smooth parchment with blotting paper to absorb moisture.
Can I make this project if my party is soon?
Yes. For a last-minute handmade party decoration, buy pre-pressed flowers or use very thin blooms and a flower press started 5–7 days ahead. You can also create a “botanical look” with pressed greenery only, which typically dries faster.
Wrap-Up: Make It, Display It, Celebrate With It
Pressed flower art is a satisfying DIY craft because it combines nature, creativity, and a clean finished look that works for almost any celebration. Start with one small frame to learn the process, then scale up into a coordinated set of party decorations—table numbers, a welcome sign accent, or a gallery-style display behind the dessert table.
Try a simple design first, keep your glue minimal, and give your flowers enough time to press fully. Once you see how beautiful these handmade projects look under glass, you’ll want to make them for every season and every party theme.
Want more DIY craft ideas, party decoration tutorials, and creative handmade projects? Explore more inspiration and step-by-step guides on smartpartyprep.com.
More Articles
 Step-by-Step Wreaths Tutorial
 Paper Craft Cake Toppers Ideas
 Rustic Favor Bags Ideas
 Seasonal Favor Bags Ideas
 How to Accept 3rd Party Cookies on Mac in 2024: A Step-by-Step Safari & Chrome Guide (No Tech Degree Required)
 Step-by-Step Fabric Bunting Tutorial
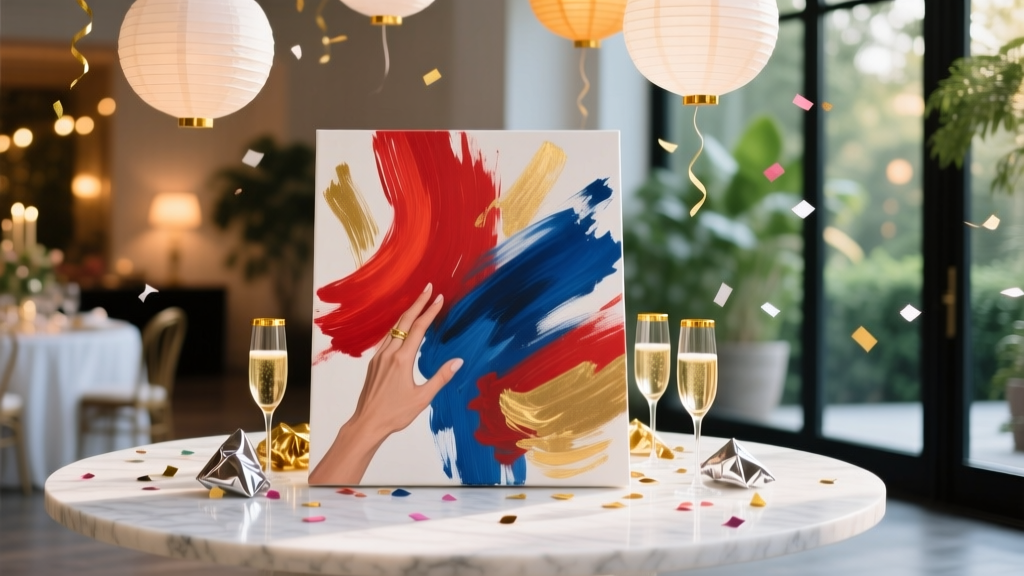 Advanced Painted Canvas for Crafters
 Rustic Embroidered Patches Ideas
 Step-by-Step Photo Booth Props Tutorial
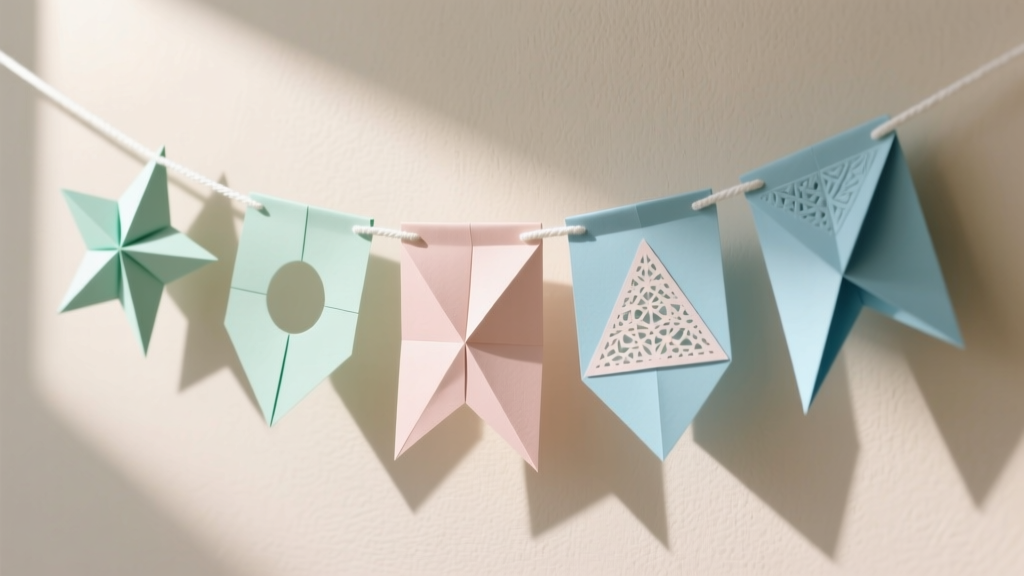 Paper Craft Party Banners Ideas