
Step-by-Step Wreaths Tutorial
There’s something instantly welcoming about a wreath. It sets the mood before guests even step inside—whether you’re hosting a birthday brunch, a baby shower, a graduation party, or a cozy holiday gathering. The best part? You can tailor a handmade wreath to match your theme colors, invitation design, and even your party menu (yes, fruit-themed wreaths are a thing).
This step-by-step wreath tutorial is designed for crafters who want party-worthy results without needing fancy equipment. You’ll learn a reliable “base method” you can reuse all year, plus creative variations for different seasons and celebrations. Make one statement wreath for your front door, or create smaller wreaths as party decorations, photo backdrop accents, or table-centerpiece hoops.
Skill level: Beginner-friendly (with advanced options included)
Time estimate: 45–90 minutes for a basic wreath; 1.5–3 hours for fully embellished designs
Approximate finished size: 14–18 inches (standard door wreath)
Pick Your Wreath Style (Best for Parties)
Before you buy supplies, decide how you want to use your wreath. Party projects look best when they’re bold, coordinated, and photographed well.
Popular party-related wreath ideas
- Welcome wreath: A front-door or entryway piece that matches your party theme.
- Backdrop wreath/hoop: A large hoop wreath for a dessert table or photo wall.
- Mini chair-back wreaths: 8–10 inch wreaths tied to chairs for showers and weddings.
- Centerpiece ring: A low-profile wreath around a vase, lantern, or cake stand.
- Letter wreath: Monogram or age-number accent (great for birthdays and graduations).
Materials List (with Estimated Costs)
Costs vary by season and store, but the ranges below are realistic for craft stores, big-box retailers, and online shops. For a budget-friendly DIY craft, start with a simple base and add one “hero” element (like a bow or statement florals).
Core wreath base options
- Grapevine wreath (14–16 in): $6–$18 (rustic, easy to tuck stems into)
- Metal hoop (14–18 in): $3–$12 (modern, perfect for asymmetrical designs)
- Foam wreath form (12–16 in): $4–$10 (best for ribbon wraps and florals)
- Wire wreath frame (14–16 in): $2–$8 (ideal for mesh and greenery bundles)
Decor materials (choose what fits your theme)
- Artificial greenery stems (eucalyptus, boxwood, fern): $6–$20 per bundle
- Artificial florals (peonies, roses, daisies): $8–$30 per bundle
- Ribbon (wired 2.5 in x 10 yd recommended): $6–$18
- Decor mesh (10 in x 10 yd): $6–$12
- Ornaments, mini balloons, party icons (small picks/signs): $3–$15
- Wood or acrylic sign (hello/welcome/name): $5–$25
Adhesives & fasteners
- Hot glue gun (high-temp preferred): $10–$25
- Hot glue sticks (mini or full size): $4–$10
- Floral wire (22–26 gauge): $3–$7
- Wire cutters: $6–$15
- Zip ties (6–8 in): $3–$8
- Pipe cleaners/chenille stems (optional for bows): $2–$5
Tool recommendations
- Floral shears: cleaner cuts than scissors, especially for thicker stems
- Needle-nose pliers: helpful for twisting wire and tightening
- Measuring tape: for bow tails and centering signage
- Protective finger caps (optional): saves you from hot glue burns
Step-by-Step Wreath Tutorial (Reliable Base Method)
This method works on grapevine, foam, and wire frames with minor adjustments. It’s a party-decoration-friendly approach because it’s sturdy, photogenic, and easy to customize.
Step 1: Choose size, color palette, and focal point
Pick a palette that matches your party decorations (balloons, plates, banners). A simple plan keeps the wreath looking intentional.
- Standard door wreath: 14–18 inches
- Backdrop hoop: 24–36 inches (dramatic, great for photos)
- Color rule: 2 main colors + 1 accent + greenery
- Focal point ideas: oversized bow, floral cluster, name sign, theme icon (stars, hearts, citrus slices)
Step 2: Prep your workspace (and pre-cut materials)
Set up a table with a heat-safe mat for your glue gun. Prepping first makes the build smooth and helps you avoid over-gluing.
- Plug in your hot glue gun and let it fully heat (usually 3–5 minutes).
- Cut greenery and floral stems into manageable pieces:
- Greenery: 4–6 inch sections
- Florals: 3–5 inch stems (or remove blooms and use picks)
- Trim any plastic “nubs” or excess stem length so pieces sit flush.
Step 3: Create a greenery base (the secret to a full, pro look)
Greenery gives your wreath a lush, finished shape and makes decorative elements pop.
Placement tip: Start at the bottom and work upward in the same direction, overlapping like shingles.
- Lay your wreath base flat. Decide where you want the “heavy” area (bottom-right is classic for asymmetrical designs).
- Attach greenery pieces in small bundles of 2–3 stems:
- Grapevine base: tuck stems into the vine and secure with hot glue + a wrap of floral wire.
- Wire frame: twist floral wire around the frame to bind bundles; add glue only for stubborn spots.
- Foam form: push stems into foam and reinforce with glue.
- Continue until you have:
- Half wreath coverage (modern party look), or
- Two-thirds to full coverage (classic, fuller style)
Time estimate: 15–30 minutes
Step 4: Build a focal cluster (florals, theme icons, or party accents)
Instead of scattering decorations all over, make one main cluster and a few smaller “echo” pieces. This keeps your handmade project clean and camera-ready.
- Arrange your focal pieces on the table first (no glue yet):
- 1–3 large blooms
- 2–4 medium blooms
- 1–2 texture elements (berry picks, baby’s breath, glitter sprigs)
- Place the cluster on the wreath and step back 3–6 feet to check balance.
- Attach with a combo of:
- Floral wire for heavy items
- Hot glue for lightweight accents
- Add 2–3 small accent pieces elsewhere to visually connect the design.
Time estimate: 15–30 minutes
Step 5: Make a big bow (party-perfect and beginner friendly)
A big wired-ribbon bow looks high-end and instantly reads “celebration.”
Bow measurement guide (for 14–18 in wreath):
- Ribbon width: 2.5 inches wired ribbon recommended
- Total ribbon length: 2.5–3.5 yards (90–126 inches)
- Tail length: 10–14 inches each tail
- Cut ribbon with extra length (you can always trim later).
- Create two loops on each side (4 loops total), about 5–7 inches each.
- Pinch the center tightly and secure with floral wire or a pipe cleaner.
- Fluff loops by pulling them outward and shaping the wired edges.
- Cut the tails at an angle or in a V-notch for a crisp finish.
- Attach the bow to the wreath with wire (preferred) and dab glue under the knot.
Time estimate: 10–20 minutes
Step 6: Add a sign or personalization (optional but amazing for parties)
- Baby shower: “Oh Baby” or name plaque
- Birthday party: age number, “Let’s Party,” or name
- Graduation: class year and school colors
- Center your sign visually (not always perfectly centered on the base—follow the design’s weight).
- Attach with zip ties or floral wire through sign holes. Add glue only as reinforcement.
- Check that the sign sits flat and doesn’t wobble when lifted.
Step 7: Add a hanger and test on the door
- Hanger options: wreath hanger, ribbon loop, or a length of floral wire twisted into a loop
- Recommended length: 6–8 inches of ribbon loop for most doors
Hang it up, step back, and adjust pieces that twist forward. For outdoor use, keep delicate paper elements under a covered porch.
Pro Tips for a Polished, Party-Ready Wreath
- Use wire for structure, glue for detail: Wire holds heavy items; glue is for finishing touches.
- Odd numbers look natural: 3 large blooms, 5 medium accents, 7 small textures.
- Photograph test: Snap a quick phone photo—imbalances show up instantly.
- Repeat materials: Use the same ribbon from your party invitations, gift wrap, or balloon tail ribbons for a coordinated theme.
- Keep a “rest zone”: Leave a bit of open space so the wreath doesn’t feel crowded.
Creative Variations (Beginner to Advanced)
Beginner-friendly adaptations
- One-bow wreath: Greenery base + oversized bow, no florals needed.
- Half-hoop minimal: Greenery only on the bottom third of a metal hoop.
- Pre-made swag shortcut: Attach a pre-made greenery swag to a hoop with zip ties.
Advanced variations for statement party decor
- Balloon accent wreath: Add a mini garland cluster (5-inch balloons) to one side. Use a balloon strip and glue dots; keep balloons away from direct sunlight.
- Layered ribbon wreath: Wrap 3 ribbons (1.5 in + 2.5 in + specialty) around a foam form in sections.
- Theme “icon” wreath: Add small props like mini disco balls, citrus slices, stars, or confetti picks for a birthday party decoration vibe.
- LED sparkle wreath: Weave micro-LED fairy lights through greenery; secure battery pack on the back with zip ties.
Troubleshooting: Fix Common Wreath Problems
- My wreath looks flat: Add more greenery volume first, then raise focal elements by layering stems underneath.
- Items keep falling off: Use floral wire or zip ties for anything heavier than a single bloom. Glue alone often fails on textured grapevine.
- Bow won’t fluff: Switch to wired ribbon and make larger loops (5–7 inches). Use a pipe cleaner to cinch tight.
- Wreath is lopsided on the door: Adjust the hanger point. A slightly off-center hanger can level a heavier side.
- Colors look messy: Reduce to two main colors and move “accent” items into one cluster.
Common Crafting Mistakes to Avoid
- Skipping the dry layout: Always place items before gluing. It prevents crowded designs and wasted materials.
- Overusing hot glue: Too much glue strings and looks messy. Use small dots and hide them under stems or ribbon folds.
- Not anchoring heavy pieces: Signs, large bows, and thick stems should be wired or zip-tied.
- Mixing too many flower styles: Stick to 1–2 flower types plus one texture element for a cohesive handmade decoration.
- Forgetting the door test: A wreath can look perfect flat but shift when vertical. Test-hang early.
FAQ: Step-by-Step Wreaths Tutorial
What is the easiest wreath base for beginners?
A grapevine wreath is very forgiving because you can tuck stems into it and reposition easily. A foam form is also beginner-friendly if you plan to wrap ribbon or insert stems.
How do I make my wreath look fuller without spending more?
Use greenery as bulk. Cut longer stems into smaller 4–6 inch pieces and overlap them. You can also add inexpensive filler like baby’s breath, fern, or small leaf picks to fill gaps.
Can I use a wreath as a party centerpiece?
Yes! Choose a low-profile base (wire frame or grapevine) and keep decorations on the outer edge. Place a vase, lantern, or cake stand in the center for a simple DIY party decoration centerpiece.
How do I hang a wreath without damaging the door?
Use a standard over-the-door wreath hanger or a removable adhesive hook rated for the wreath’s weight. If using ribbon, make a 6–8 inch loop and hang it from the wreath hanger for extra stability.
How long will an artificial wreath last?
Indoors, an artificial wreath can last for years. Outdoors, it lasts longest on a covered porch. Store it in a wreath storage bag or large box to prevent crushing.
How can I match my wreath to party decorations?
Repeat the same ribbon color from your party supplies, add a small sign with the guest of honor’s name, and choose florals that match your balloon garland or tableware accents.
Wrap-Up: Your Next Handmade Party Decoration
A wreath is one of those DIY crafts that feels special every time you reuse it—swap the bow, change the sign, refresh a few florals, and you’ve got a brand-new look for the next celebration. Start simple with greenery and a statement bow, then level up with personalized signage or bold theme accents when you’re ready.
When you make your wreath, take a quick photo before hanging it—your future self will love having a “recipe” to recreate the design for the next party.
Happy crafting! Explore more DIY craft ideas, party decorations, and handmade projects at smartpartyprep.com.
More Articles
 Step-by-Step Invitations Tutorial
 How to Make Diddy Party in Infinite Craft: The Only 4-Step Method That Actually Works (No Random Combos, No Wasted Time)
 How to Make a Party Popper in 7 Minutes (No Glue, No Mess, No Store-Bought Kits) — A Foolproof DIY Guide That Actually Works Every Time
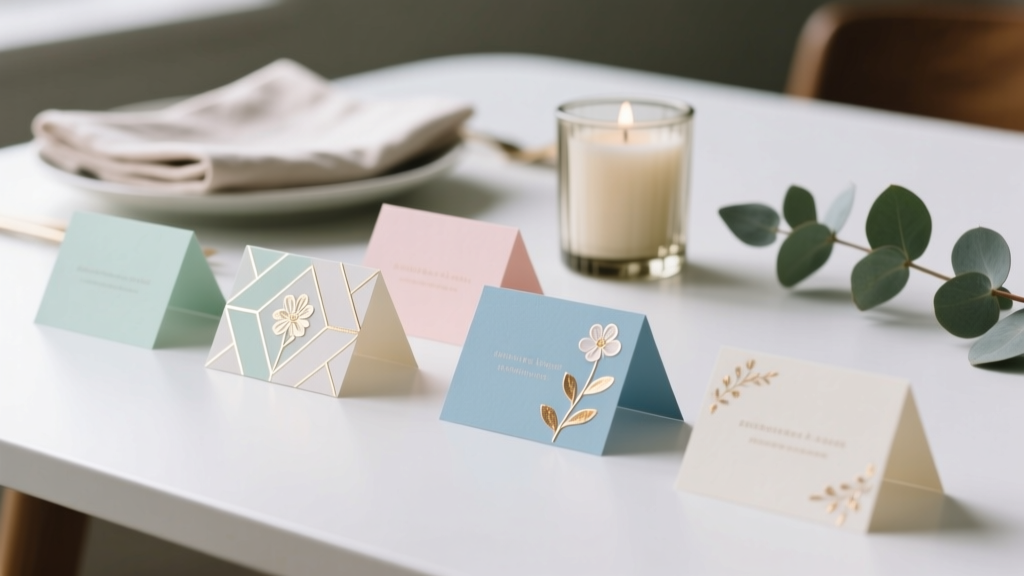 Paper Craft Place Cards Ideas
 Are Pure Encapsulations third party tested? Yes—but here’s exactly which labs verify them, what tests they run (heavy metals, microbes, potency), and how to spot fake 'certified' claims in 2024.
 Kids' Craft: Confetti
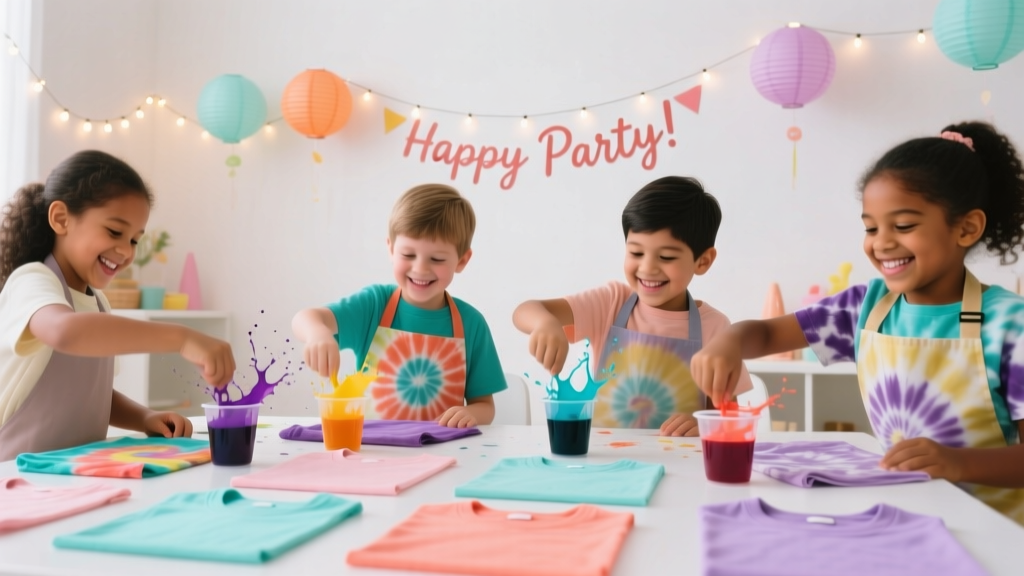 Kids' Craft: Tie-Dye Shirts
 How to Discharge Debt as a Secured Party Creditor: The Truth Behind the Viral Loophole (Spoiler: It Doesn’t Work — Here’s What Actually Does)
 DIY Custom Stickers Party Favors
 Is Nature's Truth 3rd Party Tested? We Investigated Every Batch Report, Lab Certificate, and Transparency Gap So You Don’t Have to Waste Time—or Risk Your Craft Projects on Unverified 'Natural' Claims