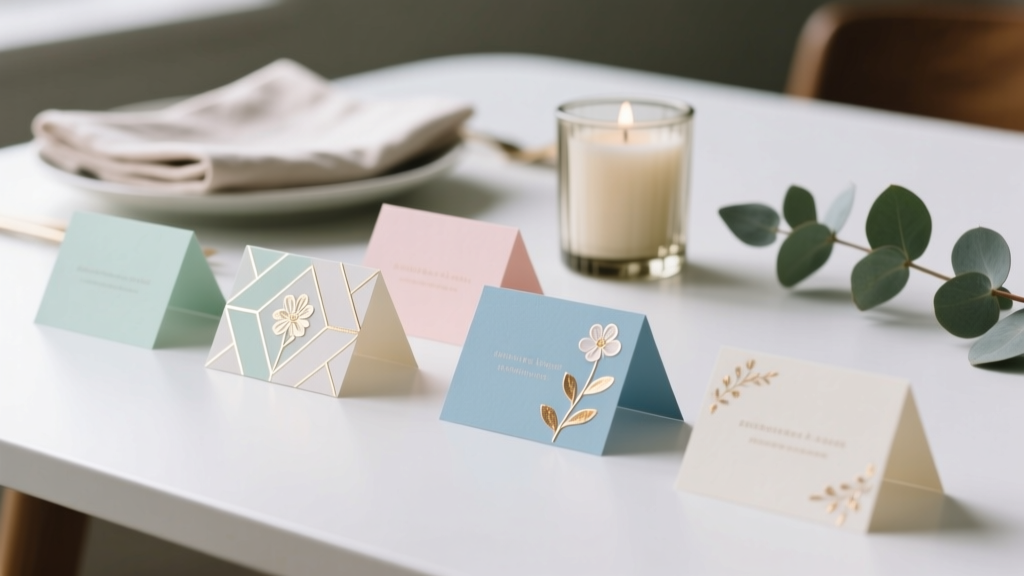
Paper Craft Place Cards Ideas
There’s something extra welcoming about a party table where every guest has a seat waiting just for them. DIY paper craft place cards add that personal touch without requiring expensive supplies or advanced art skills. They’re small projects with a big payoff: a more polished tablescape, easier seating, and a handmade detail guests often take home as a keepsake.
Paper place cards are also one of the most flexible handmade party decorations you can make. You can match any theme—birthday brunch, baby shower, wedding reception, Friendsgiving, graduation, or a cozy holiday dinner—simply by changing colors, fonts, and a few small embellishments.
Best of all, this is a craft you can finish in a single afternoon. Make a few for a family dinner or batch-produce dozens for a larger celebration. You’ll find beginner-friendly options below, plus advanced variations for crafters who love precision and layered design.
At-a-Glance: Skill Level, Time, and Best Uses
- Skill level: Beginner to Intermediate (advanced options included)
- Time estimate: 30–90 minutes for 8–12 cards (depending on style); 2–3 hours for 40–60 cards
- Best for: Weddings, showers, birthdays, holiday dinners, corporate events, tea parties, graduation parties
- Core techniques: Cutting, folding, writing/lettering, simple gluing
Materials List (With Specific Product Types & Estimated Costs)
You can make beautiful DIY place cards with basic paper crafting supplies. Prices vary by brand and location, but these estimates help you plan.
Paper & Cardstock
- Heavyweight cardstock (80–110 lb / 216–300 gsm) for the base (8.5" x 11" sheets) – $6–$15 per pack
- Patterned scrapbook paper (12" x 12" or 8.5" x 11") for layering – $5–$20
- Vellum sheets (translucent overlay look) – $6–$12
- Metallic or glitter cardstock (accent layer) – $6–$12
Adhesives
- Tape runner (clean + fast for batching) – $6–$12
- Liquid craft glue (fine-tip recommended for small pieces) – $3–$8
- Foam adhesive squares (adds dimension) – $3–$6
Tools
- Paper trimmer (for crisp, consistent cuts) – $12–$35
- Scissors (sharp detail pair for curves) – $5–$15
- Scoring board + bone folder (clean folds) – $10–$25
- Ruler + pencil (measuring and layout) – $2–$8
- Corner rounder punch (optional, polished look) – $6–$12
- Lettering pens (black fineliner + metallic gel pen) – $5–$15
Optional Embellishments
- Mini faux flowers, greenery sprigs, or dried flowers – $6–$20
- Satin ribbon (1/8"–3/8" width) – $3–$10
- Twine (baker’s twine or jute) – $3–$8
- Stickers/foil seals/wax seal stickers – $5–$15
Before You Start: Sizing, Layout, and Table Fit
Most place cards look best when they’re large enough to read from 2–3 feet away but not so tall that they block conversation.
- Classic tent place card finished size: 3.5" wide x 2" tall (folded)
- Cut size for the classic tent: 3.5" x 4" (score at 2")
- Flat place card finished size: 3.5" x 2" (great for holders)
- Name letter height: 0.5"–0.75" for easy readability
Idea #1: Classic Folded Tent Place Cards (The Go-To DIY)
Skill level: Beginner
Time: 3–5 minutes per card once you get going
Steps
- Cut the cardstock. Cut to 3.5" x 4" using a paper trimmer for clean edges.
- Score the fold. Score at 2" on the long side (so you get a 3.5" x 2" tent when folded).
- Fold sharply. Use a bone folder to crease the fold so it stands nicely.
- Add the name. Write with a black fineliner, brush pen, or print names on adhesive labels and apply centered.
- Optional: Add a border or tiny icon. A simple dot border, a small heart, or a leaf doodle instantly elevates the design.
Quick Style Variations
- Minimal modern: White cardstock + black ink + a tiny gold dot sticker in the corner
- Rustic: Kraft cardstock + white gel pen lettering
- Holiday: Red cardstock + white pen + mini snowflake stamp
Idea #2: Layered Frame Place Cards (Easy “Designer” Look)
Skill level: Beginner to Intermediate
Time: 5–8 minutes per card
Measurements
- Base tent: 3.5" x 4" (folded to 3.5" x 2")
- Layer panel: 3.25" x 1.75" (fits centered on the front)
Steps
- Create the tent base (cut 3.5" x 4", score at 2", fold).
- Cut a patterned or metallic layer to 3.25" x 1.75".
- Attach the layer. Use a tape runner for a smooth finish. For dimension, use foam squares.
- Add a name label. Write directly onto the layered panel, or cut a smaller white strip (about 2.75" x 1") and place on top.
Beginner-Friendly Adaptation
- Skip foam squares and keep it flat for faster batch crafting.
- Use pre-cut rectangle labels instead of trimming your own name strips.
Idea #3: Vellum Wrap Place Cards (Soft, Elegant, Wedding-Ready)
Skill level: Intermediate
Time: 7–10 minutes per card
What You’ll Make
A tent place card with a vellum “belt” around the outside, finished with a small seal or sticker.
Measurements
- Tent base: 3.5" x 4"
- Vellum wrap strip: 1.25" x 8" (trim to fit; overlap in back)
Steps
- Make the tent base and write/print the guest name.
- Cut vellum strip to 1.25" x 8".
- Wrap the vellum. Wrap around the folded card and adjust for a neat fit with a small overlap at the back (about 0.5").
- Secure the wrap. Use a tiny dot of clear-drying glue or double-sided tape on the back only (vellum can show adhesive marks).
- Finish with a focal point. Add a wax seal sticker, foil seal, or small sticker at the front to hide the seam and create a “gift-wrapped” look.
Troubleshooting Vellum
- Adhesive showing through: Use minimal glue behind the seal area or only on the back overlap.
- Wrap sliding: Add one tiny tape dot on the back and one under the front seal.
Idea #4: Flower or Greenery “Pocket” Place Cards (Great for Showers)
Skill level: Intermediate
Time: 10–12 minutes per card
Measurements
- Base tent: 4" x 4" (folded to 4" x 2" for more space)
- Pocket piece: 4" x 2.25" (trim top edge into a gentle curve if desired)
Steps
- Cut and fold the base. Cut 4" x 4", score at 2", fold.
- Make the pocket. Cut 4" x 2.25". Optional: round the top corners.
- Glue pocket edges. Apply glue along the left, right, and bottom edges (a thin 1/8" line). Press onto the front of the base, leaving the top open.
- Add the name. Write the guest’s name above the pocket or on a small label centered on the pocket.
- Insert greenery. Slide in a small faux sprig or a short piece of dried flower (keep it light so it doesn’t tip).
Pro Tip
If the cards tip forward, place a tiny foam square behind the pocket center or reduce the size/weight of the greenery.
Idea #5: Origami-Inspired Name Stand (Fun Conversation Starter)
Skill level: Intermediate to Advanced
Time: 8–15 minutes per card (faster after practice)
Simple Approach (No Complex Origami Required)
- Use a 3" x 6" cardstock strip (lighter cardstock works best: 65–80 lb / 176–216 gsm).
- Create a triangular stand by folding into thirds (2" + 2" + 2"), then tucking one end into a slit on the other end.
Steps
- Cut strip to 3" x 6".
- Score at 2" and 4" for crisp folds.
- Fold into a triangle. Bring ends together.
- Create the lock. Cut a small slit (about 1/2") on one end and tuck the other end in.
- Add the name. Write the name on the most visible panel.
Advanced Variation
- Add a layered name panel with foam tape.
- Use metallic cardstock for one panel and matte for another for a modern contrast.
Step-by-Step Workflow for Making Place Cards in Batches (Fast & Consistent)
If you’re making DIY party place cards for a wedding or large dinner, batching keeps everything neat and prevents mistakes.
- Finalize your guest list first. Confirm spelling and preferred names.
- Cut all bases at once. For classic tents, cut all 3.5" x 4" rectangles.
- Score and fold all cards. Score at 2", fold with a bone folder.
- Add layers/embellishments. Attach any panels, wraps, or pockets assembly-line style.
- Write names last. This avoids smudges while handling and lets you swap a card if you make a typo.
Pro Tips for Cleaner Cuts, Better Lettering, and Sturdy Cards
- Use 80–110 lb cardstock for tents that need to stand on their own (lighter paper can collapse).
- Score before folding to avoid cracking, especially with glitter or metallic cardstock.
- Test pen ink on scraps. Some metallic and glossy papers smear easily.
- Keep a damp cotton swab nearby to quickly remove small glue oops before it dries.
- For consistent lettering, lightly pencil a guideline about 3/8" from the bottom edge of the name area, then erase after ink dries.
- If you’re printing names, use a simple serif or clean sans-serif font at 24–36 pt depending on card size.
Troubleshooting: Fixes for Common Place Card Problems
- Cards won’t stand up: Use heavier cardstock, sharpen the fold with a bone folder, and ensure the bottom edges are perfectly even.
- Warping from glue: Switch to a tape runner or use less liquid glue; press under a book for 2–3 minutes.
- Ink smudging: Use quick-dry fineliners, let names dry before stacking, or spray a light fixative (test first).
- Uneven sizes: Use a paper trimmer with a clear measurement grid; cut in stacks only if your trimmer can handle it cleanly.
- Vellum looks messy: Hide adhesive under a seal, label, or layered panel.
Common Crafting Mistakes to Avoid
- Skipping the test card: Make one complete sample first to confirm size, readability, and stability.
- Writing names before assembling: Handling can smudge ink or dent cardstock.
- Using flimsy paper for tents: Printer paper rarely stands well; choose cardstock.
- Over-embellishing: Big flowers, heavy charms, or thick layered pieces can tip cards and crowd plates.
- Not checking table spacing: Taller designs may block sight lines at small tables—keep most cards under 2.5" tall.
- Rushing glue drying time: A few extra minutes prevents sliding layers and warped corners.
FAQ: Paper Craft Place Cards
What’s the best cardstock weight for DIY place cards?
For freestanding tent cards, 80–110 lb (216–300 gsm) works best. If you’re using a place card holder, you can go lighter (65–80 lb) since the holder provides support.
How do I make place cards if my handwriting isn’t great?
Print names on your home printer and glue them to the cards, or use alphabet stamps. Another easy option is writing in all caps with a fineliner—clean and modern.
Can I make these place cards ahead of time?
Yes. Make the bases and layers 1–2 weeks ahead, then add names 1–3 days before the event. Store finished cards flat in a box to protect edges and prevent bending.
How many sheets of cardstock do I need?
An 8.5" x 11" sheet can typically fit 6 classic tent bases (3.5" x 4") with careful trimming. For 36 guests, plan on 6–7 sheets plus a couple extra for test cuts and mistakes.
What’s a good kid-friendly version for family parties?
Use larger cards (like 4" x 4" folded) and let kids decorate with stickers, dot markers, or simple stamps. Keep embellishments flat so cards still stand.
How can I coordinate place cards with other DIY party decorations?
Repeat one or two elements across your table: matching paper colors, the same ribbon, or a repeated motif (stars, florals, snowflakes). It ties your handmade table decor together without extra work.
Wrap-Up: Your Table Will Look Instantly More Thoughtful
Paper craft place cards are one of those DIY party projects that feel relaxing to make and look impressive on the table. Start with the classic tent style, then try a layered frame or vellum wrap once you’re in the groove. A few simple measurements, a crisp fold, and a name written with care can turn everyday supplies into memorable handmade decorations.
When you’re ready for your next party project, explore more DIY craft ideas, party decorations, and smart hosting tips on smartpartyprep.com.
More Articles
 Advanced Cake Toppers for Crafters
 Paper Craft Backdrops Ideas
 How to Enable 3rd Party Cookies in Chrome (2024): A Step-by-Step Fix for Blocked Logins, Ad Retargeting & SSO Failures — Before Google Shuts Them Down Completely
 Modern Thank You Cards Designs
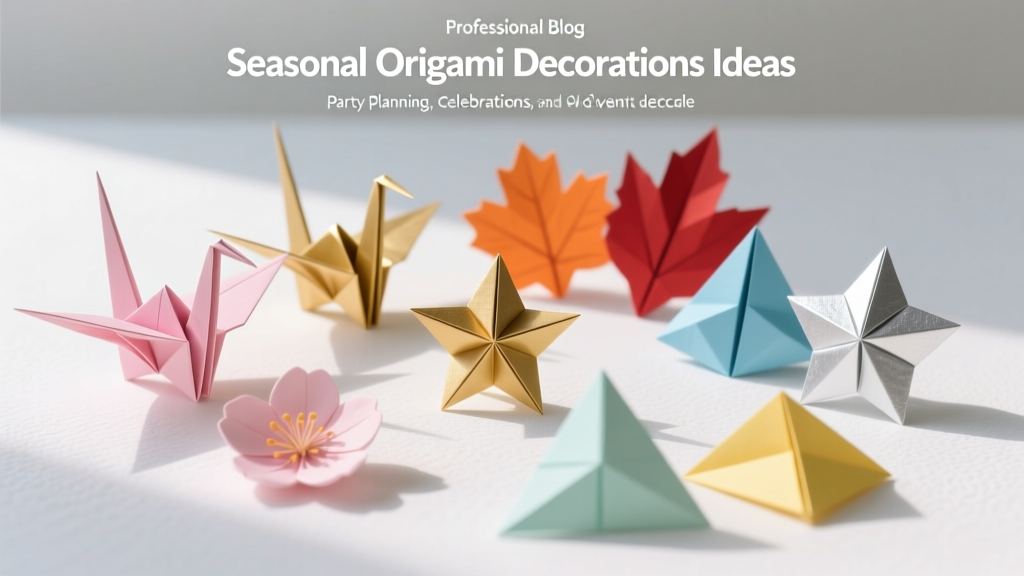 Seasonal Origami Decorations Ideas
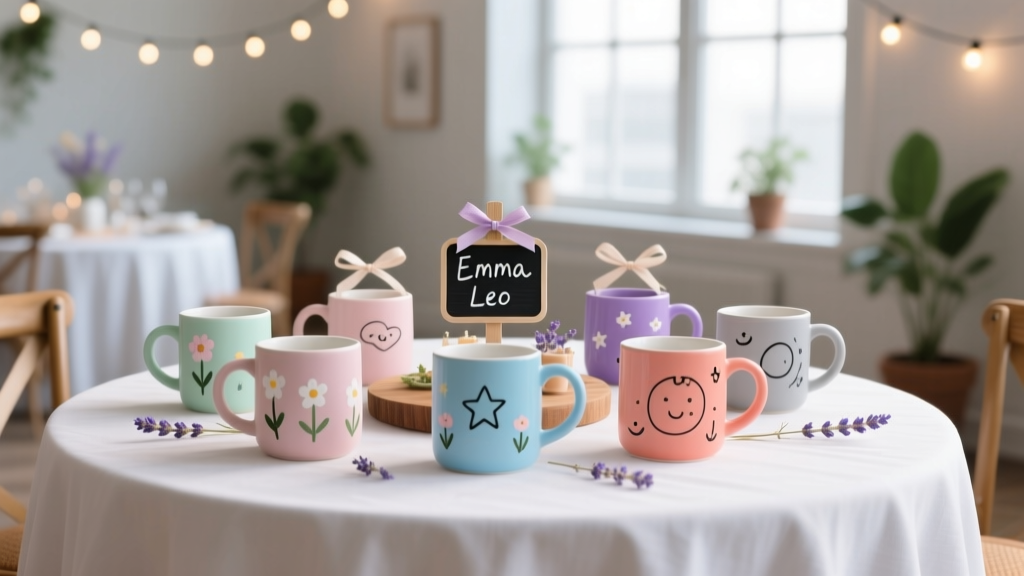
 DIY Mugs for Home Decor
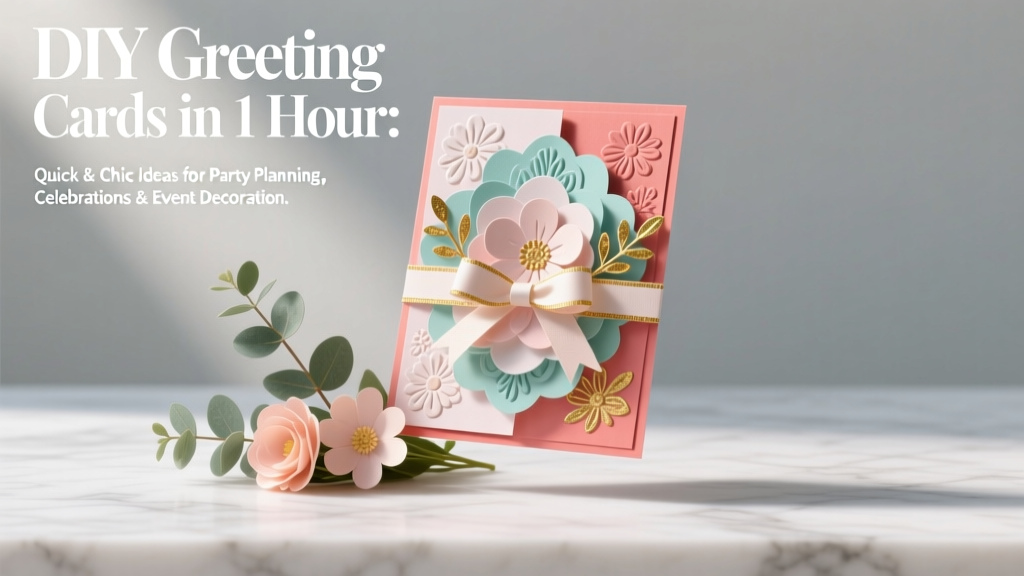 DIY Greeting Cards in 1 Hour
 How to Unblock 3rd Party Session Cookies on Mac: A Step-by-Step Safari & Chrome Fix That Actually Works (No Extensions Needed)
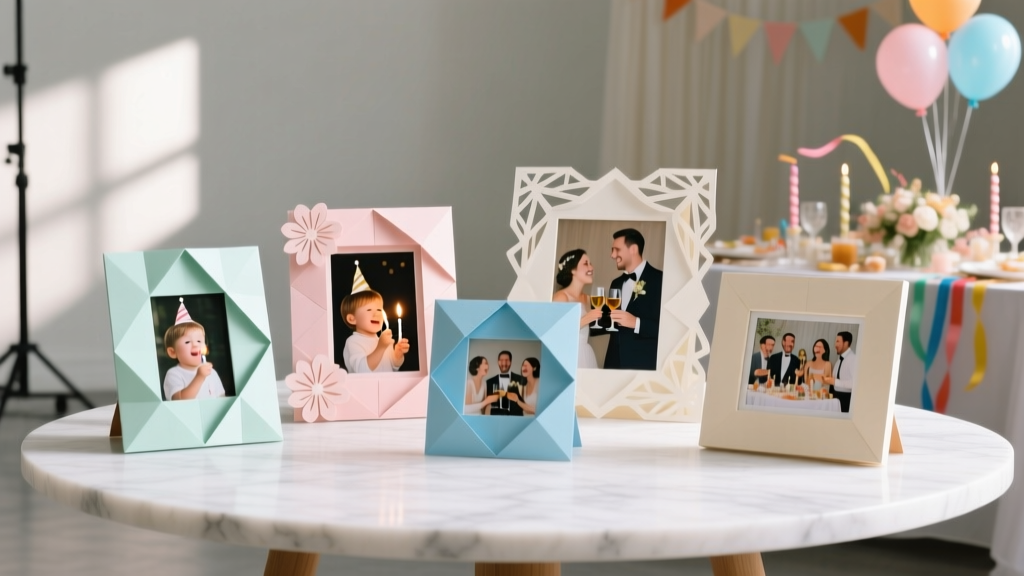 Paper Craft Photo Frames Ideas
 DIY Mugs Party Favors