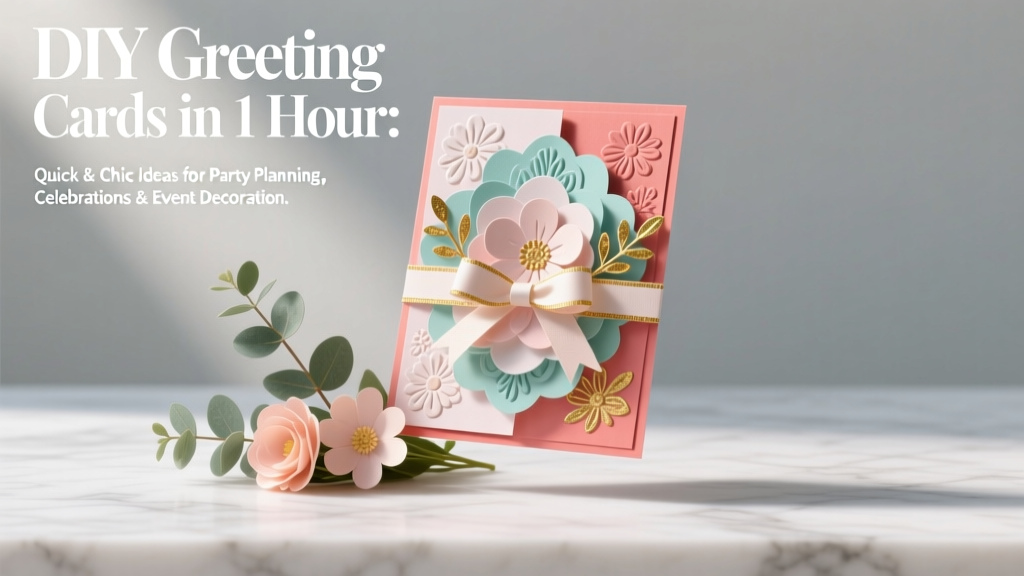
DIY Greeting Cards in 1 Hour
Nothing says “I planned this party with heart” like a handmade greeting card tucked onto a gift bag, taped to a dessert box, or set at each place setting as a sweet take-home note. The best part? You don’t need fancy tools or days of crafting time to make cards that look polished and party-ready.
This 1-hour DIY is perfect for birthdays, baby showers, bridal showers, graduation parties, holiday gatherings, and last-minute thank-you notes. You’ll create a small stack of handmade cards using simple supplies, clever shortcuts, and easy templates—plus you’ll get options for beginner-friendly designs and advanced variations if you love detail work.
Grab your paper, pick your party theme, and let’s make greeting cards that feel personal, match your decorations, and elevate your whole celebration.
Project Snapshot: What You’ll Make
- Skill level: Beginner to Intermediate (advanced options included)
- Total time: 60 minutes (plus optional drying time)
- Cards produced: 6–10 cards depending on complexity
- Great for: Party thank-you cards, birthday cards, gift tags-as-mini-cards, place setting notes
- Finished card size (recommended): A2 (4.25 in x 5.5 in) or A6 (4.5 in x 6.25 in)
Materials & Tools (with Estimated Costs)
Choose what you already have, then add 1–2 “wow” supplies (like metallic markers or foam tape) to level up the finished look.
Paper & Card Bases
- Cardstock (8.5 in x 11 in), 65–110 lb: white or colored, 25–50 sheets ($6–$12)
- Patterned paper pad (6 in x 6 in or 12 in x 12 in): party-themed prints ($6–$15)
- Envelopes (A2 or A6): pack of 25 ($5–$10) Tip: Match envelope color to your party palette.
Adhesives
- Tape runner or double-sided tape: clean, fast ($4–$10)
- Liquid glue (precision tip): best for small pieces ($3–$7)
- Foam tape squares (3D pop): adds dimension ($3–$8)
Cutting & Measuring
- Paper trimmer: faster and straighter than scissors ($15–$35)
- Scissors (detail scissors if possible): ($5–$12)
- Ruler: 12 in with clear markings ($2–$6)
- Bone folder (optional): crisp folds ($5–$10) Alternative: the back of a butter knife.
Decor & Lettering (Pick 2–4)
- Markers: black fine liner + colored brush markers ($6–$20)
- Metallic gel pen or paint marker: gold/silver for party sparkle ($3–$8)
- Stickers or rub-ons: letters, stars, confetti shapes ($3–$8)
- Washi tape: 2–3 coordinating rolls ($5–$12)
- Ribbon or twine: 1/8 in–1/4 in wide ($3–$8)
- Small embellishments: sequins, paper flowers, mini bows ($3–$10)
Optional “Upgrade” Tools
- Corner rounder punch: instantly professional edges ($6–$15)
- Circle punch (1.5 in or 2 in): fast medallions ($8–$18)
- Stamps + ink pad: quick repeating motifs ($10–$25)
Choose Your Card Size & Cut List
Pick one size and stick to it for speed. Cutting everything first is the secret to finishing within an hour.
Option A: A2 Card (Most Popular)
- Cut cardstock: 8.5 in x 11 in sheet folded into A2 makes two cards
- Trim: cut cardstock to 8.5 in x 5.5 in, then fold to 4.25 in x 5.5 in
- Front panel (optional layer): 4 in x 5.25 in
Option B: A6 Card (Slightly Larger for More Decor)
- Pre-made A6 card bases: easiest for speed
- Front panel: 4.25 in x 6 in (leave a border)
Your 60-Minute Game Plan
Use this workflow to make a coordinated set—perfect for party thank-you notes or invitations.
- Minutes 0–10: Choose a theme + color palette; cut and fold card bases
- Minutes 10–20: Cut front panels and a few simple shapes (banners, circles, rectangles)
- Minutes 20–45: Assemble designs assembly-line style
- Minutes 45–55: Add lettering + small accents (metallic details, dots, stickers)
- Minutes 55–60: Final checks, flatten, and slide into envelopes
Step-by-Step: Make 3 Fast Card Designs (Mix and Match)
These are designed for party-related handmade projects: bold, cheerful, and easy to personalize.
Design 1: Confetti Corner Card (Beginner-Friendly)
Time per card: 5–7 minutes
Best for: birthdays, graduation parties, New Year’s, kids’ parties
- Cut your base: A2 folded card (4.25 in x 5.5 in).
- Add a front panel: Adhere a 4 in x 5.25 in solid or lightly patterned panel centered on the card.
- Create confetti:
- Use a hole punch to make 10–20 dots from colorful paper, or
- Cut tiny squares/triangles (about 1/8 in to 1/4 in).
- Arrange in one corner: Place confetti in the top-left or bottom-right corner in a loose triangle shape (about 2 in x 2 in area).
- Glue down: Use a tiny dot of liquid glue per piece (a toothpick helps control the amount).
- Add the sentiment: Write “Happy Birthday,” “Thanks a Bunch,” or “You’re Invited!” with a black fineliner. Add a metallic shadow or underline for sparkle.
Design 2: Party Banner Strips Card (Quick + Perfect for Themes)
Time per card: 6–9 minutes
Best for: baby showers, bridal showers, engagement parties, themed birthdays
- Prepare strips: Cut 3–5 patterned paper strips:
- Width: 0.5 in to 0.75 in
- Length: 5 in
- Angle the ends: Cut a small “V” notch in one end of each strip to mimic banner tails.
- Layer the strips: Arrange diagonally across the card front. Overlap slightly for depth.
- Adhere: Use tape runner for speed. Add foam tape under one strip if you want a 3D look.
- Add a focal circle: Punch or cut a 2 in circle from coordinating cardstock and place it where the strips intersect.
- Write your message: On the circle, write “Thank You,” “Celebrate,” “Baby Love,” or the guest of honor’s name.
Design 3: Modern Gift Tag Cluster Card (Great for Party Favors)
Time per card: 8–12 minutes
Best for: thank-you notes after a party, hostess gifts, holiday gatherings
- Cut tag shapes: Make 2–3 small tags per card:
- Tag size: about 1.5 in x 2.5 in
- Snip the top corners at an angle to form a tag top.
- Punch a hole (optional) about 1/4 in from the top edge.
- Layer the tags: Stack them slightly offset on the lower half of the card front.
- Adhere with dimension: Glue the bottom tag flat, then use foam tape for the top tag.
- Add twine or ribbon: Thread through the holes and tie a tiny bow, or simply glue a short piece across the top for the look.
- Finish with a bold sentiment: Write “Thank You” large across the top tag using a brush marker, then outline lightly with a fineliner.
Pro Tips for Fast, Professional-Looking Handmade Cards
- Batch your steps: Cut all bases, then all panels, then assemble. Switching tasks less often saves time.
- Use a “rule of three” color palette: one neutral + two party colors (example: white + pink + gold).
- Leave a clean border: A 1/8 in to 1/4 in border around your front panel makes everything look crisp.
- Foam tape goes a long way: Use it only on the top layer so cards still fit envelopes.
- Quick lettering trick: Write in all caps with a fineliner, then add tiny dots or stars around it with a metallic pen.
- Flatten before stuffing envelopes: Stack finished cards under a book for 5 minutes to help adhesives set.
Theme Variations (Party-Ready Ideas)
Beginner Adaptations
- Sticker-centered card: Place one large themed sticker (balloon, cake, star) on a panel and add a simple message.
- Washi tape “wrap”: Run 2–3 strips across the front, then write the sentiment in the open space.
- Pre-cut shapes: Use store-bought die-cuts to skip detailed cutting.
Advanced Variations
- Shaker window confetti: Cut a 2 in circle window, back with acetate, and add sequins inside (allow extra time).
- Heat-embossed sentiment: Stamp in embossing ink and heat-set gold powder for a glamorous party look.
- Layered paper florals: Add 2–3 small flowers with foam tape for depth (best for hand-delivered cards).
Troubleshooting: Fix Common Issues Fast
- Card won’t stay closed: Score the fold with a bone folder and flatten under a heavy book for 10 minutes.
- Paper is warping from glue: Use less liquid glue; switch to tape runner for large panels.
- Markers bleed through: Use heavier cardstock (80–110 lb) or add a scrap piece inside where you’re writing.
- Layers look crooked: Use a ruler to measure borders (aim for 1/8 in spacing) before pressing adhesive down.
- Embellishments fall off: Use stronger glue dots or a tacky craft glue; press firmly for 20–30 seconds.
Common Crafting Mistakes to Avoid
- Skipping the dry fit: Always arrange pieces before gluing. A 10-second preview prevents a full do-over.
- Overloading the front: Too many chunky embellishments can make cards hard to mail and messy-looking. Choose one focal point.
- Using dull blades/scissors: Jagged cuts instantly make a card look less finished. Sharper tools = cleaner edges.
- Not matching your party palette: If your party decorations are pastel, keep the card soft too. Coordinated handmade projects look intentional.
- Writing the message last-minute without spacing: Lightly pencil guidelines or place a sticky note to map the sentiment area first.
- Forgetting the inside: Even a simple “To/From” line or a tiny stamped icon inside makes the card feel complete.
FAQ: DIY Greeting Cards in 1 Hour
How many cards can I realistically make in one hour?
If you batch-cut and repeat 1–2 designs, expect 8–10 simple cards. If you add lots of layering, bows, or detailed lettering, plan for 4–6 more intricate cards.
What cardstock weight is best for greeting cards?
80 lb to 110 lb cardstock feels sturdy and folds nicely. If your markers bleed, go heavier or add a front panel layer.
Can I use these as party invitations instead of store-bought invites?
Yes! Use the same designs, then print or neatly handwrite party details on the inside. For invitations, keep embellishments flatter so they mail easily.
How do I make my handmade cards match my party decorations?
Pull colors from your party supplies (napkins, balloons, banners). Use the same two main colors plus one neutral, and repeat a motif (stars, florals, confetti, or stripes) across your card set.
What’s the easiest way to make cards look “professional” without fancy tools?
Clean layers and consistent spacing do the heavy lifting. Add a centered front panel with a 1/8 in–1/4 in border, use a bold sentiment, and finish with one metallic accent.
How do I mail handmade cards with dimensional decorations?
Use minimal foam tape and avoid thick embellishments for mailed cards. If the card is puffy, you may need a thicker envelope or extra postage—test one in an envelope before making a whole batch.
Wrap-Up: Your Party-Perfect Card Stack Awaits
Handmade greeting cards are one of the quickest DIY crafts that add a personal touch to any celebration—whether you’re making party thank-you cards, sweet place-setting notes, or themed invitations. With a simple cut list, a repeatable design, and a few fun embellishments, you can finish a beautiful set in just one hour.
Set a timer, craft in batches, and let your party theme guide the colors. Then enjoy that “I made this!” feeling when your cards become part of the celebration.
More easy party crafts and handmade decoration ideas are waiting for you—explore new projects on smartpartyprep.com.
More Articles
 Step-by-Step Pressed Flower Art Tutorial
 20 Creative Origami Decorations Ideas
 DIY Friendship Bracelets Using Cricut
 How Do I Block Third Party Cookies in 2024? The Real-World Guide That Actually Works (No Tech Degree Required)
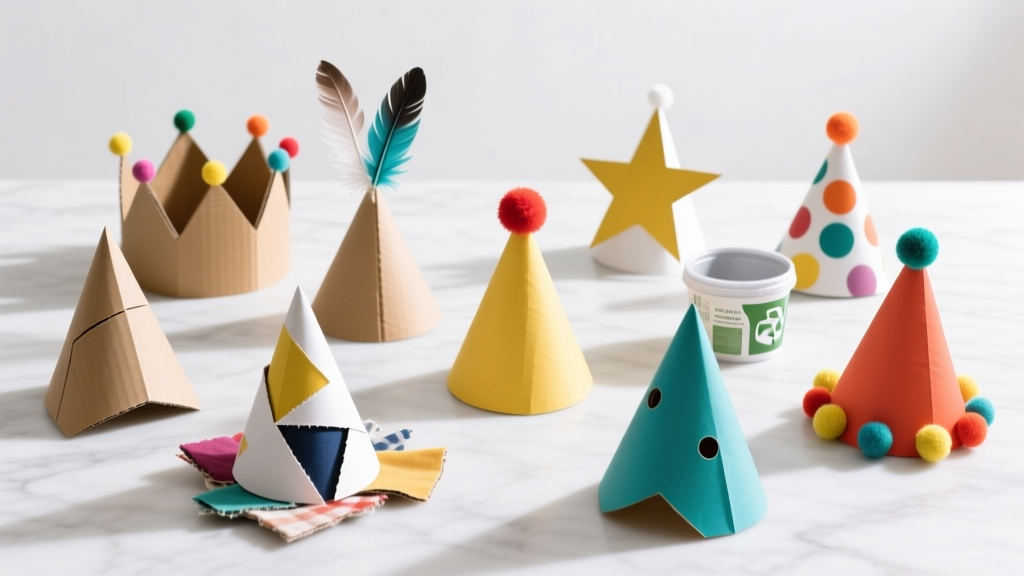 12 Do It Yourself Party Hats You Can Make in Under 30 Minutes (No Sewing, No Glue Gun, and Zero Craft Store Runs Needed)
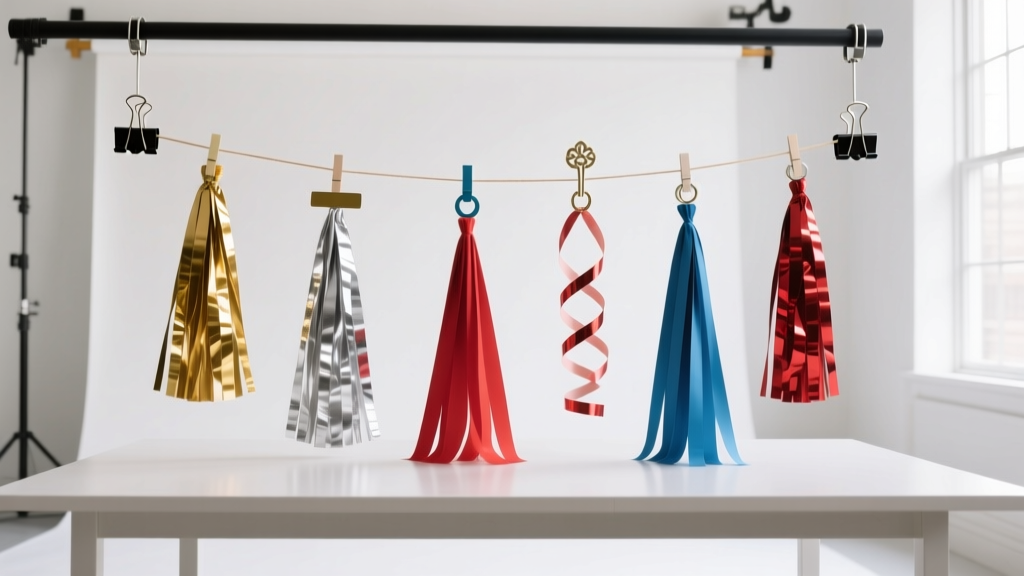 How to Hang Party Streamers Without Tape Marks, Sagging, or Last-Minute Panic: 7 Foolproof Methods (Tested on 37 Parties)
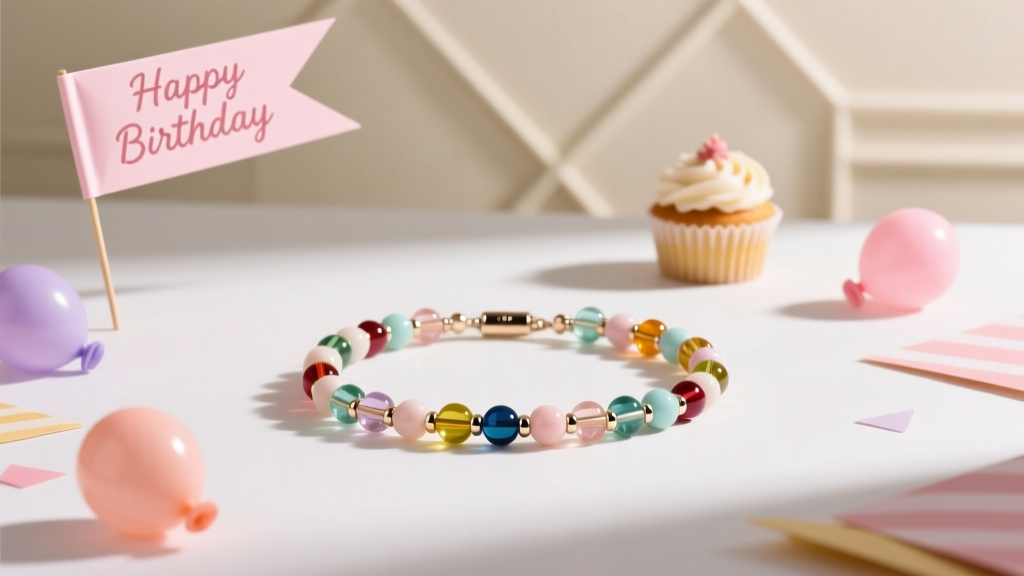 Kids' Craft: Beaded Bracelets
 How to Turn Off 3rd Party Cookies in 2024: A Step-by-Step Guide That Actually Works (No Tech Jargon, Just Real Browser Instructions)
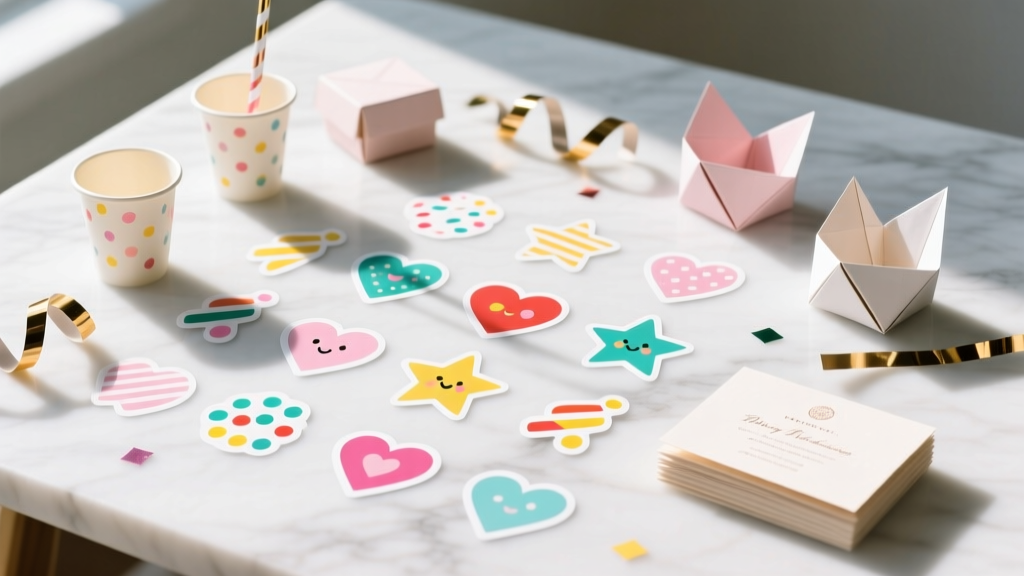 DIY Custom Stickers Party Favors
 How to Buy a House as a Secured Party Creditor: The Truth About UCC-1 Filings, Property Titles, and Why 97% of These Attempts Fail Legally (and What Actually Works Instead)